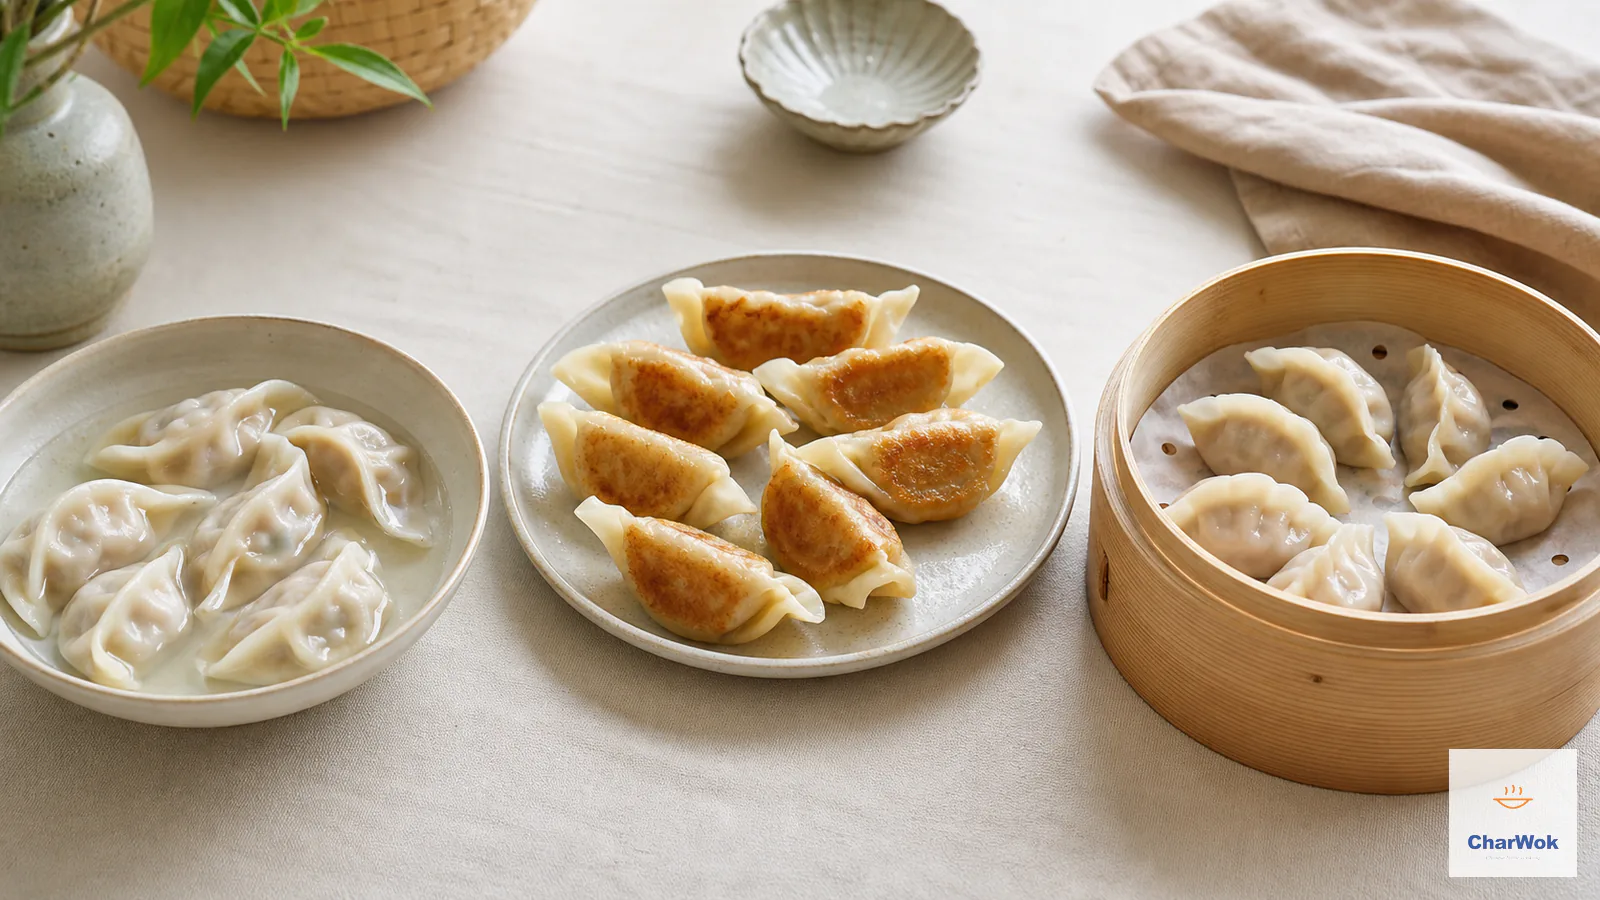
The first time I made jiaozi at home, I followed the recipe to the letter and still ended up with dumplings that tore open in the pot, leaking pork into the water until it looked like soup. What I had missed was not a secret ingredient. It was the whole logic of how the dough, the filling, and the heat interact. Chinese dumplings are forgiving in spirit but unforgiving in detail, and most home cooks fail at one of three predictable points: a wrapper that splits, a filling that turns to mush, or a pot of burst dumplings. Fix those three and the rest is pleasure.
This guide is the one I wish I had when I was ruining batches. I will not pretend you can fold forty beautiful pleats on your first evening, because you cannot, and neither could I. What you can do tonight is make dumplings that taste better than frozen, hold together in the water, and give you a dough you actually understand. I cook these often enough that I have strong opinions, and I will state them plainly: use all-purpose flour, rest the dough twice, and learn to boil before you learn to pan-fry.
At a glance: 250 g all-purpose flour with 130 g water (a 52% hydration dough) gives about 30 wrappers after a double rest of 40+ minutes. The make-or-break habit is the cold-water addition when boiling, called dian shui, done three times, which keeps the wrapper intact while the filling cooks through. Rest the dough twice, salt and fold your filling in one direction, and never crowd the pot.
What jiaozi actually are, and where they come from
Jiaozi are the boiled or pan-fried wheat-flour dumplings of northern China, crescent-shaped and sealed by pleating, eaten year-round but inseparable from Lunar New Year, where their shape is said to resemble old gold ingots. They are distinct from the Cantonese har gow you meet at dim sum, which use a translucent starch wrapper, and from the delicate soup dumplings (xiao long bao) of Shanghai, which hide a gelatin-based broth inside. Jiaozi belong to the wheat belt, the same northern world that gave us hand-rolled noodles and mantou, because that is the region where wheat grows and where a rolled dough wrapper makes sense.
The wrapper is the architecture; the filling is the personality. Across the north you find pork-and-napa-cabbage as the default, pork-and-chive as the crowd-pleaser, and beef-and-chive in Muslim northern kitchens where pork is absent. A whole vocabulary of variations exists, and I will point you to the ones worth your time below. But the technique, the dough, and the cooking methods are shared. Master the base and you can fill these with almost anything.
The dough, and why rest is not optional
Dumpling dough is flour and water, nothing more, yet people fail at it constantly. The reason is gluten. All-purpose flour contains two proteins, glutenin and gliadin, that link up into an elastic network the moment they meet water and are worked. That network is what lets you roll a disc thin enough to see through without it tearing, and what lets the wrapper stretch a little around the filling during cooking. A dough you try to roll immediately after mixing will fight you, spring back, and tear. A dough that has rested is docile.
Use all-purpose flour. Bread flour has too much gluten and makes wrappers that are chewy in a bready way; cake flour has too little and they tear. The classic ratio is 250 g flour to 130 g water, which is roughly 52% hydration by weight. Measure by weight if you can, because flour compacts and a cup can be off by 15 percent. The water should be room temperature or just warm, not hot. Hot water dough is a real and excellent thing, used for crisp pan-fried dumplings and for softer, more pliable wrappers, but the standard boiled jiaozi uses cold or cool water for a firmer, cleaner bite.
Ingredient table
Dumpling ingredients at a glance
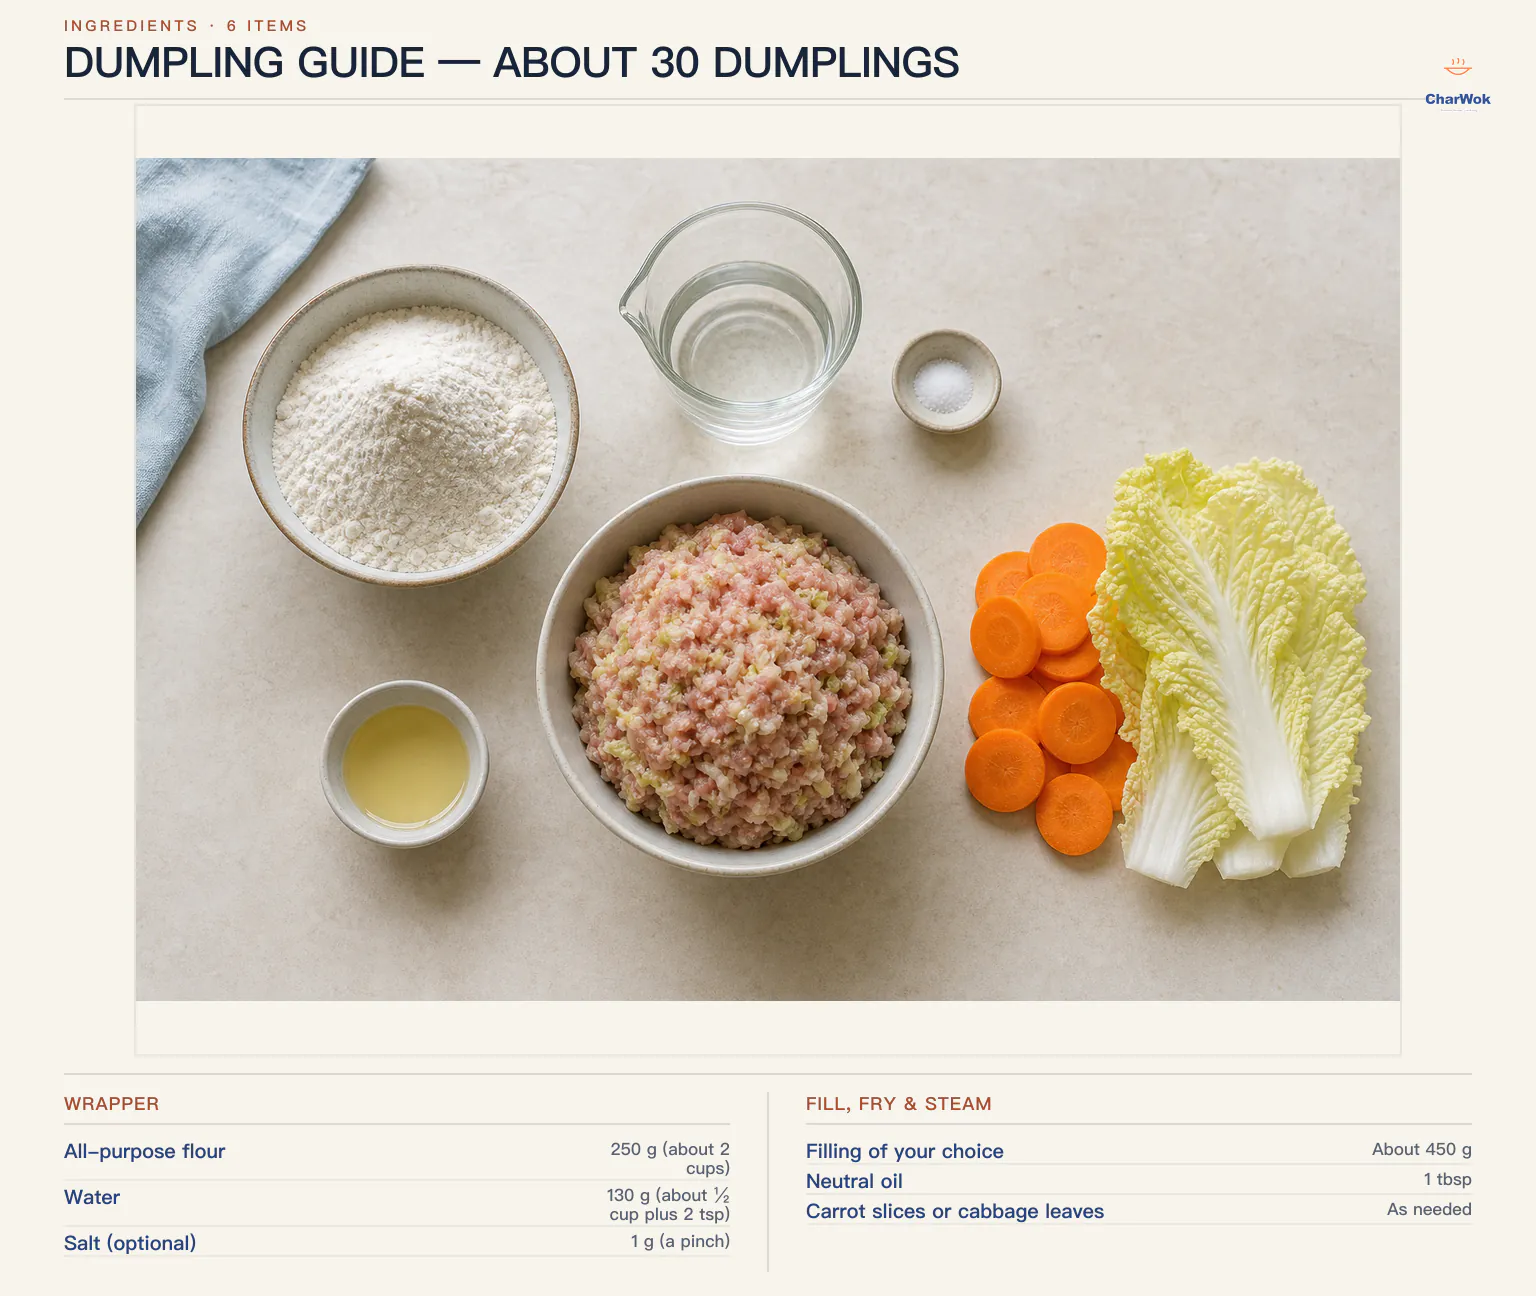
| Ingredient | Amount | Notes / substitute |
|---|---|---|
| All-purpose flour | 250 g (about 2 cups) | US all-purpose or UK plain. Avoid bread flour; do not use self-rising. |
| Water | 130 g (about ½ cup plus 2 tsp) | Room temperature or cool. Swap 60 g for hot water for a softer, pan-fry-friendly wrapper. |
| Salt (optional) | 1 g (a pinch) | Tightens gluten slightly and seasons the wrapper. Fine to omit. |
| Filling of your choice | About 450 g | Enough for 30 wrappers. See filling notes below. |
| Neutral oil | 1 tbsp | Only for pan-frying. Canola, grapeseed, or peanut. |
| Carrot slices or cabbage leaves | As needed | For lining the steamer. Parchment with holes punched works too. |
How to build the filling so it stays juicy, not wet
A good filling is seasoned meat bound with a little liquid, plus a vegetable that has been disciplined. The single most common failure is wet filling, which soaks the wrapper, splits it during cooking, and turns the dumpling into a sad bag of soup. The fix is in the order of operations, not in the ingredients.
Start with the meat, usually ground pork at roughly 80 percent lean. Season it first: salt, a little light soy sauce, a splash of Shaoxing wine, grated ginger, and then, the part people skip, add a few tablespoons of water or stock and beat it in. Beating in one direction unwinds the muscle proteins so they trap the liquid and form a sticky, elastic paste the Chinese kitchen calls shang jin, "raising the tendons." That paste is what holds the juices inside during cooking and gives the bouncy, juicy texture you want. If you stop here you already have a filling better than most takeout.
Only after the meat is seasoned and bound do you add the vegetable, and only after you have wrung the water out of it. Napa cabbage, the classic, should be finely chopped, salted for ten minutes, then squeezed in your fist or a cloth until it is barely damp. The same goes for chives, scallion greens, or carrot. Mix the vegetable in lightly, ideally coated with a teaspoon of sesame or neutral oil first so it does not bleed moisture into the meat. The full method, with proportions for a dozen variations, lives in my guide to dumpling fillings; for your first batch, the pork and napa cabbage version is the most forgiving.
Rolling wrappers that hold a pleat
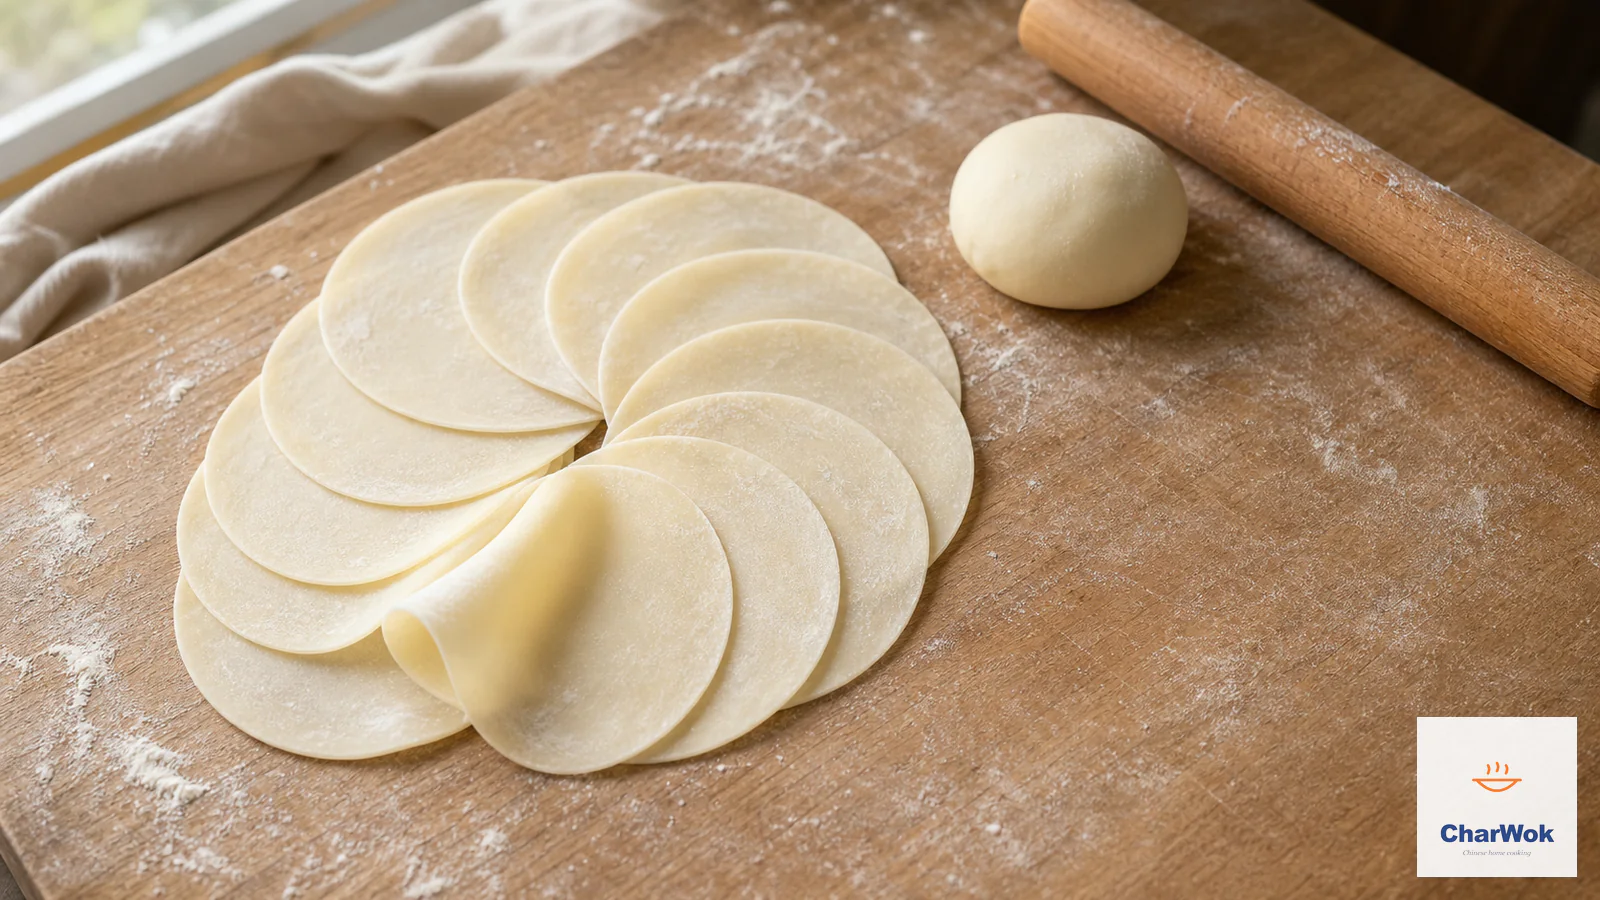
Divide the rested dough into thirds, then roll each third into a rope and cut it into ten even pieces, keeping everything you are not working on under a damp cloth or inverted bowl. The enemy from here on is air. An uncovered piece of dough will skin over in two minutes and refuse to seal. Press each piece into a flat disc with your palm, then roll it out with a small rolling pin, rotating the disc a quarter turn after each stroke. The goal is a round about 8 cm across with a thick center and thin edges, roughly 1 mm at the rim. The thick center carries the weight of the filling; the thin edge is what you pleat and press shut.
If you are new, do not chase a perfect circle. A wrapper that is thin and even but slightly oval seals just as well. If you would rather skip rolling entirely, store-bought wrappers are an honest option, though they are drier and need a wetted edge to seal. The full breakdown, including a machine-assisted path and a way to make a big batch ahead, is in my wrapper recipe. For folding, once you can press a half-moon shut you can move on to pleats; the two core folds and their variations are laid out in the dumpling folding guide.
The full method, in order
- Make the dough. Add 130 g water gradually to 250 g all-purpose flour, mixing with chopsticks until no dry flour remains, then knead briefly. The gradual pour prevents the sticky lumps that haunt a rushed dough.
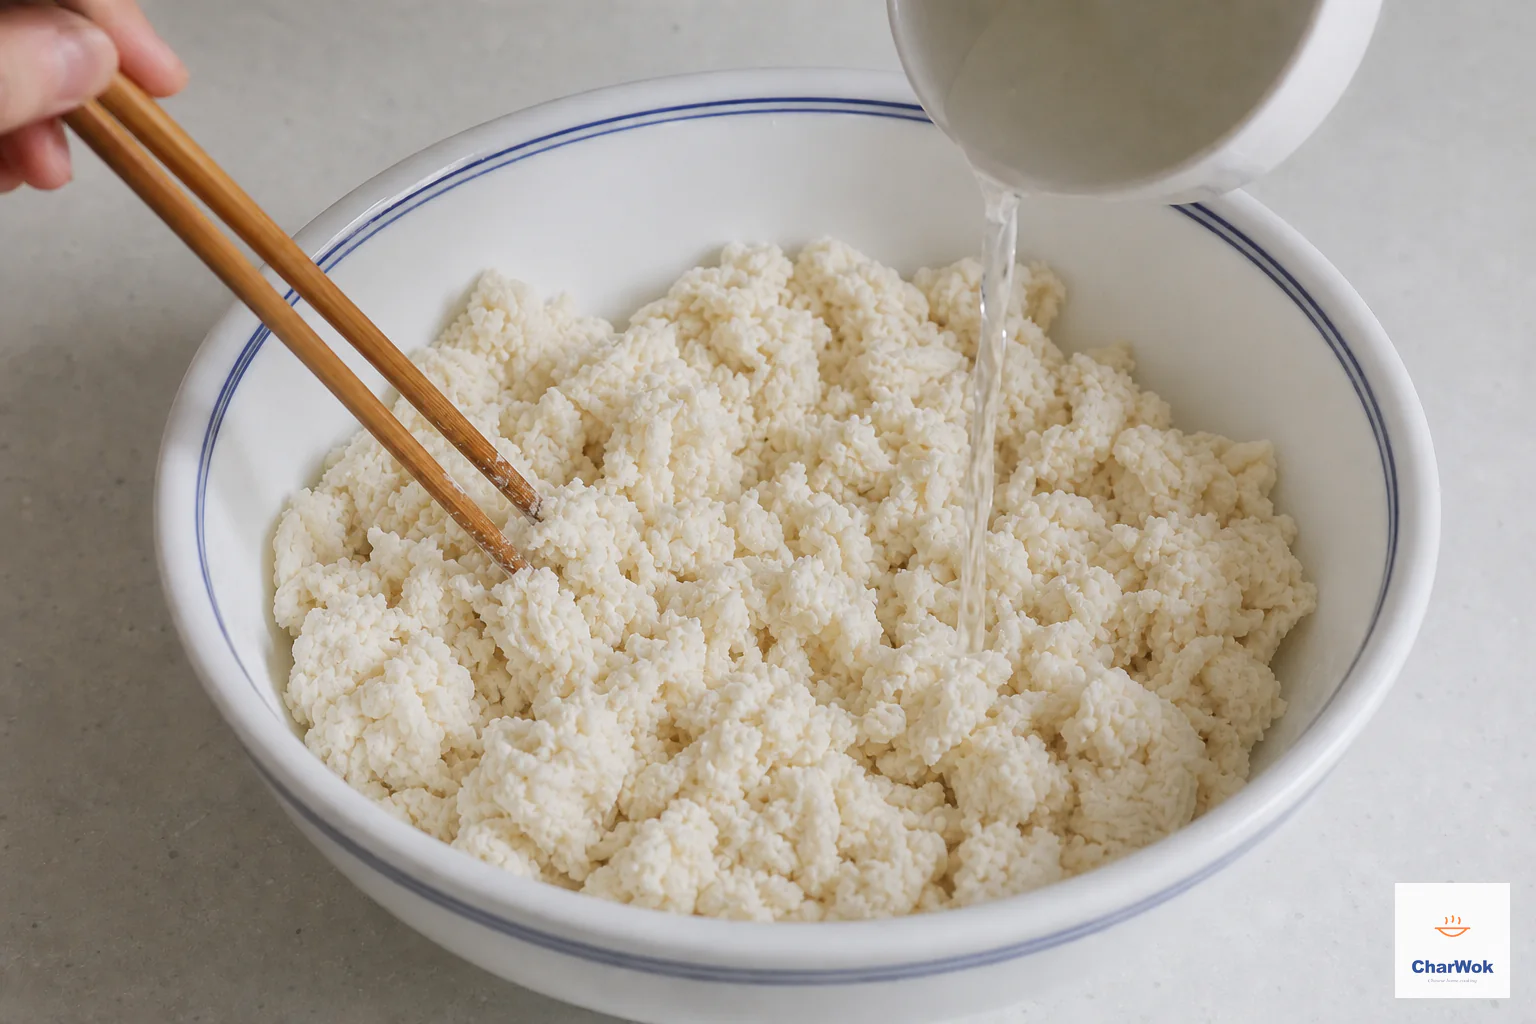
Add the cool water gradually and stir until every bit of flour is hydrated into rough shaggy clumps, not a smooth dough.
- Rest, knead, rest again. Cover and rest 10 minutes, knead until smooth, then rest 30 to 60 minutes more. Two rests let the gluten relax in stages so the dough rolls thin without springing back, which is the whole reason your wrappers will not tear.
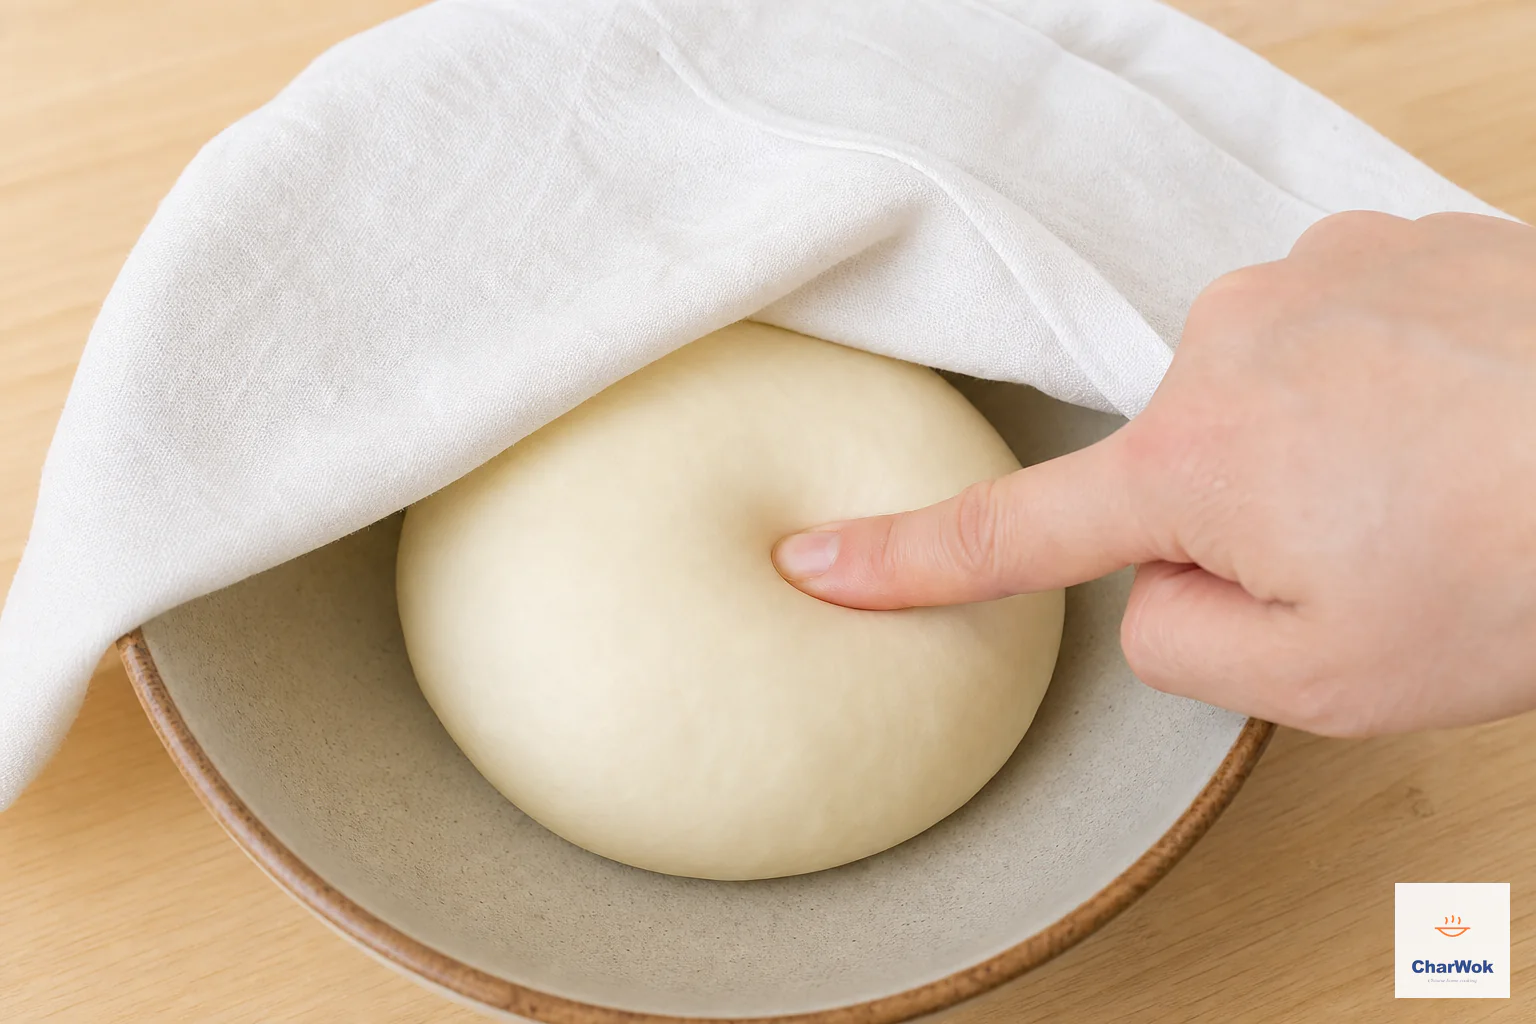
Rest the kneaded dough covered for 30 minutes; the surface should relax and a fingertip should leave a shallow dent.
- Build the filling. Season the ground meat first and beat in water in one direction until sticky, then fold in well-drained vegetable. Seasoning the meat before adding vegetable is what keeps the filling juicy instead of wet.
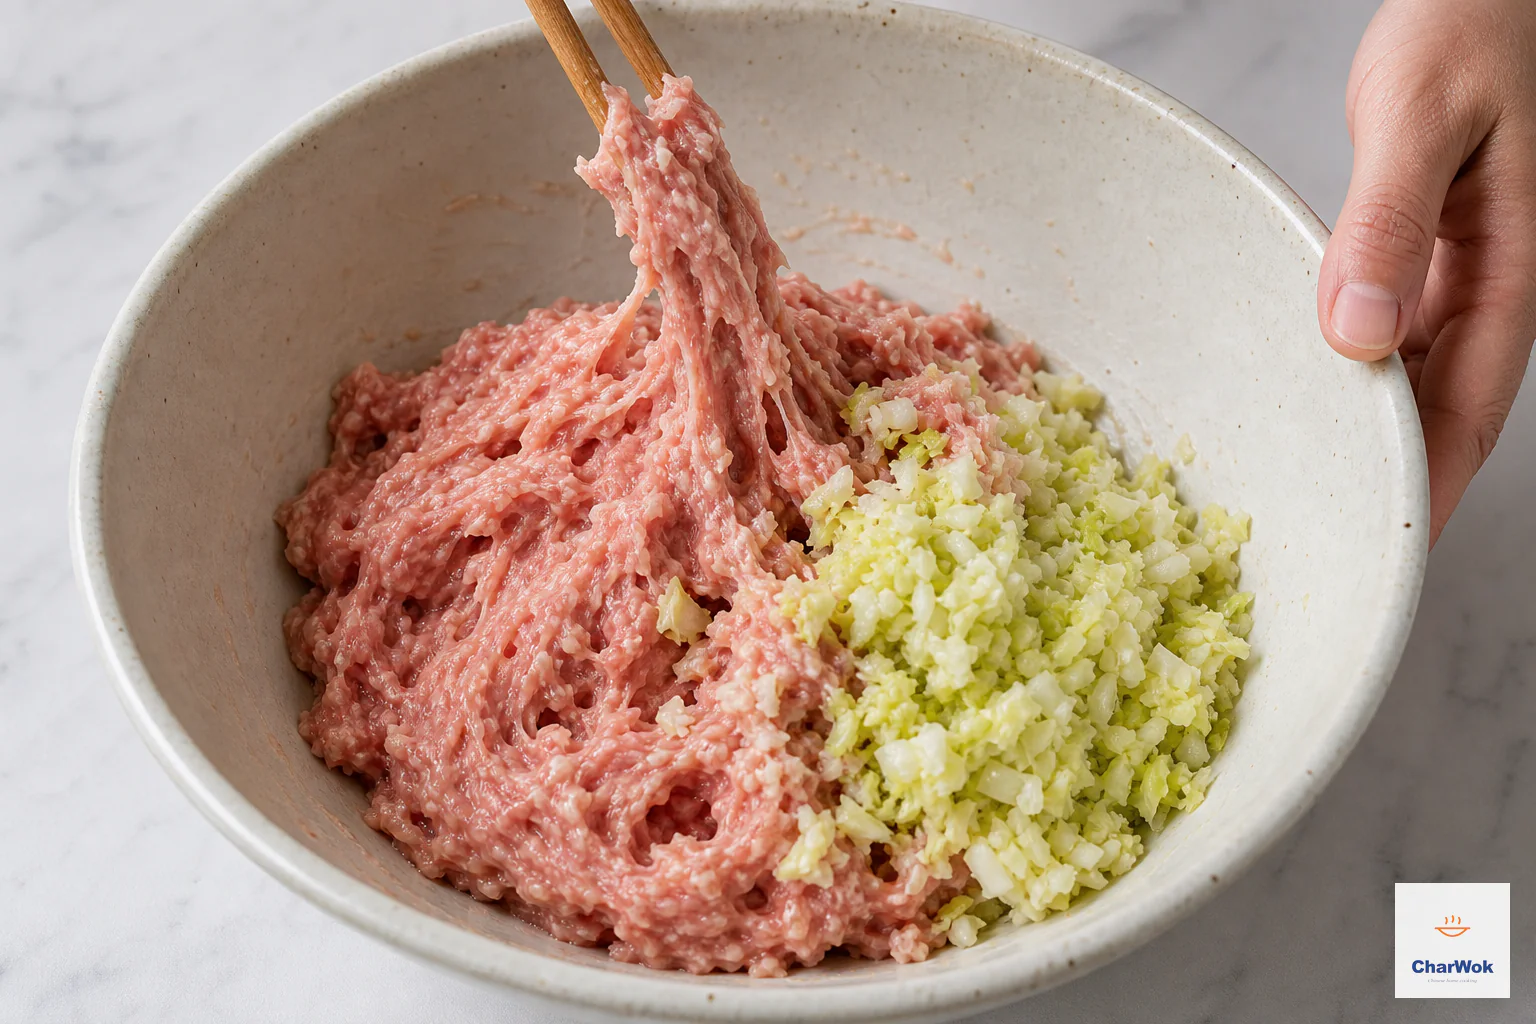
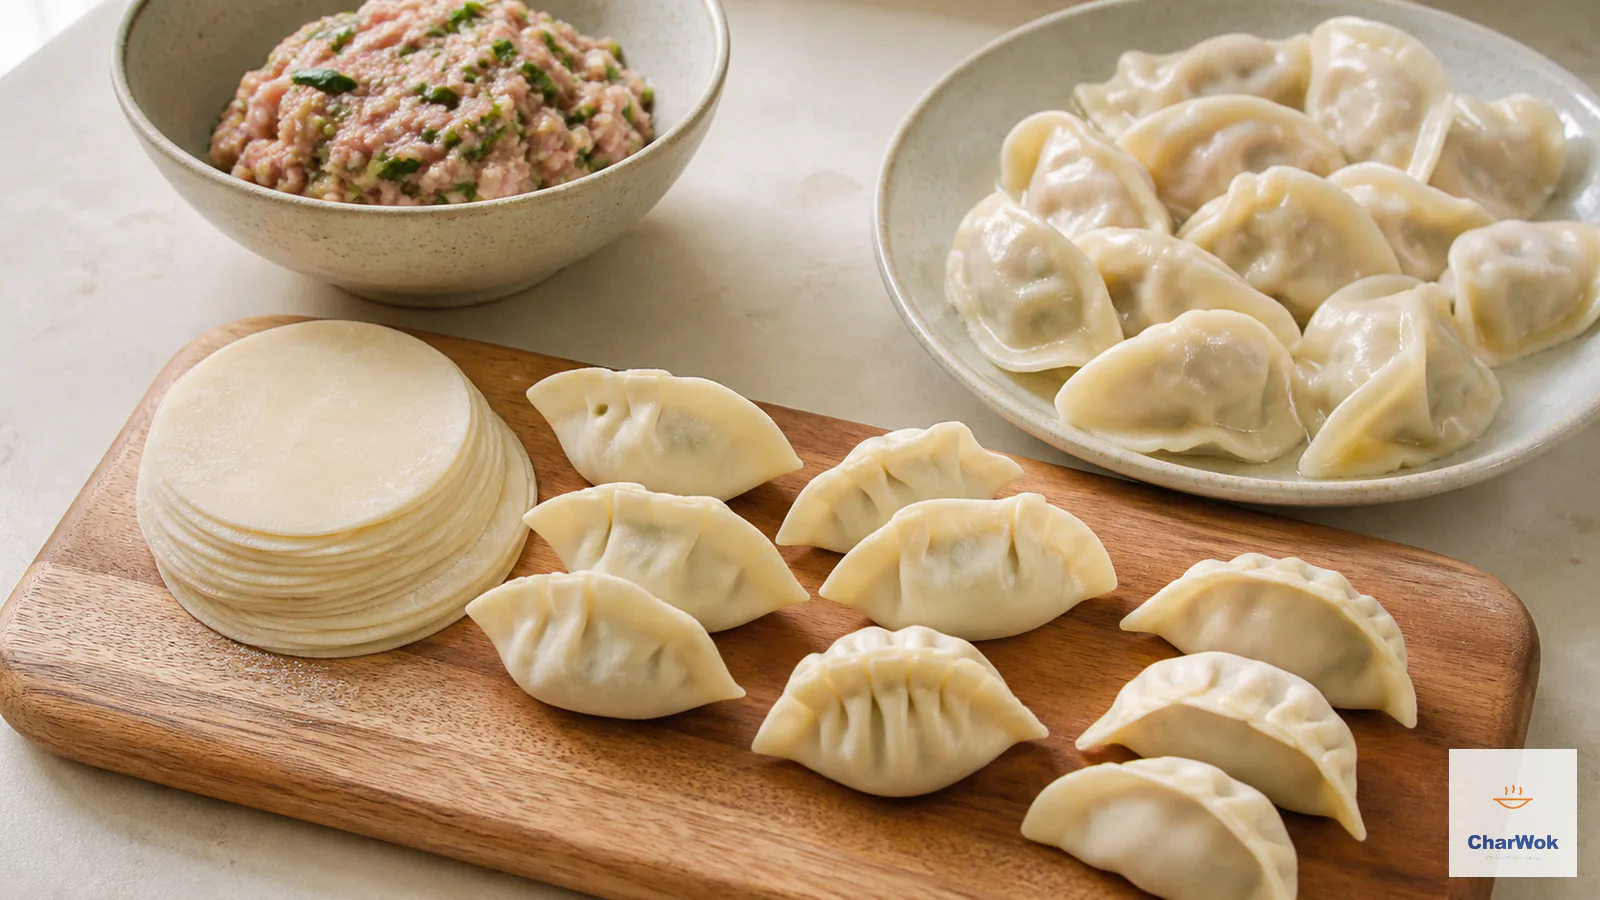
Stir the filling in one direction until tacky and cohesive, then keep it cold with no free liquid in the bowl.
- Roll and fill. Divide the dough into 30 pieces, roll each into a thin disc with a thick center, add a spoon of filling, and seal. The thick center carries the weight; the thin edge is what you pleat shut.
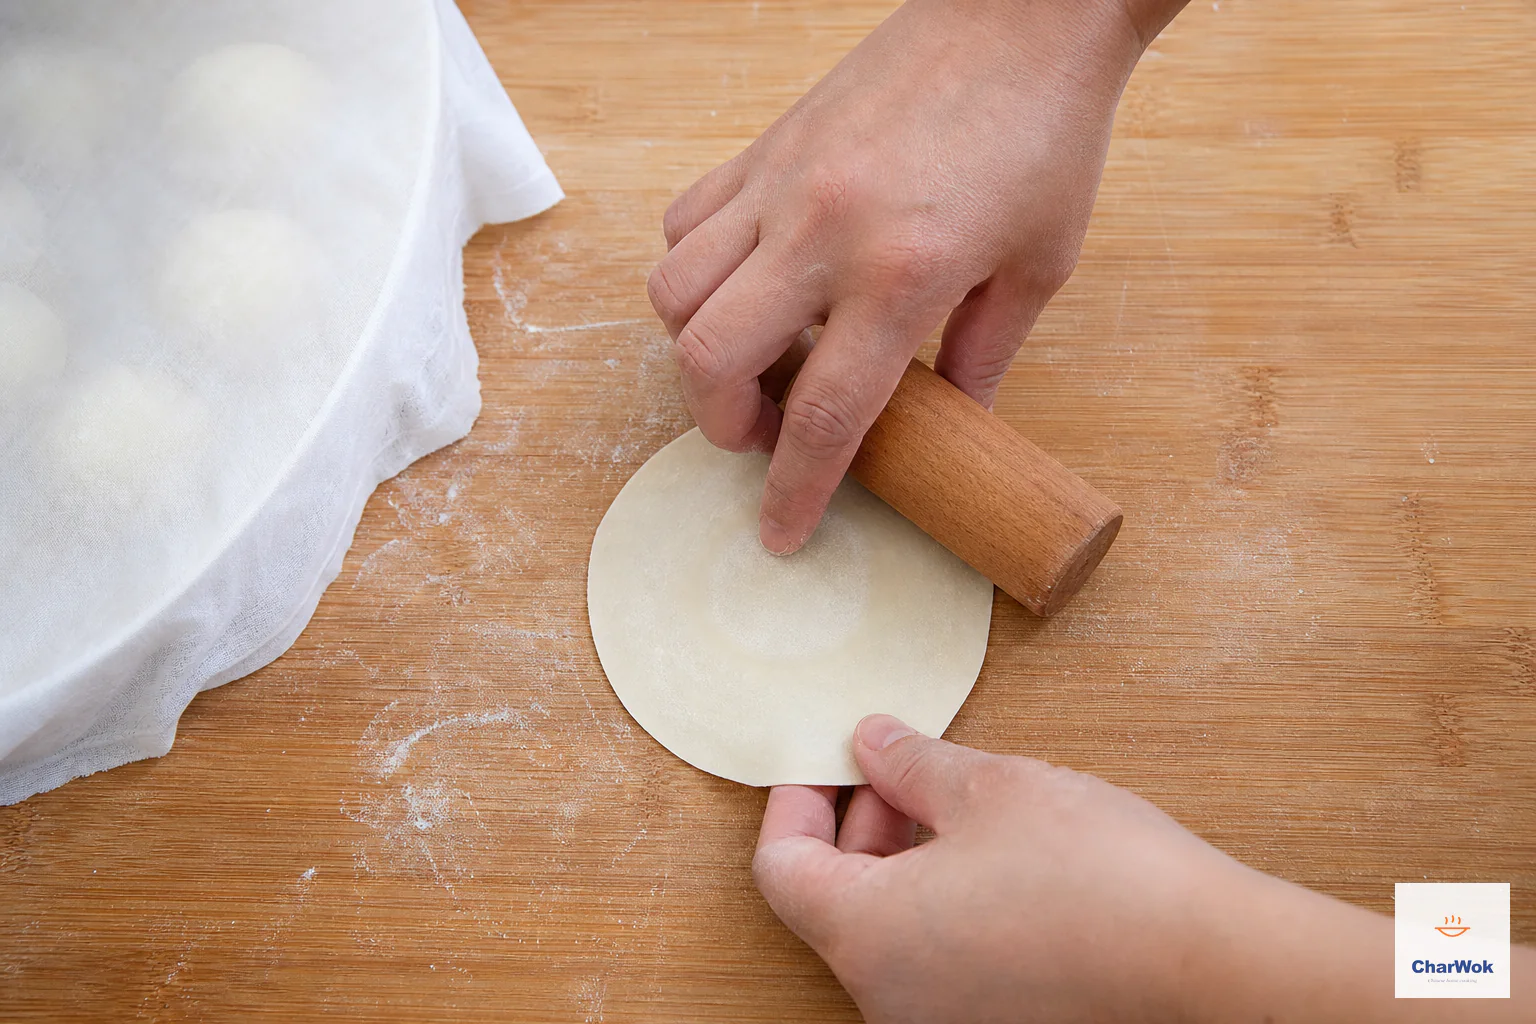
Turn the dough round as you roll only the edge so the wrapper stays round with a thicker center to support the filling.
- Cook by your chosen method. Boil with the three cold-water additions, or pan-fry to a golden bottom then steam, or steam for ten minutes. Each is detailed below with the reasoning.
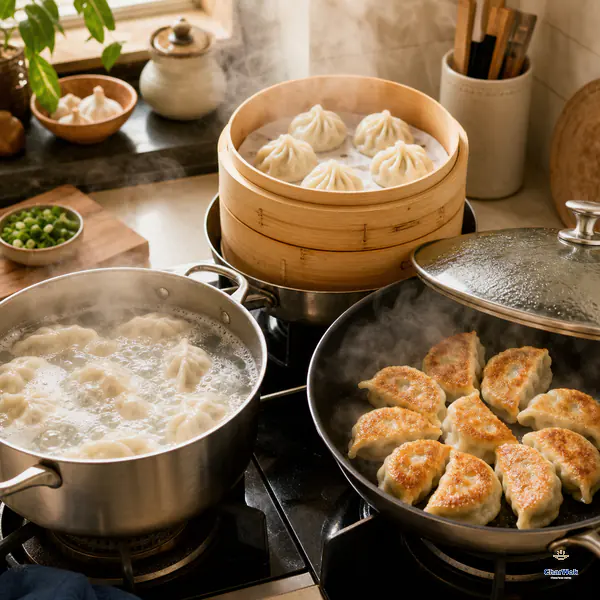
Choose one method before cooking: boil with the cold-water additions, pan-fry then steam and re-crisp, or steam over already boiling water.
Three ways to cook them, with the reasoning
Boiling, and the cold-water trick that saves your dumplings
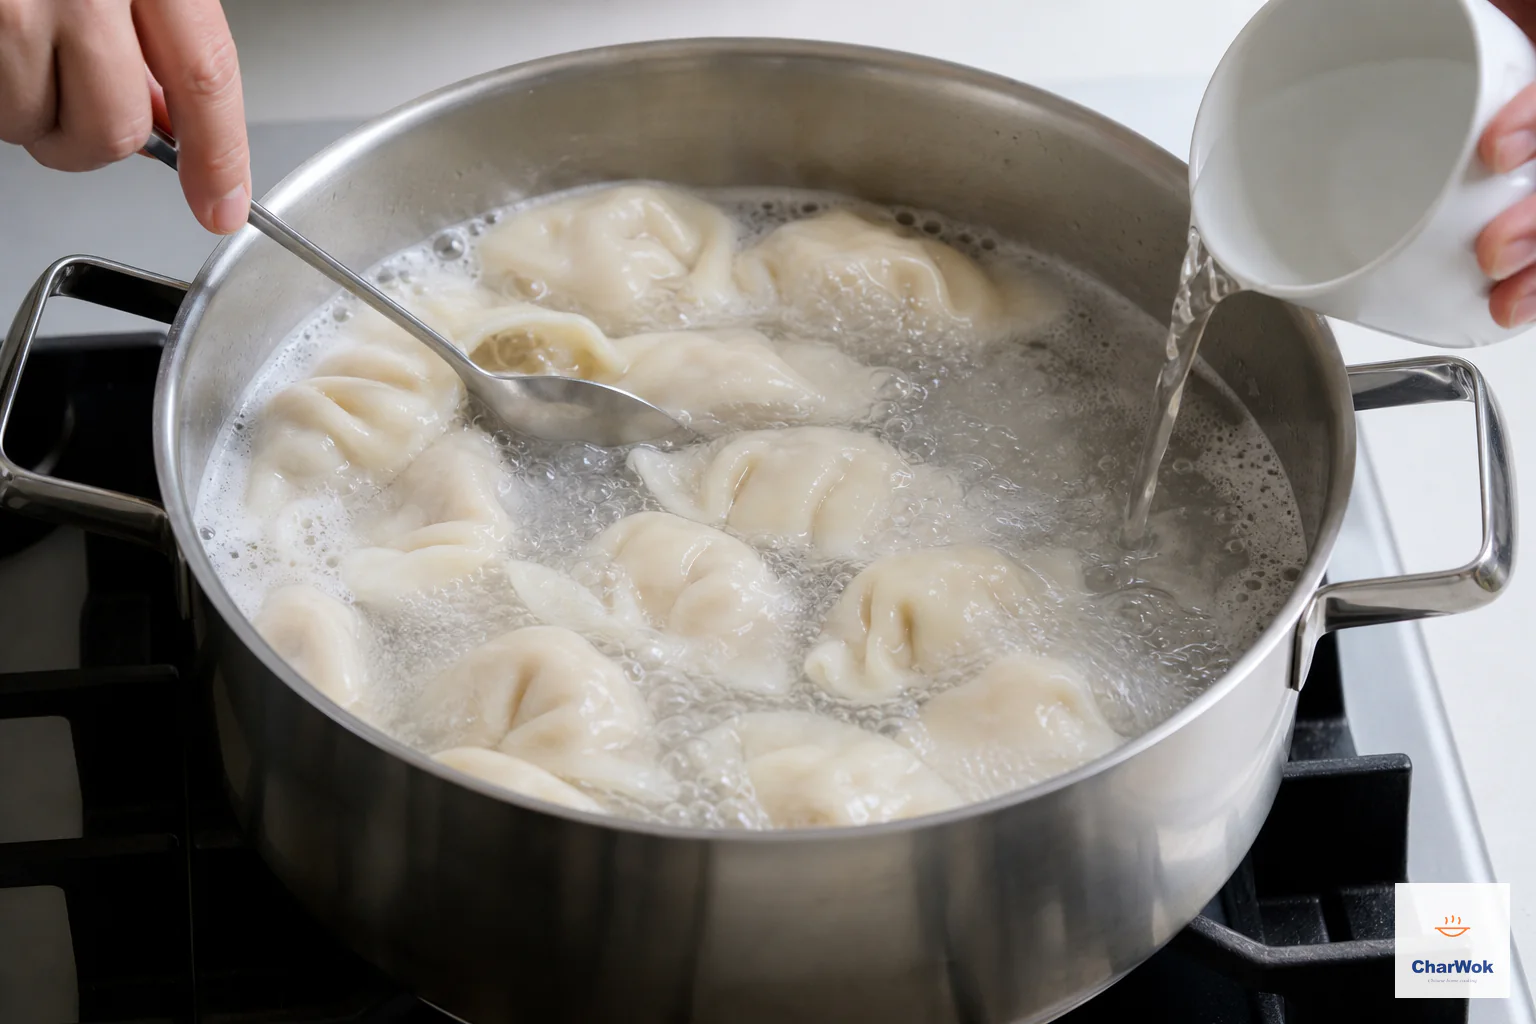
Boil the dumplings in plenty of water, stir gently, and add cold water when the pot returns to a strong boil.
Boiling is the original method and the one I recommend you learn first, because it exposes every flaw in your seal and your dough and teaches you fast. Use the largest pot you own and fill it generously; dumplings need room or they collide and tear. Bring the water to a rolling boil, then slide the dumplings in one at a time, stirring the water gently with the back of a spoon to keep them moving until the water returns to the boil. Cover.
Here is the part that looks like superstition but is physics. When the water returns to a full boil, pour in about 120 ml of cold water, cover, and let it come back to the boil. Repeat this twice more, for three cold-water additions in total. The point is not, as people sometimes guess, to cool the dumplings. It is to even out the temperature: the wrapper cooks at a gentle simmer rather than a violent full boil, which prevents the starch on the surface from gelatinizing into a weak, sticky layer that bursts. Meanwhile the filling, insulated inside, has time to cook through. Without this, the outside blows out before the pork in the center is safe. The dumplings are done when they are plump, floating, and the wrapper looks slightly translucent.
Pan-frying for the golden bottom
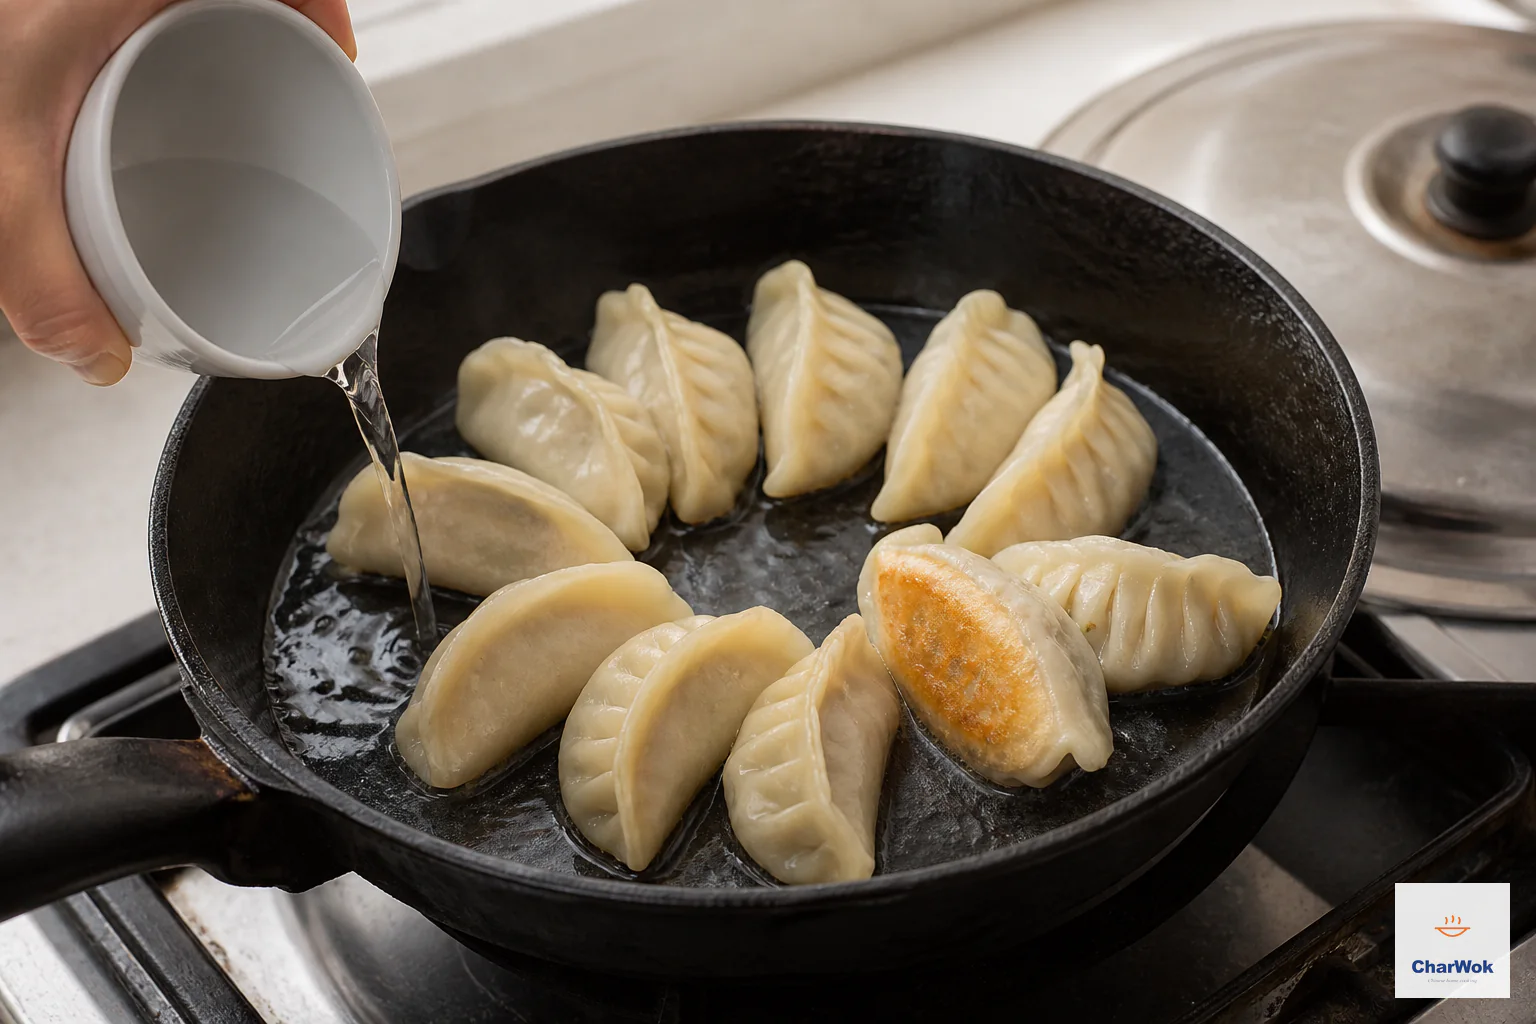
Brown the bottoms first, add water to about one-third of the dumplings, cover to steam, then uncover to crisp again.
Heat a tablespoon of neutral oil in a heavy skillet over medium-high, set the dumplings in flat-side down, and let them sizzle undisturbed until the bottoms are a deep gold, about two minutes. Then pour in water to come about a third of the way up the sides, clap on a tight lid, and let it steam until the water has nearly evaporated. The steam cooks the wrapper and filling; the final thirty seconds, lid off, re-crisps the bottom. This is the classic potsticker move, and if you want the lacy flour-and-oil skirt some street stalls brag about, whisk a teaspoon of flour into the water before you pour it in. Use a nonstick or well-seasoned pan for the first try, or you will lose the bottoms.
Steaming for a tender, glossy skin
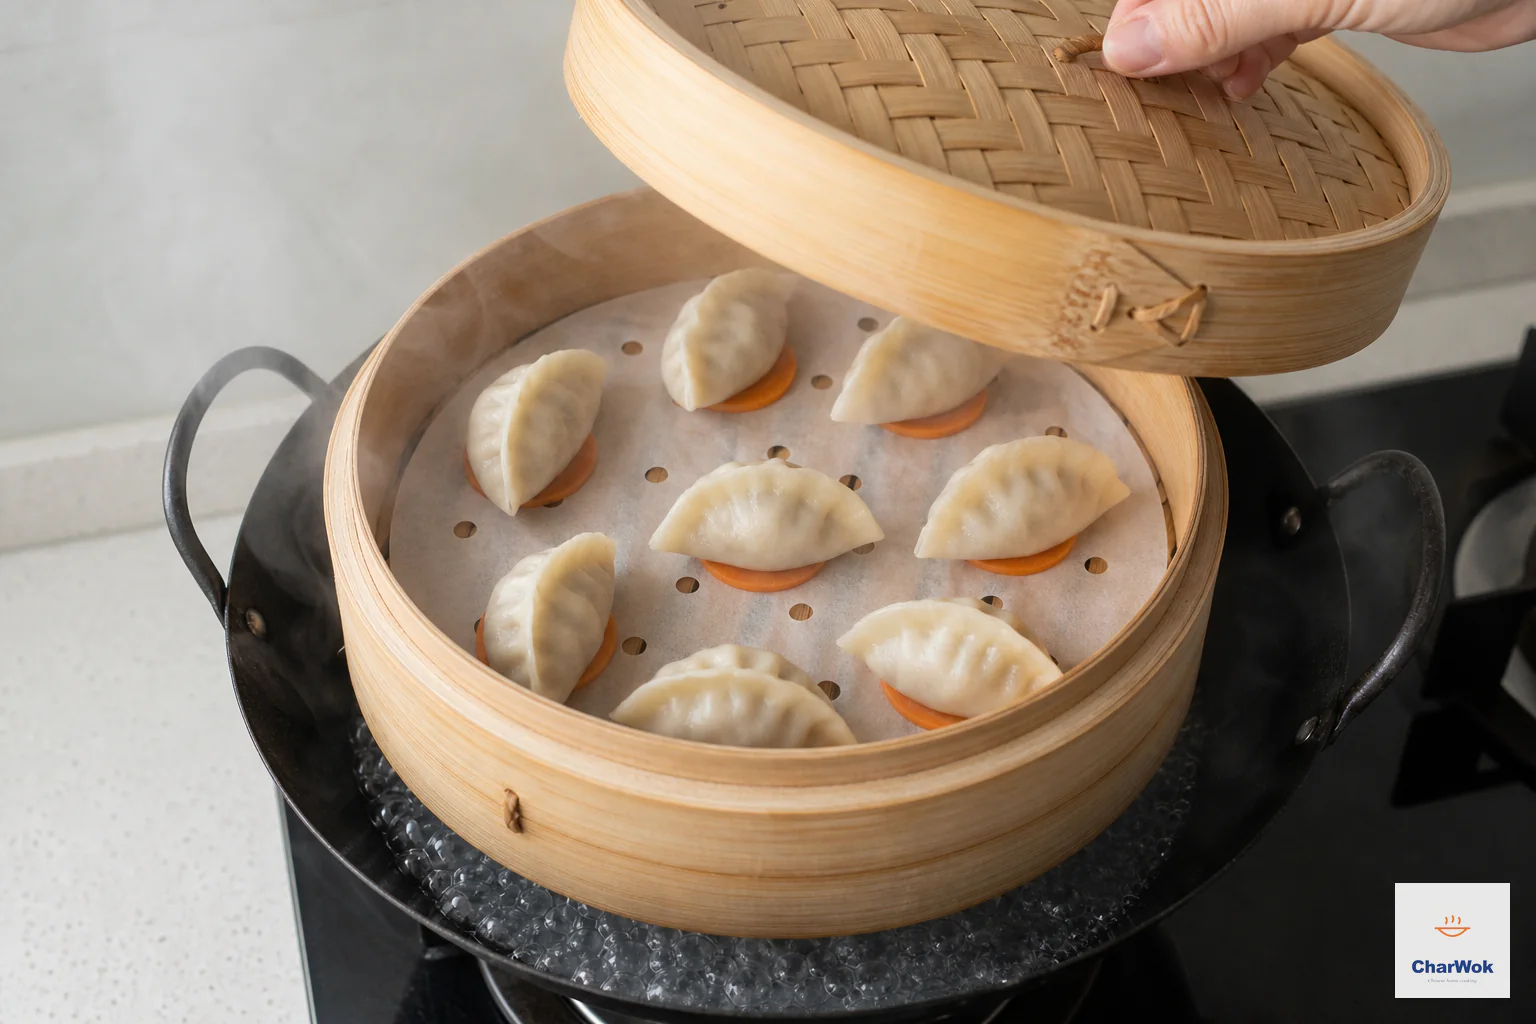
Line the steamer, leave gaps between dumplings, and place it over already boiling water before covering.
Steaming gives the silkiest wrapper of the three and is the gentlest on a delicate filling. Line a bamboo steamer with carrot slices, cabbage leaves, or perforated parchment so the dumplings do not stick, set them in with space between, and steam over medium heat for ten minutes once the water is at a full boil. You can stack two or three baskets over a wok and cook a whole batch at once. The steamed version is closer in spirit to the soft steamed dumplings served in the north as a change of pace from boiled.
When things go wrong: a troubleshooting chart
I have personally committed every error below. Most have a single fix.
- The dough springs back and will not roll thin. It has not rested enough. Cover it and wait another twenty minutes. Gluten relaxes with time; force does not help.
- The wrapper tears while rolling. Either the dough is too dry (add a few drops of water and knead it in) or you rolled a single spot too thin. Roll from the center outward and rotate constantly.
- The dumplings split open in the pot. Either the seal was incomplete, the pot was too crowded, or you skipped the cold-water additions. Seal firmly, cook in two batches, and add the cold water on schedule.
- The filling is bland or crumbly. You under-salted the meat or skipped the water-beating. The meat paste should be sticky and a little tacky before the vegetable goes in.
- The filling is wet and the wrappers go soggy. The vegetable was not drained. Salt, rest, and squeeze the cabbage or chives before mixing.
- The pan-fried bottoms stick and tear off. The oil was not hot enough when the dumplings went in, or you tried to move them too early. Wait until they release on their own, which they will once the crust sets.
- The steamed dumplings collapse or stick. They were touching, or the steamer was not lined. Leave a finger of space and use a liner.
Variations, sauces, and what to serve alongside
Once the base is reliable, the fillings multiply fast. Pork and chive is the most popular for a reason; the pan-fried chive version is where I send beginners who want flavor with no fuss. For something with more bite, the Sichuan Zhong dumpling in a sweet chili-soy sauce is a revelation, and the chili-oil wonton applies the same logic to a thinner skin. Beef and chive, the northern Muslim classic, is wonderful and underused; try it in a sour beef dumpling soup. For a shrimp filling with real snap, the dim-sum har gow uses a different starch dough but the filling technique transfers. And if you are cooking for vegetarians or vegans, the tofu and vegetable filling holds its own against any meat version.
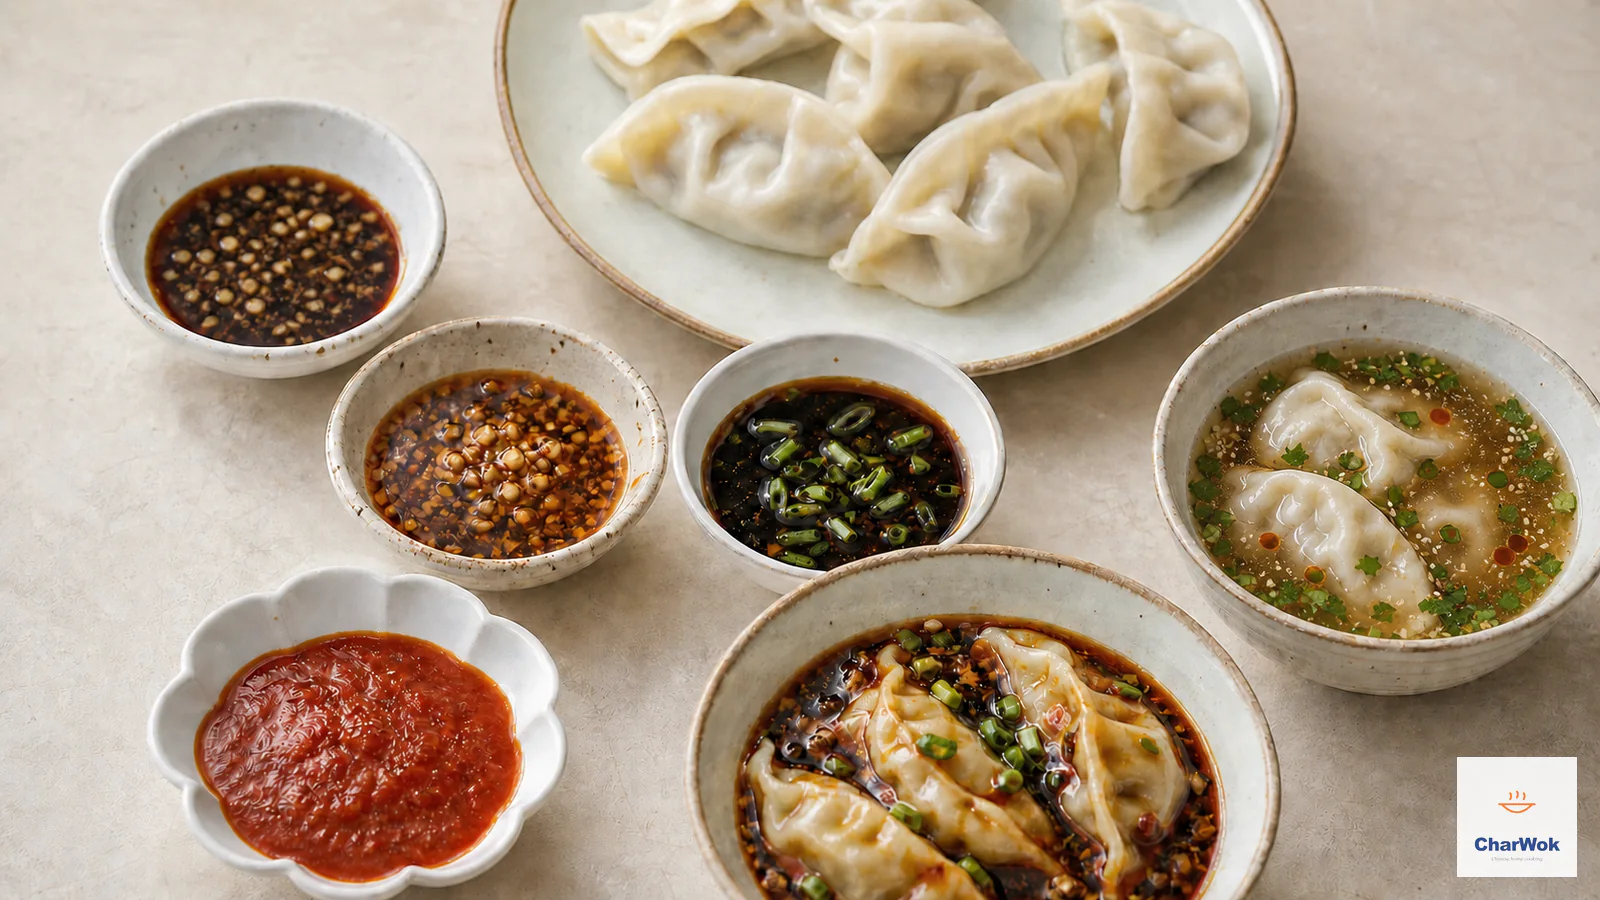
The sauce matters more than people admit. The simplest, and my default, is homemade chili oil stirred with a splash of black rice vinegar. From there you can build out to garlic-vinegar, soy-sesame, or a numbing Sichuan-pepper sauce; the full set is in six dumpling sauces. For the table, a crunchy cold dish balances the soft dumplings: smashed cucumber salad or a bright cucumber salad cuts the richness. On a cold night a bowl of egg drop soup alongside turns dumplings into a meal.
Storing, freezing, and cooking from frozen
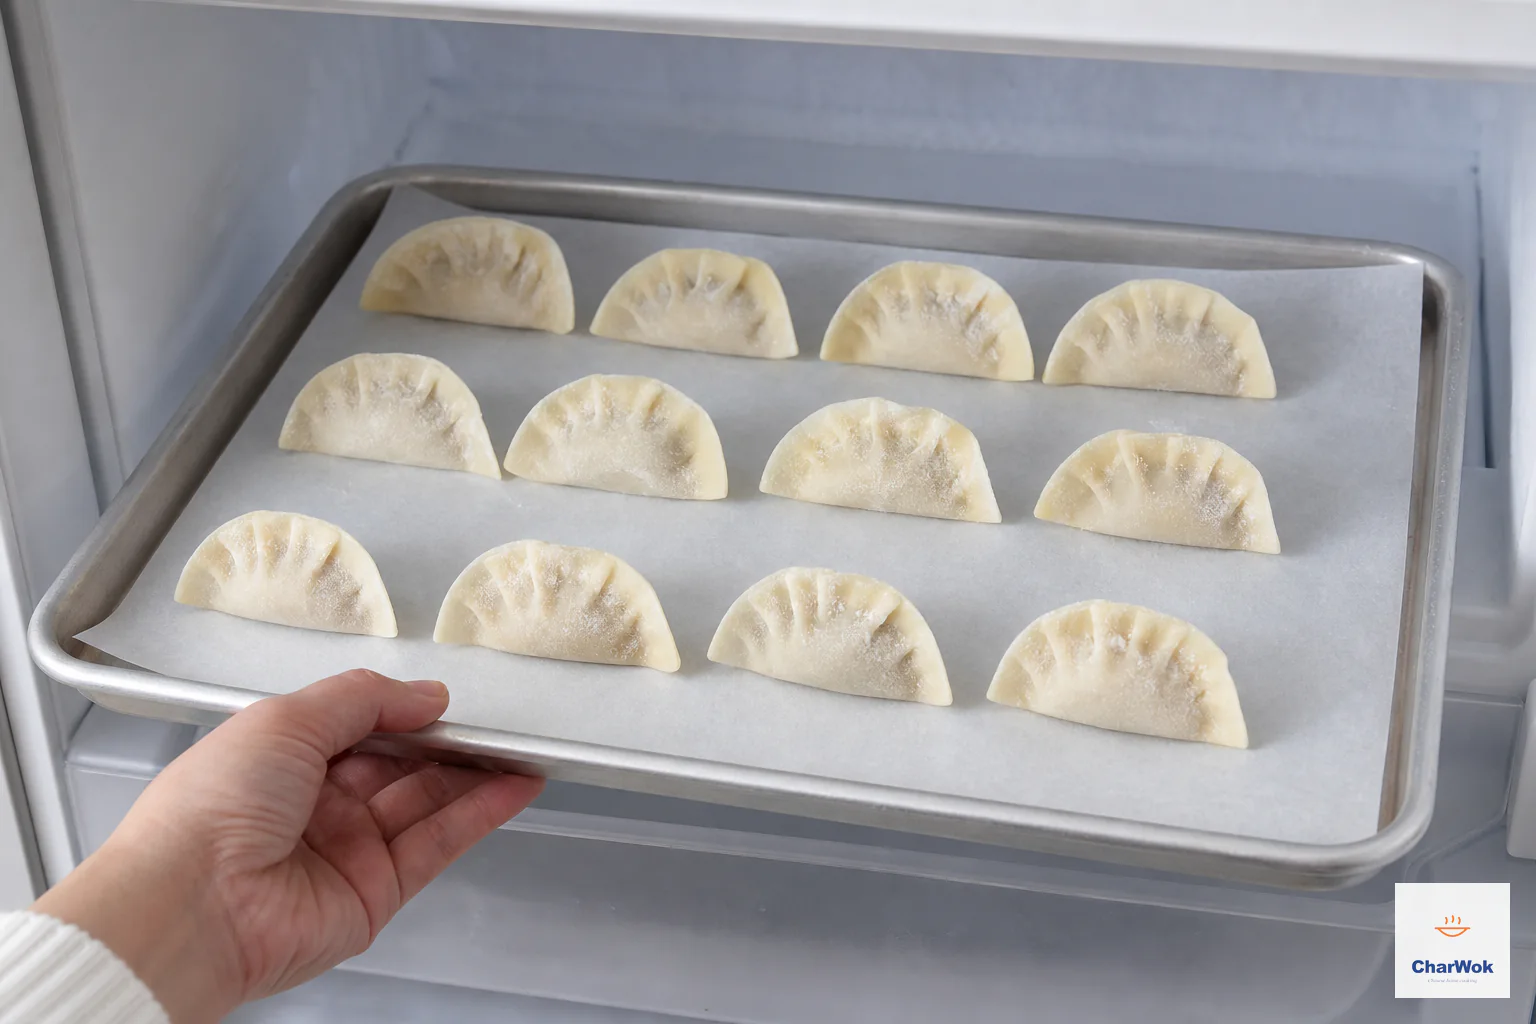
Freeze raw dumplings spaced apart on a tray until firm before transferring them to a bag so they do not stick together.
Assembled uncooked dumplings freeze beautifully, and this is the real reason to make a big batch. Lay them on a tray lined with parchment, not touching, and freeze until solid, then transfer to a bag and squeeze the air out. They keep three months. The two things that ruin frozen dumplings are letting them touch before they are solid, which fuses them, and thawing before cooking, which makes the wrappers crack. Cook straight from frozen.
For boiling or pan-frying, treat frozen dumplings exactly like fresh, adding one or two minutes. For steaming, add two minutes to the ten. I keep a bag in the freezer at all times; it is the difference between a fifteen-minute weeknight dinner and ordering takeout. If you want to plan a whole session around this, the methods are collected and expanded in how to cook dumplings three ways.
A note for the new cook
Your first batch will be ugly. Mine were. Some will split, some will look like sleeping cats rather than ingots, and you will eat them anyway and be surprised at how good they are. The skill comes back fast once your hands learn the dough, and the second batch is always noticeably better than the first. Make the dough the night before if you like, rest it in the fridge, and bring it to room temperature before rolling. Cooking for people you like, together, is the actual point of the exercise.
Start with the pork and napa cabbage filling, boil them, dip them in chili oil and black vinegar, and decide where to go next from there.