Most homemade chili oil fails for one boring reason: the oil was too hot when it hit the chili. One second the flakes are vivid red and fragrant; the next they are black, bitter, and the whole jar tastes like an ashtray. I have done this. Every cook who has stood over a wok with a phone in one hand and a thermometer in the other has done this.
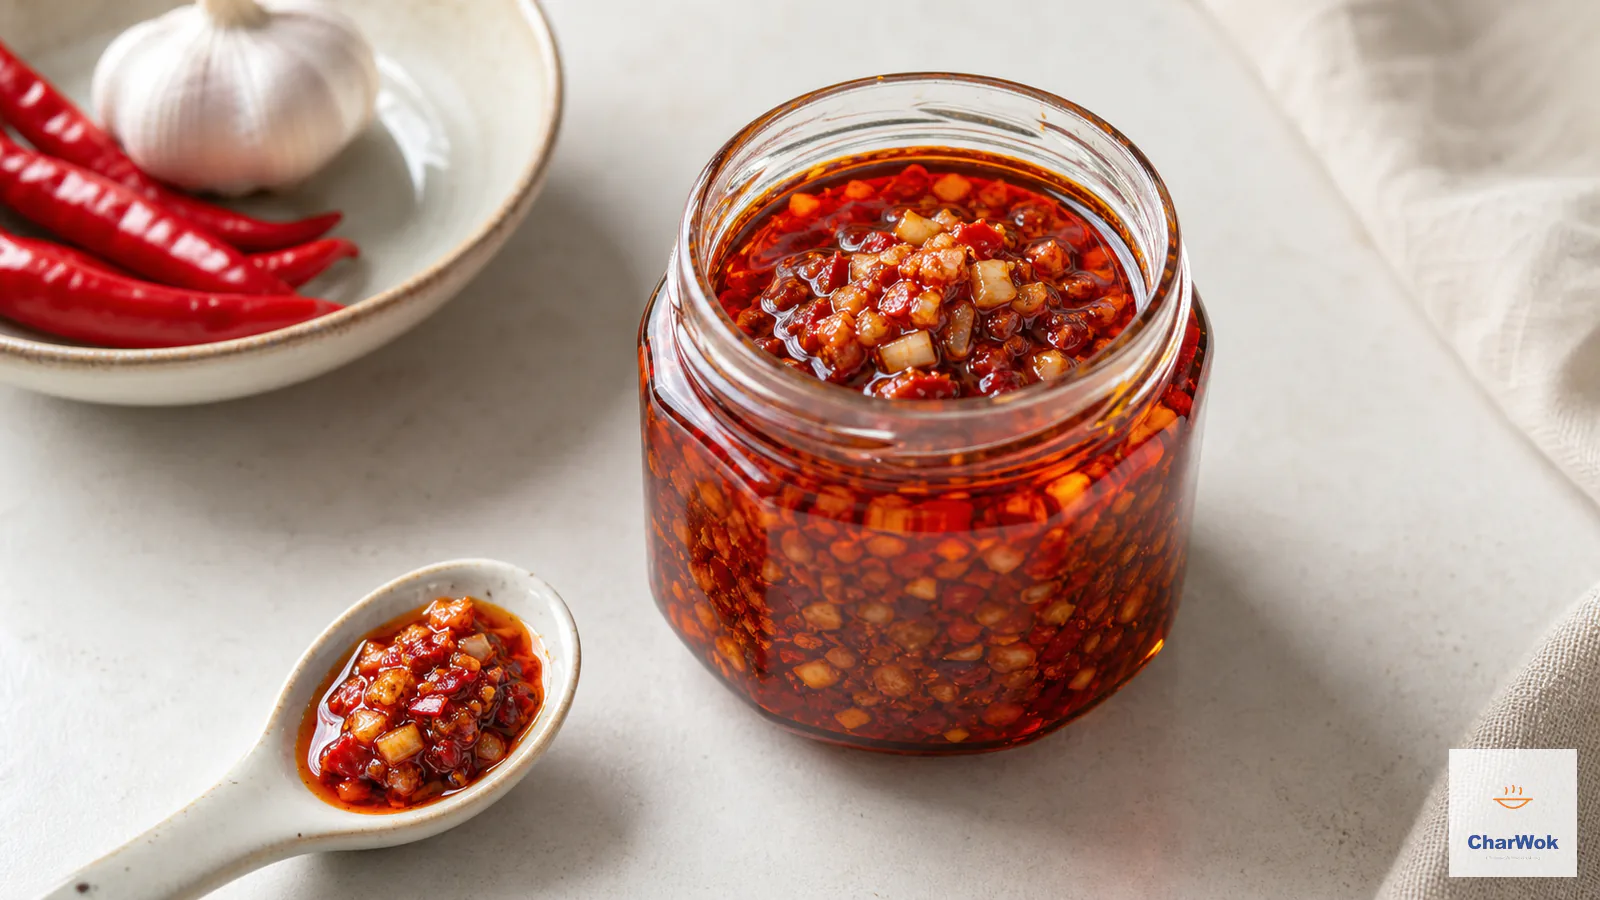
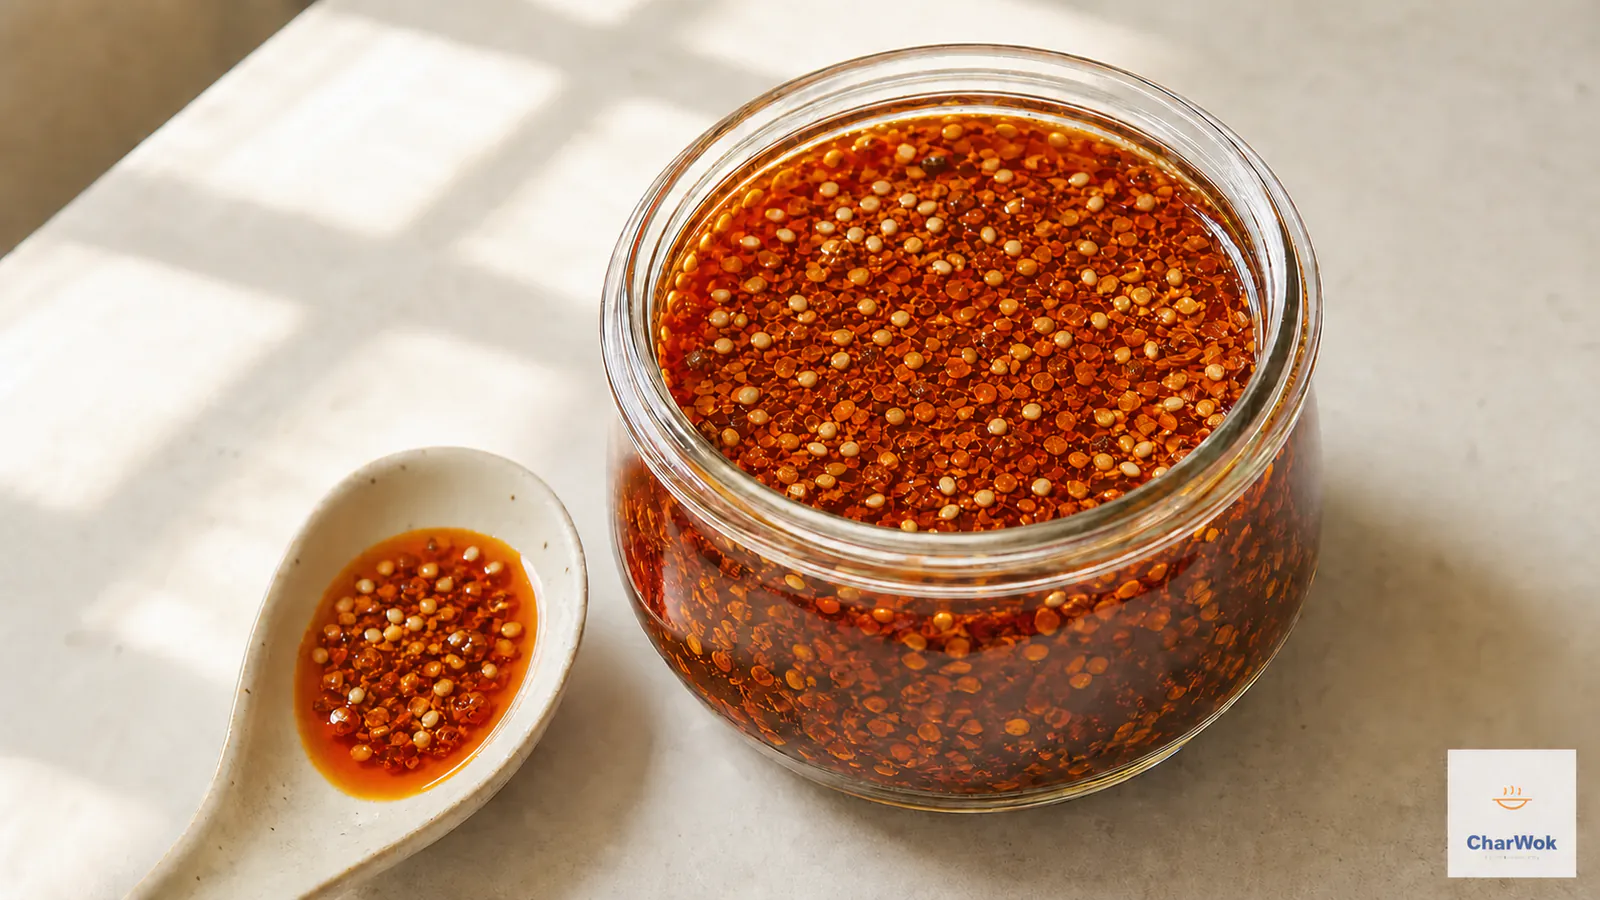
This is You Po La Zi (油泼辣子), the hot-oil chili oil that Shaanxi province built a cuisine around. You infuse aromatics into neutral oil, take that oil to a precise temperature, and pour it over a bowl of chili flakes so the flakes bloom rather than burn. The finished jar holds a rust-red, glossy oil floating over soft, almost jammy flakes, scented with fennel, star anise, and toasty sesame. It is the spoonful that wakes up a bowl of Dan Dan noodles, the slick that finishes mouth-watering chicken, and the thing you will find yourself stirring into plain rice at midnight.
At a glance
Pour 1 cup (240 ml) of 175 °C / 350 °F aromatic oil over 1/4 cup chili flakes plus 1 tablespoon ground chili. The non-negotiables: hit the temperature, pour in two stages, rest 12 hours. Skip any one and you get flat oil or bitter flakes.
The version below leans Shaanxi, the spiritual home of this condiment. It sits next to Chiu Chow chili oil on my shelf, and the two are not the same dish. Chiu Chow steeps whole dried chilies in warm oil for color and gentle heat; You Po La Zi shocks flakes with hot oil for a roasted, almost smoky depth. Make both and you will reach for them at different moments.
What this chili oil actually is
You Po La Zi translates roughly as "oil-splashed chili." The splashing is literal. Shaanxi cooks serve it stirred into biang biang noodles while the noodles are still steaming, and the hot oil on the chili flakes releases a wave of roasted aroma that defines the dish. It also sits on every dumpling table in the region. If you have eaten the classic dishes of Xi'an, you have eaten this oil.
What separates it from the jarred stuff, including the famous Lao Gan Ma, is texture and freshness. A jar aged on a supermarket shelf has muted aromatics and flakes that have gone soft and gray. Homemade, the oil is bright and the flakes keep a little chew. You also control the heat level and the spice blend, which is the whole point.
The science you need before you light the stove
Two things happen when the oil meets the chili, and understanding both is what stops the burnt-ashtray outcome.
First, water turns to steam. Dried chili flakes still hold 8 to 12 percent water. At 175 °C the oil is well above water's boiling point, so the moment flakes touch it, that water flashes off and you get the dramatic bubbling. The bubbling is good. It is the oil agitating the flakes and carrying flavor compounds out of them. No bubbling means your oil was too cold and the chili never properly bloomed.
Second, Maillard browning. The sugars and amino acids in the chili toast and turn the oil deep red. This window is narrow. Below 150 °C the chili stays raw-tasting and pale; above about 200 °C it crosses into acrid and black. Somewhere around 175 to 185 °C is the sweet spot, and that is why every recipe for this condiment tells you to own a thermometer. A deep-fry or instant-read thermometer that clips to the pan is the single best ten dollars you will spend here.
The two-stage pour exists because of these two reactions. The first half of the flakes take the full heat and deliver the roasted, dark color. The second half meet cooler oil and keep their bright, fruity edge. Pour it all at once and you flatten the flavor.
Choosing your ingredients, and where I would not cut corners
Ingredients at a glance
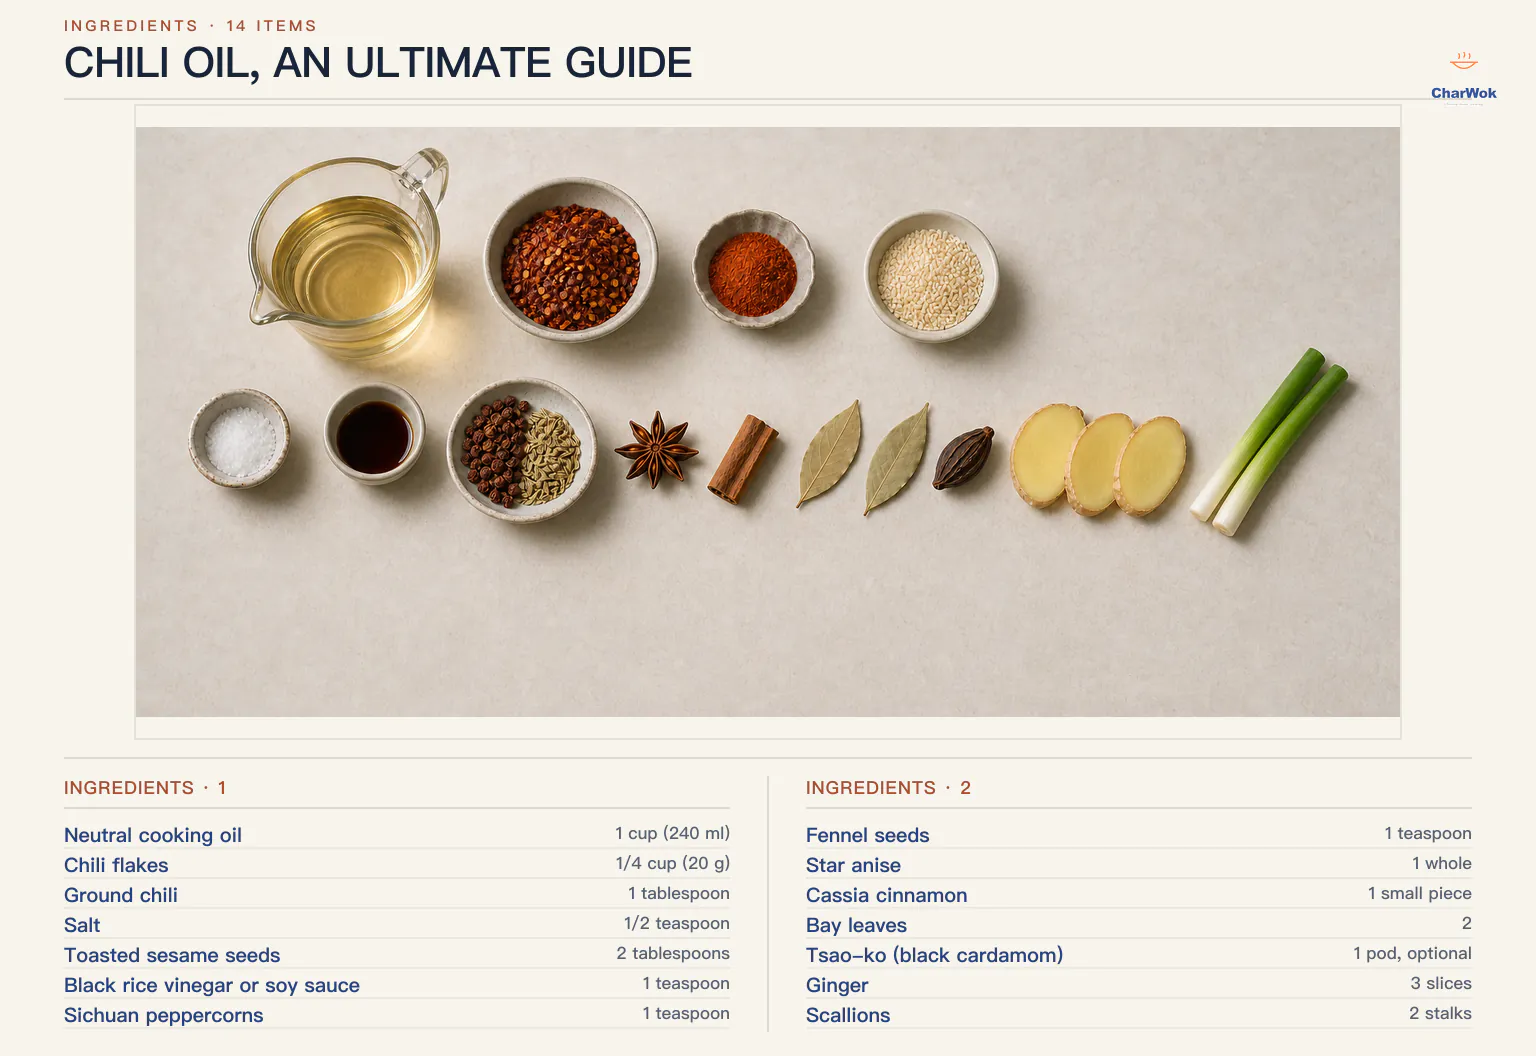
| Ingredient | Amount | Notes / substitute |
|---|---|---|
| Neutral cooking oil | 1 cup (240 ml) | Peanut, canola, or grapeseed. Not olive oil, not toasted sesame oil (that goes in at the end, if at all). |
| Chili flakes | 1/4 cup (20 g) | Use a coarse, flaky chili like er jing tiao or a blend of mild and hot. Korean gochugaru works for lower heat. Avoid pre-ground powder-only versions. |
| Ground chili | 1 tablespoon | Fine powder for body and color. This is what gives the oil that thick, opaque red. See note below. |
| Salt | 1/2 teaspoon | Kosher or fine sea salt. The oil tastes flat without it. |
| Toasted sesame seeds | 2 tablespoons | White or mixed. Toast them yourself for real flavor; the pre-toasted jars are usually stale. |
| Black rice vinegar or soy sauce | 1 teaspoon | A little acid deepens the chili. Black rice vinegar is traditional; light soy sauce is a fine substitute and adds umami. |
| Sichuan peppercorns | 1 teaspoon | For a numbing back-note. Toast briefly before use. See the Sichuan pepper guide for sourcing, and how to grind them if you want extra punch. |
| Fennel seeds | 1 teaspoon | The secret ingredient. Fennel is what makes Shaanxi chili oil taste like Shaanxi chili oil. |
| Star anise | 1 whole | One pod, broken in half is fine. |
| Cassia cinnamon | 1 small piece | Cassia, not true cinnamon. A 2-inch stick is plenty. |
| Bay leaves | 2 | Standard dried bay. |
| Tsao-ko (black cardamom) | 1 pod, optional | Smoky and camphor-like. Worth seeking out if you make this often; skip if you cannot find it. |
| Ginger | 3 slices | Fresh, smashed slightly. |
| Scallions | 2 stalks | Green and white parts, cut into 2-inch lengths. These are your temperature signal. |
A note on chili choice, because it matters more than anything else on that list. The red color comes from a flaky, mild-to-medium chili; the heat comes from whatever hotter chili you add. I like a 2-to-1 mix of mild er jing tiao flakes with a hotter facing-heaven or guntur flake. If you only buy one thing, buy a good coarse flake labeled for chili oil. Standard supermarket "crushed red pepper" is cut too fine and often stale, and your oil will taste like pizza-parlor heat rather than Chinese chili oil.
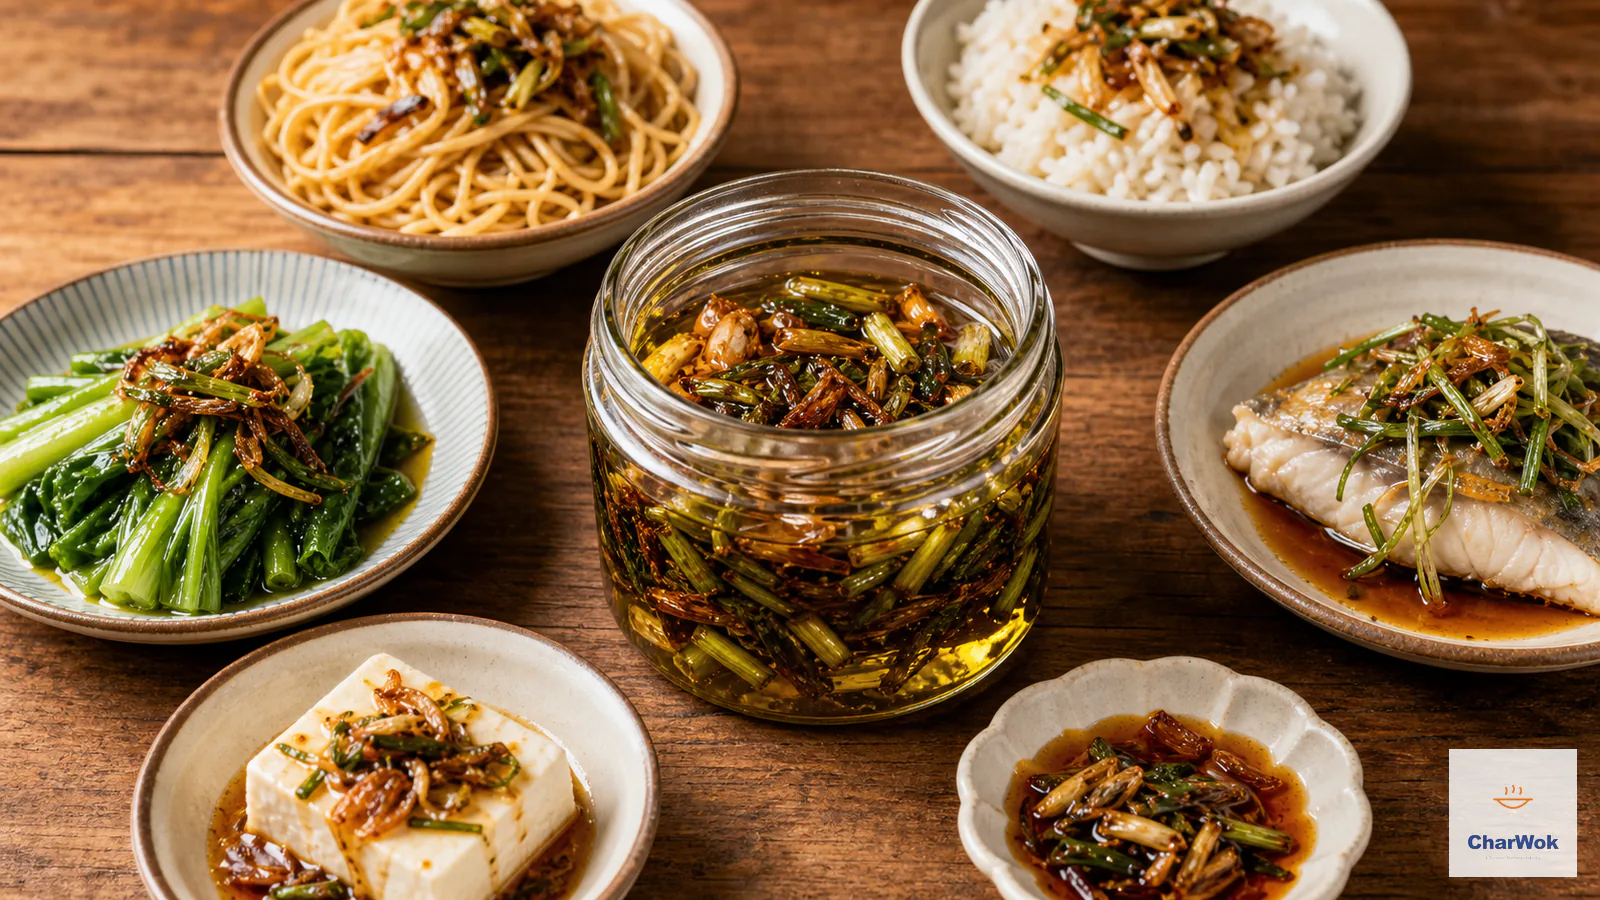
On the spice blend: this is a five-spice-adjacent aromatic base, and you could absolutely lean into homemade five-spice powder thinking. But here the whole spices steep in the oil and get strained out, which is gentler and cleaner than adding ground powder directly. The spring onion oil technique uses the same logic of aromatics-in-oil, just aimed at scallion flavor instead of chili.
The method, step by step
- Mix the chili bowl. In a heatproof bowl, stir together the chili flakes, ground chili, salt, toasted sesame seeds, and the vinegar or soy. The liquid will dampen the flakes slightly, which is intentional: it slows burning when the hot oil lands. Set a fine-mesh strainer over a second deep, completely dry heatproof bowl. The dry part is not optional. A wet bowl plus 175 °C oil is a spattering mess.
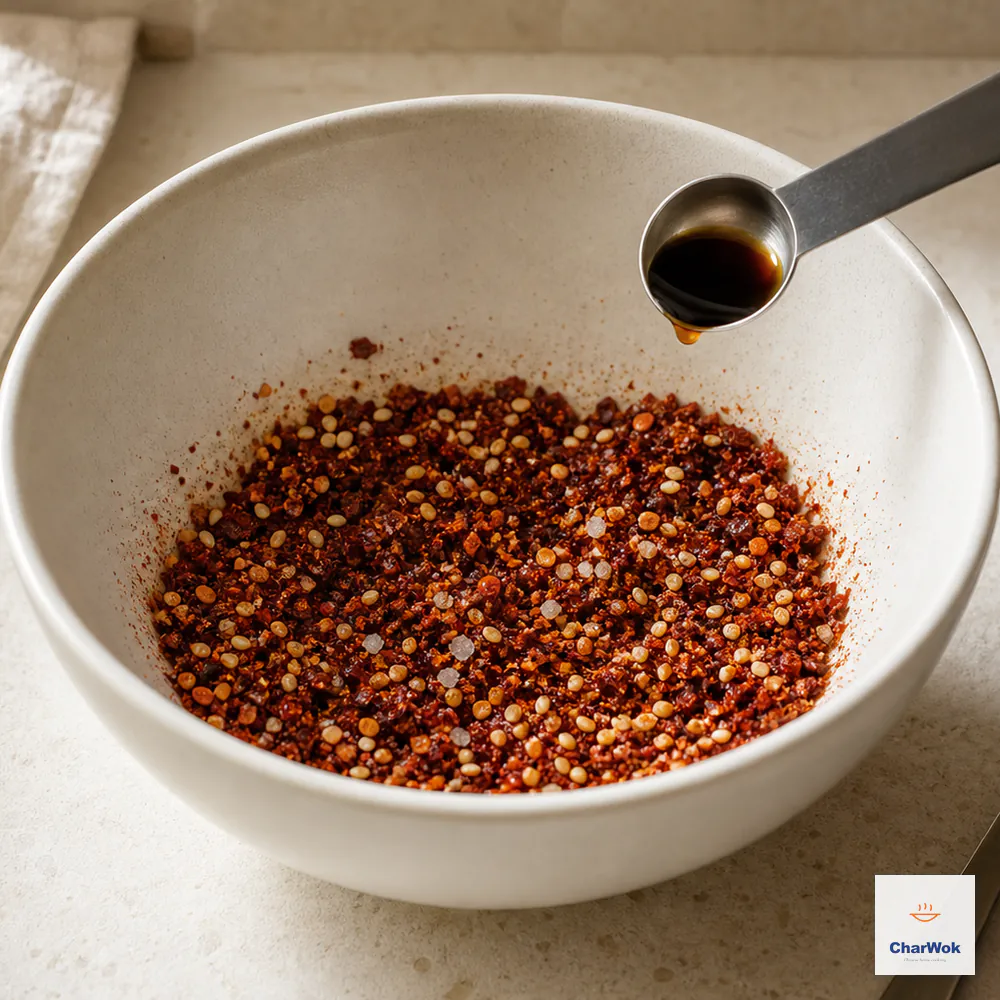
Mix the chilli bowl with only 1 teaspoon vinegar or soy so the flakes are slightly damp rather than wet when the hot oil lands
- Build the aromatic oil. Pour the oil into a small saucepan and add all the whole spices and aromatics: Sichuan peppercorns, fennel seeds, star anise, cassia, bay leaves, tsao-ko if using, ginger slices, and scallion pieces. Set the pan over low heat. You are not frying here. You are gently extracting, the way you would slowly warm herbs in butter.
- Watch the scallions as your clock. Let the oil climb slowly over 15 to 20 minutes. The scallions will darken from pale green to deep golden, then brown. The moment they turn a warm brown and look almost crisp, kill the heat. Do not wait for dark brown, because carryover heat keeps cooking them. This is the visual cue that replaces a thermometer if you do not have one, and it is reasonably reliable.
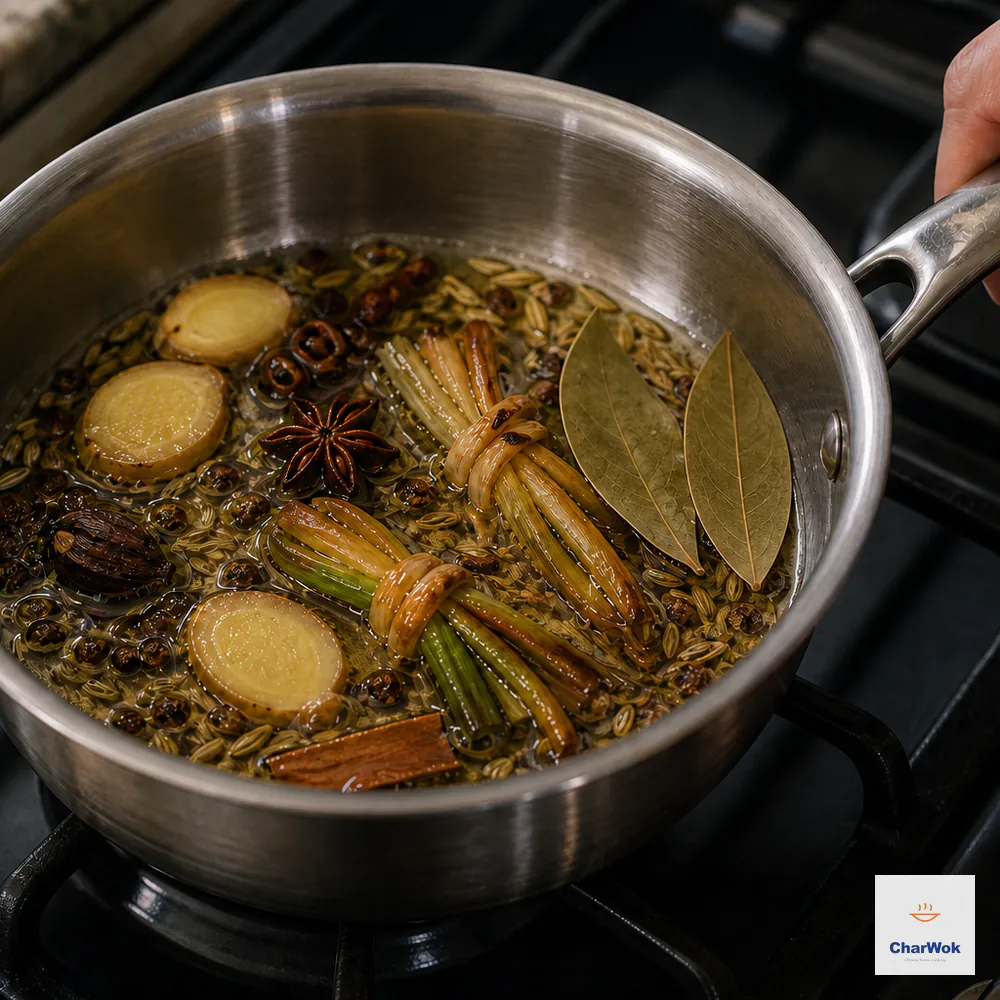
Extract the whole spices over low heat and stop as soon as the scallions are deep golden and almost crisp, before anything turns black
- Confirm the temperature. If you have a thermometer, the oil should read 175 °C / 350 °F. No thermometer? Drop in two or three chili flakes. They should sizzle, spin, and bubble energetically within a second. A lazy bubble means too cool; an instant black flake means too hot. Let it cool 30 seconds and test again.
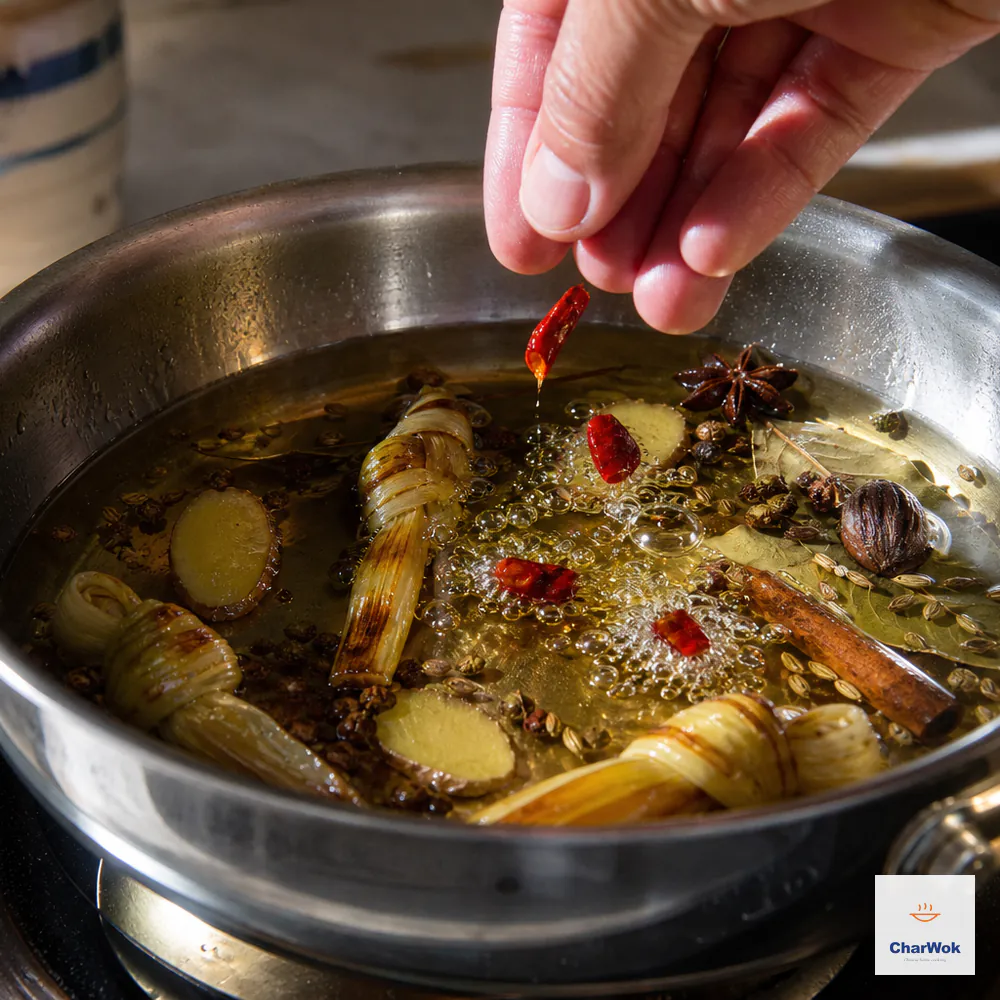
At about 175 °C, two or three test flakes should sizzle, spin, and bubble within a second without turning black
- Strain out the aromatics. Pour the oil through the strainer into the second dry bowl. Discard everything in the strainer. You now have clean, fragrant oil and a separate bowl of chili flakes.
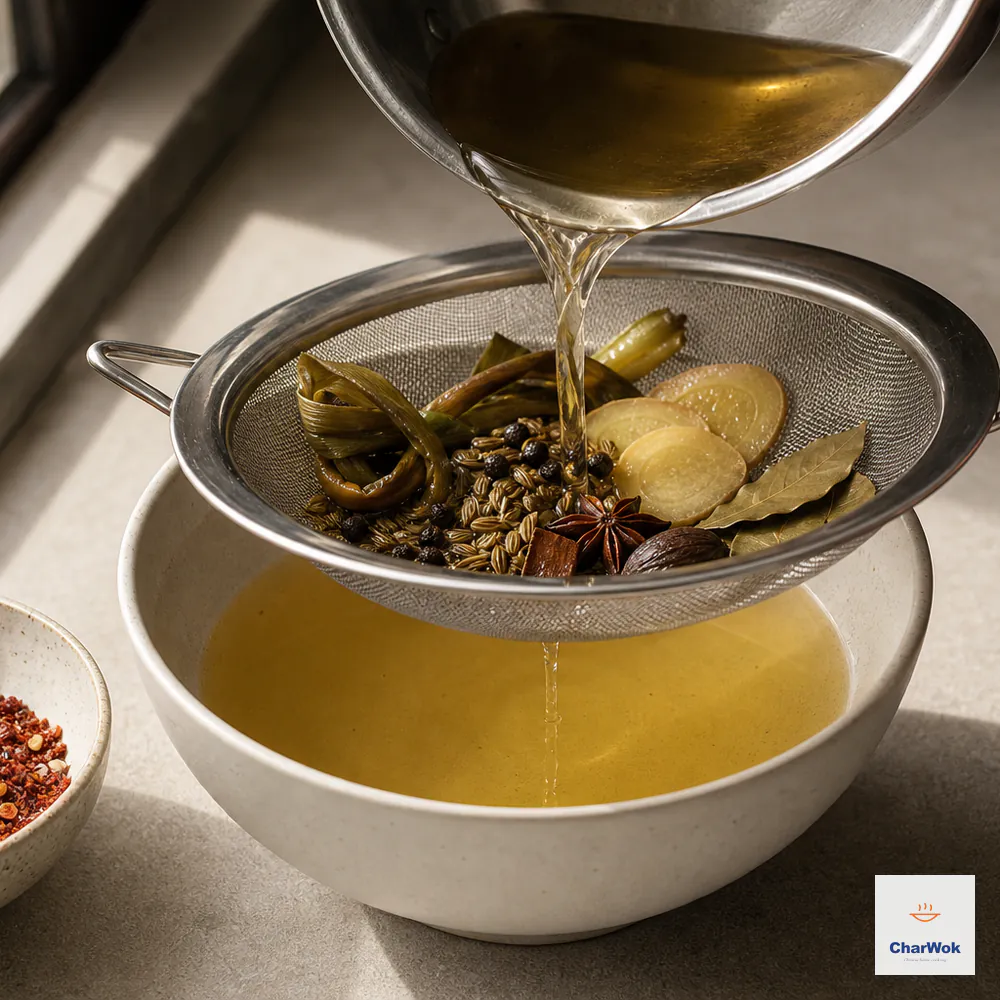
Strain the oil into a deep dry heatproof bowl and discard every aromatic solid so only clean fragrant oil remains
- Pour in two stages. Ladle roughly half the hot oil over the chili flakes and stir. It will erupt in bubbling and release a cloud of toasted-chili fragrance. Wait about 30 seconds for the bubbling to settle, then pour in the rest and stir again with a clean, dry spoon. The two pours give you both the roasted base note and the bright top note.
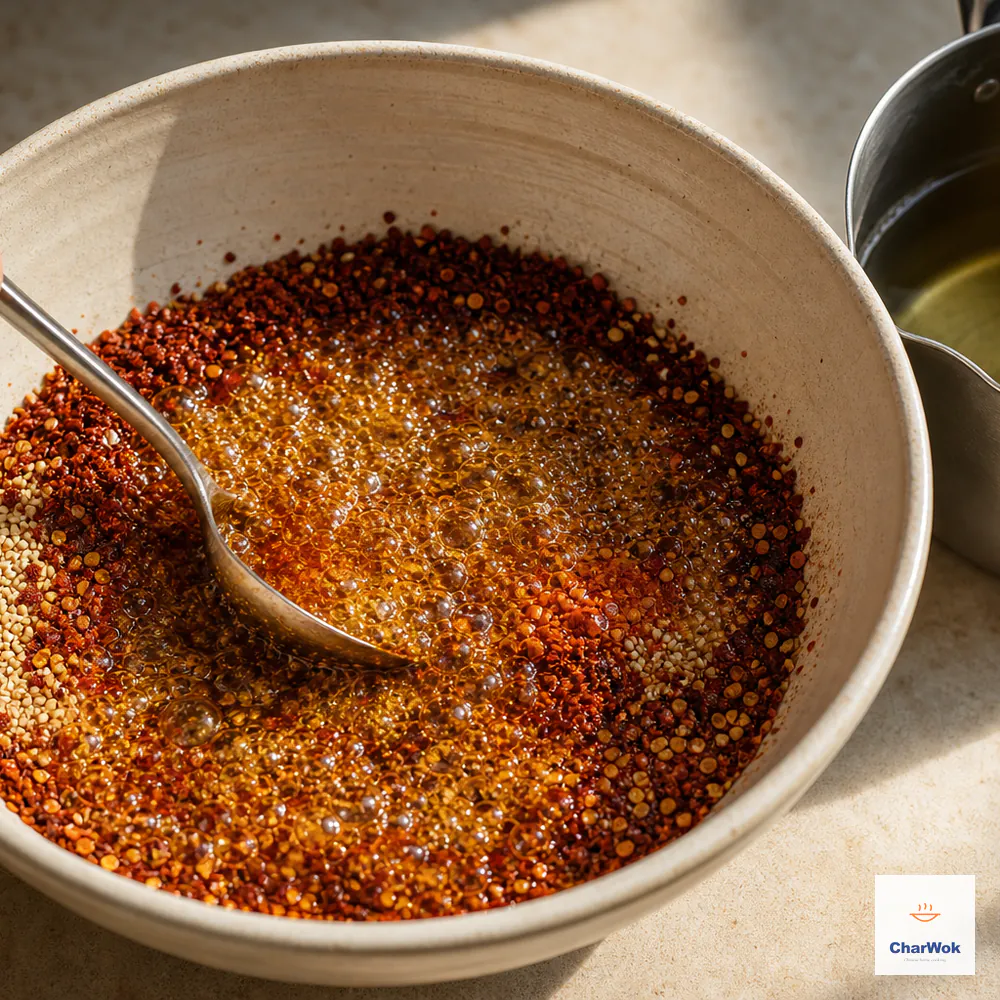
Pour about half the oil first, stir, wait for the bubbles to settle, then add the remaining oil for both toasted depth and a bright top note
- Cool uncovered, then wait. Let the bowl sit at room temperature, uncovered, until fully cool. Transfer to a clean jar. Now walk away for at least 12 hours. Fresh chili oil tastes one-dimensional and almost harsh; the same oil after an overnight rest is round, deep, and balanced. This resting step is the one people skip and the one they most regret skipping.
When it goes wrong, and how to read the result
I keep a mental file of chili-oil failures. Here are the ones I see most often, and what each one tells you.
The flakes turned black within seconds. The oil was over 200 °C. There is no rescuing burnt chili. Strain the oil, discard the flakes, and start the chili bowl over with the same cooled oil reheated to the right temperature. Next time, pull the pan off the heat a beat earlier.
The oil is pale orange and the flakes look raw. The oil was under 160 °C. The chili never bloomed. You can fix this: warm the whole bowl gently in a small pan over very low heat, watching closely, until the color deepens. Or accept it and use it as a milder table oil, then make the next batch hotter.
The oil tastes flat, even after resting. Usually missing salt or missing acid. The salt is non-negotiable; without it the chili reads as hot but not savory. The teaspoon of vinegar or soy is the difference between a one-note oil and one that finishes with real length.
The oil separated into a clear layer and a thick red sludge. That is normal and correct. The red settles. Stir with a clean spoon before each use and the texture comes back. If you want pure clear oil for a dish, pour it through a fine strainer.
It smells rancid after a week. Water got in. The most common culprit is a wet spoon, or refrigerating the oil while it was still warm so condensation formed inside the lid. Always use a clean dry spoon, and let the oil cool fully before you cap it.
Variations worth making
Ground-meat chili oil is the one I make when I want a full condiment rather than a finishing oil. Brown a little minced pork in the aromatic oil before you strain it, then add the meat back into the chili bowl with the flakes. This is closer to Lao Gan Ma and is spectacular over mapo tofu or stirred into plain noodles. For a similar built-in umami kick without the meat, Sichuan chili bean paste is the condiment to know.
Garlic and fermented black bean version. After the two-stage pour, stir in a tablespoon of minced garlic and a teaspoon of chopped fermented black beans. The residual heat cooks the garlic just enough. This is closer to the Chiu Chow style and is excellent with dumplings.
Extra-numbing Sichuan version. Double the Sichuan peppercorns in the oil and add a half teaspoon of freshly ground roasted peppercorn powder to the chili bowl. This is the version that belongs on hot pot at home night, especially paired with a properly made spicy hot pot broth.
Where to use it
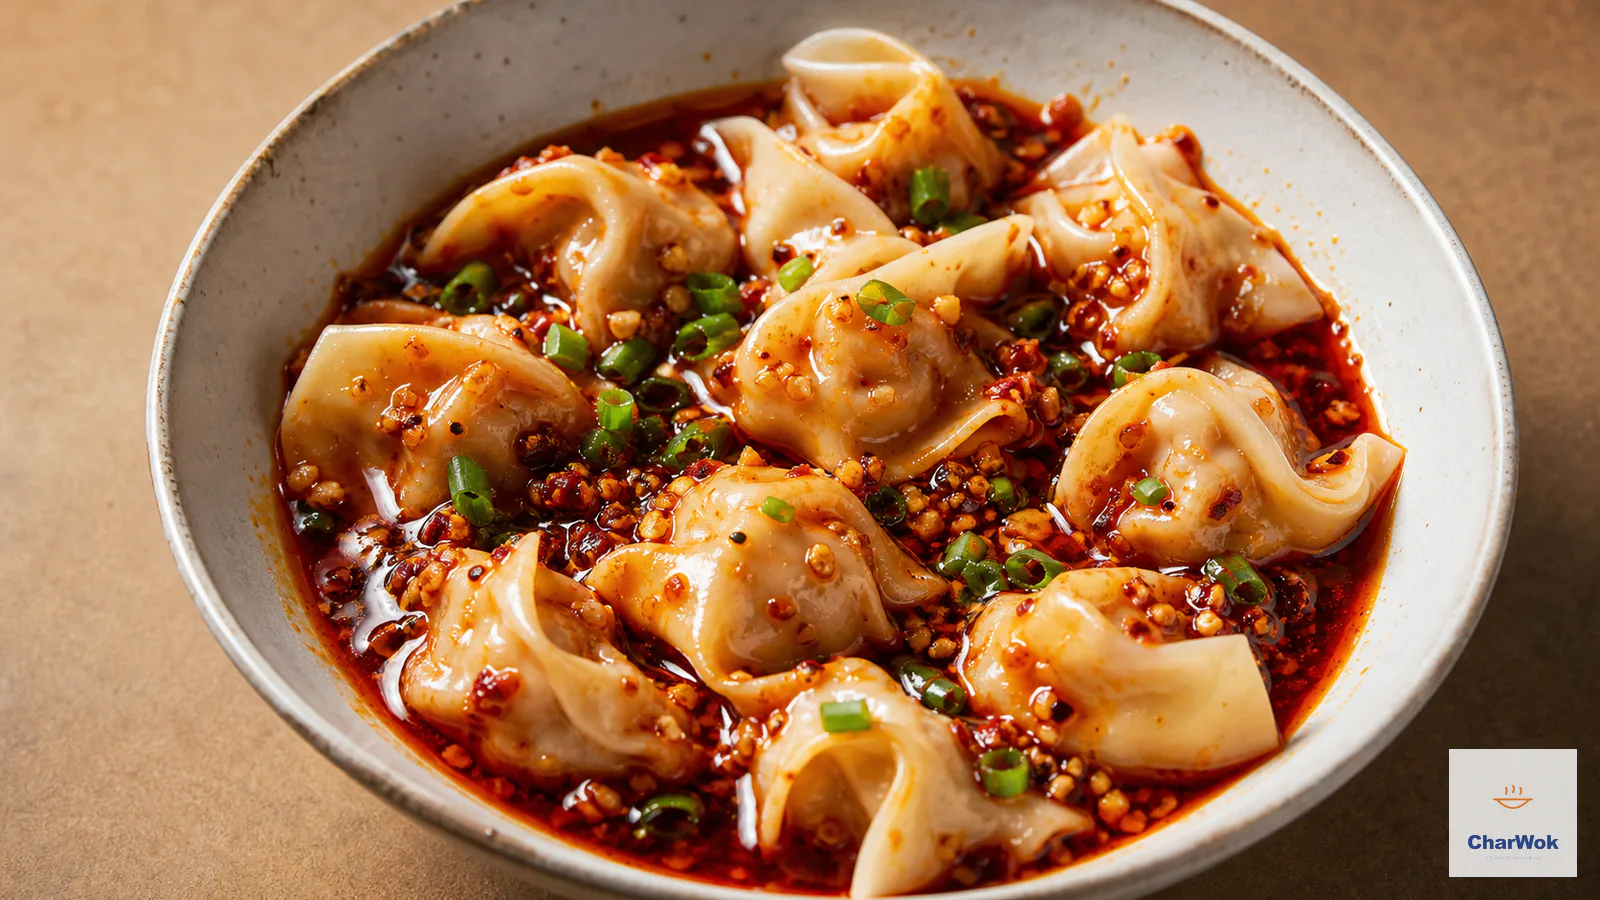
The honest answer is almost anywhere you want heat and toasted aroma. A spoonful over cold noodles is the easy win, especially cold noodles with Sichuan dressing. It is the finishing slick on Sichuan spicy wontons in chili oil and the dip of choice for the sauces in the dumpling sauce lineup. Stir a little into the Chongqing noodles bowl for extra depth, or use it as the chili element in a quick bang bang chicken dressing.
Storage
Keep the finished oil in a clean glass jar with a tight lid. At cool room temperature, away from light, it holds for about two months. In the fridge it lasts roughly six months, though it will cloud and partially solidify, which is harmless; let it sit at room temperature for twenty minutes and it clears up. Always scoop with a clean, dry spoon. If you see any mold, fizzing, or a sharp rancid smell, throw the whole jar out. Chili oil is cheap to remake and not worth a food-safety gamble.
Frequently asked questions
Can I use olive oil? I would not. Olive oil has its own flavor that fights the aromatics, and a low smoke point that makes hitting 175 °C risky. Stick with peanut, canola, or grapeseed.
Do I have to wait 12 hours? Technically no, but the flavor is noticeably thinner fresh. If you must use it right away, use it warm over noodles, where the heat compensates. For a jar you will keep, the overnight rest is worth it.
Is it very spicy? That depends entirely on which chilies you buy. With a mild flake like er jing tiao it is gentle and very red. With facing-heaven or hotter flakes it builds real heat. Blend mild and hot flakes to dial it in.
Why strain out the whole spices? Left in the oil, ginger and scallions continue to flavor it in a muddy direction and shorten the shelf life because they carry water. Straining gives a cleaner oil that keeps longer.
Can I double the recipe? Yes, and I usually do. The oil-to-chili ratio stays the same; just use a larger pan so the aromatics are not crowded, and watch the temperature on a thermometer rather than by eye since a bigger volume holds heat longer.