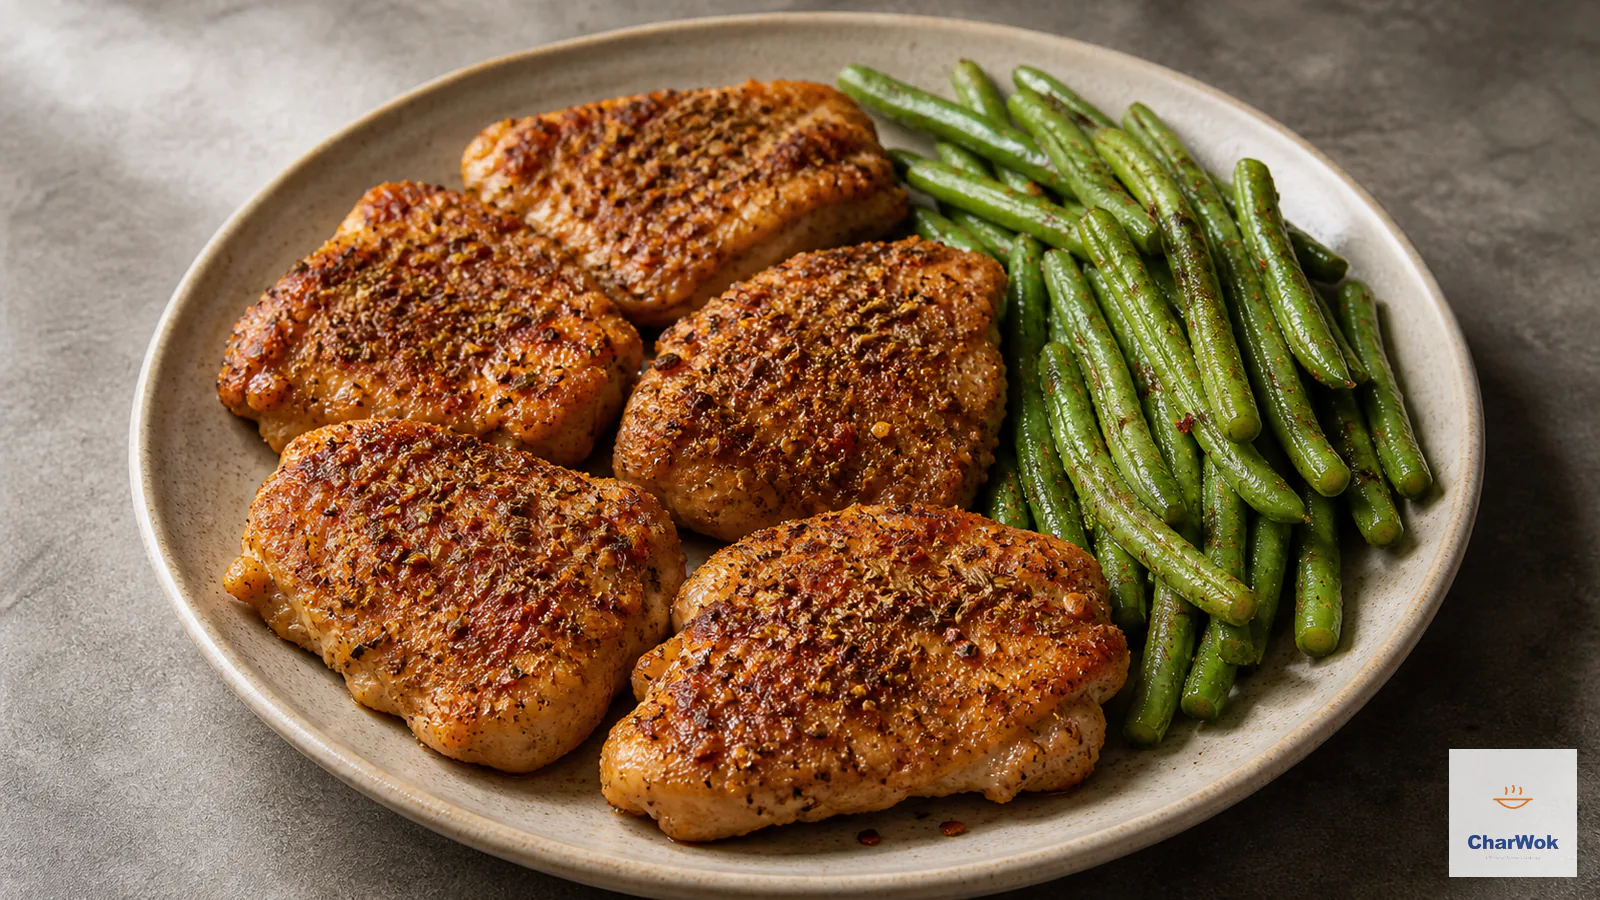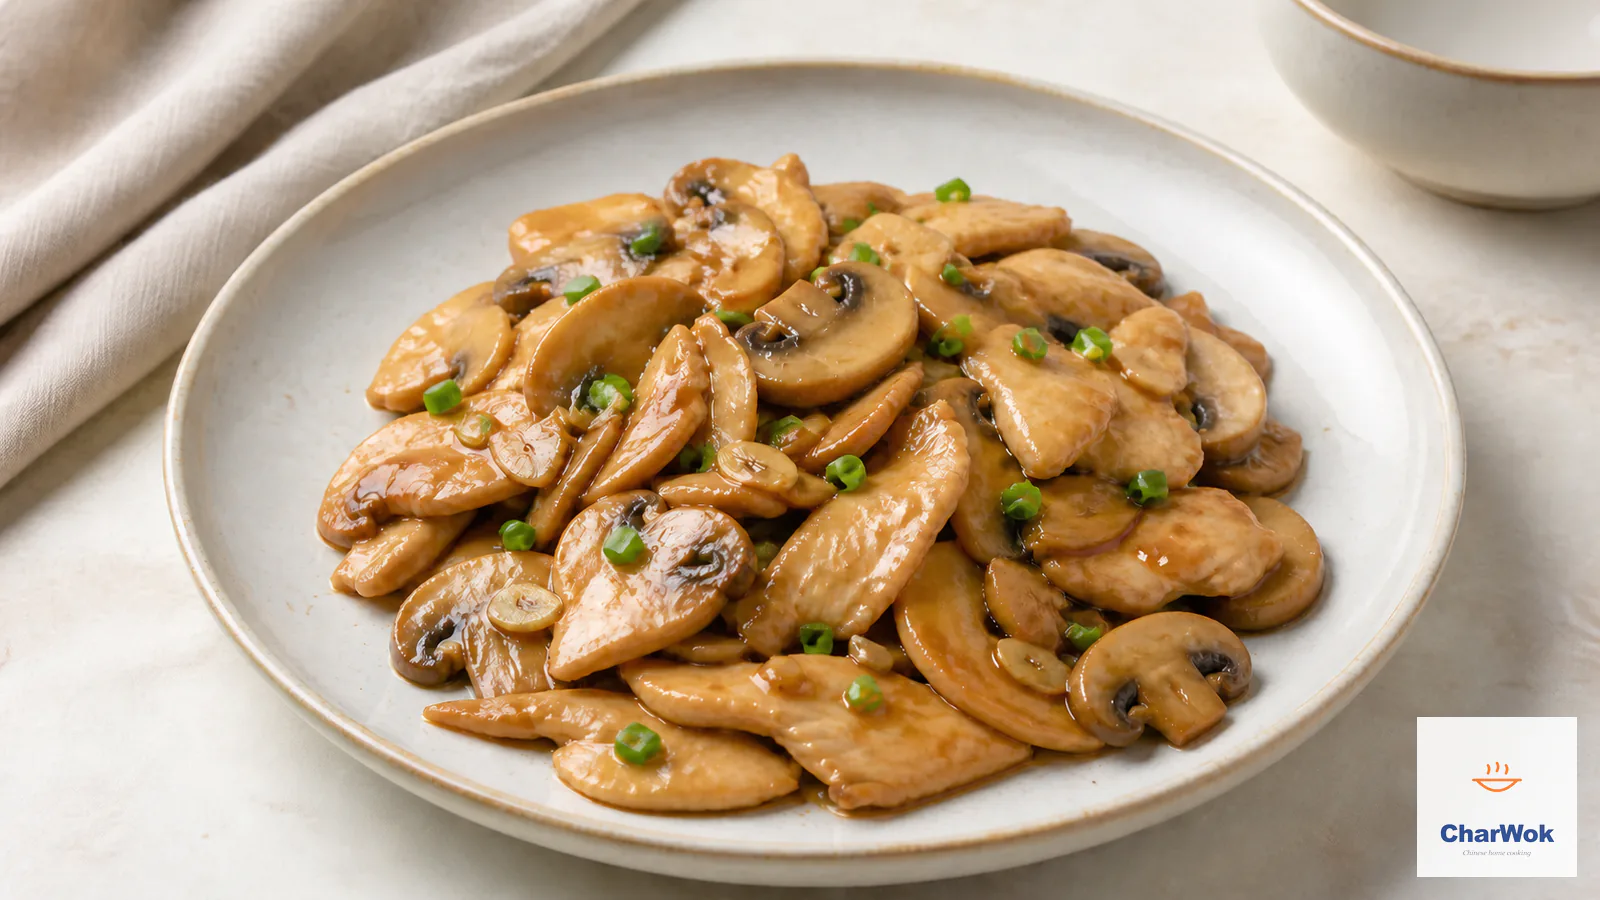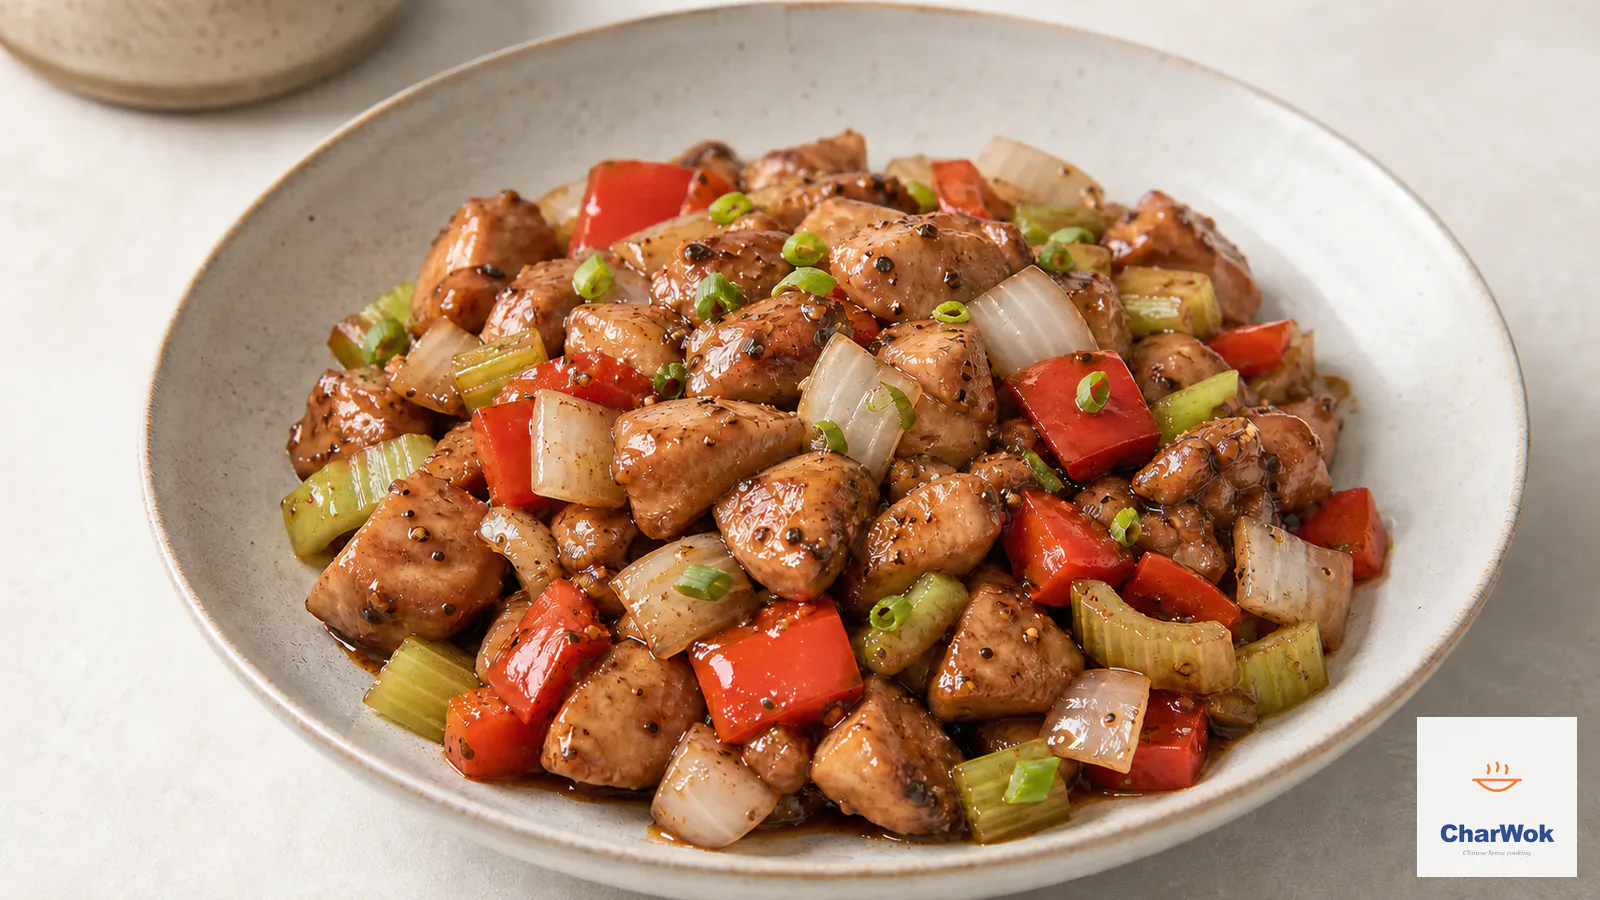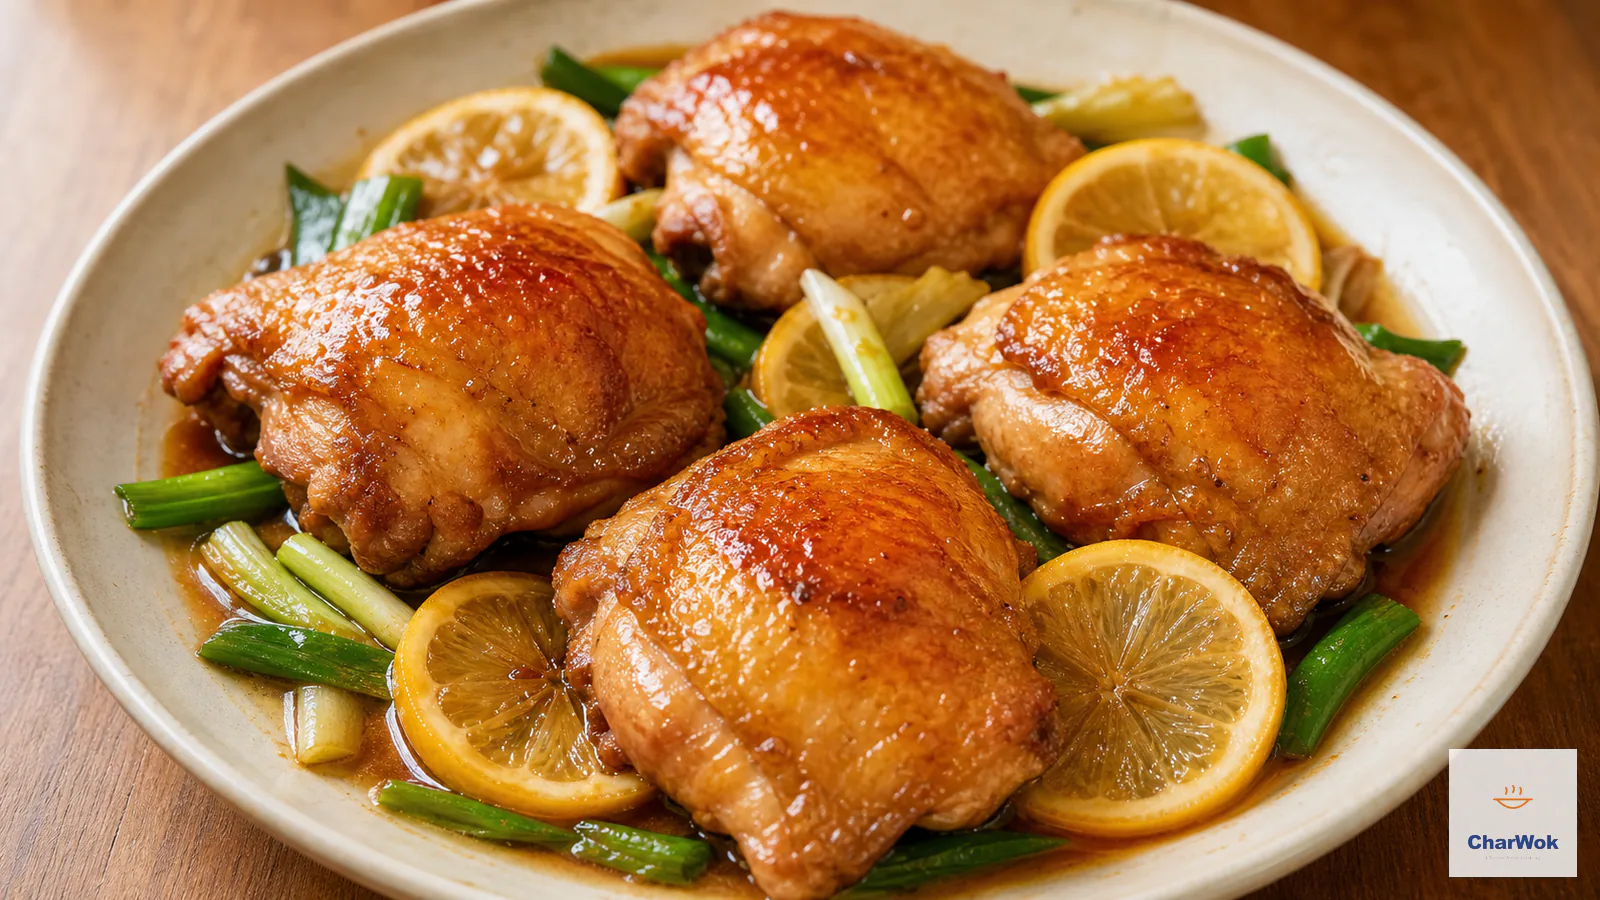
This lemon chicken uses a sear-and-braise method rather than the battered, deep-fried style common on many Chinese-American menus. Skin-on thighs simmer gently with soy and scallions, then fresh lemon slices go in near the end so the sauce keeps a clear citrus aroma.
It uses one skillet and takes about twenty minutes for boneless thighs, although the chicken's measured temperature—not the clock—determines when it is ready. An instant-read thermometer is essential because browning, sauce thickness and clear juices cannot confirm that every piece is safely cooked.
At a glance: sear skin-on thighs on both sides, braise gently in soy and water, then add lemon and reduce the sauce. Seven minutes covered is the first temperature-check point, not a guarantee. Continue cooking until every thigh reaches 74°C (165°F) in its thickest part; probe beside, not against, the bone.
What this dish actually is
Lemon chicken can refer to several different preparations. This recipe is a home-style soy braise: sear the chicken, simmer it with soy and scallions, then add citrus near the end. It shares the sear-and-sauce rhythm of scallion oil chicken and three cup chicken, with lemon providing the final aromatic note.
If you have made scallion chicken chops or oyster sauce chicken, the rhythm will feel familiar. The differences are small but they matter, and they all come down to when the acid goes in.
Why the skin stays on, and why we sear before we braise
Skin-on chicken is recommended here for flavor rather than lasting crispness. The skin renders fat into the pan and browns during the sear; that browned surface gives the soy-and-lemon sauce a deeper base. Skinless thighs also work, but the sauce will be leaner and the surface less browned.
The sear also does something mechanical. Browning the meat first sets proteins on the surface into a firm layer, so when the braising liquid goes in the chicken does not bleed pale juices into the sauce and turn it cloudy. You want a dark, glossy sauce at the end. That starts with a dark, dry sear at the beginning. A heavy skillet or a well-seasoned wok holds heat better than a thin nonstick pan, and for a sear-and-braise like this that matters.
Ingredients
Ingredients at a glance
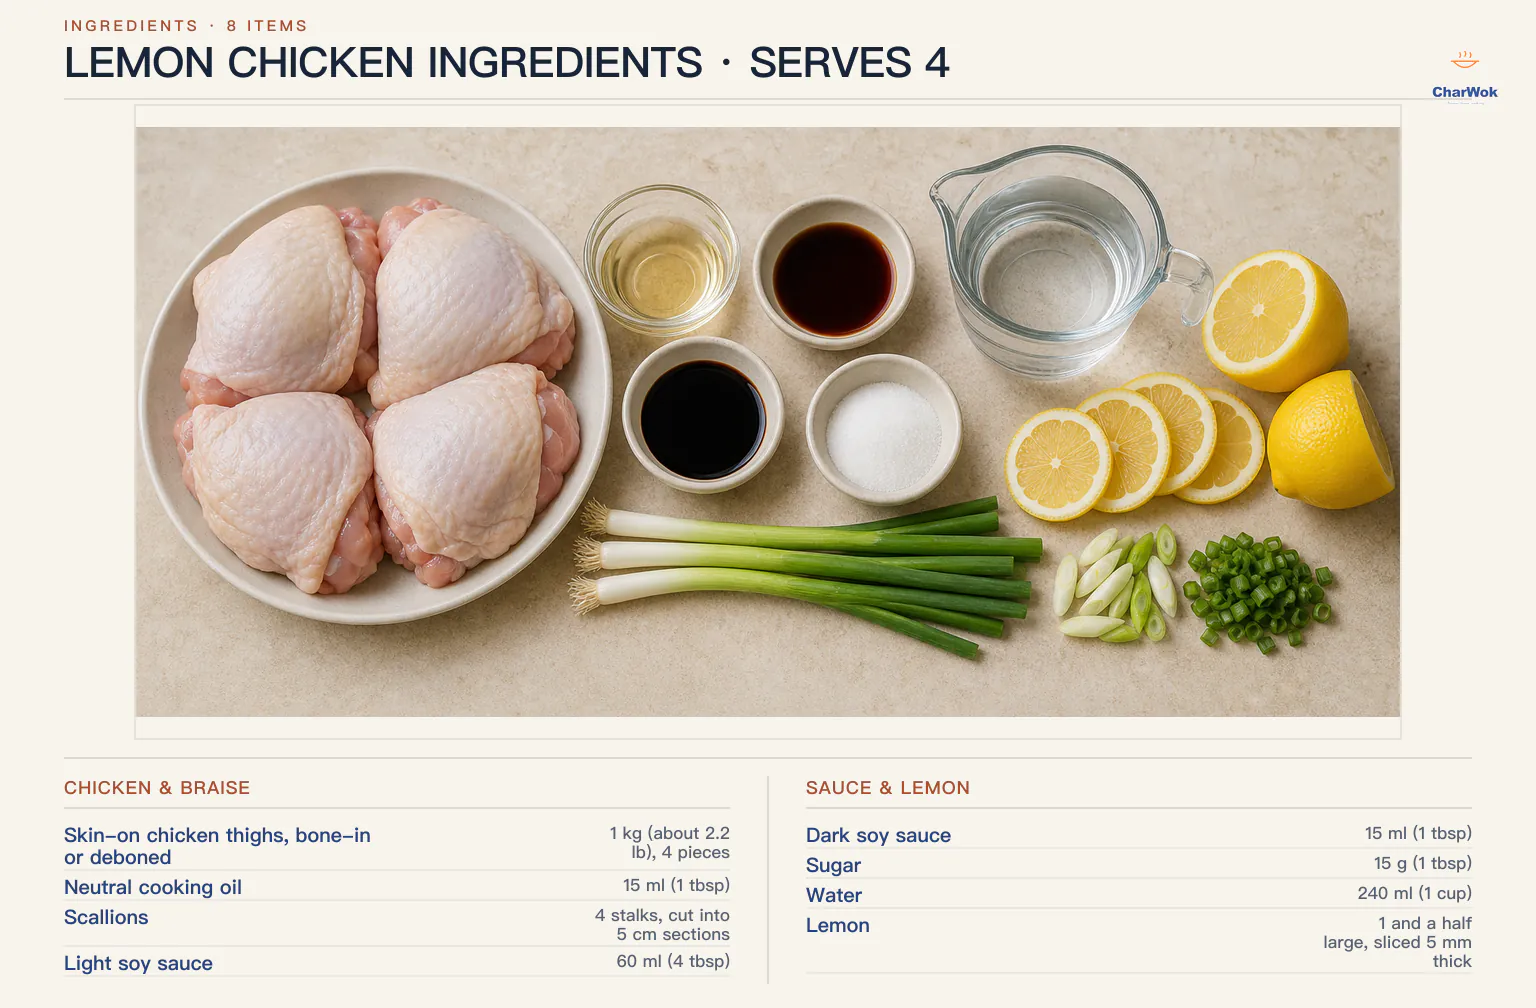
| Ingredient | Amount | Notes / substitute |
|---|---|---|
| Skin-on chicken thighs, bone-in or deboned | 1 kg (about 2.2 lb), 4 pieces | Bone-in pieces may take longer; use temperature rather than adding a fixed number of minutes. Skinless thighs work but give a leaner sauce. |
| Neutral cooking oil | 15 ml (1 tbsp) | Grapeseed, canola, or peanut oil. |
| Scallions | 4 stalks, cut into 5 cm sections | Plus a few green tops, finely sliced, for garnish. |
| Light soy sauce | 60 ml (4 tbsp) | Salt and savor. See the light vs. dark soy sauce guide; other soy sauces vary in salinity, so adjust to taste. |
| Dark soy sauce | 15 ml (1 tbsp) | For color and a touch of sweetness. If you only have light soy, use less and accept a paler sauce. |
| Sugar | 15 g (1 tbsp) | White sugar works; rock sugar is another option. |
| Water | 240 ml (1 cup) | Use hot water so the simmer resumes promptly. |
| Lemon | 1 and a half large, sliced 5 mm thick | Scrub the peel under running water before slicing, remove stickers and discard the seeds. |
Two pantry notes that change the result. First, the dish is built on soy, so reach for a decent bottle of light soy; the cheap stuff can taste harsh once it reduces. Second, a small splash of Shaoxing rice wine (a tablespoon, added with the soy) rounds the edges and is worth keeping on the shelf if you cook Chinese food more than once a month. It is not in the base recipe because I wanted the ingredient list short, but I add it more often than not.
How to make it
- Prep the chicken. If your thighs are bone-in and you want to debone them, lay each skin-down and run the tip of a sharp knife along either side of the bone, then lift it out. Otherwise, cook them bone-in and remove the bones at the table; expect the timing to vary. Pat the meat dry, then wash your hands and keep the raw-chicken board and knife away from cooked food.
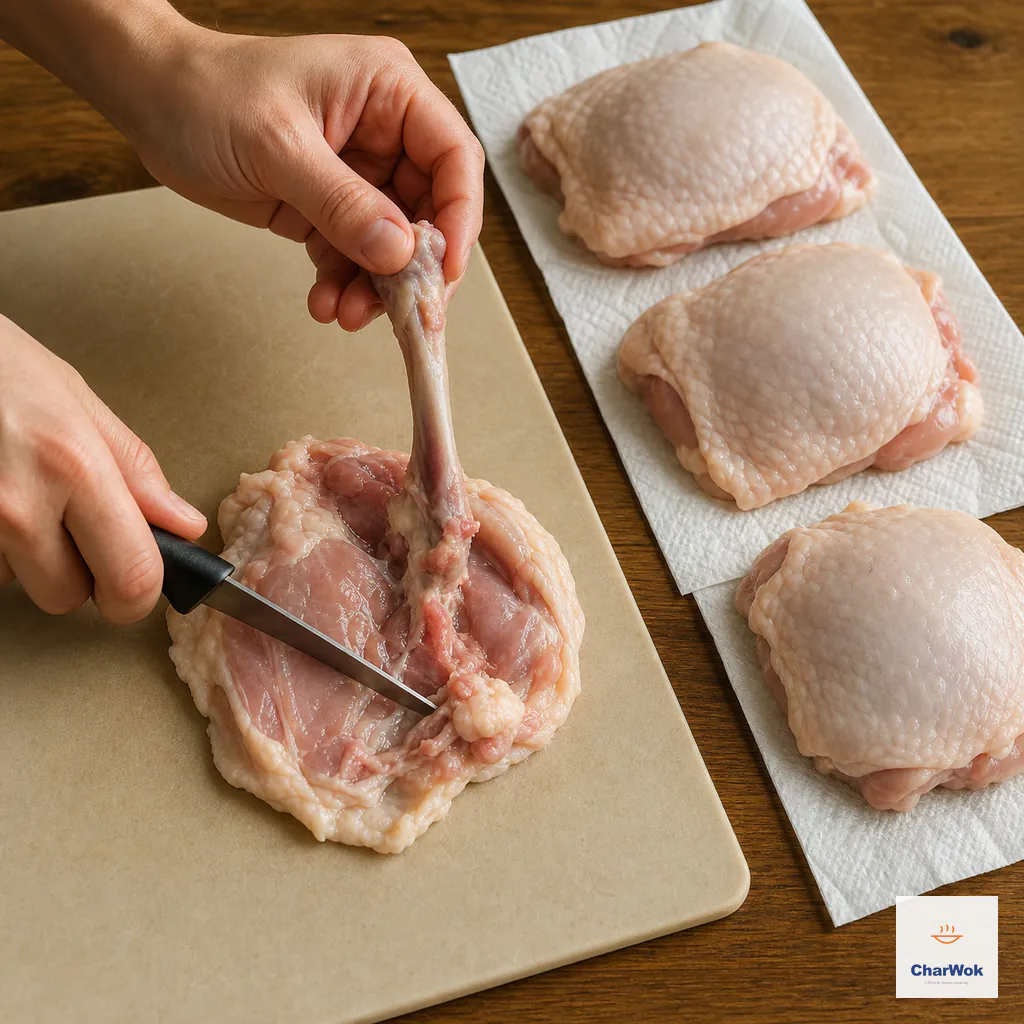
Follow the bone closely, remove it without cutting through the skin, then pat every thigh dry so it can lie flat in the pan.
- Sear the flesh side first. Heat the oil in a large skillet or wok over medium heat. Lay the thighs in skin-side up, pressing them flat against the pan. Let them sit. The single biggest mistake here is fidgeting with the chicken; it releases on its own when it is ready. When the bottom is deeply browned, about 4 minutes, flip.
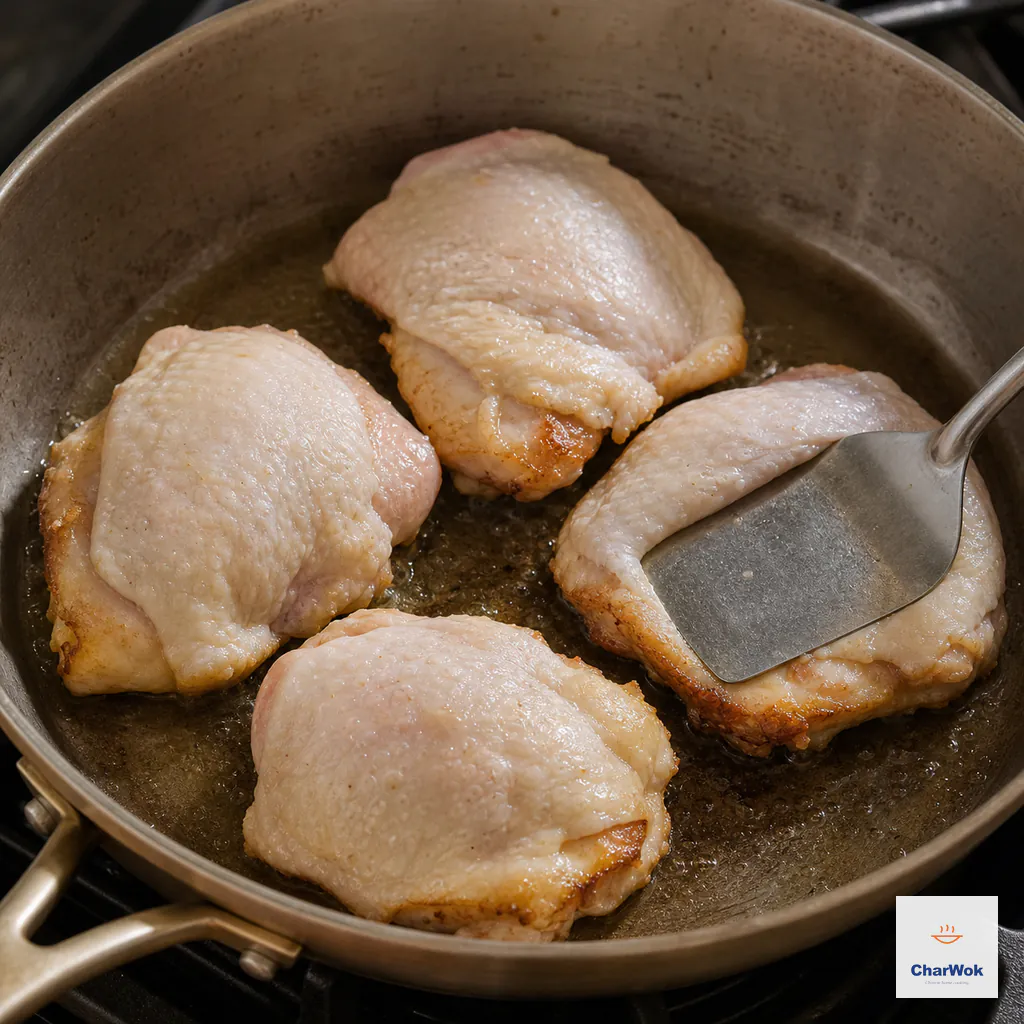
Start flesh-side down over medium heat and keep the thighs flat until the underside browns and releases easily.
- Brown the skin side and add the scallions. Now the skin is down in the rendered fat. Tuck the scallion sections into the gaps between the pieces so they fry in the chicken fat and soften without burning. The goal is golden, mahogany-edged skin. Pushing the scallions under the chicken keeps them from scorching on hot metal.
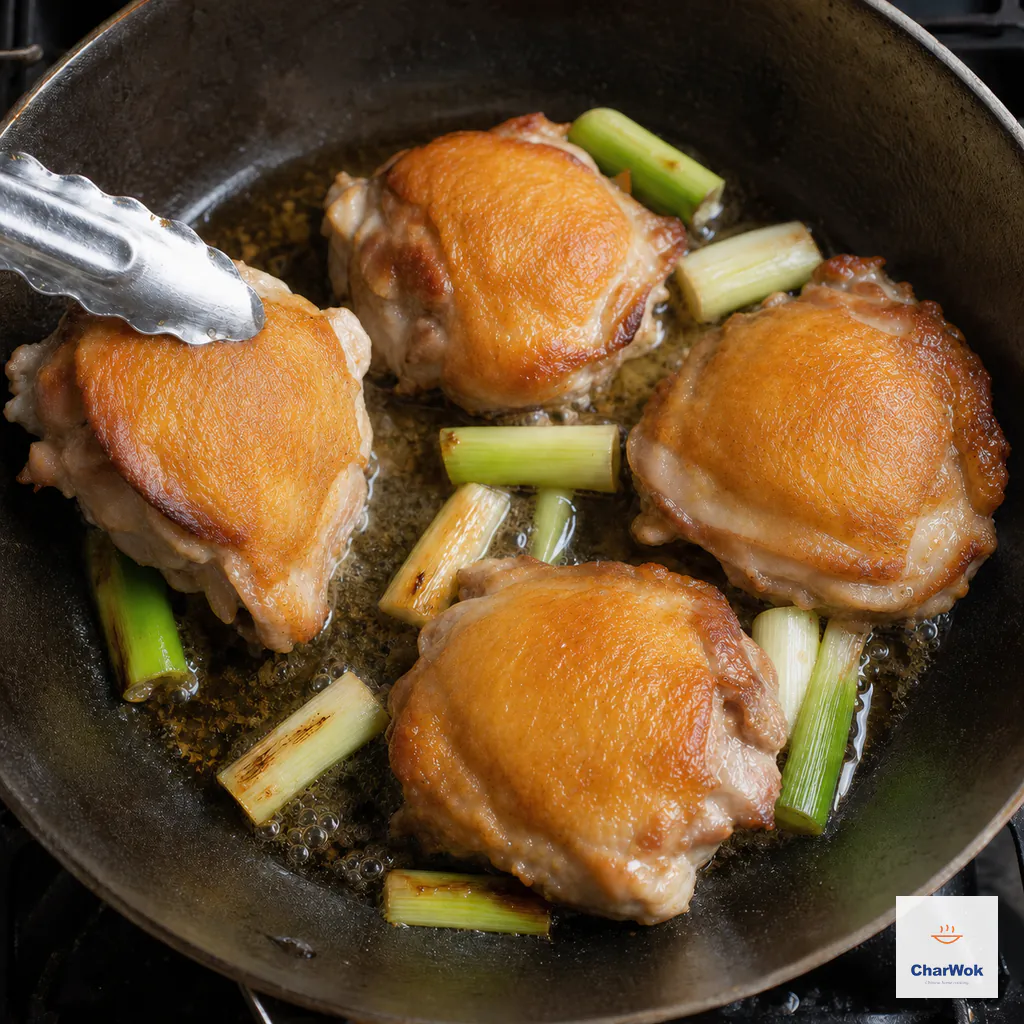
Flip skin-side down, add the scallions and cook until the skin is evenly golden rather than merely pale at the edges.
- Build the braise. Pour the light soy, dark soy, and sugar around the edges of the pan, then add the hot water. The liquid should come about a third of the way up the chicken, not submerge it. Cover with a tight lid and adjust the heat to a gentle simmer. Set a timer for 7 minutes as the first checkpoint.
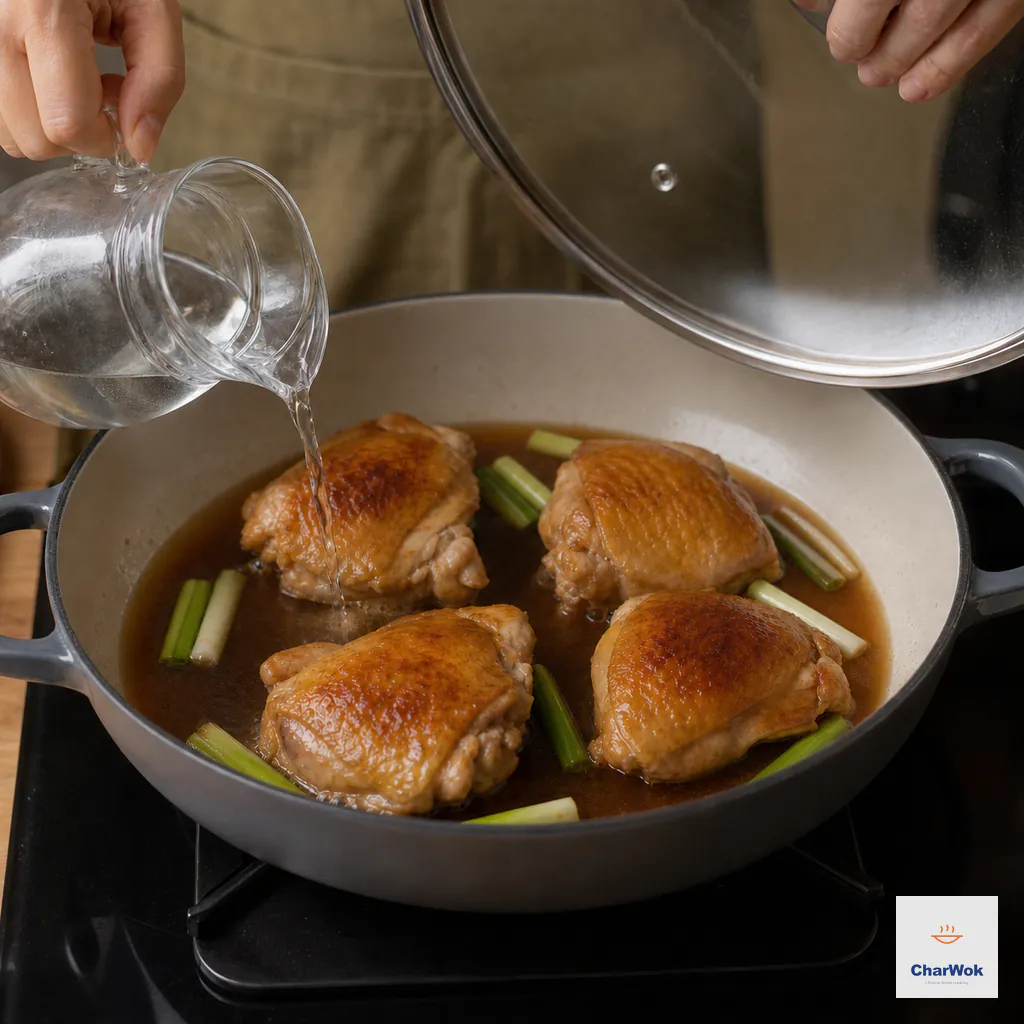
Add both soy sauces, sugar and water, keep the liquid shallow, then cover and braise gently; seven minutes is the first temperature-check point.
- Flip, then finish with lemon on high heat. Take the lid off and flip the thighs so the skin faces up again. Turn the heat to high. Lay the lemon slices across the top of the chicken and let them sink partly into the reducing sauce. Cook uncovered for about 5 minutes, spooning the sauce over once or twice. The liquid should reduce to a glossy syrup that coats a spoon. The lemon slices will soften and release their oils into the sauce without turning bitter, because they are in for minutes, not an hour.
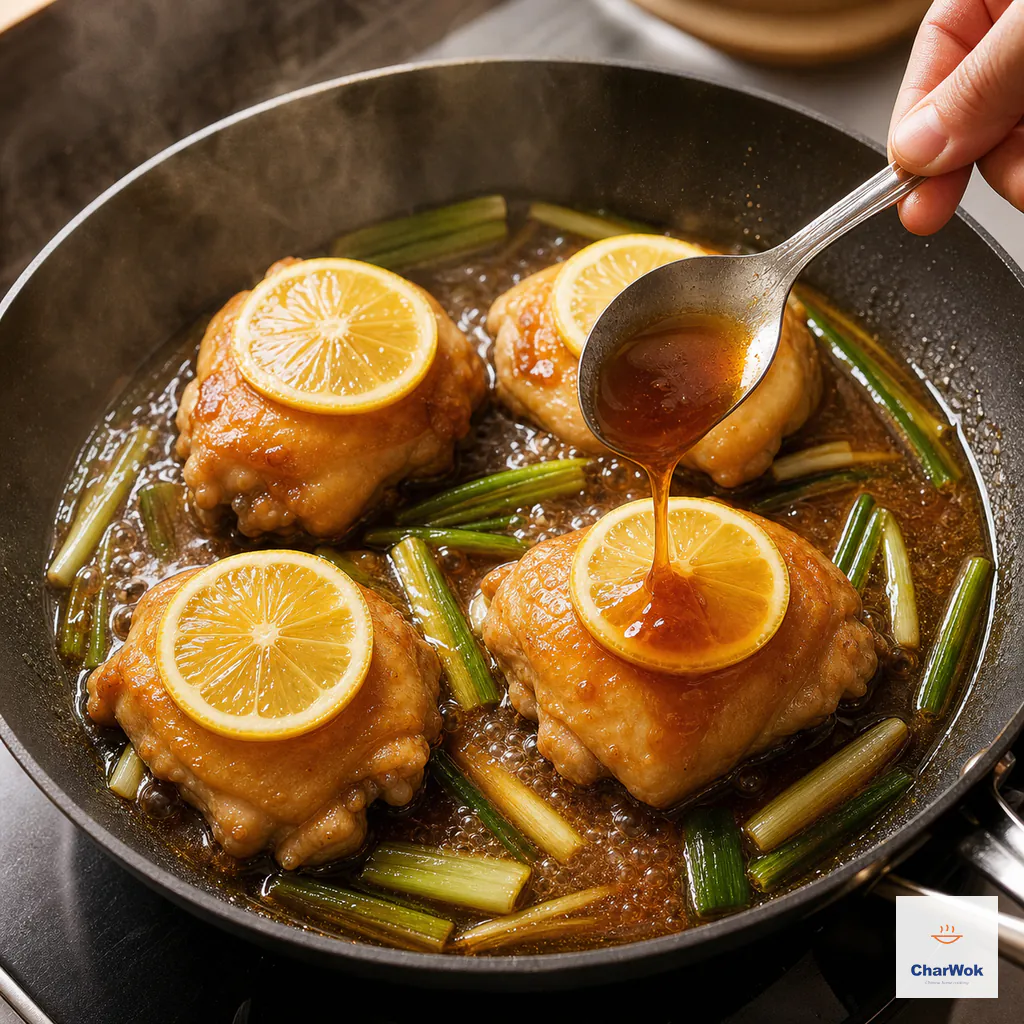
Turn the skin upward, add lemon only now, then boil uncovered until the sauce turns glossy and clings to the chicken.
- Check, then serve. Use a clean instant-read thermometer to check the thickest part of every thigh. For bone-in pieces, probe beside the bone without touching it. If any piece is below 74°C (165°F), lower the heat, cover and continue cooking before checking again. Sauce thickness, meat color and clear juices are not reliable substitutes. Scatter the reserved scallion greens over the top and serve whole or sliced with freshly cooked jasmine rice.
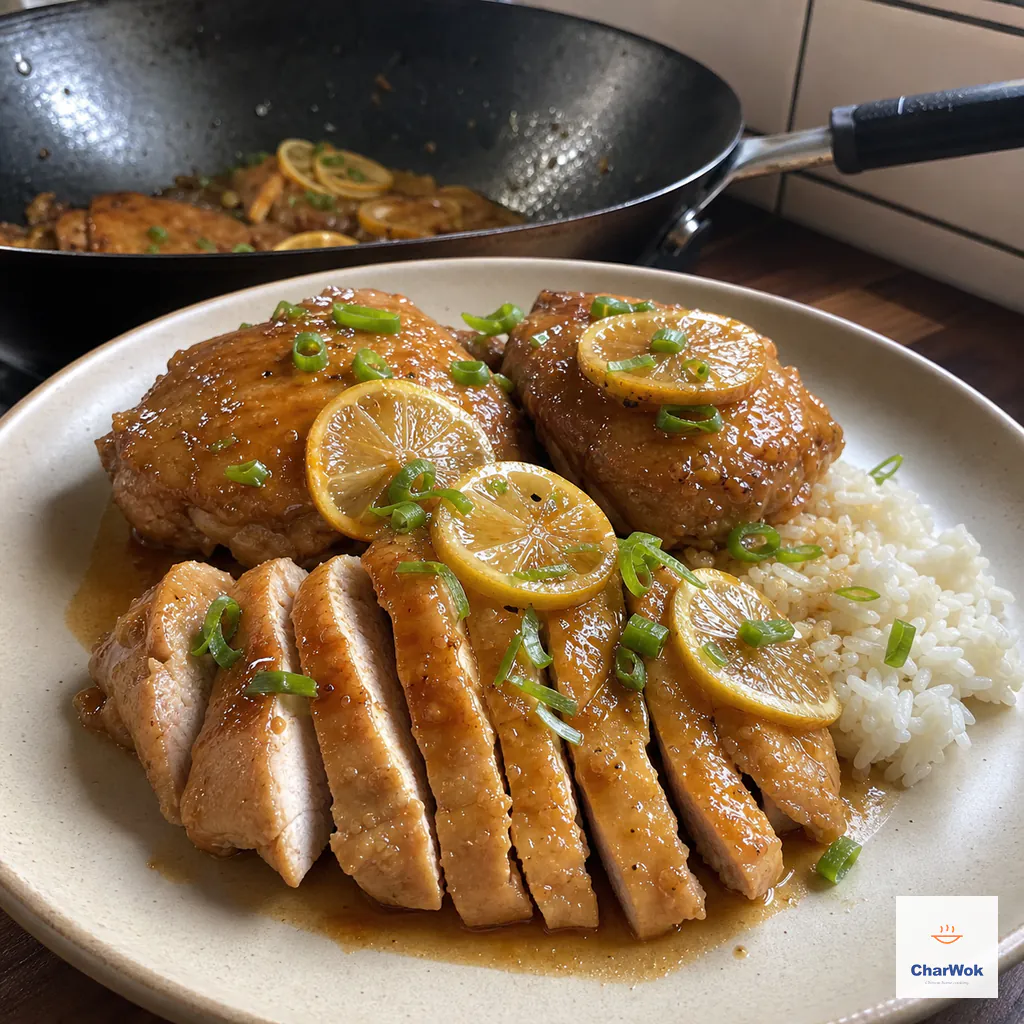
With a clean probe, check the thickest part of every thigh reaches 74°C or 165°F; probe beside, not against, any bone before serving.
When things go wrong
Most problems with this dish trace back to the sear, the heat under the braise or the timing of the lemon.
- Pale, gray chicken. The pan was not hot enough, or the meat went in wet, or you moved it too soon. Next time, dry the thighs thoroughly and wait a full minute before checking the underside. Color equals flavor; without browning this is just boiled chicken in soy water.
- Sauce will not thicken. The lid leaked and the braising liquid never reduced, or the final 5 minutes were on medium instead of high. Uncover, raise the heat, and let it boil down until a spoon dragged through the pan leaves a trail. Do not reach for cornstarch; the glaze here comes from reduction, and a cornstarch sheen reads as the takeout version you are trying to avoid.
- Skin tears and shreds. The braise was boiling, not simmering, or the chicken stuck because the pan was not hot enough at the sear. A calm simmer and patience at the flip fix both.
- Lemon tastes harsh or bitter. Either the slices were left in far too long, or the lemons were underripe with thick pith. Trim the pith before slicing, and never add lemon at the start of the braise. A dash of extra sugar at the end can rescue a too-sharp sauce.
- Sauce tastes flat. Usually missing salt depth or sweetness. Check that you used light soy, not low-sodium, and that the sugar actually made it in. A few drops of dark soy deepen both color and flavor.
- Chicken is dry. Keep the braise gentle and begin checking each piece at the suggested time. Remove pieces as they reach 74°C (165°F) rather than continuing to cook the whole batch by the clock.
This braised version has soft, glazed skin rather than a deep-fried crust. If crisp coating is the goal, choose a fried lemon-chicken recipe instead of trying to make this braise behave like one.
Variations and what to serve alongside
The braise is flexible. Swap the lemon for orange and a strip of peeled ginger, add a tablespoon of Shaoxing wine and a smashed garlic clove, or add a dried chili with the scallions as in chili cumin chicken thighs. Drumsticks and wings can use the same method, but their timing varies: check every piece for 74°C (165°F). Braised chicken wings use the same covered-then-glazed logic.
For a complete meal, pair this with rice and one bright vegetable. Broccoli with garlic sauce and dry pot cauliflower both cut through the richness, and a cold smashed cucumber salad resets the palate between bites. If you want a starch beyond rice, the sauce is also excellent spooned over noodles. The whole menu lands in the weeknight recipes zone, fast enough for a Tuesday and good enough for company, and the method is simple enough that it belongs on any honest list of recipes for beginners.
Storage and reheating
Refrigerate leftovers in shallow covered containers within 2 hours of cooking, or within 1 hour when the room is above 32°C (90°F). Eat within 3 to 4 days. Reheat each piece to 74°C (165°F), adding a splash of water if using a covered pan. Freeze promptly if you need longer storage, although the thawed skin will be softer. When scaling up, use a wide pan or cook in batches so the chicken heats evenly.
Frequently asked questions
Can I use chicken breasts instead?
Yes, but breasts are leaner and cook at a different rate. Begin checking early and cook every piece to 74°C (165°F); do not use a fixed four-minute estimate as the completion test.
Do I have to debone the thighs?
No. Bone-in thighs work well; deboning mainly makes them easier to slice and eat. Bone-in pieces may take longer, so probe the thickest part beside the bone and continue cooking until each piece reaches 74°C (165°F).
Why add the lemon at the end and not the start?
Lemon cooked for a long time turns bitter and flat as the volatile oils cook off and the pith breaks down. Adding the slices in the final 5 minutes keeps the citrus bright and floral while still letting the juice melt into the sauce.
The sauce is too salty. What went wrong?
Most likely the liquid did not reduce enough before you tasted it, so the salt concentrated, or you used regular soy sauce in place of light soy. Dilute with a splash of hot water and a pinch more sugar, and let it reduce again to the right consistency.
Can I make this ahead for a dinner party?
Yes, but cook the chicken completely to 74°C (165°F) on the first day; do not partially cook poultry for later finishing. Cool it promptly in shallow containers and refrigerate. The next day, reheat every piece to 74°C (165°F), then add fresh lemon while reducing the sauce.
For more chicken ideas in the same braise-and-glaze family, the full soy sauce chicken and the broader Chinese chicken recipes by cooking method collection are good next stops.
Food-safety references
- USDA FSIS: Chicken from Farm to Table — safe poultry temperature and handling guidance.
- USDA FSIS: Leftovers and Food Safety — cooling, refrigeration and reheating guidance.