The first time I tried to make char siu bao at home, I ended up with a dense, gummy puck that tasted like sadness. The dough didn't open up. The filling bled out the bottom. My partner, who grew up eating these at Cantonese tea houses, ate one politely and said nothing. That silence told me everything.
What I had missed is that a good char siu bao is two completely separate crafts fused together: a yeasted, slightly sweet dough that steams into something close to cloud, and a filling of saucy barbecue pork that has to be juicy but not wet enough to soak through that cloud. Get either half wrong and the whole thing collapses. The good news is that neither half is hard once you understand what is actually happening under the lid.
Plan on about 2 hours start to finish for 14 buns. The single move that decides everything is the final 30-minute rest after shaping: the dough must visibly puff and feel light before it ever hits the steam. Skip it and you get my gummy puck.
What char siu bao actually is
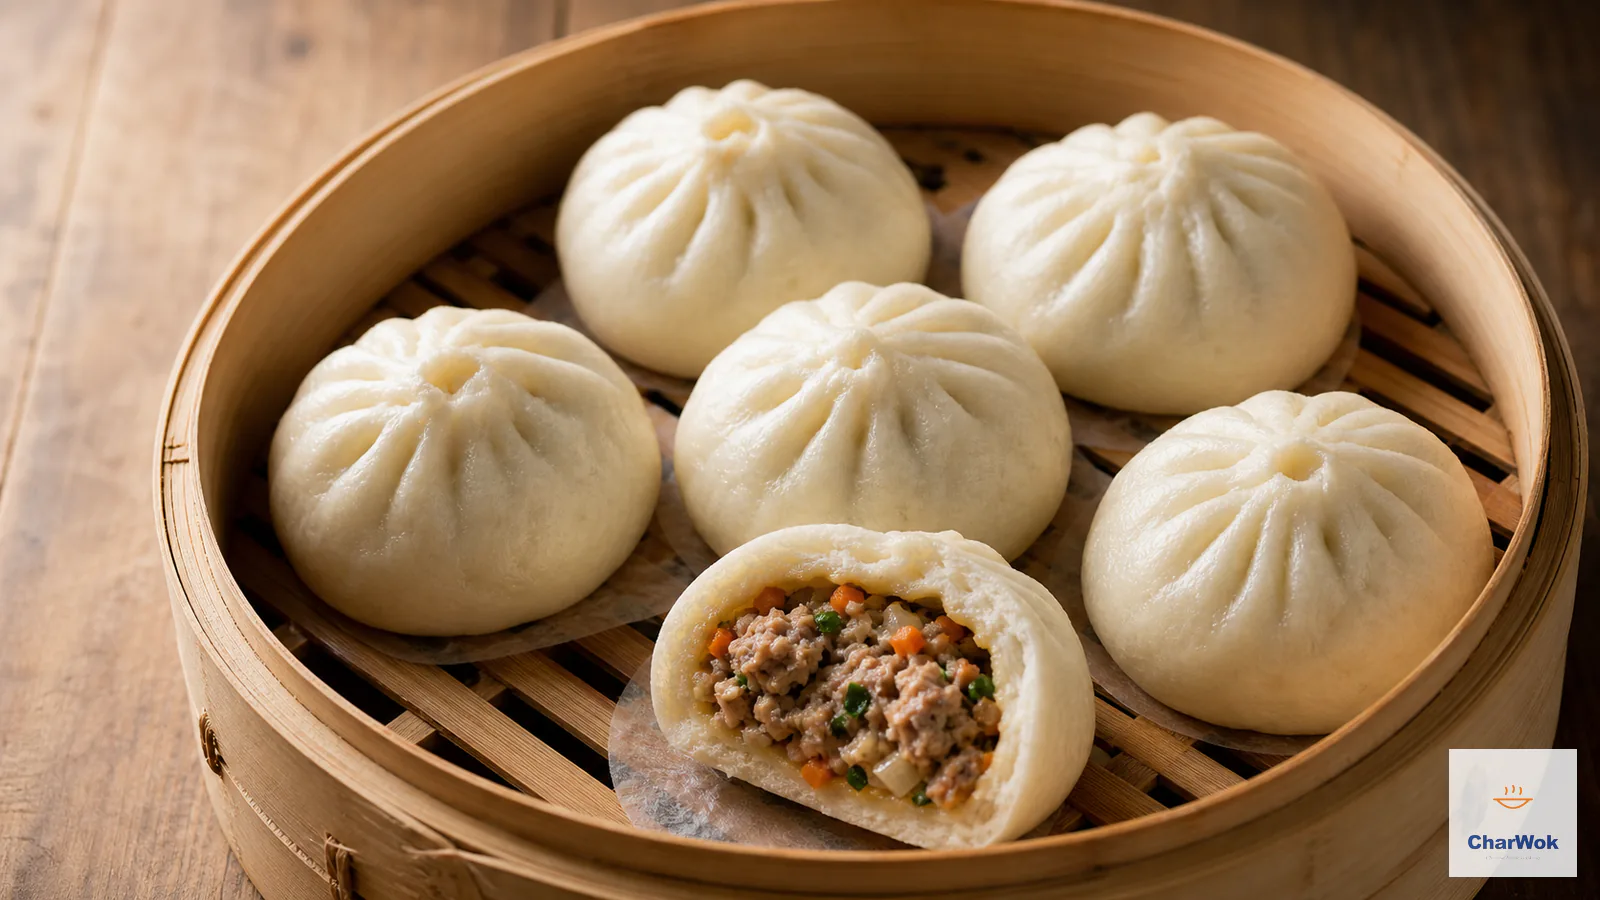
Char siu bao (叉烧包) is the fluffy, slightly sweet steamed pork bun that shows up on nearly every dim sum cart in the Cantonese-speaking world. It belongs to the broad family of stuffed steamed buns called baozi, but it sits apart from the savory northern pork-and-chive buns most home cooks picture. The wrapper is paler, softer, and faintly sweet; the filling is glossy and saucy rather than just seasoned meat.
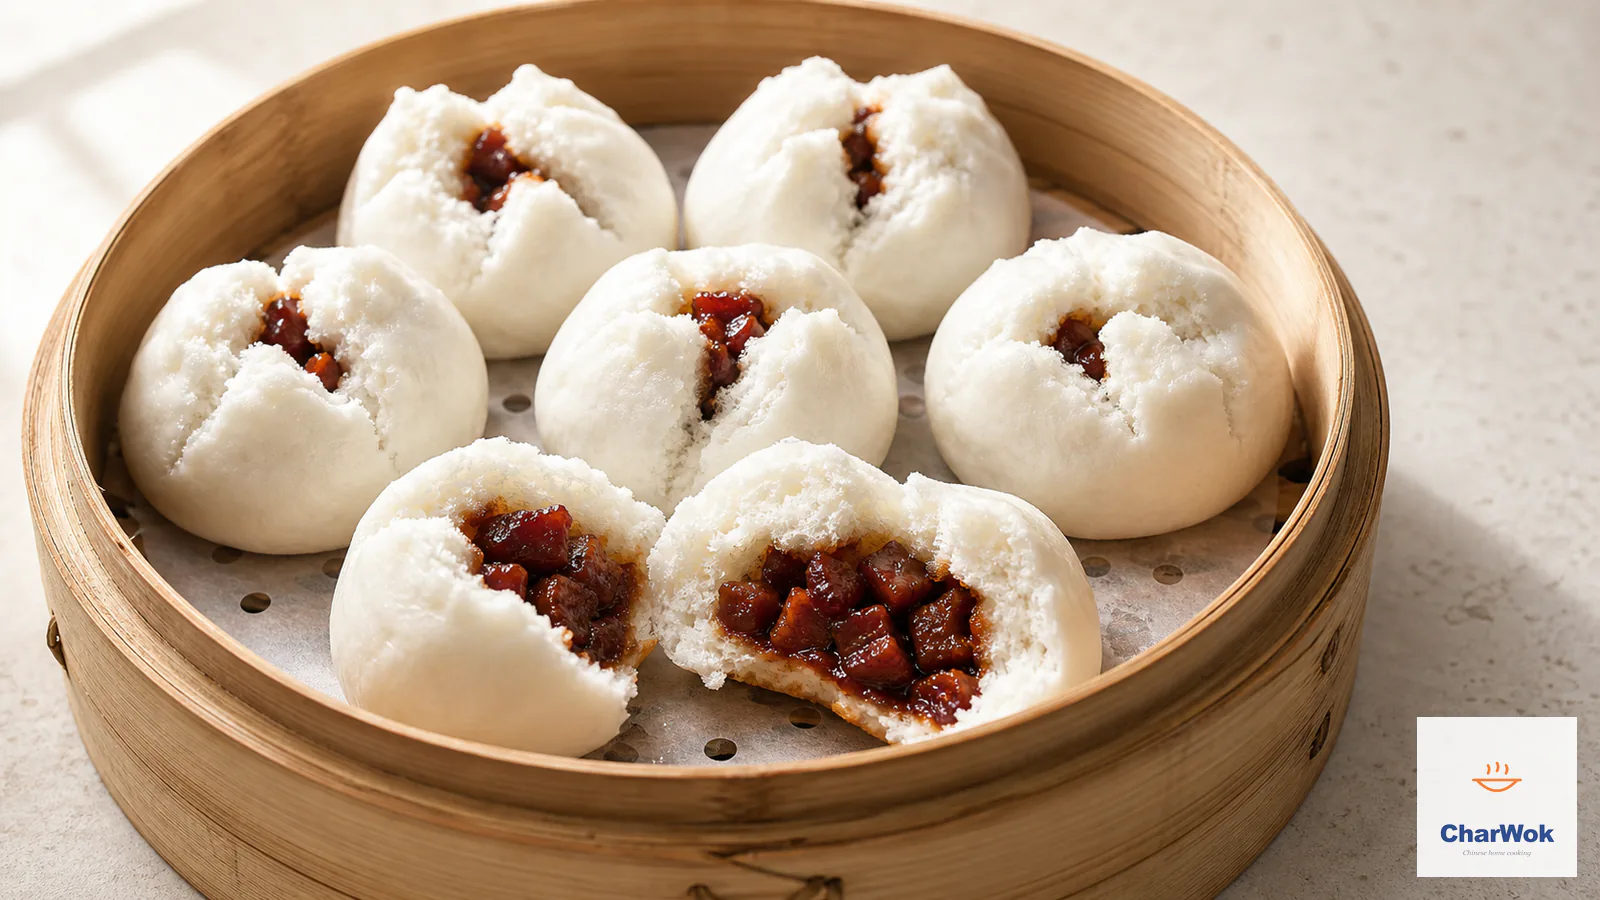
The version most people know is the closed-top bao that cracks open on its own during steaming, exposing a crack of dark filling. That "smile" is the signature look, and it comes from how you fold the dough and how much you let it proof, not from any knife cut. If you want to see how char siu bao fits among its cousins, browse a roundup of classic dim sum dishes; it always sits near the top of the list.
The filling, which is where most people go wrong
Here is the thing that took me years to internalize: char siu bao filling is not just chopped pork with sauce stirred in. It is chopped pork suspended in a starchy gravy that sets into a soft jelly when cool and melts into a glossy pool when hot. That jelly is what keeps the filling from turning the wrapper into a sponge. You make it by cooking down aromatics in liquid, then thickening it hard with a starch slurry so it holds its shape at room temperature.
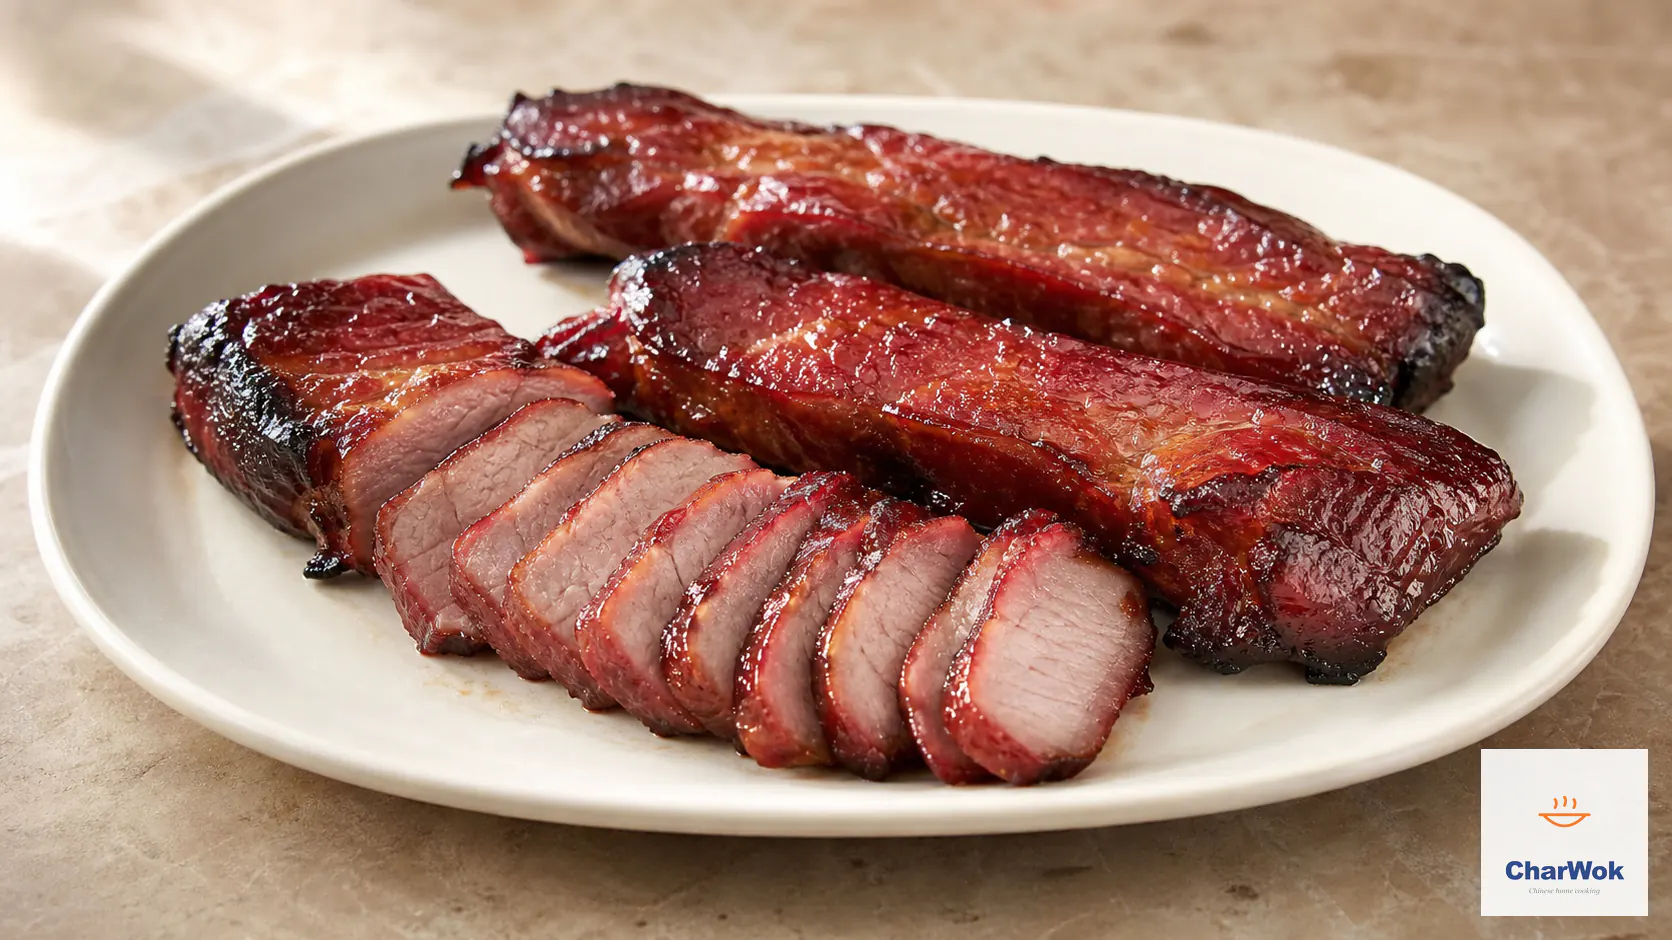
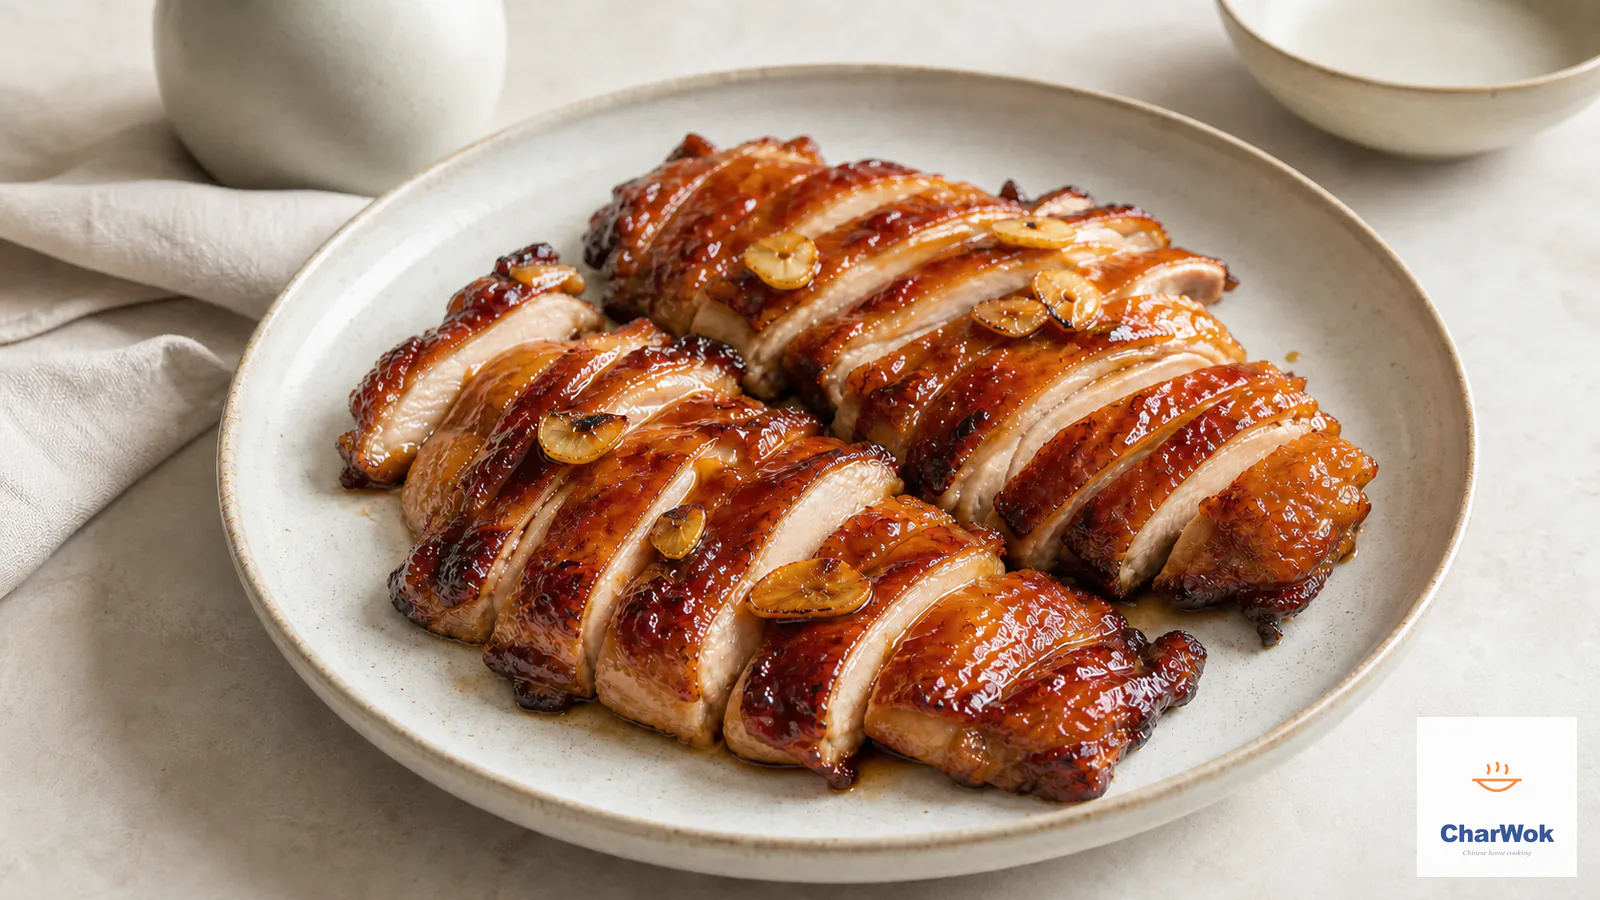
You also need actual char siu. This is not the recipe to use up leftover roast pork loin; the filling wants the sweet, red-tinted, fatty Chinese barbecue pork that has some chew and a deep maltose-and-five-spice flavor. If you don't want to make char siu from scratch, a good Chinese roast pork from a local shop works, but plain ham or Western roast pork will read as a different dish entirely.
Char siu bao filling
Ingredients at a glance
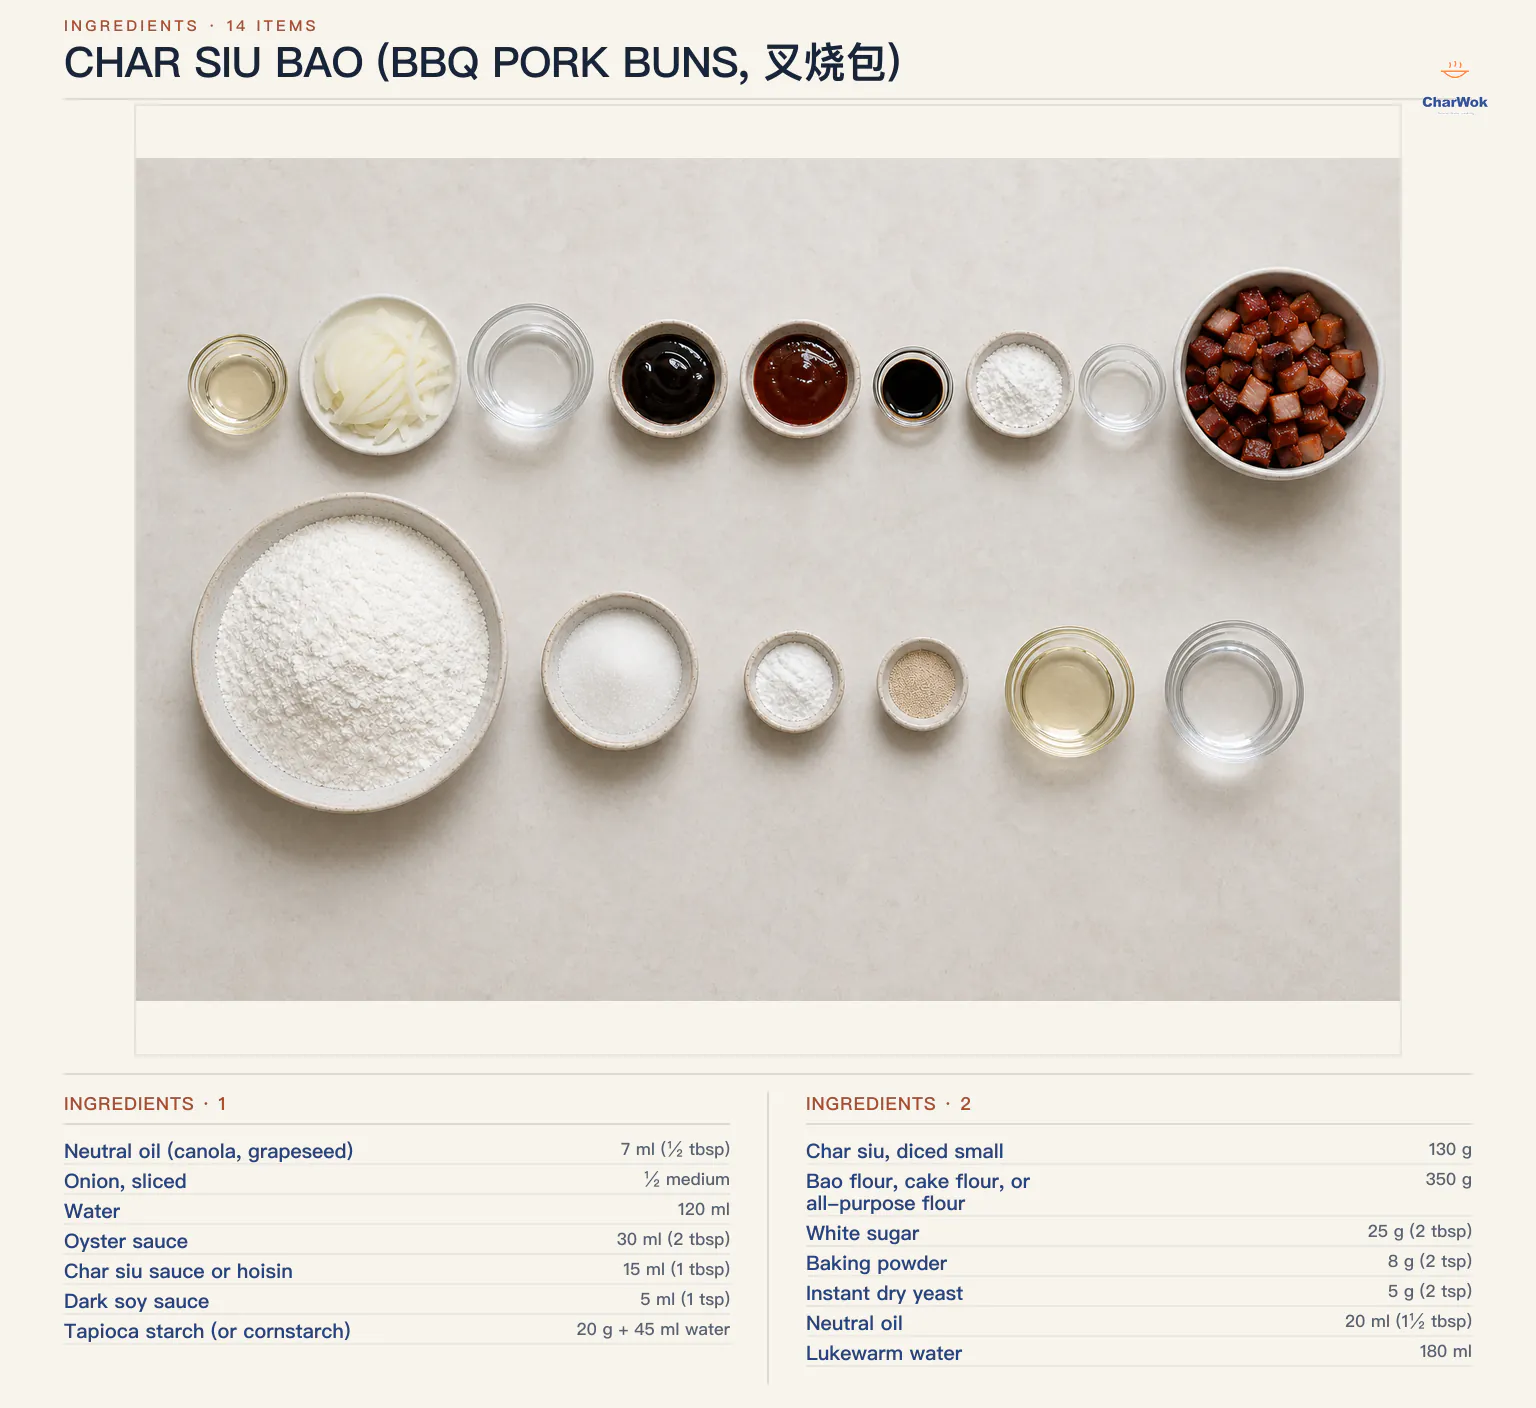
| Ingredient | Amount | Notes / substitute |
|---|---|---|
| Neutral oil (canola, grapeseed) | 7 ml (½ tbsp) | For sweating the aromatics |
| Onion, sliced | ½ medium | Yellow or white; you'll remove it before thickening |
| Water | 120 ml | Or unsalted pork/chicken stock for more body |
| Oyster sauce | 30 ml (2 tbsp) | The backbone of the savory base; see a Chinese condiment starter list |
| Char siu sauce or hoisin | 15 ml (1 tbsp) | Char siu sauce is sweeter and more aromatic; hoisin is the common substitute |
| Dark soy sauce | 5 ml (1 tsp) | Gives color and a molasses depth; dark and light soy are not interchangeable |
| Tapioca starch (or cornstarch) | 20 g + 45 ml water | Tapioca gives a clearer, glossier gravy; cornstarch is fine |
| Char siu, diced small | 130 g | About ½ cm dice; too fine and it turns to mush |
Why pull the onion out before adding the pork? Because the filling should taste of pork and sauce, not of cooked onion bits. You only want the onion to donate its sweetness to the liquid. Same reason you don't add garlic or ginger here; this filling is intentionally clean and pork-forward. The classic Cantonese version sometimes adds a little sugar or sesame oil at the end, and you can, but I prefer to let the char siu itself carry the sweetness.
The dough, and the flour question
The wrapper is a yeasted dough leavened twice: once as a bulk dough, once as shaped buns. Two leavenings plus baking powder is what produces that fine, even, almost cotton-like crumb. The baking powder is not a hack; it is structural. Yeast alone gives you good bread texture, but the extra lift from baking powder is what makes the crumb read as "fluffy" rather than "bready." I tried skipping it once and the buns came out tasting like small pork-filled sandwich rolls. Perfectly edible, completely wrong.
On flour: bao flour (a low-protein white flour milled for steamed buns) is ideal because its weak gluten keeps the crumb tender. Cake flour is the closest easy substitute. All-purpose works and is what I usually reach for, but the texture will be slightly less delicate. Do not use bread flour; the strong gluten will fight you during shaping and make the buns chewy. If you want to go deeper on how these flours differ across the whole family of Chinese breads and buns, the principles there apply here too.
Bao dough
| Ingredient | Amount | Notes |
|---|---|---|
| Bao flour, cake flour, or all-purpose flour | 350 g | Low-protein preferred for tenderness |
| White sugar | 25 g (2 tbsp) | Feeds the yeast and sweetens the dough |
| Baking powder | 8 g (2 tsp) | Double-acting; gives the cotton crumb |
| Instant dry yeast | 5 g (2 tsp) | Instant dissolves straight in; active dry needs proofing first |
| Neutral oil | 20 ml (1½ tbsp) | Softens the crumb and keeps the dough from drying out |
| Lukewarm water | 180 ml | About body temperature; too hot and you kill the yeast |
Making the buns, step by step
- Build the filling gravy first. Heat the oil in a small pan and sweat the onion slices over medium heat until they are soft and just starting to color at the edges, about 3 minutes. Pour in the water, oyster sauce, char siu sauce, and dark soy sauce. Let it come to a full boil for about 30 seconds so the onion finishes infusing the liquid, then fish the onion out with a slotted spoon and discard it. You have now made a flavored broth; the rest is about turning it into a jelly.
- Thicken to a jelly. Turn the heat to its lowest setting. Stir the starch slurry one more time (starch always settles), then pour it in while stirring constantly. Within 10 to 20 seconds the liquid will turn from pourable to a glossy, spoon-coating jelly. Take it off the heat the moment it clears and thickens; keep stirring over heat and it thins back out. Scrape it into a bowl and let it cool to room temperature. Warm jelly will soften the dough and ruin the proof.
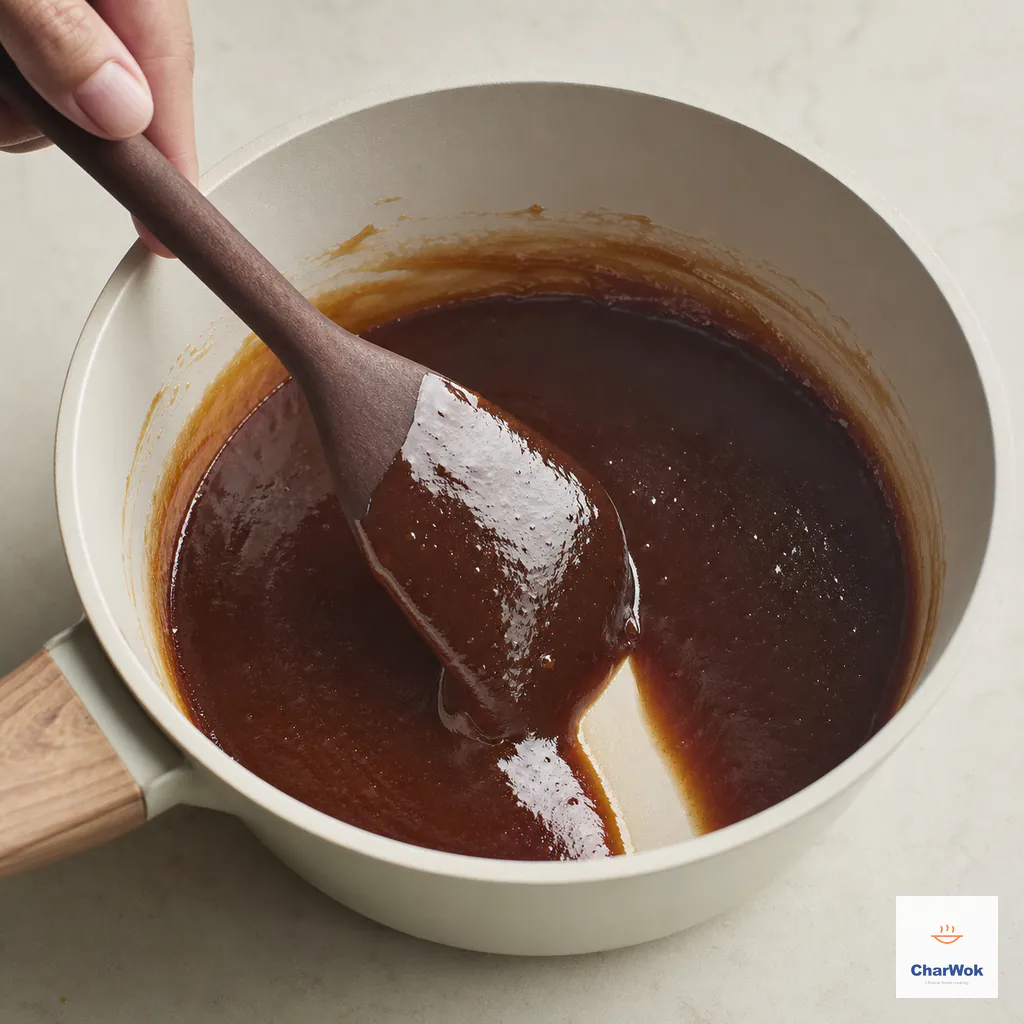
Keep the heat low and stop as soon as the sauce clears, clings to the spatula, and leaves a path that does not immediately flow closed; cool it completely before adding pork
- Fold in the pork. Dice the char siu into small pieces, roughly ½ cm, and stir them into the cooled jelly. You want the meat distributed through the gravy, not sitting in a pile. The filling can be made a day ahead and chilled, which actually makes it easier to portion.
- Mix and knead the dough. By hand: combine the flour, sugar, baking powder, and yeast in a bowl, add the oil, then pour in the lukewarm water gradually while mixing with chopsticks or a spatula. Once it gathers into a shaggy mass, knead briefly just until it forms a dough, cover, and let it rest 10 minutes. That short rest relaxes the gluten so the second knead is easy. Knead again until the dough is smooth and springs back lightly when pressed, about 5 more minutes. With a stand mixer, put everything in the bowl and knead on low for about 8 minutes total.
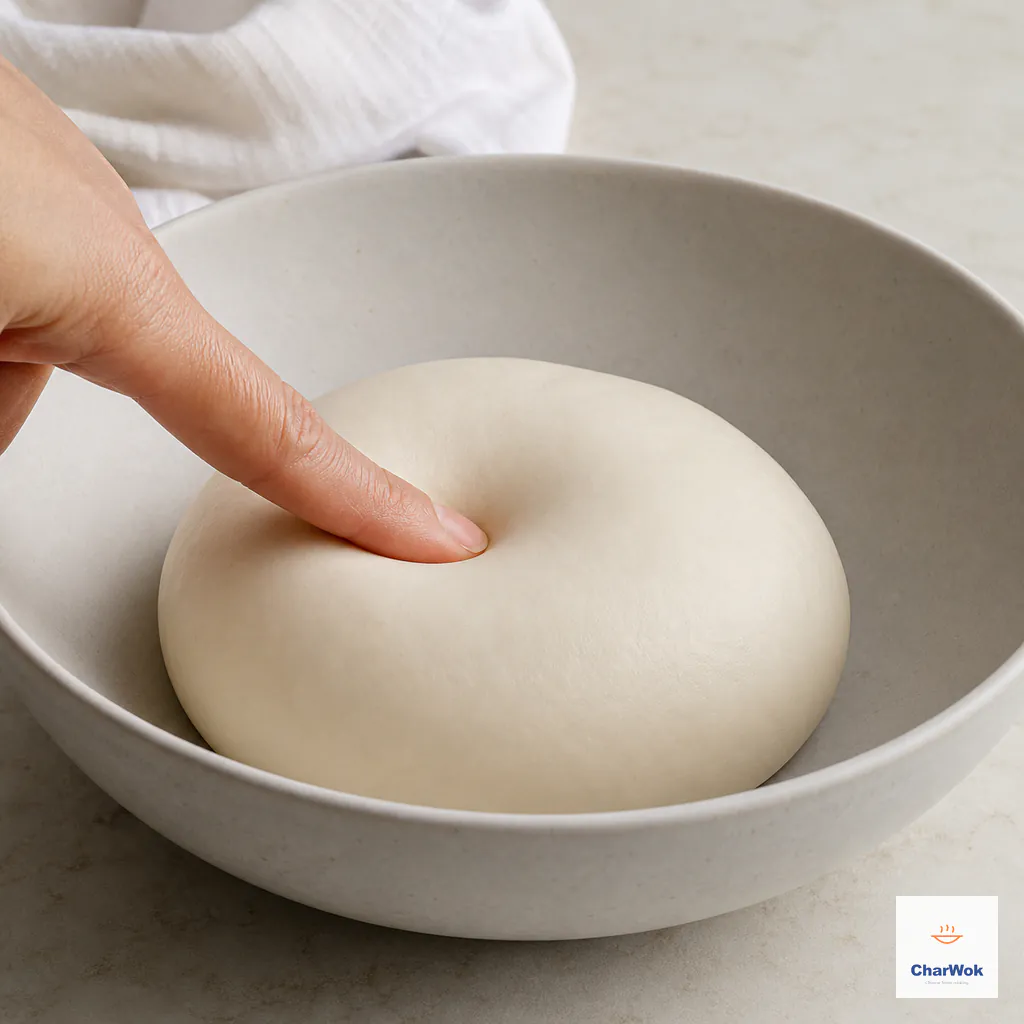
After the 10-minute rest, knead until the surface is smooth and a light press begins to spring back; keep the dough covered whenever you pause
- Divide and protect. Cut the dough into 14 equal pieces (about 42 g each) and keep every piece you are not working on under a damp towel or overturned bowl. Steamed bun dough skins over and cracks within minutes in open air, and those cracks show up as splits in the finished bun.
- Roll wrappers with a thick center. Take one piece, round it, then flatten it with a rolling pin into a disc about 9 to 10 cm across. Roll from the center outward, but leave the middle thicker than the rim. This is the opposite of a dumpling wrapper. The thick center holds the weight of the filling and stops the bottom from blowout; the thin rim folds cleanly without a bulky seam. If pleating dough is new to you, the same thick-center, thin-edge logic shows up when you roll wrappers for dumplings, so the muscle memory transfers.
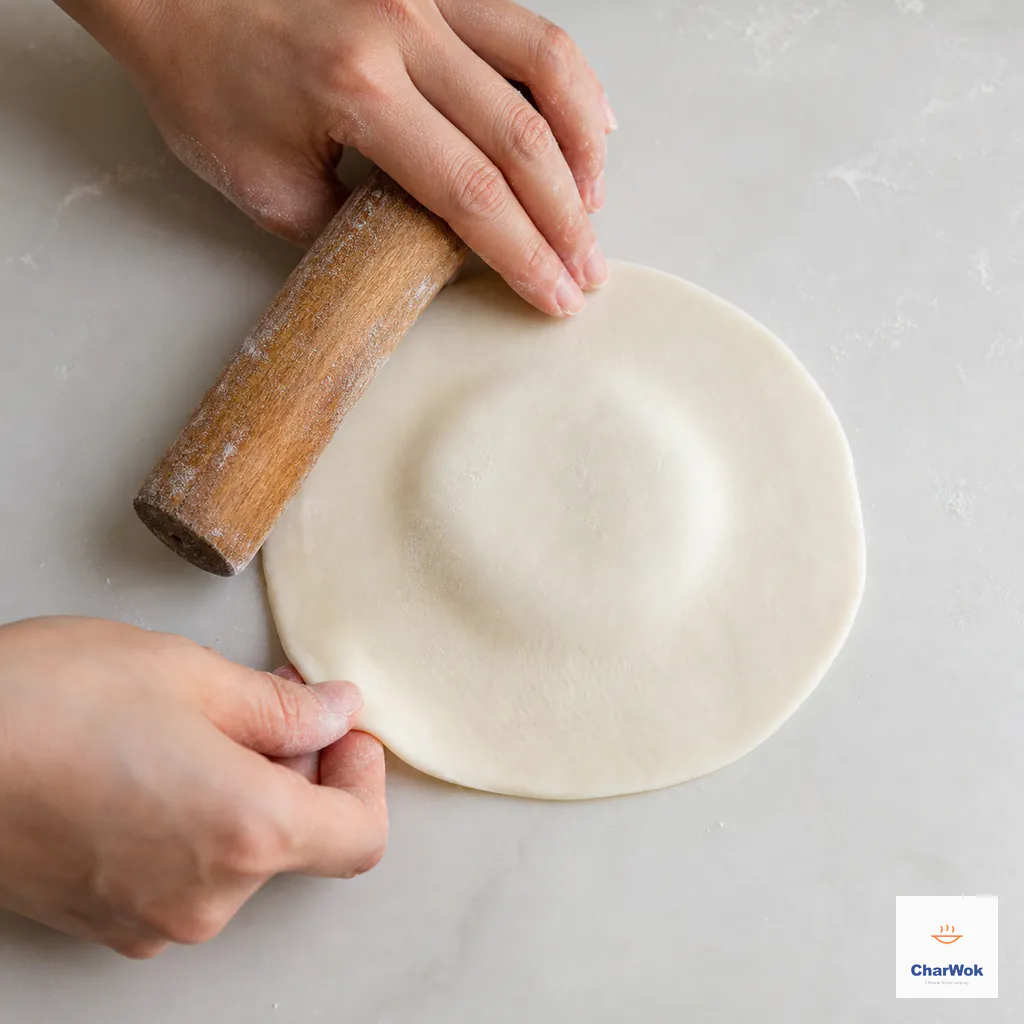
Roll each 9 to 10 cm wrapper from the rim inward and keep the central 3 to 4 cm thicker so the filling cannot break through the bottom
- Fill and pleat. Put about 20 g of filling in the center. Now you have two paths. For the classic crack-top look, gather the edge up around the filling and twist the dough closed at the top with a small pinch, leaving a deliberate dimple in the center. As the bun proofs and steams, that weak point spreads open into the characteristic smile. For a clean, sealed top, pleat around the edge the way you would for any classic filled bao and pinch the top firmly shut. Both are correct; the dimple is just the showy one.
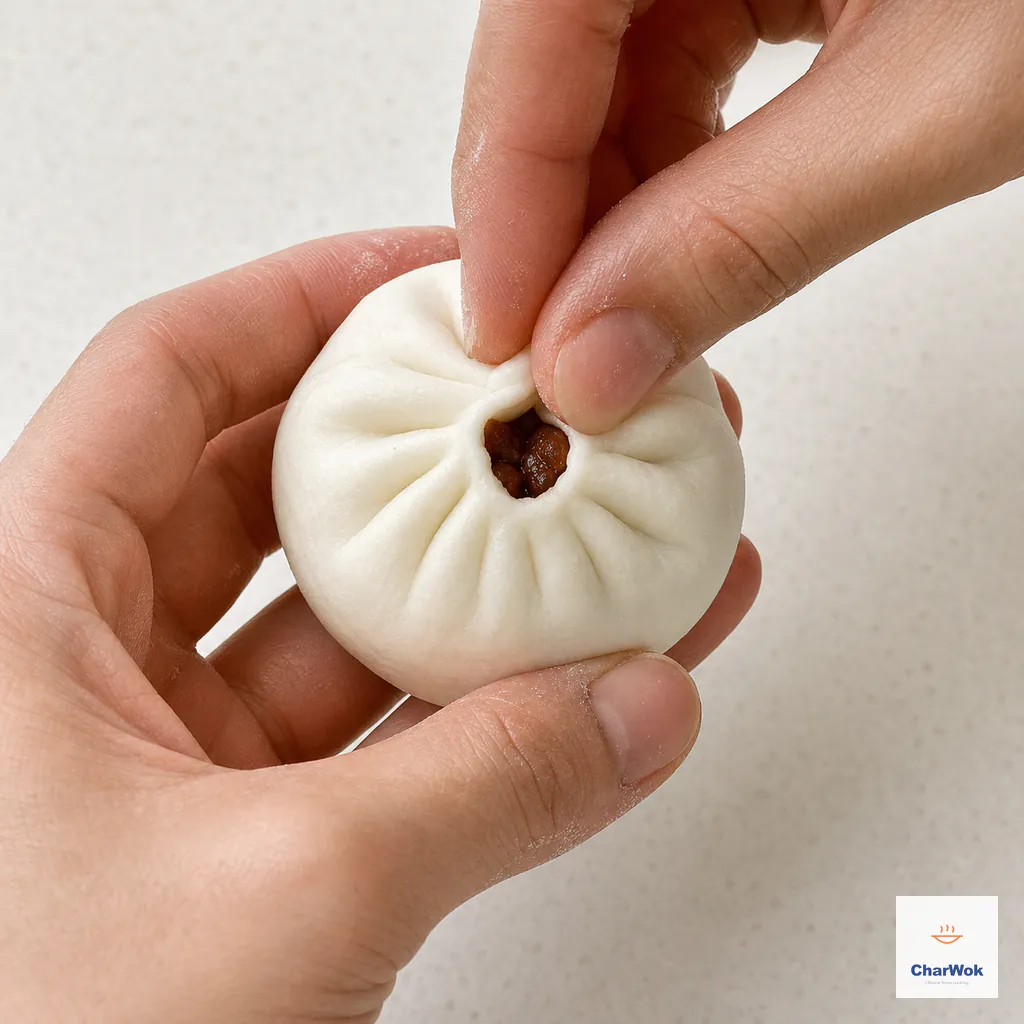
Use about 20 g filling, gather the rim without twisting it shut, and leave a small central dimple that can expand into the signature crack during steaming
- Proof the shaped buns. This is the step that decides whether you get fluffy buns or my gummy puck. Put the shaped buns into a steamer lined with parchment (cut small slits in the paper so steam can rise), spaced apart because they will double. Leave them uncovered at room temperature for about 30 minutes, until they have visibly puffed and feel light and pillowy when you nudge one. If you press a finger in gently, it should spring back slowly. Under-proof and the bun is tight; there is almost no over-proof at this stage short of collapse.
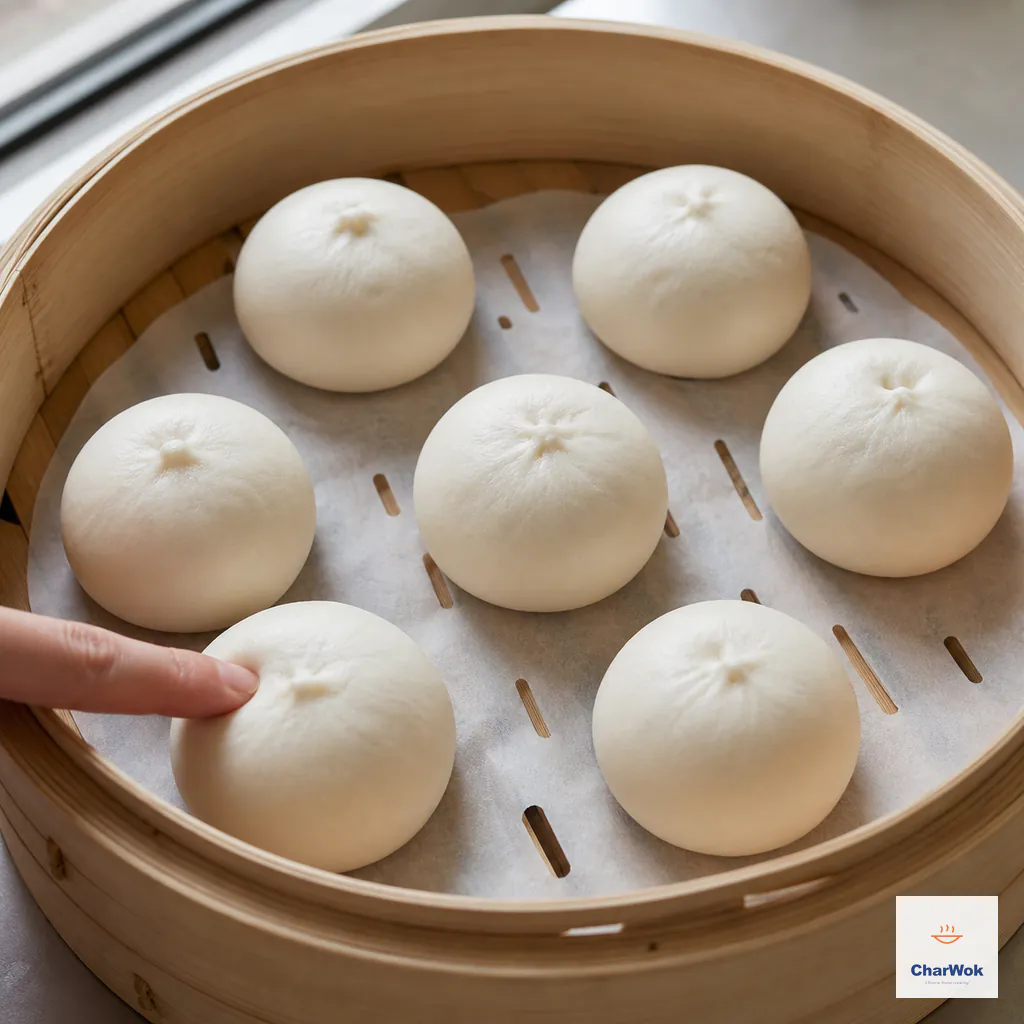
Proof for about 30 minutes until the buns look fuller, feel noticeably light, and a shallow fingertip mark returns slowly; keep clear gaps for expansion
- Steam hard and fast. Get the water to a full, rolling boil in your wok or pot before the basket goes in. Steam over medium-high heat for 10 minutes. The vigorous steam sets the crust quickly, which is what gives the surface its smooth, slightly shiny finish. For everything that can go right or wrong with the steaming setup itself, a good guide to bamboo steamers covers the details I'm glossing here.
- Rest a minute before opening. When the time is up, leave the lid on for about a minute, then crack it open slowly away from your face. A sudden temperature drop makes the buns wrinkle and collapse. I have wrecked a perfect batch by yanking the lid off too fast more times than I care to admit.
When the buns go wrong
A troubleshooting section is where home recipes earn their keep, so here are the failures I see most often, including several I have personally committed.
- Dense, heavy crumb. Almost always under-proofing. The shaped buns needed more time to puff before steaming. Next time, let them go until they are obviously plump and light, even if that takes 45 minutes in a cool kitchen. Yeast is slow below 75°F (24°C).
- Buns collapsed or wrinkled after steaming. Two causes. You opened the lid too fast, or you over-proofed until the structure was too weak to hold the steam's heat. Fix the first by waiting a minute and opening slowly; fix the second by steaming a touch sooner.
- Filling leaked out the bottom. Either the wrapper was rolled too thin in the center, or the filling was still warm when you stuffed it, which softened the dough from the inside. Cool the jelly completely and keep that middle thick.
- The top didn't crack open. You sealed it too tightly. For the smile effect, twist the dough shut with a visible dimple at the apex rather than pinching a flat, sealed cap.
- Dough felt tough and fought you while pleating. Strong flour, or not enough rest. Let the divided pieces relax under a towel for 5 minutes and try again; if it's still rubbery, switch to a lower-protein flour next time.
- Surface is pocked and uneven. The water wasn't boiling hard enough when the basket went in, or the lid dripped condensation onto the buns. Wrap the lid in a cloth to catch drips, a trick that matters for every steamed bun you'll ever make.
Variations and what to serve alongside
Once the dough and method are in your hands, the filling is negotiable. A few directions worth trying:
- Chicken char siu bao. Swap the pork for diced char siu chicken and use the exact same gravy. Lighter, slightly leaner, good for anyone avoiding pork.
- Sweet bao. The dough works beautifully with sweet fillings. Red bean buns (dou sha bao) use the same wrapper logic, and so do custard-filled versions; both are standard dim sum siblings.
- Baked instead of steamed. The baked char siu bao served in Hong Kong bakeries uses a different, enriched dough, but you can approximate the idea by brushing these shaped buns with egg wash and baking them, in the spirit of a baked bao. The texture is crustier and more bread-like, which some people actually prefer.
For a full dim sum spread, char siu bao pairs naturally with steamed dumplings, a leafy green like gai lan with oyster sauce, and tea. If you want to lean into pork for the table, these sit well next to pan-fried sheng jian bao for contrast between steamed-soft and pan-crispy, or next to the open-faced gua bao pork belly buns which fill a similar craving with a totally different technique. And if you are cooking for someone who insists buns are too much work, hand them a Chinese pork burger (rou jia mo), which delivers pork-in-bread with a flatbread instead of a steamed wrapper.
Storing and reheating
Steamed bao freeze exceptionally well once cooked, which is the main reason I make a full batch even for two people. Let them cool fully, then freeze them on a tray before transferring to a bag so they don't squash each other. They keep for up to three months. To reheat, thaw overnight in the fridge and steam for 3 minutes, or steam straight from frozen for about 6 minutes. Microwaving works in a pinch but toughens the wrapper and is the fastest way to turn a good bun into a rubbery one.
I do not recommend freezing the shaped, uncooked buns. The yeast dies slowly in the freezer and the baking powder loses punch, so a dough that would have bloomed in the steamer instead sits there and bakes dense. Freeze them cooked, or freeze the filling on its own for up to three months and make fresh dough when you want buns.
If you are scaling up for a gathering, the filling and the dough can both be made a day ahead and held in the fridge; just bring the dough back to room temperature before dividing so it rolls out without snapping back. A big batch of these belongs on any list of make-ahead Chinese dishes, and a tray of them fits right into the kind of pork-forward spread that feeds a crowd cheaply and well.
Common questions
The whole project rewards patience more than skill. Get the filling to a proper jelly, roll the wrappers with a thick center, and proof the shaped buns until they look like they are about to float. The first time one cracks open in the steamer and shows a slick of dark, glossy pork, you will understand why this bun has lasted as long as it has on the dim sum cart. Mine still aren't as pretty as the ones from the tea house down the street, but they taste right, and that was the whole point.