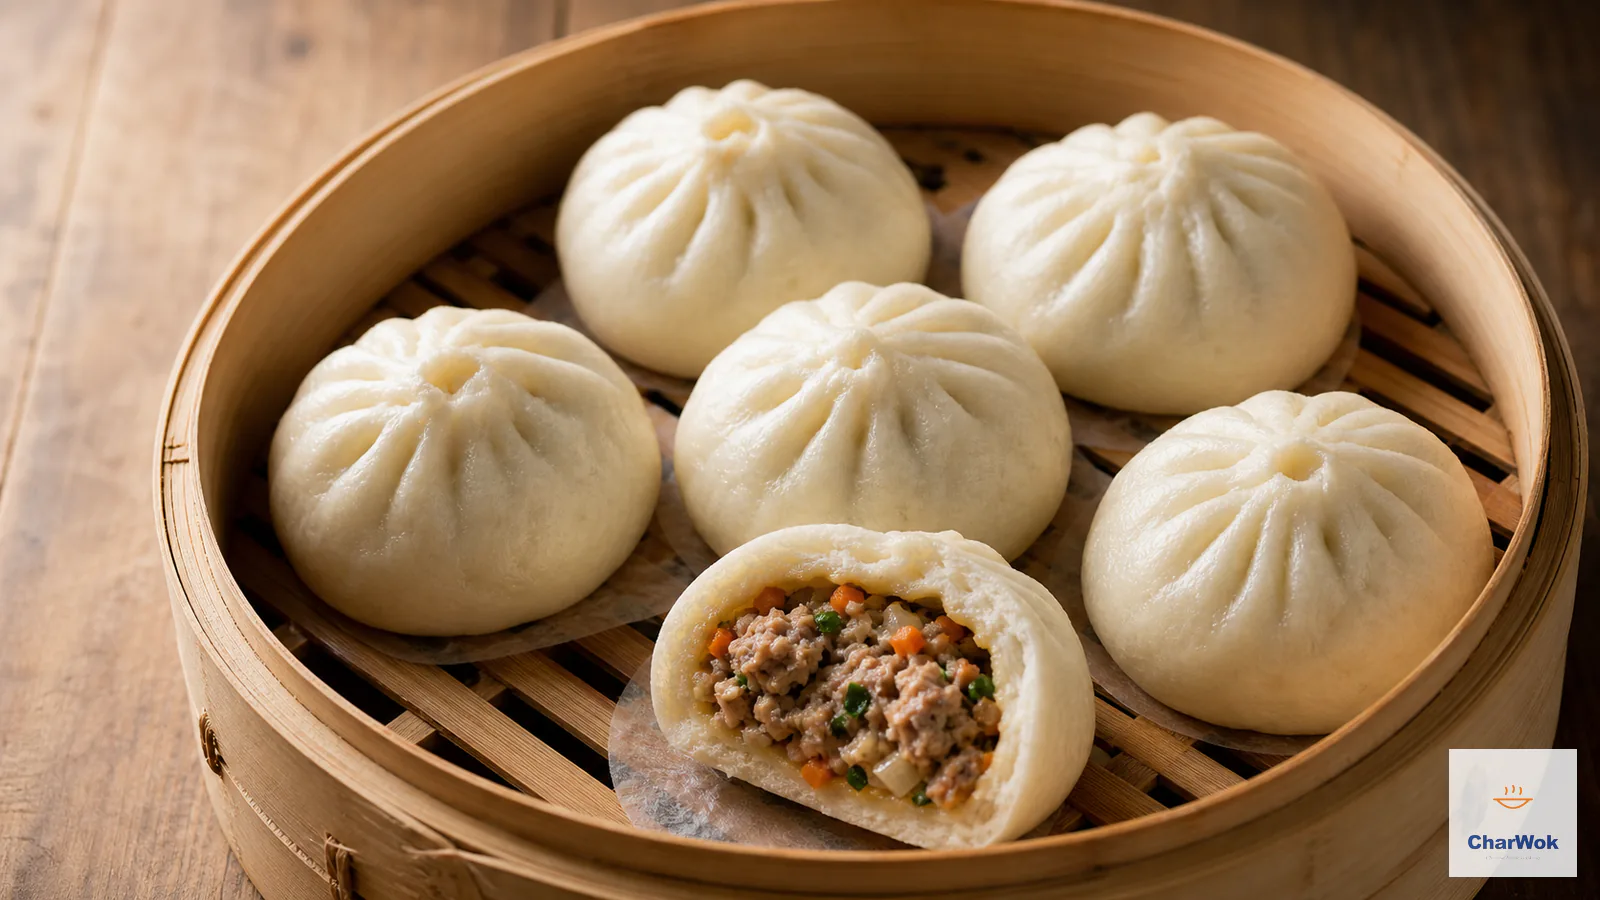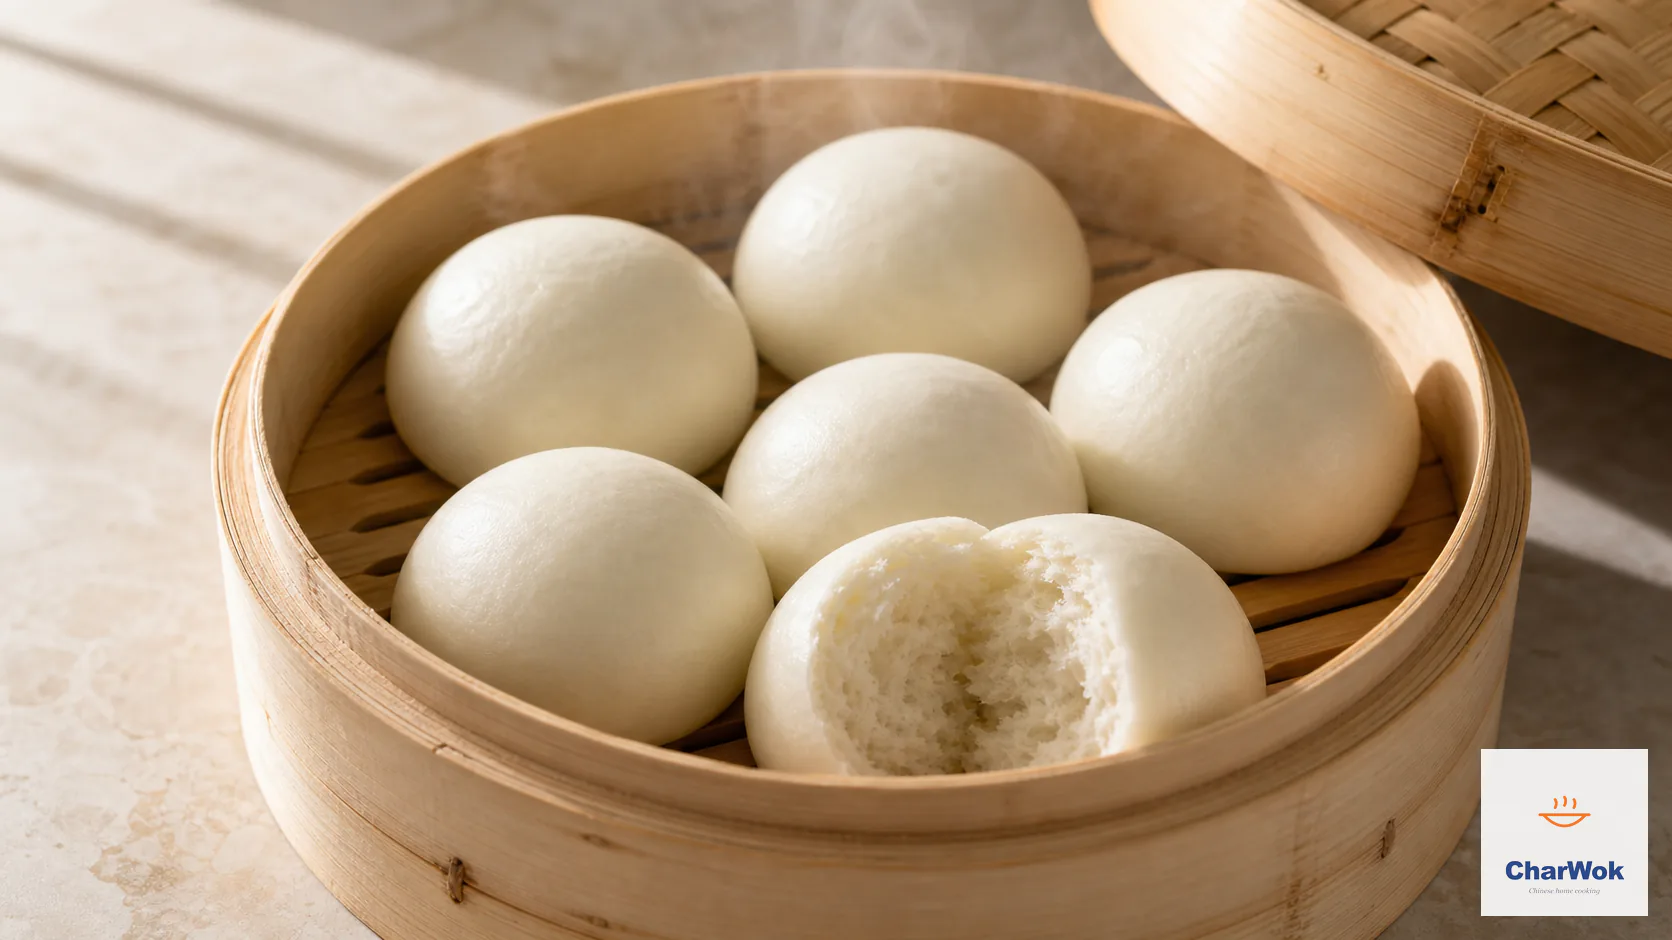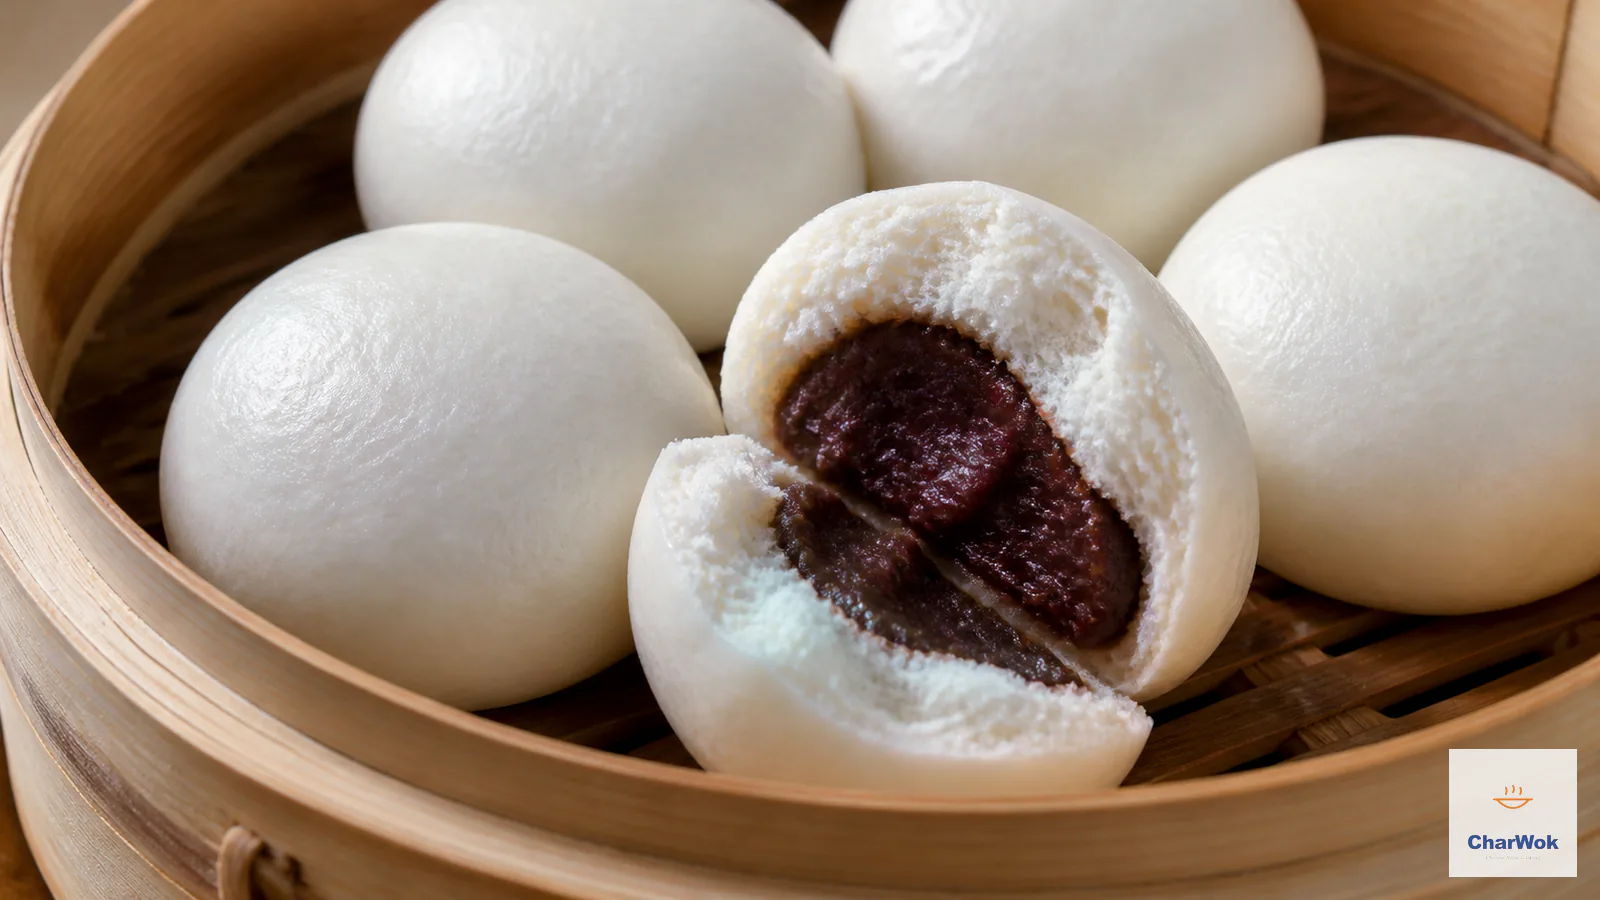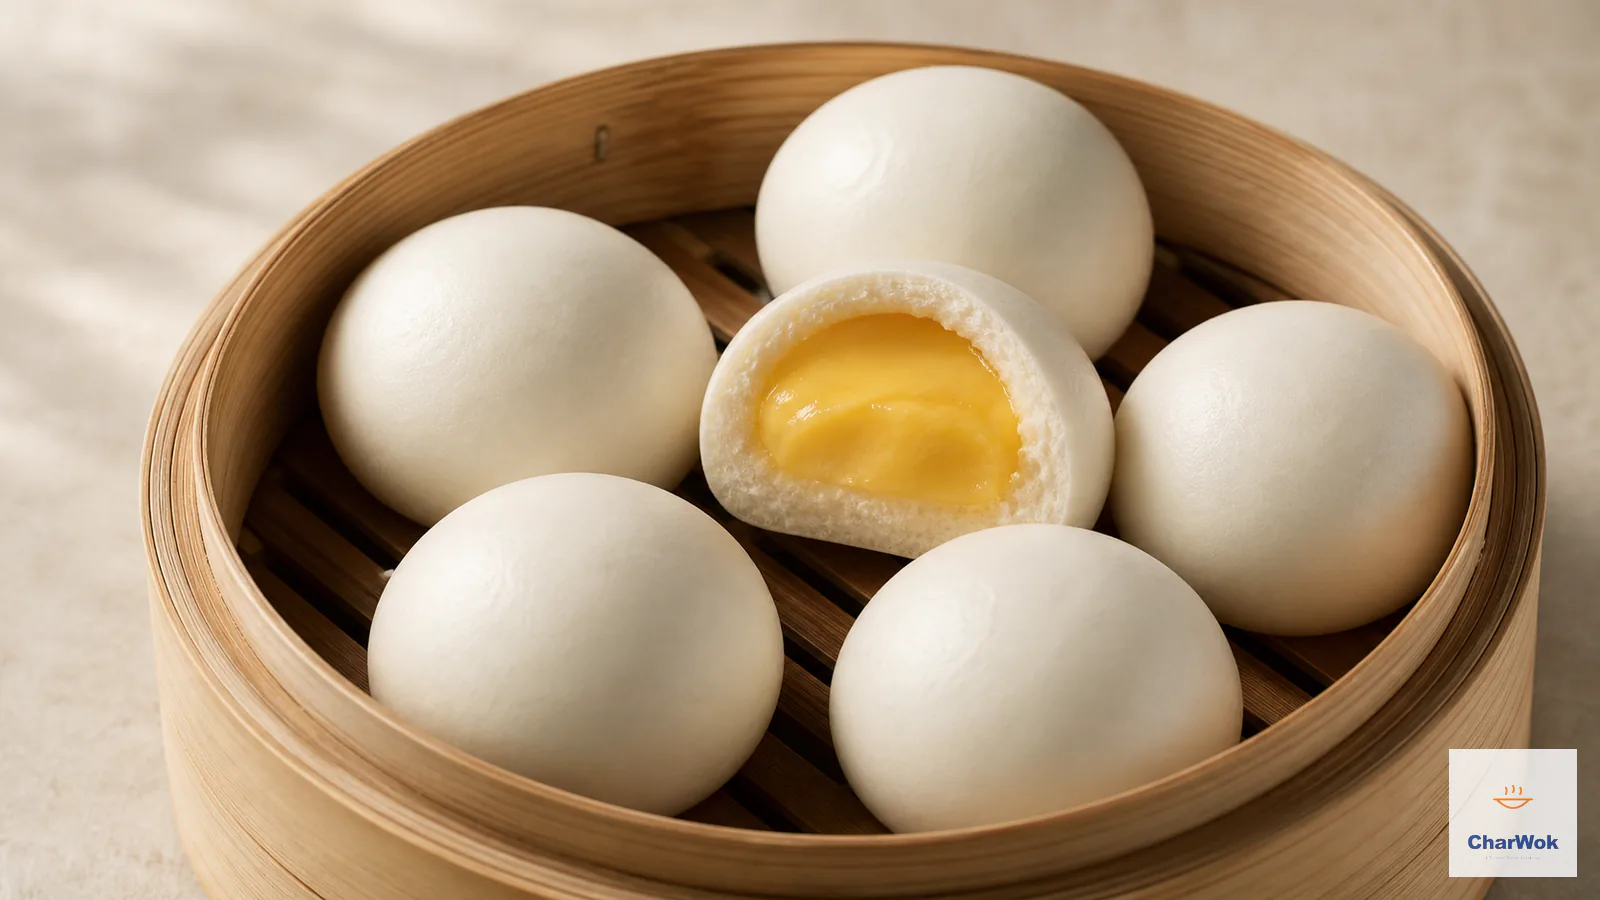
The first time I bit into a proper steamed custard bun, the filling inside was barely set, somewhere between a soft pudding and a molten center, and the dough around it was so light it nearly vanished on the tongue. That contrast is the whole reason the dish exists. Most home versions miss it. They give you a dense, slightly chewy bun wrapped around a dry, crumbly paste that tastes of raw flour and powdered milk. If yours have turned out that way, the dough is usually the culprit, not the recipe.
These buns, called Nai Wong Bao (奶黄包), are a Cantonese dim sum standard and one of the most requested items on any Hong Kong tea-lunch cart. They sit in the same family as char siu bao and red bean buns: a yeasted, slightly sweet dough steamed soft, then split open to release a rich filling. The catch is that the filling here is dairy-and-egg based and wants to stay loose, so the engineering of the dough and the timing of the steam matter more than for almost any other stuffed bun.
At a glance: a low-protein dough (cake or bao flour), one 10-minute rest, one 30-minute proof, then 8 minutes of steam over a full boil. The make-or-break detail is hydration. Aim for 90 g of water to 175 g of flour; the dough should feel soft and almost tacky, never stiff, because a stiff dough steams into a heavy bun.
What this dish is, and why it's harder than it looks
Custard buns are a relative newcomer compared to the savory stuffed buns that have been steamed across northern China for centuries. They belong to the broader world of Chinese steamed breads, but they lean dessert, and they borrow the milky, buttery richness you find in Cantonese bakery sweets rather than the austere wheat-and-water profile of a plain mantou. Inside a thin, pale wrapper sits a filling built from cooked egg yolks, butter, sugar, and milk powder. Done right, the heat of the steam softens that filling just enough that it flows slightly when you tear the bun open. Done wrong, it stays a grainy lump.
The reason home cooks struggle is that two things have to be true at once. The dough has to be tender enough to melt in the mouth, but strong enough to hold a pocket of soft filling without tearing. The filling has to be firm enough to portion and wrap when cold, but loose enough to turn silky under steam. You are managing the same ingredient, butter, across two temperature states. Ignore that and you get either a leak or a brick.
Two paths for the yolk filling
Every dim sum kitchen guards its own ratio, and they genuinely differ. The version below is deliberately simple: four components, no cooking of the filling itself. You can build it from plain hard-boiled egg yolks, which give a clean, gently eggy custard. Or you can use cooked salted duck egg yolks, which I prefer when I can find them. The salt cuts through the butter and sugar and stops the whole thing from tasting like dessert frosting. That salt-sweet pull is the same instinct behind a good mooncake.
If you go with raw salted duck eggs from a jar or shell, cook the yolks first. Simmer them in the shell for 8 minutes, then peel, or crack the eggs, rinse the whites away, and steam the yolks for 8 minutes. They need to be fully set before you mash them, otherwise the filling will weep liquid during the steam and soak the dough from the inside.
Ingredients
Ingredients at a glance
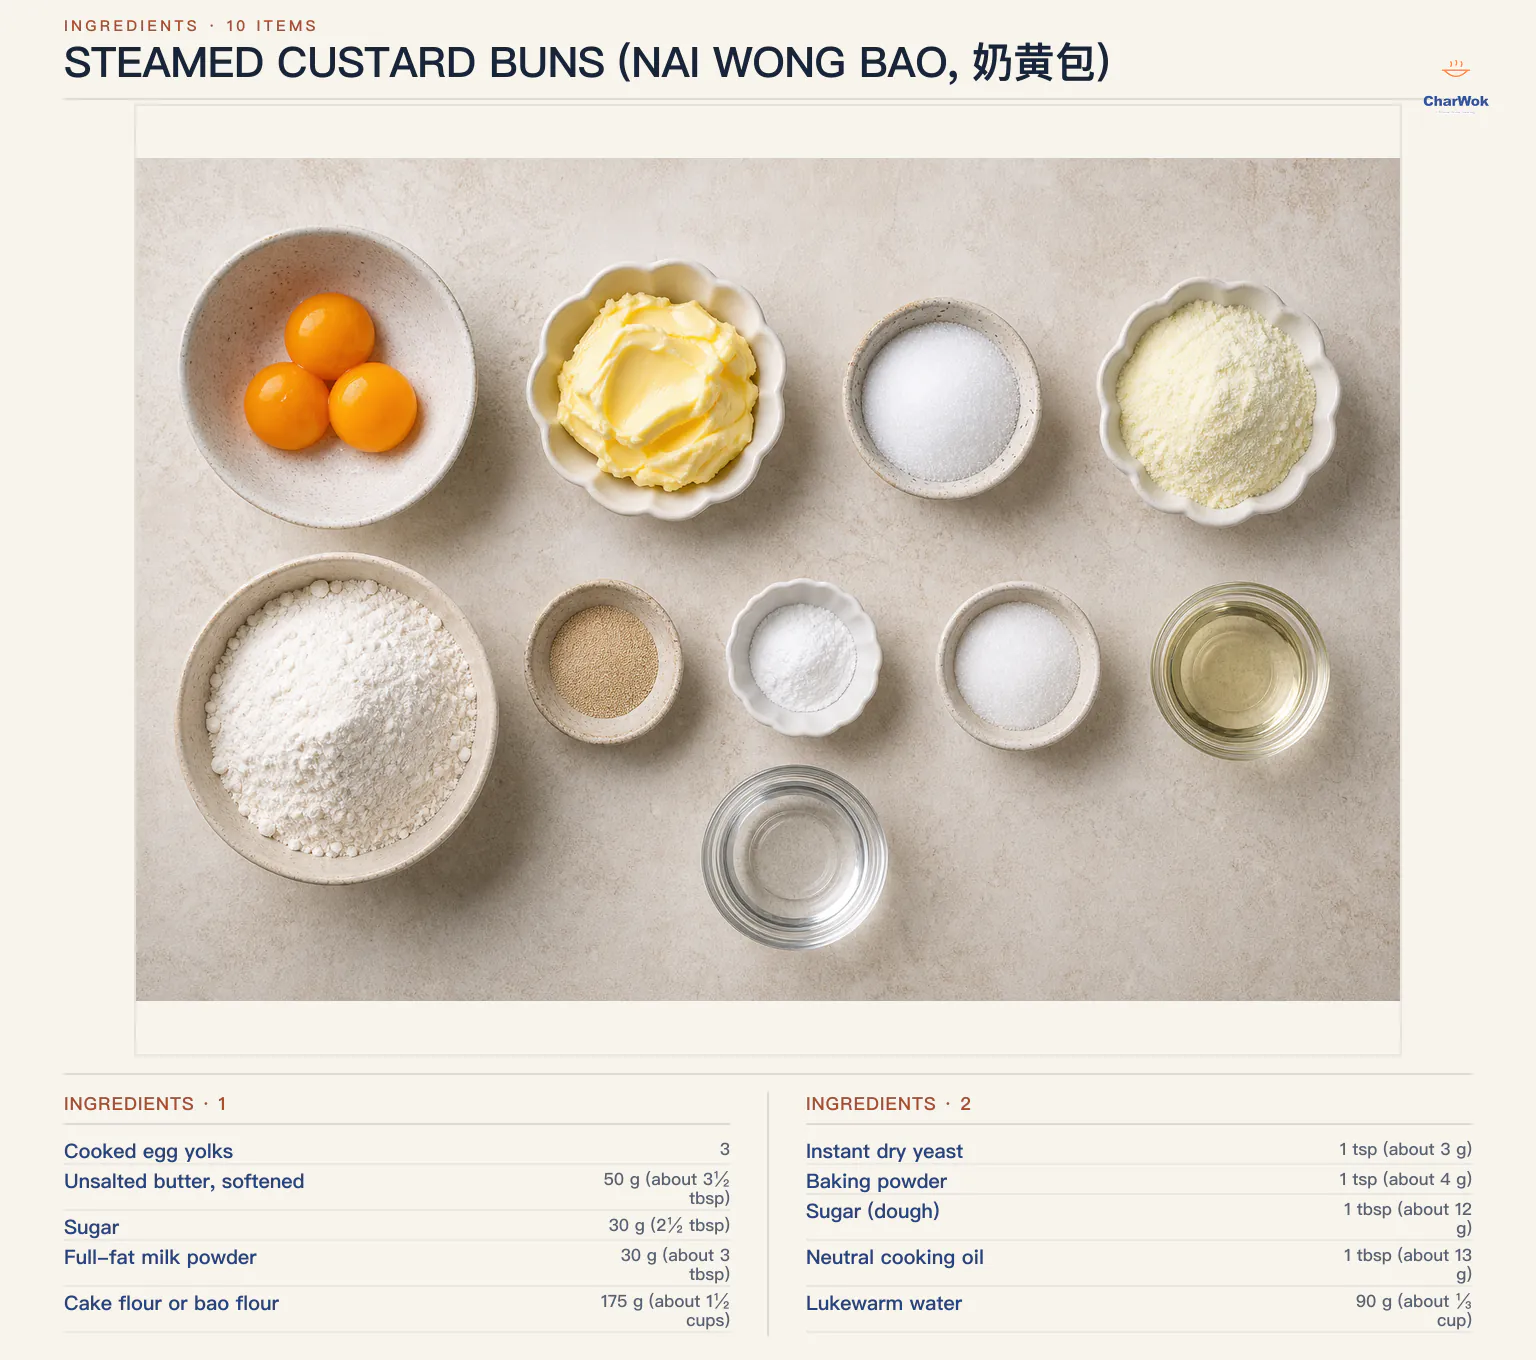
Makes 8 buns. Weigh the flour and water; the teaspoon and tablespoon measures are fine for the leavening and fat.
| Ingredient | Amount | Notes / substitute |
|---|---|---|
| Cooked egg yolks | 3 | Hard-boiled chicken yolks, or cooked salted duck egg yolks. Salted duck is richer and less sweet. |
| Unsalted butter, softened | 50 g (about 3½ tbsp) | Room temperature, not melted. European-style butter adds flavor. |
| Sugar | 30 g (2½ tbsp) | Use 40 g if using salted duck yolks, to rebalance the salt. |
| Full-fat milk powder | 30 g (about 3 tbsp) | Traditional custard powder (ji shi fen) with egg and milk works. Avoid cornstarch-based brands like Bird's unless you want a dairy-free version. |
| Cake flour or bao flour | 175 g (about 1½ cups) | 7 to 8% protein. All-purpose (10 to 11% protein) works but makes a tighter bun; bump water to 95 g. |
| Instant dry yeast | 1 tsp (about 3 g) | Instant mixes straight in. Active dry yeast needs dissolving in the water first. |
| Baking powder | 1 tsp (about 4 g) | Aluminum-free, to avoid a metallic taste. |
| Sugar (dough) | 1 tbsp (about 12 g) | Feeds the yeast and lightly sweetens the wrapper. |
| Neutral cooking oil | 1 tbsp (about 13 g) | Canola or grapeseed. Softens the crumb and extends shelf life. |
| Lukewarm water | 90 g (about ⅓ cup) | Around 35°C / 95°F, just warm to the finger. Adjust by a few grams for your flour. |
The method, step by step
- Make the filling while the yolks are warm. Mash the cooked yolks with the back of a spoon until they look like fine sand. Warm yolks break down cleanly; cold ones fight you and leave gritty spots that never dissolve. For a flawlessly smooth center, push the mash through a fine sieve. Add the softened butter, milk powder, and sugar, and work it into a smooth paste. Taste and nudge the sugar up if you like it sweeter, since nothing here is raw. Chill the paste in the fridge for 20 to 30 minutes so it firms up enough to portion.
- Mix and rest the dough. Combine the flour, yeast, baking powder, sugar, and oil in a bowl. Add the water gradually, stirring with chopsticks or a spatula until shaggy, then bring it together by hand into a rough ball. Cover and let it sit for 10 minutes. That short rest lets the flour hydrate and the gluten relax, so the second knead takes a third of the effort. Knead until the dough is smooth and springs back slowly under a finger. With a stand mixer, skip the rest and run on low for about 8 minutes.
- Portion and shape the filling. Pull the chilled filling from the fridge and divide it into 8 rounds, roughly a tablespoon each. Roll them between your palms. If the kitchen is warm and the butter softens too much, return the rounds to the fridge for a few minutes. Soft filling is the single most common cause of leaks.
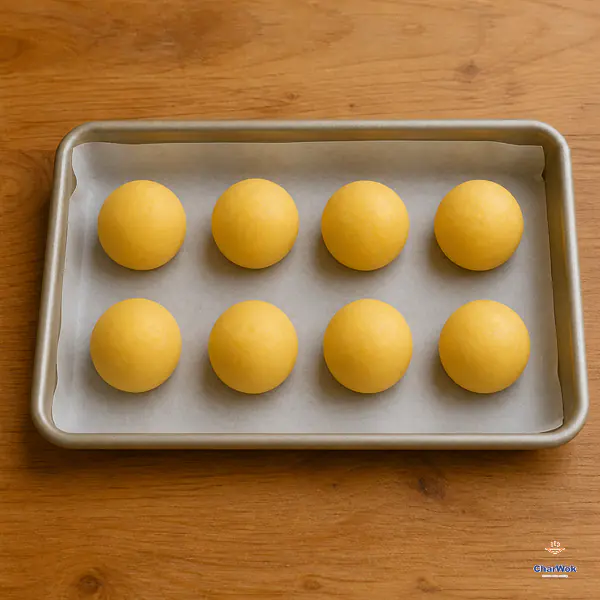
Chill the cooked custard for 20–30 minutes until it holds its shape, then divide it into exactly 8 equal portions and roll each one smooth before wrapping.
- Divide and roll the wrappers. Roll the dough into a log and cut it into 8 equal pieces. Keep the unused ones under a damp cloth so they don't skin over. The same logic applies as when you roll dumpling wrappers: work one piece at a time, knead it briefly for about 10 seconds to smooth it, then flatten it with your palm and roll it to about 9 cm (3½ inches) across. Roll from the center outward and leave the edge thinner than the middle. A thick center holds the weight of the filling; a thin edge gives you something to pleat and seal without a bulky seam.
- Fill and seal. Set a filling round in the middle of a wrapper. Pull the edge up around it and pinch the dough closed at the top. You don't need the neat pleats you'd build for soup dumplings or savory baozi, because the sealed side faces down in the steamer and nobody sees it. What you do need is a complete seal. Any gap and the filling will weep out as the butter melts. Give the closure a firm twist and press it flat.
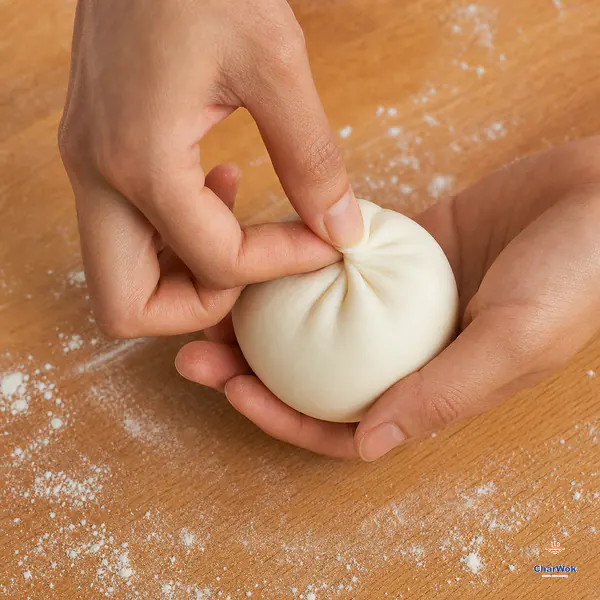
Keep the wrapper thicker in the center and thinner at the edge, gather it over one chilled custard round, then pinch, twist and flatten until no filling or opening remains; set it sealed-side down.
- Proof, but not to doubling. Set the buns sealed-side down in a lined bamboo steamer or on oiled parchment, leaving space between them. Cover and rest in a warm spot for about 30 minutes. You are looking for a 30 to 40% increase in size and a surface that looks taut and slightly glossy, not a full double. Over-proof and the structure goes slack; the buns collapse and wrinkle in the steam.
- Steam over a full boil for 8 minutes. Get the water to a rolling boil before the basket goes in, then hold it at medium-high for 8 minutes. Stack two or three baskets if you're cooking a bigger batch; the time stays the same. Resist the urge to peek. Every lift of the lid drops the temperature and can pit the surface of the dough.
- Rest one minute before opening. Off the heat, let the buns sit with the lid on for a minute, then crack the lid slightly for another 30 seconds before removing it fully. A slow release of steam prevents the tops from contracting and dimpling.
When things go wrong
This is the section I wish I'd had the first three times I made these. Each failure has a specific cause, and most are fixable on the next batch.
The dough won't smooth out and gets rougher the more you knead
This is almost always under-hydration, not under-kneading. Low-protein cake flour is thirsty in a deceptive way, and a dough that looks smooth at first can tighten and tear as it rests. Add water a teaspoon at a time during the first knead until the dough feels like a soft earlobe. If you switched to all-purpose flour without raising the water, that is your answer: bump it from 90 g to 95 g.
The buns taste of raw flour
Two suspects. Either the steam wasn't hot enough, so the dough never fully cooked through, or the dough was too thick in the middle and the steam couldn't penetrate. The fix is a full rolling boil before the basket goes in, and wrappers rolled thin at the edge with a measured center. A bun that's all dough and a sliver of filling will taste floury no matter what you do.
The filling leaks out the bottom
The filling was too warm when you wrapped, or the seal wasn't fully closed. Chill the filling rounds until they're firm, and pinch the closure with conviction. A thin smear of water on the edge of the wrapper helps the dough stick to itself. If you still see a blowout, the bun is still perfectly good to eat, just less photogenic.
The buns come out dense and heavy
Usually a proofing problem. If your kitchen is cool, 30 minutes isn't enough; let them go 40 to 45 minutes until they look puffy and light. Check your yeast is alive by proofing a pinch in warm water with a dot of sugar; it should foam in 5 minutes. Dense buns can also come from dough that's too dry, which strangles the gas cells before they can expand.
The surface is pitted and wrinkled after steaming
Condensation dripped onto the dough, or the temperature dropped suddenly. Keep the lid slightly ajar with a chopstick during steaming so water runs down the dome instead of raining on the buns, and ease the lid off slowly at the end. A cloth wrapped under the lid is an old dim sum trick for the same reason.
Variations and what to serve alongside
Once the dough technique is in your hands, the filling is a swap. The same wrapper carries sweet red bean paste or a spoonful of black sesame paste with no change to the method. For a nuttier, less sweet version, blend the milk powder with a little toasted sesame paste. A pinch of matcha or a half-teaspoon of vanilla in the custard rounds out the dairy nicely.
For a full dim sum spread, pair the buns with something savory and steamed so you're not running two cooking methods. Sticky rice in lotus leaf shares the steamer, and a pot of strong tea cuts the richness. If you're building a Chinese breakfast around them, add a simple congee and a plate of stir-fried greens.
Storage and reheating
Custard buns are at their best in the first 20 minutes out of the steamer, when the filling is still loose and the dough is at its softest. Once cool, the butter in the filling sets and the texture turns dense. That's not a flaw, it's just the nature of the dish, so plan to eat them warm.
Cooked buns freeze well, which makes them a natural fit for a make-ahead batch. Cool them fully, then freeze on a tray before transferring to a bag; they keep for up to 3 months. To reheat, thaw overnight in the fridge and steam for 3 minutes, or steam straight from frozen for 6 minutes. Do not freeze the uncooked buns. Unlike pan-fried buns or dumplings, the leavened dough over-proofs and collapses in the freezer, so freeze them cooked.
These show up often on holiday and reunion tables because they're easy to make ahead and reheat on demand. They sit comfortably alongside eight treasure rice in a Chinese New Year dessert lineup, and they're a reliable crowd-pleaser in any wider dim sum spread. If you want a make-ahead project that rewards the freezer, this is one of the better ones in the canon.
One honest limitation
I'll be straight with you about the semi-runny center. The silky, flowing filling you get in a top dim sum room comes from a cooked custard base thickened with flour or custard powder and held together with gelatin or a specific starch ratio. The simple mash-and-chill method here gives you a soft, spoonable filling that's closer to a firm truffle than a lava flow. It's delicious, and it's what most home cooks actually want, but if you're chasing that dramatic molten pour, you'll need to move to a cooked-custard filling and accept the extra step. The snow skin mooncake custard is built on that firmer, cooked base and is a good reference point if you want to push further.
Frequently asked questions
Can I make the dough ahead and steam later? Yes, with care. After shaping, cover the buns and refrigerate up to 12 hours; the cold slows the proof. Let them come to room temperature and finish proofing until puffy before steaming.
Why is my filling grainy? The yolks weren't mashed fine enough, or the butter was cold when you mixed. Press the yolks through a sieve and use softened butter for a smooth paste.
Do I really need cake flour? No, but all-purpose makes a tighter, chewier bun. If that's all you have, add 5 g more water and accept a slightly denser result.
Can I bake these instead of steaming? Not for this texture. Steaming is what keeps the dough pale and soft; baking sets the crust and dries the crumb, which fights the whole point of the bun.
Why add baking powder alongside yeast? The yeast gives flavor and a gentle rise during proofing. The baking powder adds a fast lift the moment steam hits the dough, which keeps the bun light even with a short single proof.