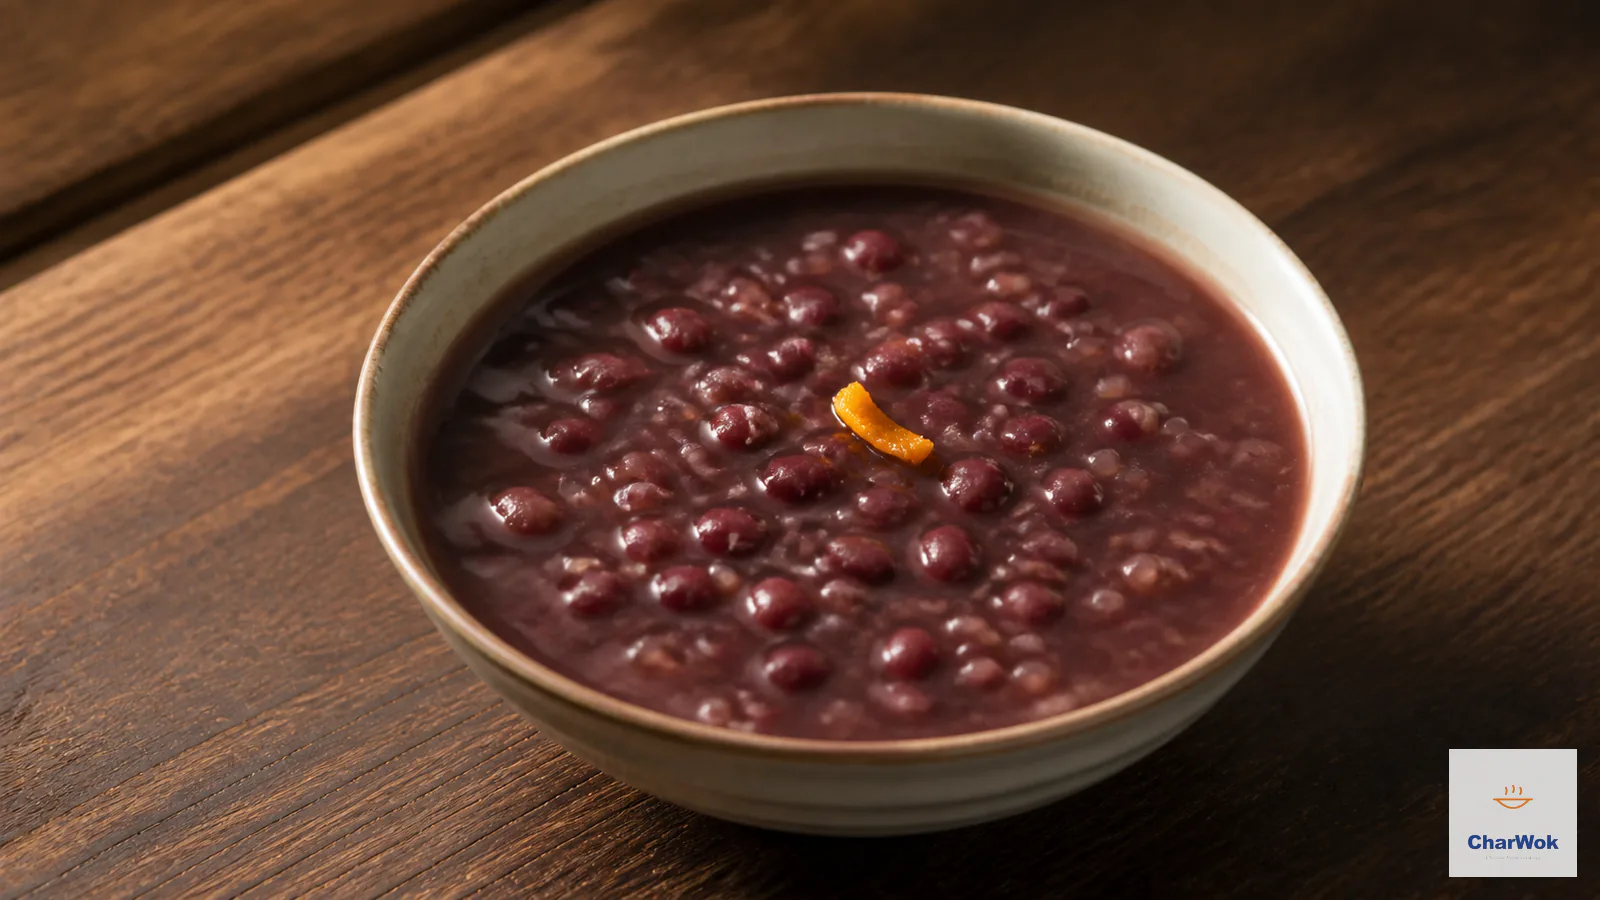
The first time I tried to make red bean paste at home, I undercooked the beans by twenty minutes, then tried to push them through a sieve anyway. The result was a gritty brick that tasted like damp cardboard. I bought canned paste for a year after that. What I eventually learned is that almost every failure with this filling traces back to two things: the beans weren't cooked enough, or the paste got dried past the point of no return on the stove. Fix those two and the rest is surprisingly forgiving.
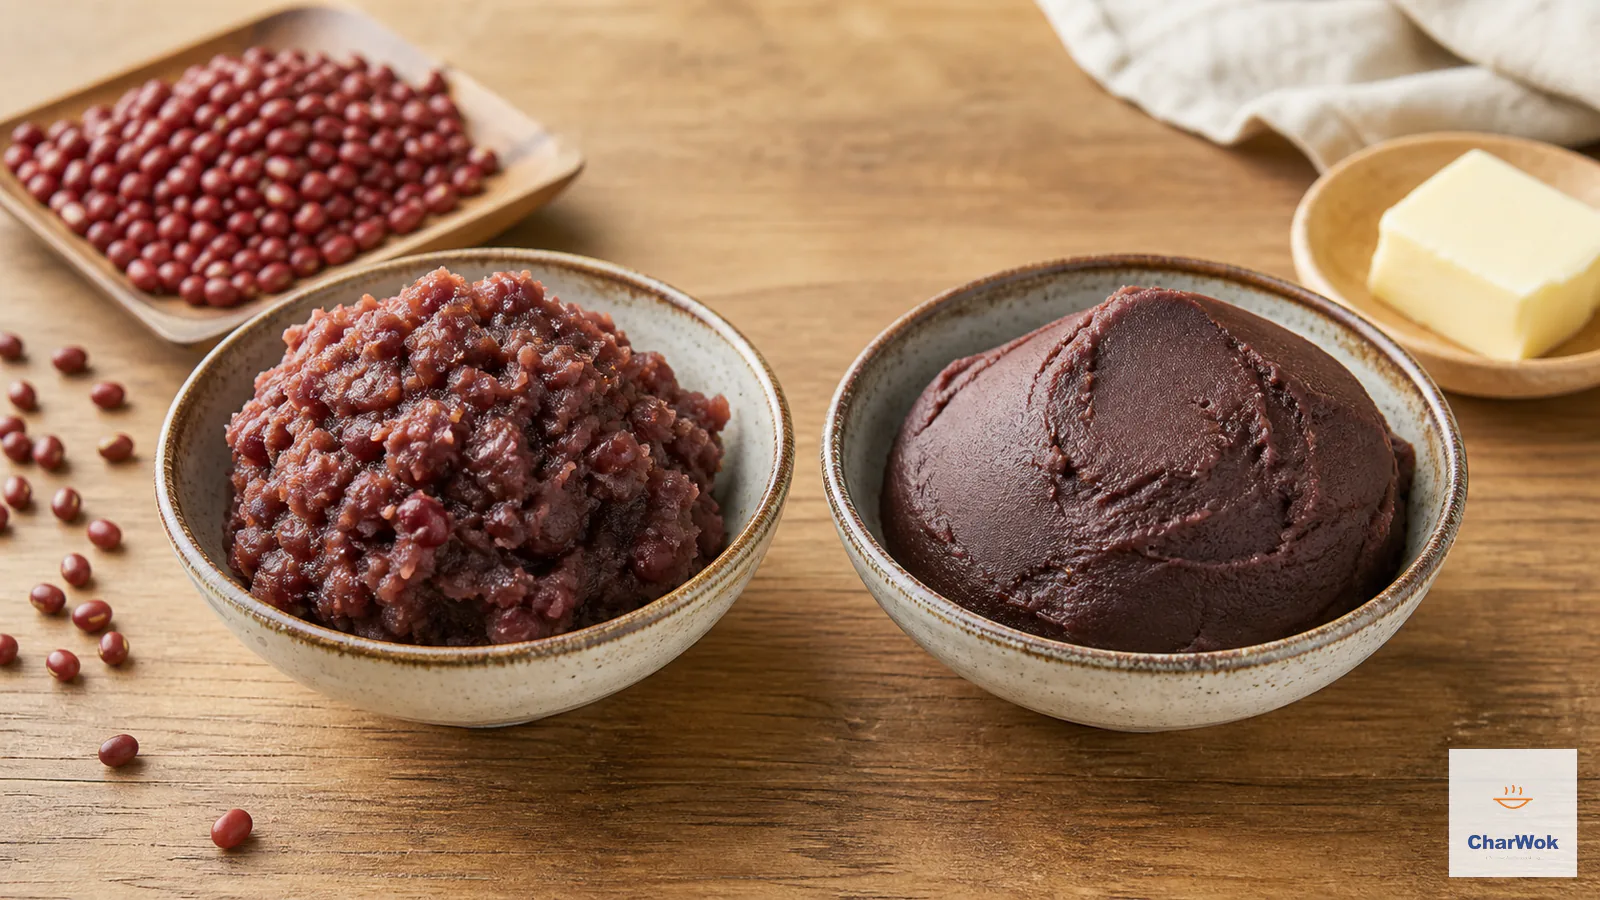
This is a building-block recipe, not a finished dish. You make a batch of hong dou sha (红豆沙, red bean paste) once, then spend the next month folding it into steamed red bean buns, hiding a spoonful inside tang yuan, rolling it into eight treasure rice pudding, or swirling it through a quick pumpkin mochi cake. The version below covers the two textures most Chinese kitchens actually use: a smooth, blender-creamed paste and a chunky, hand-mashed one. Each has its own best use, and the difference matters.
Soak 200 g adzuki beans overnight, cook until a bean crushes with no resistance (about an hour, or 25 minutes under pressure), then drive off moisture in a pan until the paste leaves the sides clean. The make-or-break moment is the final drying: stop when it still looks a touch too soft, because it firms up a lot as it cools.
What red bean paste actually is
Red bean paste is adzuki beans cooked to mush, sweetened, enriched with fat, and reduced until it holds a shape. That is the whole idea. Two regional traditions shape how it gets used. In the north and in Cantonese bakery work, the preference runs toward a fine, skins-removed paste that pipes cleanly and looks pristine inside a mooncake or a snow skin mooncake. In home cooking across northern China, a rougher, skins-on mash is normal, the kind you'd tuck into zongzi or layer into eight treasure rice pudding where rustic texture reads as honest rather than sloppy.
Japanese and Korean kitchens use the same beans for their own sweets, and the canned paste sold in most Asian grocers is usually modeled on the fine Japanese style. Canned is fine in a pinch. But it tends to be uniformly sweet and slightly metallic from sitting on a shelf, and once you've had the homemade version warm from the pan, the canned stuff is hard to go back to.
The beans, the sugar, the fat
Adzuki beans are small, deep red, and about 5 mm across. You'll find them bagged in any Chinese or Asian grocery, and increasingly in the bulk section of well-stocked supermarkets. They are not the same as kidney beans, though kidney beans can pinch-hit for the blended, smooth route. Run them long enough in the machine and the texture passes, though the flavor leans earthier and drops the nutty edge that adzuki carry. Don't substitute black beans or mung beans here. Mung beans have their own dessert tradition (and their own paste), but the result is a different dish entirely.
For sugar, I use a mix of white and dark brown. White gives clean sweetness; the brown adds caramel and a deeper color that makes the finished paste look like the one in a bakery case rather than a pale pink smear. Rock sugar, bing tang, is the traditional choice if you keep rock sugar on hand, and it produces a clearer, less aggressive sweetness. You can use any one of these solo. The only thing I'd avoid is honey, which browns too fast and burns easily during the final drying.
Fat is the ingredient people skip, and the reason their homemade paste tastes thin next to the good stuff. I reach for butter; lard is what Cantonese bakeries have always used, and it leans a touch more savory, which reads beautifully against sweet pastry. Think of the fat as the body of the paste, not a flavoring. Lard, the Cantonese bakery standard, is nearly pure rendered fat; butter runs about 80 percent fat with the rest water and milk solids, which is why a butter-based paste tastes a little creamier and dairy-rich. Either way, working fat into hot, starchy beans turns the mass into a soft suspension of fat and mashed bean: a thin film of fat coats each starch granule, so the finished paste glides on the tongue rather than catching and dragging like a fat-free bean-and-sugar mash. Fat also gives the filling a built-in temperature switch. Chill the paste and the fat solidifies, so a portion holds a clean line when you press it into a mold; warm that same filling inside a just-steamed bun and the fat softens again, turning the center yielding. That is the whole reason a mooncake filling stays sharp-edged cold yet turns supple once the pastry is hot. For a vegan version, coconut oil stands in for the butter; its scent is assertive, so I tend to use a little less of it than the butter amount and let the bean lead.
Ingredients
Ingredients at a glance
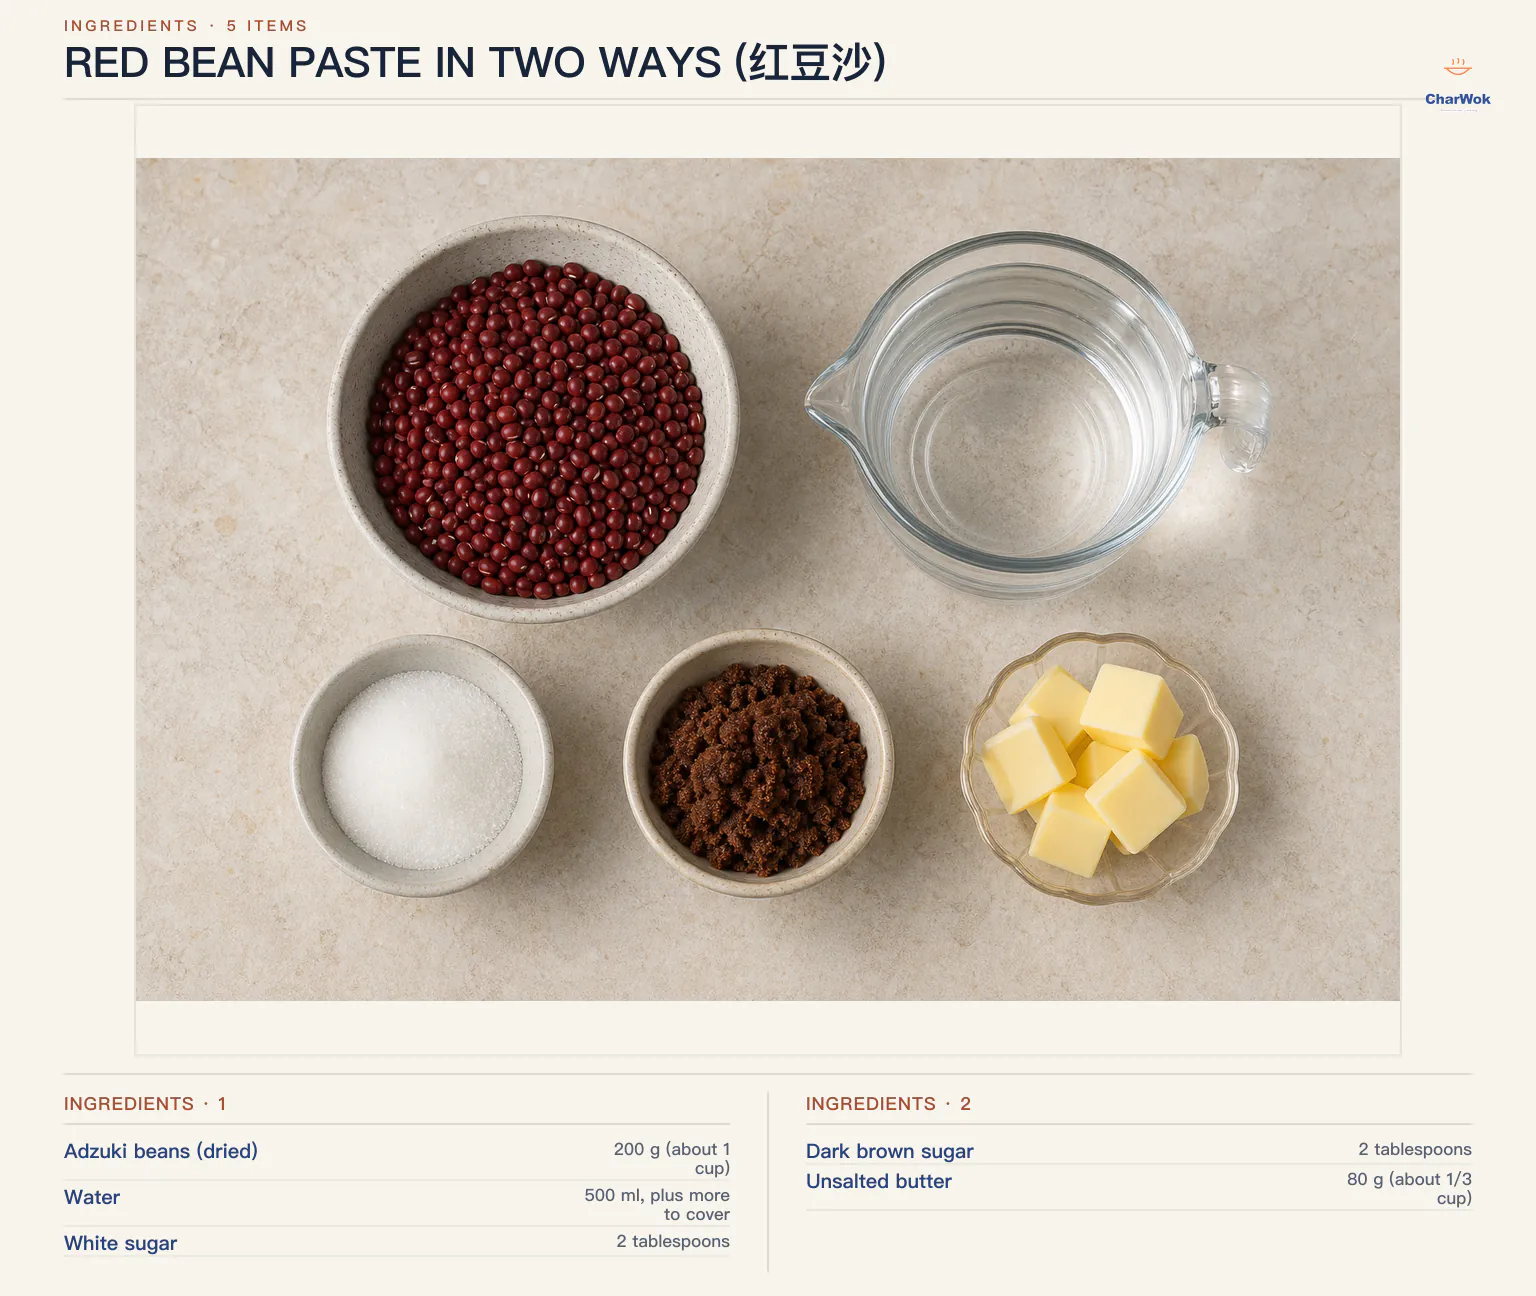
| Ingredient | Amount | Notes / substitute |
|---|---|---|
| Adzuki beans (dried) | 200 g (about 1 cup) | Canned cooked adzuki work; skip straight to mashing. Kidney beans are an emergency substitute for the smooth version only. |
| Water | 500 ml, plus more to cover | For stovetop simmering. Pressure cooker needs far less. |
| White sugar | 2 tablespoons | Rock sugar or all brown sugar are both fine. |
| Dark brown sugar | 2 tablespoons | For color and caramel; increase if you like it sweeter and darker. |
| Unsalted butter | 80 g (about 1/3 cup) | Lard for traditional pastry use. Coconut oil, halved, for vegan. |
How to make it
The method is the same up to the mashing stage. From there it splits into the smooth and chunky versions.
Cook the beans until they offer no resistance
- Soak overnight, not for a couple of hours. Adzuki are dense and rehydrate slowly. Cover them by several inches of water in a bowl and leave them 8 to 12 hours. A short soak leaves the centers hard no matter how long you simmer, and that hardness is what produces the gritty paste I made the first time. Drain and rinse well when you're ready to cook.
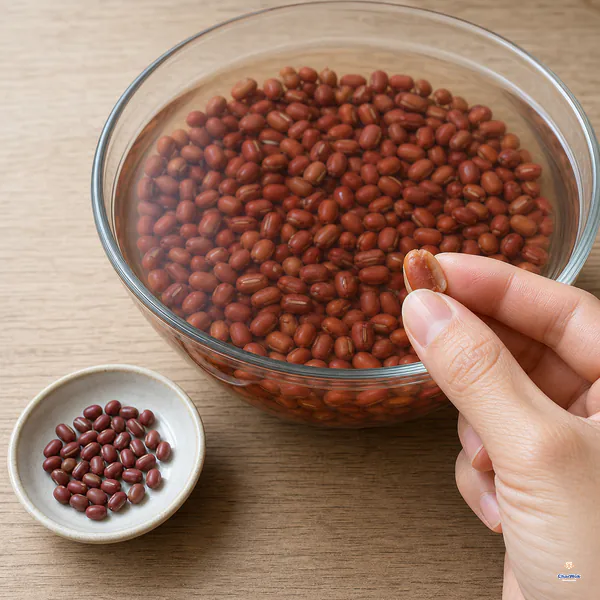
Soak the adzuki under several inches of water for 8 to 12 hours, then drain and rinse; fully hydrated beans cook evenly instead of keeping chalky centres.
- Simmer covered for 60 to 90 minutes, or pressure-cook for 25. Put the beans in a pot, add water to cover by an inch, bring to a boil, then drop to a low simmer. Check at the halfway mark and top up with hot water if the level drops below the beans. The doneness test is blunt and reliable: take one bean and press it between thumb and finger. It should collapse to a smooth smear with no chalky center and no visible grain. If there's any grit, keep cooking. Under a pressure cooker (stovetop or Instant Pot), 25 minutes at high pressure with a natural release does the same job.
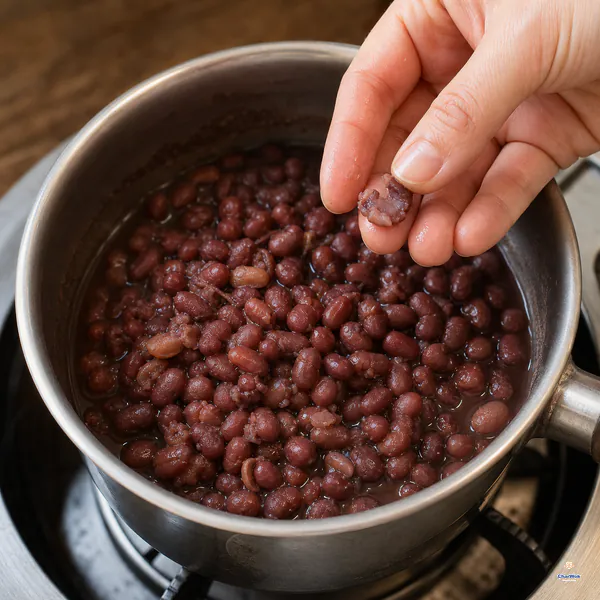
Simmer covered for 60 to 90 minutes, topping up with hot water as needed, until a bean smears smoothly with no grain or hard centre.
- Drain thoroughly. The cooking liquid is tasty on its own as a thin sweet red bean soup if you reduce it slightly and sweeten it, so don't pour it down the drain. For the paste, though, you want the beans as dry as you can get them before the next step.
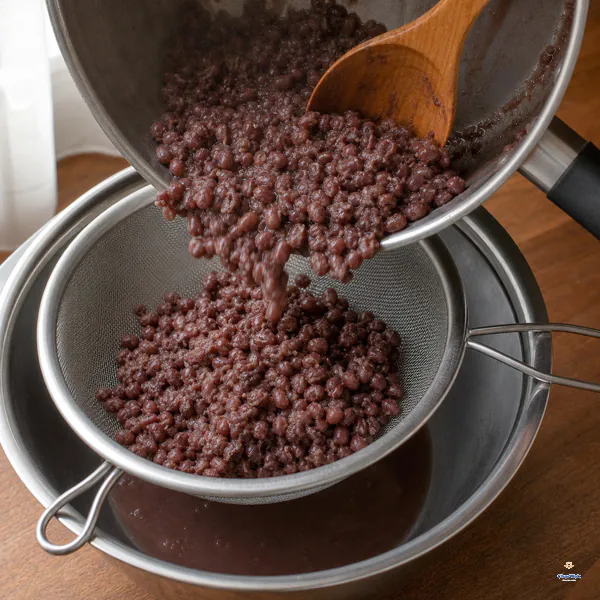
Drain the cooked beans as thoroughly as possible before either method; keep the flavourful liquid separately if you want to turn it into soup.
Smooth version: blend, then dry
- Blend the drained beans with the sugars and butter. A blender or food processor on high speed will turn them into a fine puree. If the blades labor, add water a tablespoon at a time, just enough to keep things moving. Every spoonful of water you add here is a minute you'll spend evaporating it later, so be stingy.
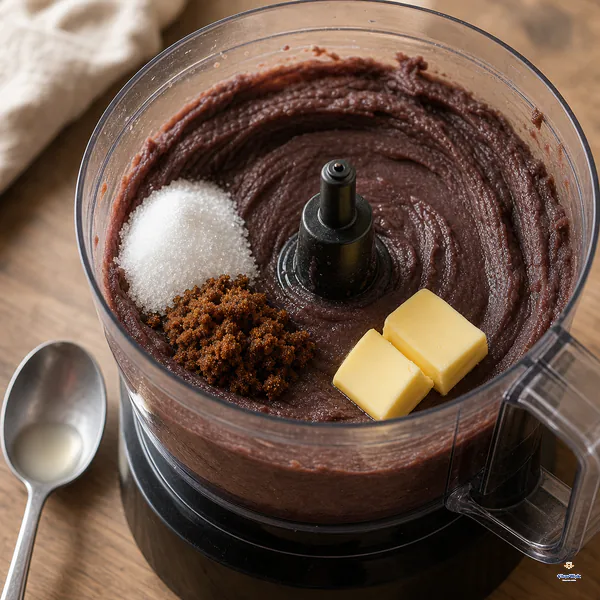
For the smooth version, blend the drained warm beans with both sugars and butter, adding reserved liquid only one tablespoon at a time when necessary.
- Dry the puree in a wide pan over medium-high heat, stirring constantly. This is where the texture is set. The stronger flame drives off moisture fast, which is exactly what you want at this stage. A heavy nonstick skillet or wok with a large surface area handles it best. Stir and flip the whole time, scraping the bottom and corners so nothing catches. The puree will darken, thicken, and begin to pull away from the sides of the pan in one mass. That's your signal. Pull it a hair before you think it's done.
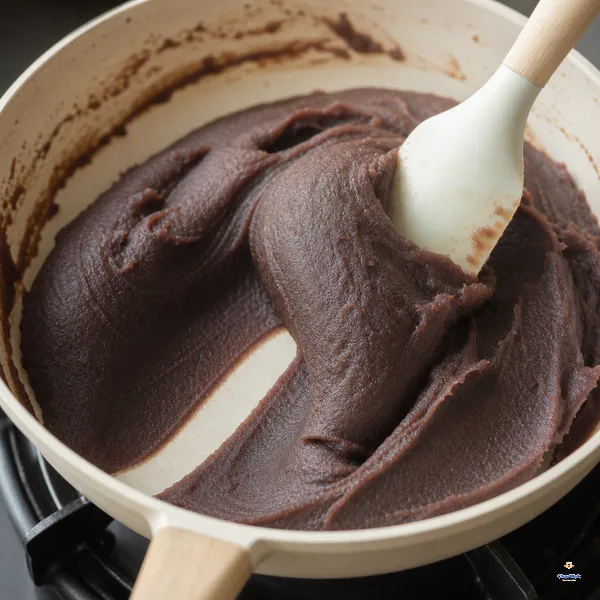
Stir constantly over medium-high heat until the smooth puree darkens, pulls from the sides and moves as one soft mass; stop slightly before it looks fully firm.
Want the skins out of the picture but no high-power blender? My fallback is a food mill — run the drained beans through it while they're still warm and it strips the husks automatically, leaving only soft flesh behind. A ricer does similar work if that's what you own. Either tool lets you skip the machine entirely and still land on a velvet-smooth paste. The yield drops a little and your forearm gets a workout, but the texture is fine enough for mooncakes, which is the one job where the difference shows.
Chunky version: mash by hand, then dry
- Crush the beans in the pot with the sugars and butter. Tip out the last of the cooking water, add the sugar and butter to the warm beans, and mash. I use the back of a sturdy wooden ladle, pressing and twisting in small circles against the side of the pot. The broad, curved face breaks each bean open without flattening everything to mush, the way a wide flat tool tends to. You want texture, not puree, so leave plenty of half-beans intact.
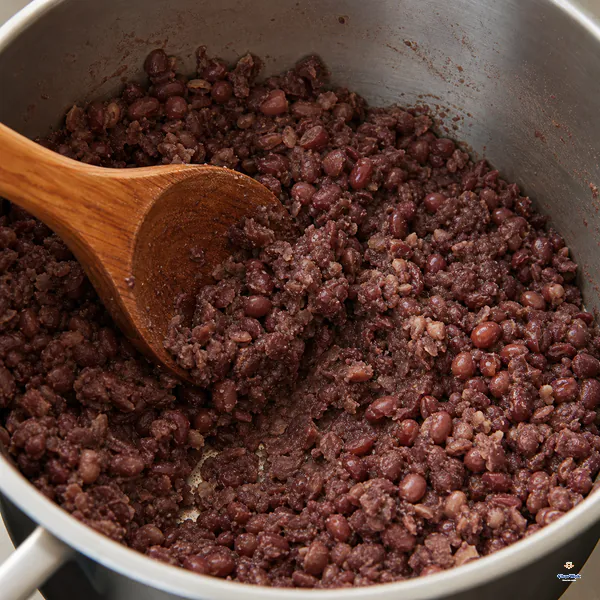
For the chunky version, press warm drained beans with both sugars and butter using the curved back of a sturdy ladle, deliberately leaving many half-beans intact.
- Dry over medium-high heat, stirring, until it holds together. Same endpoint as the smooth version: the mass moves as one and clears the sides of the pan. Watch closely, as the chunky mash tends to come together quickly and can scorch once the sugars concentrate.
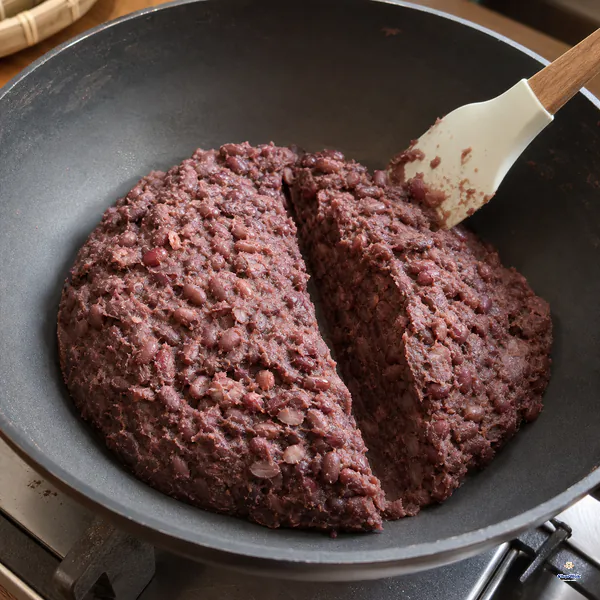
Cook the chunky mash while stirring until it gathers into one mound, clears the pan sides and holds a cut without immediately closing; remove it before it scorches.
Reading the consistency
This is the part that trips people up, because what you see in the pan is not what you get on the plate. Two things happen after you pull the pan off. First, a heavy pan keeps shedding stored heat into the paste for another minute or two, so moisture keeps leaving the beans even though the flame is off. Second, as the whole thing drops to room temperature the fat firms and the starches settle, tightening the texture from underneath. Layer those effects and a paste that looked slack over the heat can firm into something stiffer and drier than you meant once it is cold. The reliable fix is to pull it before it reads as done on the stove: pull while it still looks slightly under-dried, and trust the cooldown to finish the job.
Match the firmness to the job. For shaping work where the paste has to hold its own weight and not ooze, aim firm: this is what you want for stuffed lotus root and for pinching into the pressed filling of a Cantonese mooncake or a snow-skin one. For something wrapped in dough and steamed or baked, where a softer filling is a pleasure to bite into, leave it looser, the way I like it inside steamed bao buns and mantou-style stuffed buns. Looser still for a filling that gets folded into a pancake or a soft glutinous-rice cake like pumpkin mochi cake, where you want it almost pourable once warmed. There's no single right answer, only the answer that fits the dish.
Where things go wrong
- Gritty or chalky paste. The beans weren't cooked long enough. There is no rescue at the mashing stage. Put them back on the stove with more water and cook until a bean smears with no grain. This is the single most common failure and the easiest to prevent.
- Paste is too dry and crumbly after cooling. You dried it too far on the stove. Stir in a tablespoon of hot water and reheat gently until it comes back together. Next time, pull it from the heat a minute earlier.
- Paste is too wet and weeps. Either the beans weren't drained well, or you stopped cooking too soon. Spread it back in the pan and reduce it further. For a filling that needs to hold a shape, err slightly on the dry side; you can always soften it with a splash of water later.
- Burnt, bitter flavor. The heat was too high, or you stopped stirring. The last stage runs hot on purpose (medium-high) and it only works because you keep the paste moving every second, especially once the sugars concentrate. The instant you let it sit, it scorches. A burned patch ruins the whole batch, so when in doubt, drop the flame a notch rather than slow your stirring.
- Blender won't catch and the puree stays lumpy. Add water one tablespoon at a time only to get the blades to bite. Too much water and you pay for it in drying time. A small jar blender works better than a wide food processor for small batches.
Variations and pairings
Once you have a base paste, the variations write themselves. Stir in a pinch of salt to wake up the sweetness; this is the single biggest difference between homemade paste that tastes alive and commercial paste that tastes flat. Add a half teaspoon of toasted sesame oil for a nutty back note. Fold in chopped candied tangerine peel for a Cantonese bakery character that pairs especially well with snow-skin mooncakes. A swirl of matcha powder is modern and good, though it pulls the flavor toward Japan.
For pairings, the paste plays well with anything neutral or milky. Stuff it into pumpkin mochi for a quick glutinous-rice dessert, swirl it through a plain congee, or freeze leftovers into red bean popsicles when summer hits. The chunky version folded into warm sticky rice is a snack I make whenever I have both components leftover from other projects.
Storage and reheating
It keeps a short while, just a few days under refrigeration, or frozen for a couple of months if you want to cook once and eat for weeks. Portion the paste before it goes into the cold, because freezing and thawing the same tub twice leaves the texture grainy. Move it to the fridge the night before you need it rather than defrosting on the counter, so it comes up evenly. If a thawed portion looks tight or crumbly, warm it gently in a pan with a teaspoon of water and stir until it loosens. That's a texture fix only; as long as the paste was handled cleanly and chilled promptly, it doesn't need a full re-cook for safety.
Frequently asked questions
Can I use canned cooked adzuki beans? Yes. Skip the soaking and simmering and go straight to mashing or blending. Rinse them first, since the canning liquid can taste tinny, and check the sweetness of your final paste, since some canned beans are already lightly sweetened.
Why did my paste turn out gritty? The beans needed more cooking. A properly cooked adzuki smears smooth between your fingers with no chalky core. If there's any grit, return them to the heat with more water until they pass that test, then proceed.
Do I have to add fat? No, but the paste will be flatter and harder to shape without it. What fat contributes is body, not just taste: the fat coats the starch so the filling rolls smoothly, and because it sets as it chills you get clean edges when shaping and a melt-in-the-mouth feel once the pastry is warm. Skip it and you're left with a softer, more one-note result.
How sweet should it be? That's up to you. The amounts here are a moderate baseline. Check the sweetness after the sugar dissolves but before the final drying, and adjust then; by the time the moisture cooks away the flavor will have intensified, so what tastes barely sweet enough now will read sweeter once it is done.
Smooth or chunky, which do I make? Smooth for anything where the filling should be invisible inside a thin wrapper, like mooncakes, tang yuan, and the cooked skin of a sesame ball. Chunky for rustic dishes where a visible bean is welcome, like zongzi, eight treasure rice, or a steamed bun if you like a heartier bite. A good rule of thumb: the thinner the dough around it, the finer the paste should be.