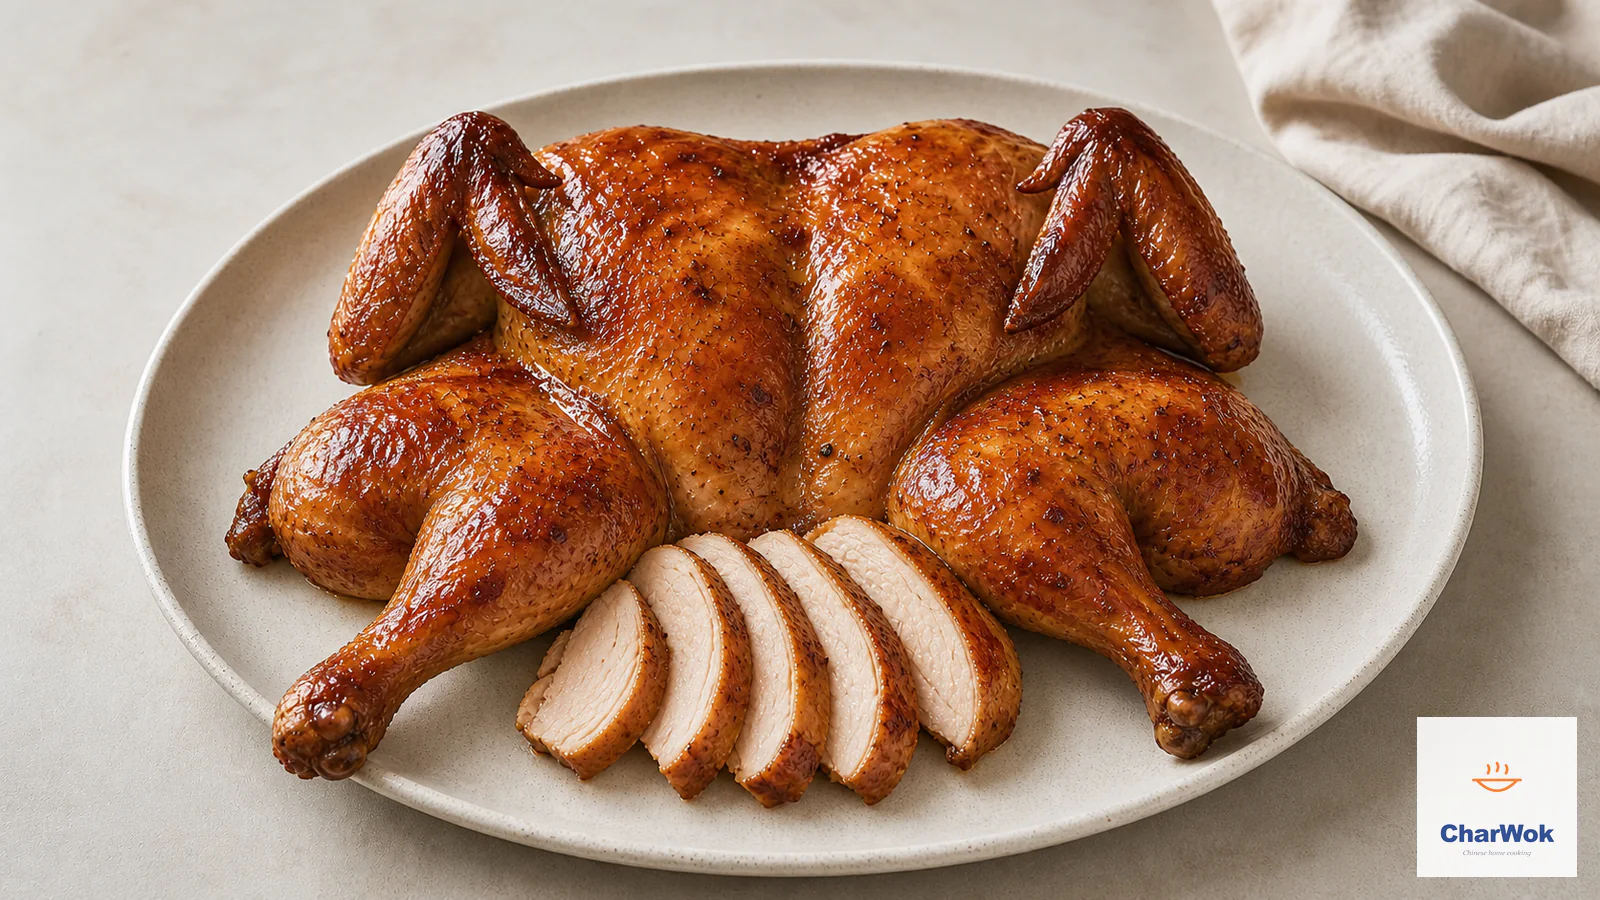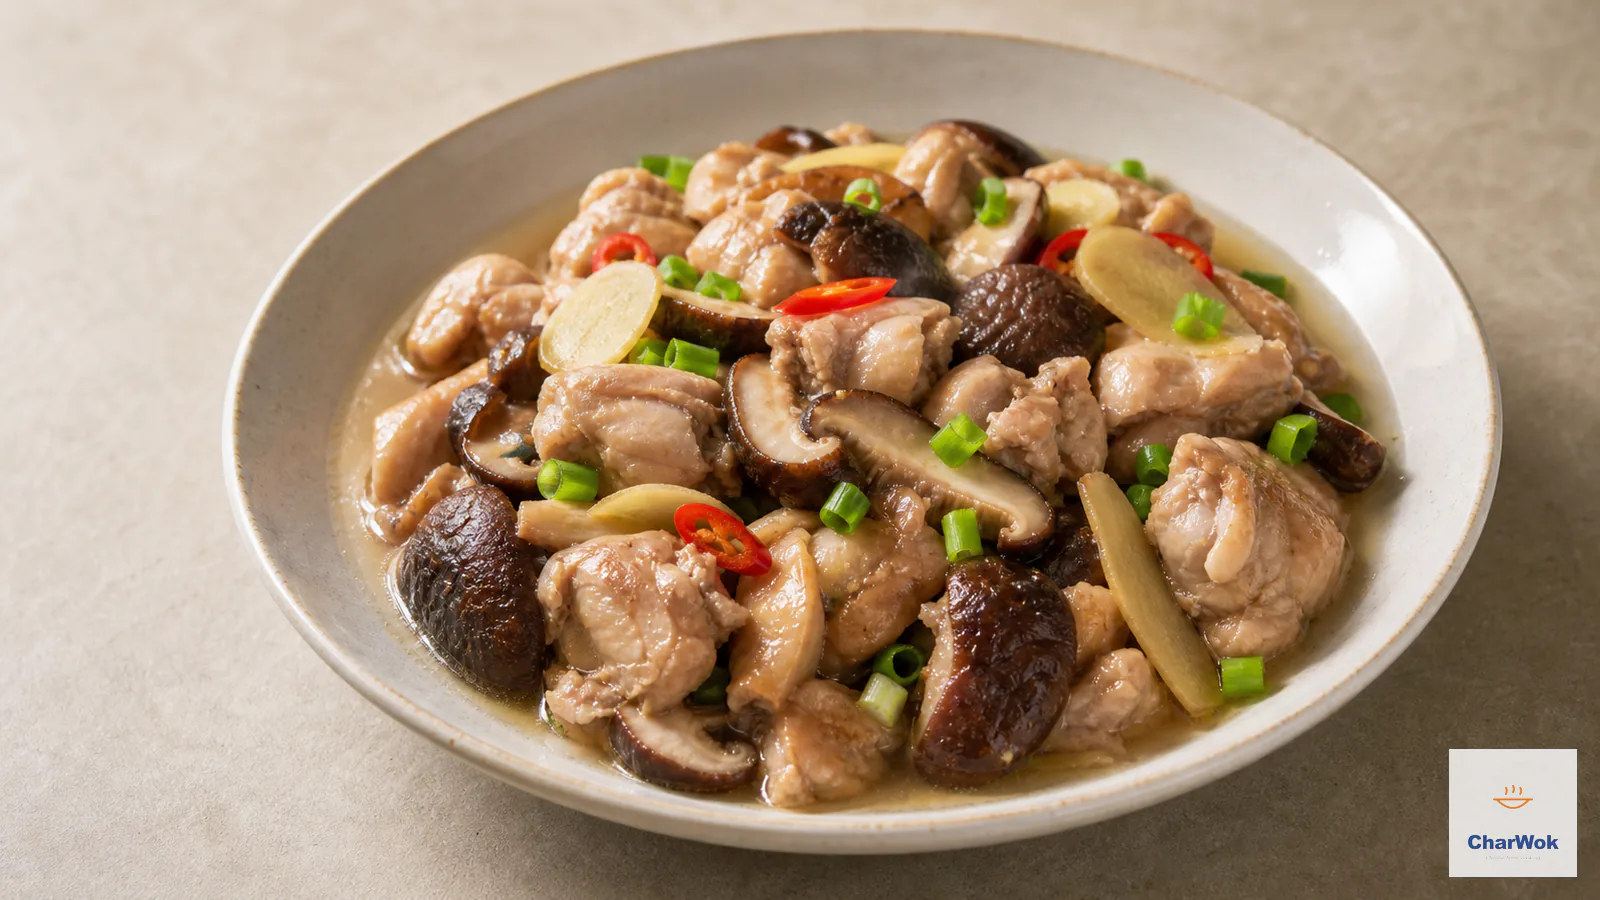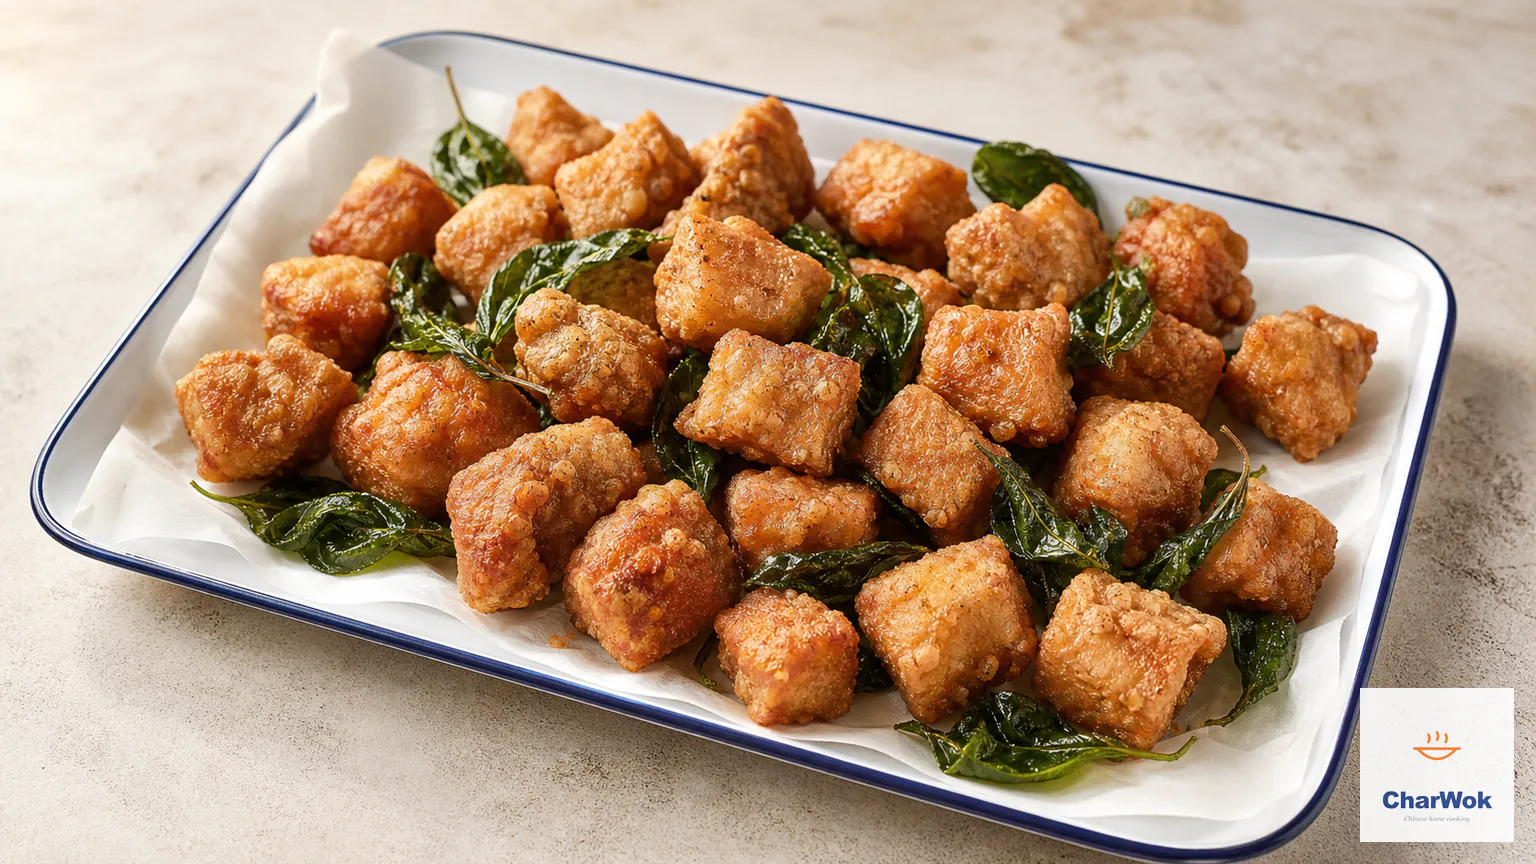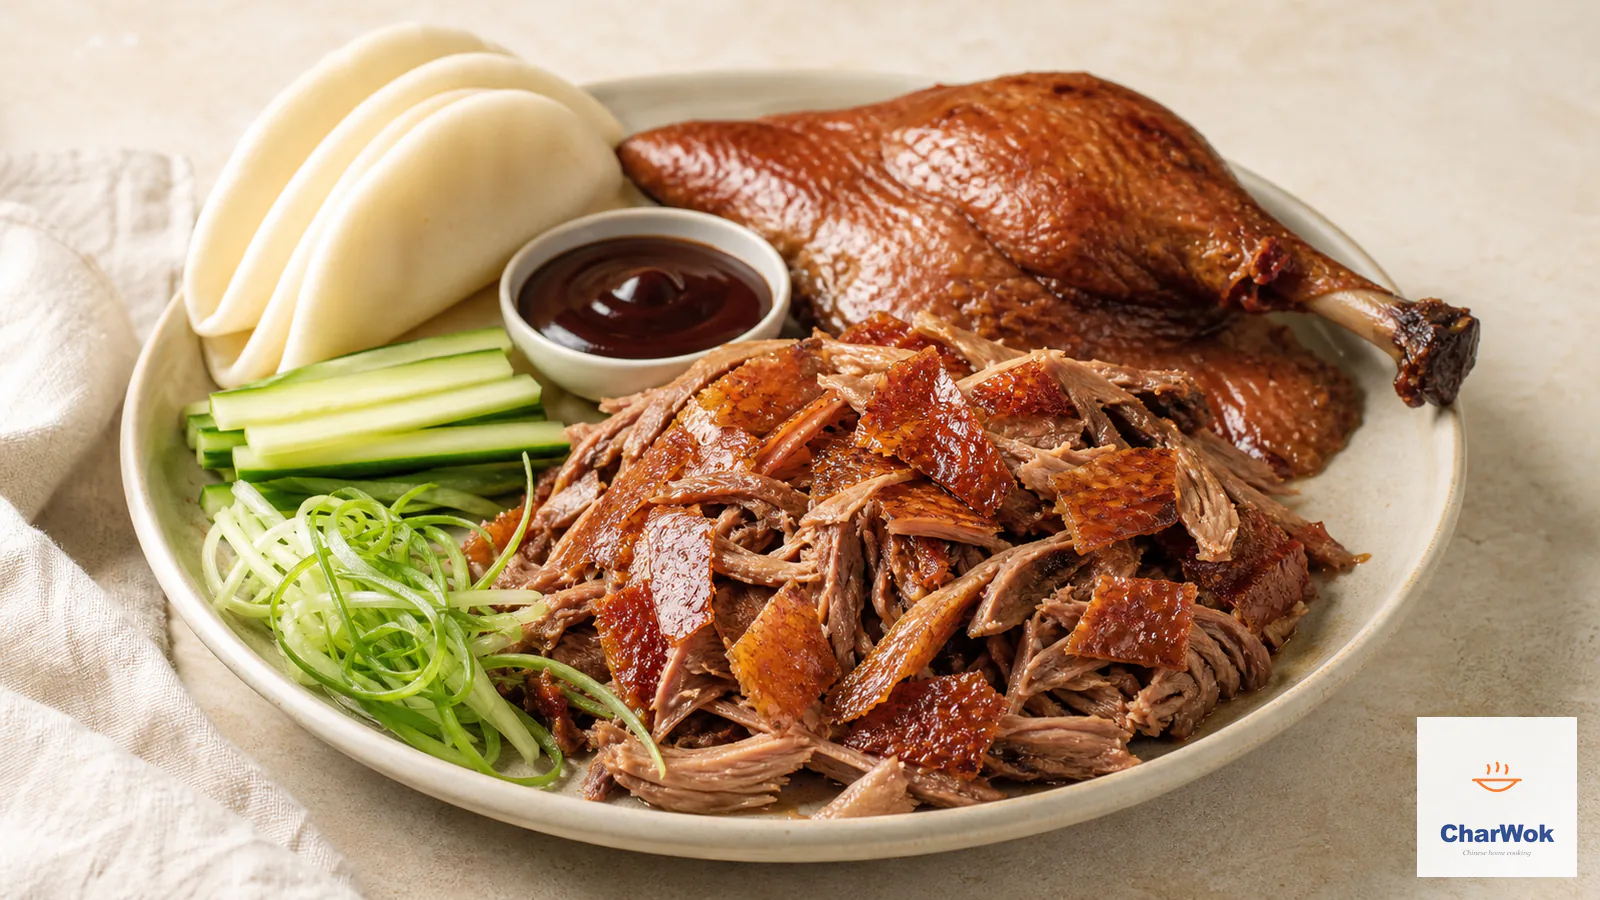
Aromatic crispy duck is cooked in two distinct stages. Steaming cooks the duck legs through and softens their connective tissue; frying is a short finishing step for the skin. The duck must already be safely cooked before it is cooled and moved to the fryer.
Unlike Peking duck, this version uses bone-in duck legs and does not depend on a hanging oven. The legs are seasoned with five-spice, scallion, and ginger, steamed until safe and tender, chilled until the skin is dry, then fried twice. The meat can be shredded or chopped and served in a warm bun or pancake with cucumber and sauce.
Steam the duck for about 90 minutes, then check the thickest part of every leg with a food thermometer. Each leg must reach 165°F (74°C); use tenderness as a separate texture check. Refrigerate the cooked legs on a rack within 2 hours, then fry at 190°C/375°F and flash-fry at 200°C/390°F without letting the oil smoke.
What this dish is, and where it comes from
This home-kitchen method uses duck legs instead of a whole bird because four legs fit in a standard steamer and can be checked individually. Their connective tissue softens during the long steam, and the single leg bone is easy to remove after frying.
The seasoning is a mixture of salt, five-spice powder, and Shaoxing rice wine, with scallion and ginger beneath and above the legs during steaming.
Ingredients
Ingredients at a glance
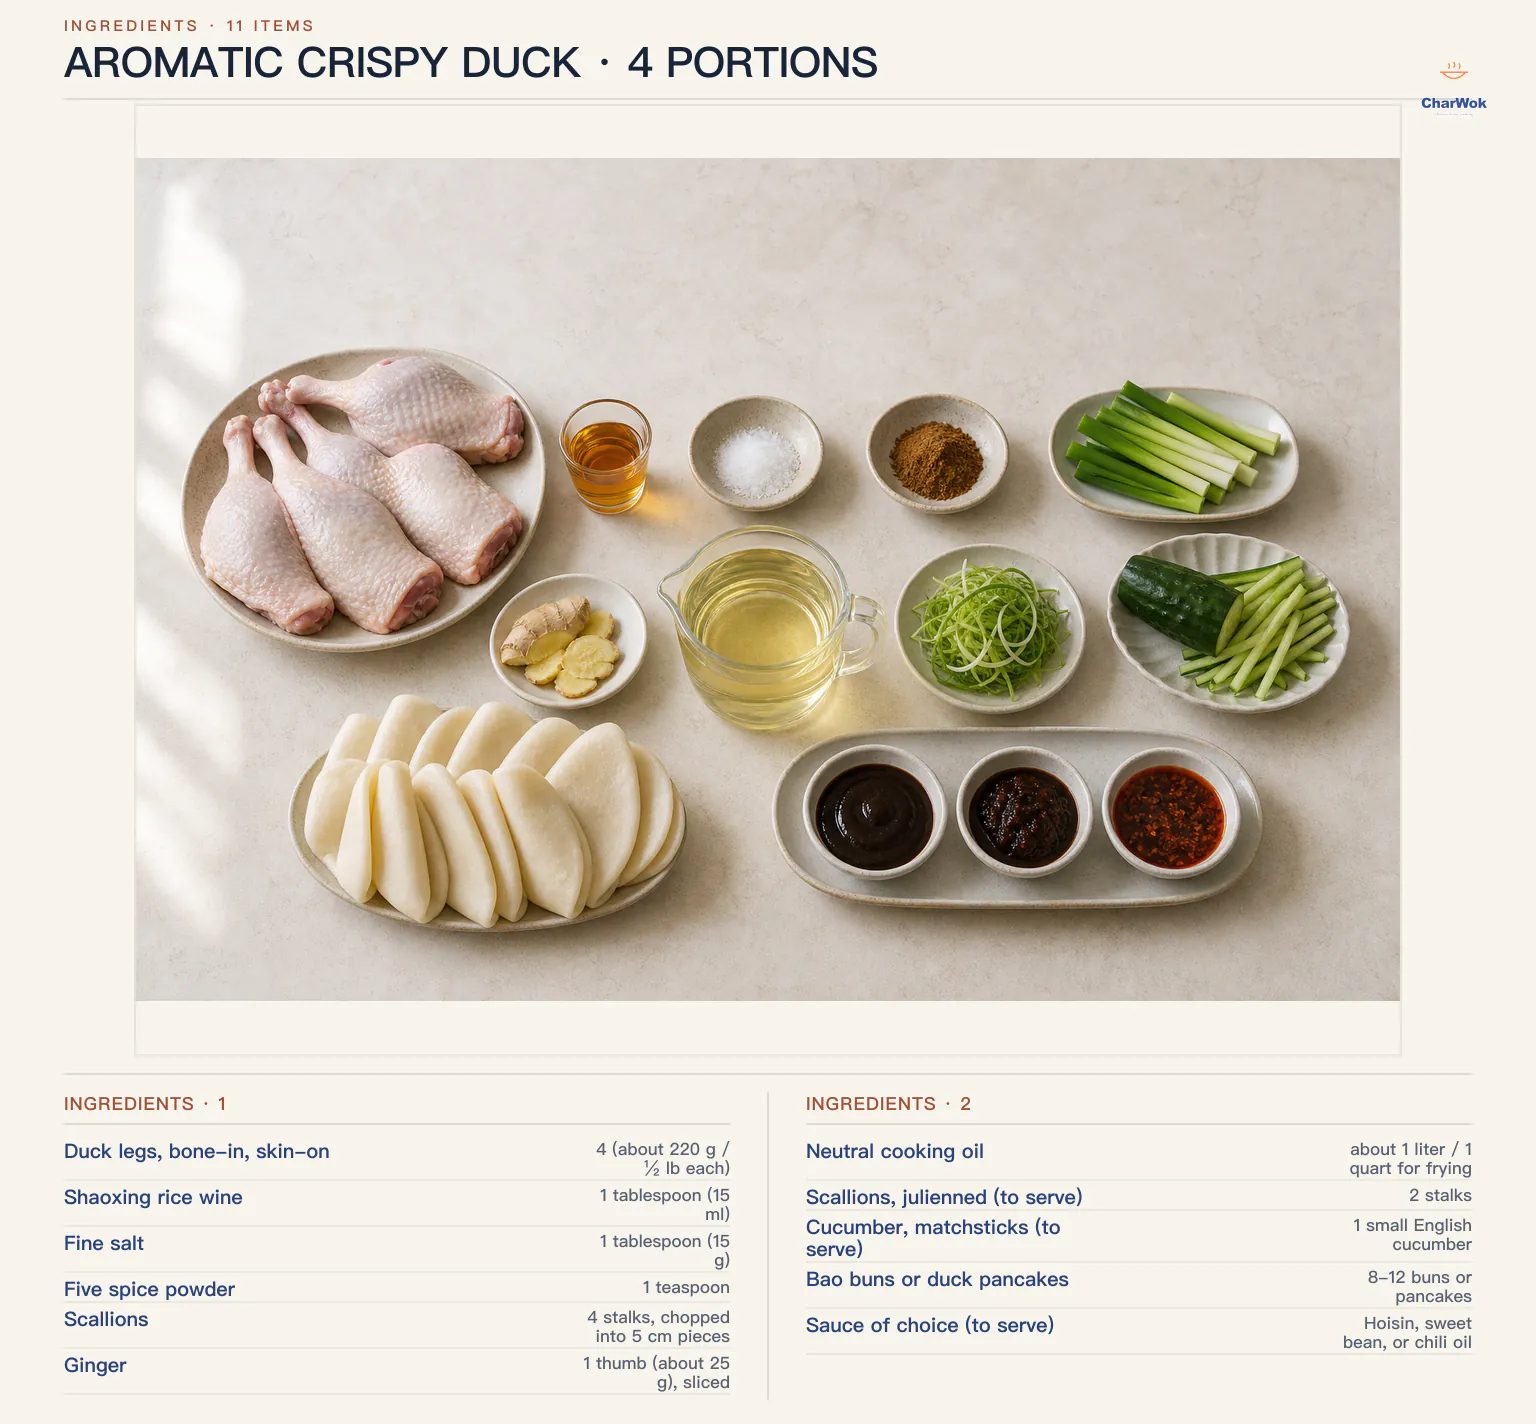
| Ingredient | Amount | Notes / substitute |
|---|---|---|
| Duck legs, bone-in, skin-on | 4 (about 220 g / ½ lb each) | Thighs work too; avoid boneless, the bone adds flavor and a handhold for shredding |
| Shaoxing rice wine | 1 tablespoon (15 ml) | Dry sherry or dry vermouth in a pinch; not mirin (too sweet) |
| Fine salt | 1 tablespoon (15 g) | Weigh 15 g if changing salt brands because crystal size varies |
| Five spice powder | 1 teaspoon | Buy fresh or make your own; stale five spice tastes dusty |
| Scallions | 4 stalks, chopped into 5 cm pieces | Save the dark green tops for the steaming bed |
| Ginger | 1 thumb (about 25 g), sliced | Smashed slices release more flavor than neat coins |
| Neutral cooking oil | about 1 liter / 1 quart for frying | Choose oil labeled suitable for deep-frying; do not heat it until smoking |
| Scallions, julienned (to serve) | 2 stalks | Soak in ice water 10 minutes to curl them |
| Cucumber, matchsticks (to serve) | 1 small English cucumber | Seed it first or the buns go soggy |
| Bao buns or duck pancakes | 8-12 buns or pancakes | Store-bought are fine; steam to warm |
| Sauce of choice (to serve) | Hoisin, sweet bean, or chili oil | Use a thin layer so the crisp skin stays exposed |
The method, step by step
- Cure in the refrigerator. Pat the duck legs dry with paper towels. Mix the salt and five-spice first, splash the wine over the legs, then rub on the seasoning. Put half the scallions and ginger on a deep plate that fits your steamer, lay the legs on top, add the remaining aromatics, cover, and refrigerate for at least 10 hours or overnight. Keep raw duck separated from ready-to-eat food.
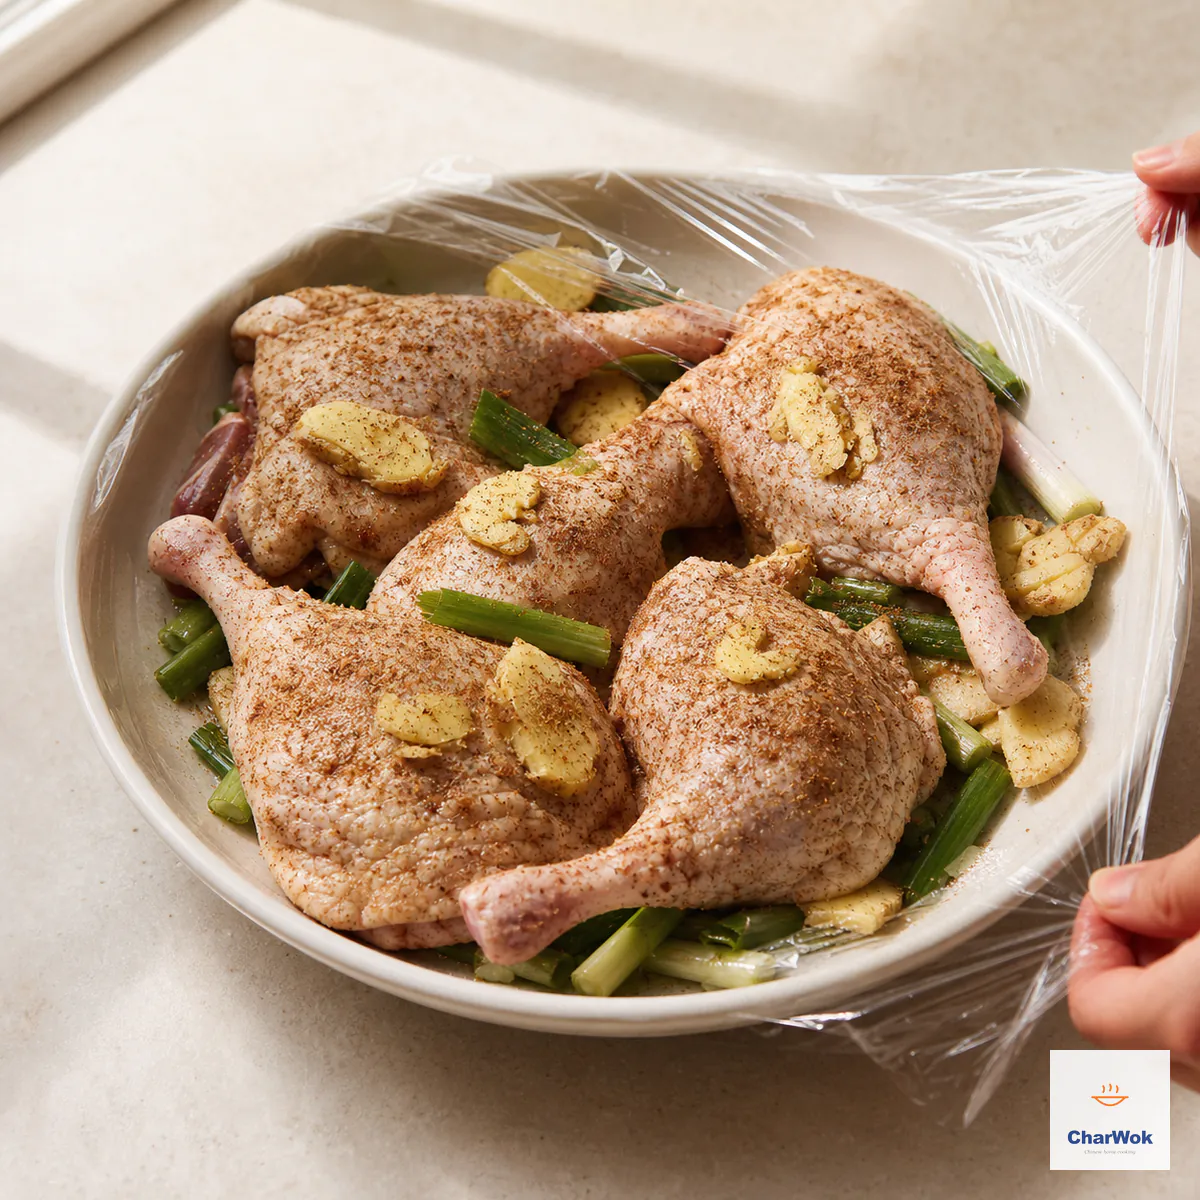
Set the seasoned legs over scallion and ginger, cover, and refrigerate for at least 10 hours or overnight
- Steam, then verify both safety and tenderness. Remove the wrap, set the plate in the steamer, and cover tightly. Bring the water to a full boil, reduce to a steady medium steam, and start checking at 90 minutes. Top up with hot water as needed. Measure the thickest part of every leg without touching bone; each must reach 165°F (74°C). A chopstick sliding in easily is useful for judging tenderness, but it does not replace the thermometer. Continue steaming and recheck any leg that is below temperature or still firm.
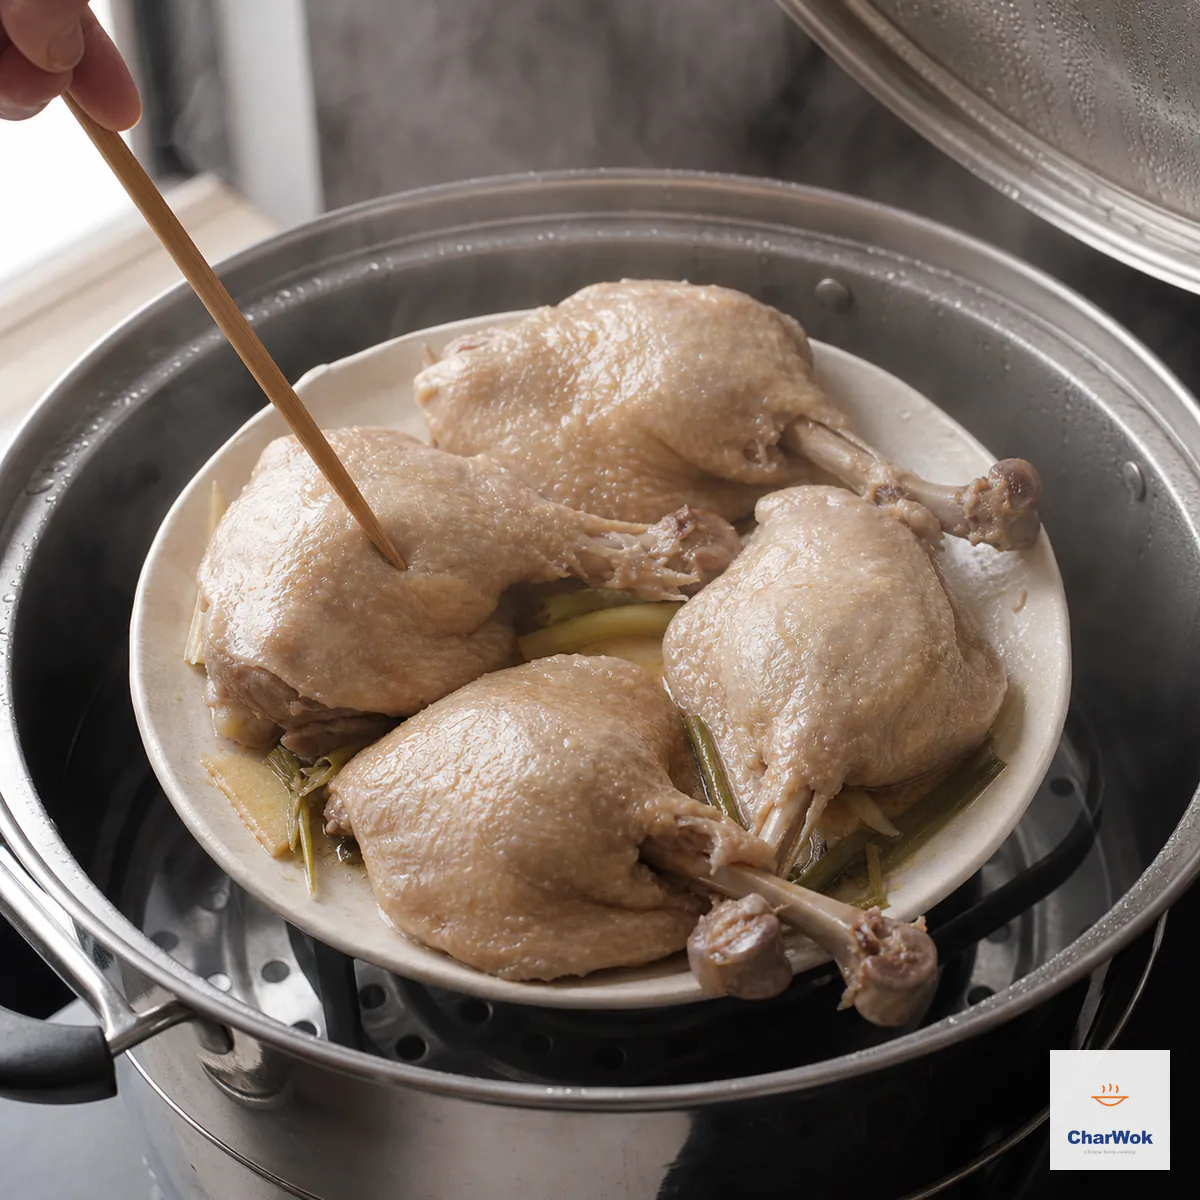
Start checking at 90 minutes; every leg must reach 165°F (74°C) away from bone, while the chopstick checks tenderness only
- Refrigerate promptly and dry the skin. Transfer the safely cooked legs to a clean rack, remove the aromatics, and let visible steam subside briefly. Move the rack into the refrigerator uncovered within 2 hours of cooking, or within 1 hour above 90°F (32°C). Chill until the surface is dry, then pat away any remaining moisture before frying. Do not leave the cooked duck out to reach room temperature.
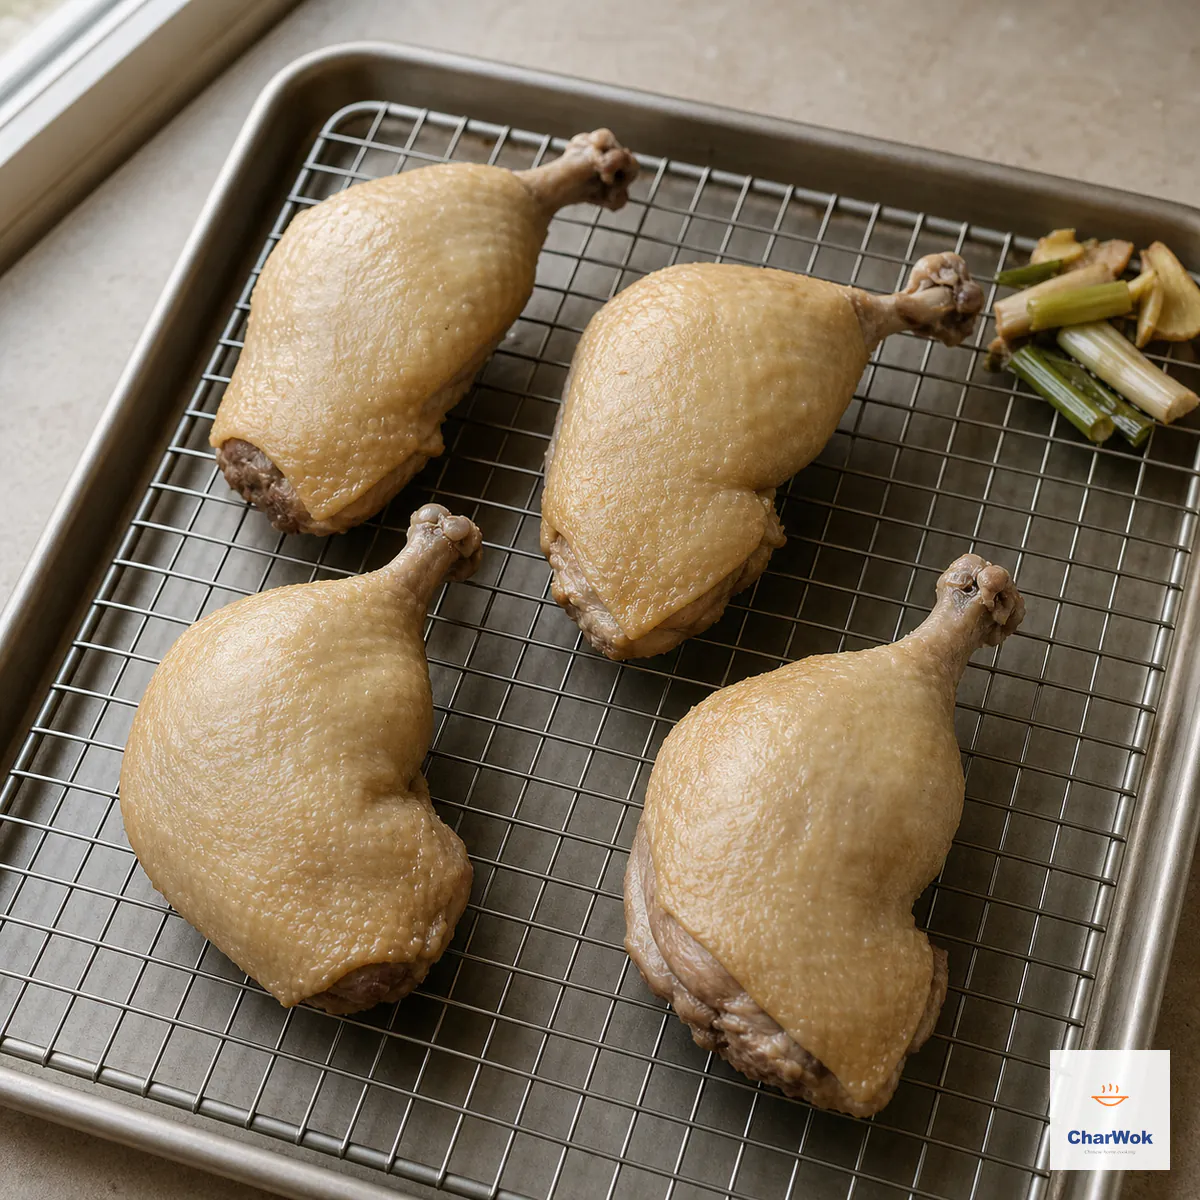
Move the cooked legs on their clean rack into the refrigerator within 2 hours, or 1 hour above 90°F (32°C), and chill until dry
- First fry at 190°C/375°F, 2 to 3 minutes. Heat the oil to 190°C/375°F on a thermometer. Do not eyeball it. Slide one leg in skin-side down, away from you so any splash goes the other way. Fry in two batches if your pot is small. The skin will blister and tighten. Pull the legs out when they are evenly golden, about 2 minutes per side, and let the oil climb.
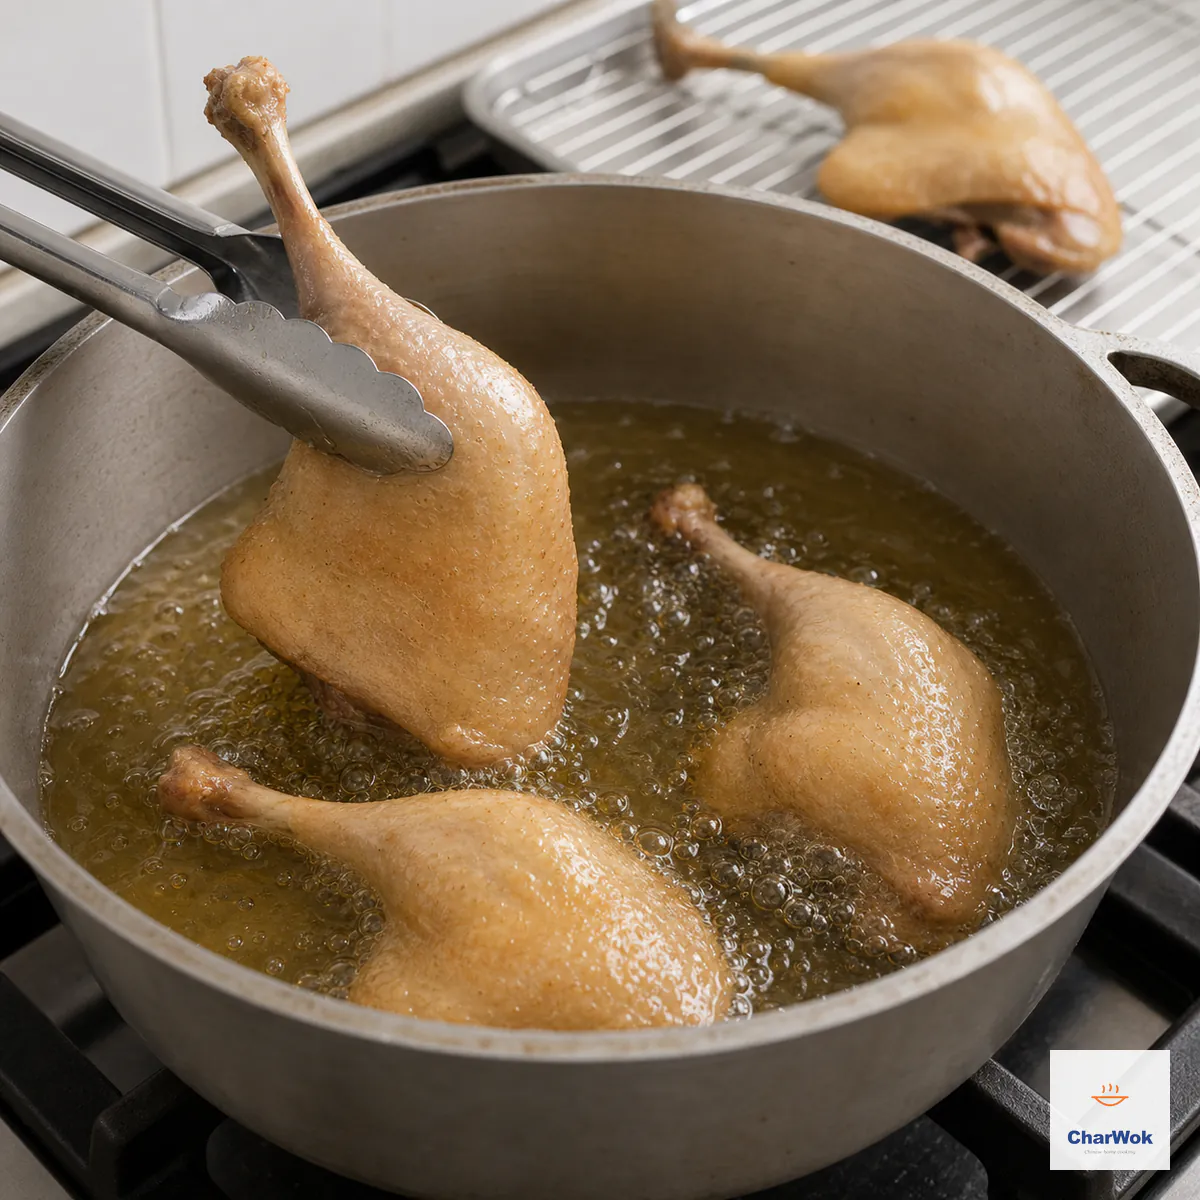
First-fry at 190°C or 375°F for 2 to 3 minutes, stopping at an even light-golden color
- Second fry at 200°C/390°F, about 20 seconds. Raise the heat while watching the thermometer; if the oil begins to smoke, remove it from the heat. Return the legs briefly to set the crust, then drain immediately on paper towels.
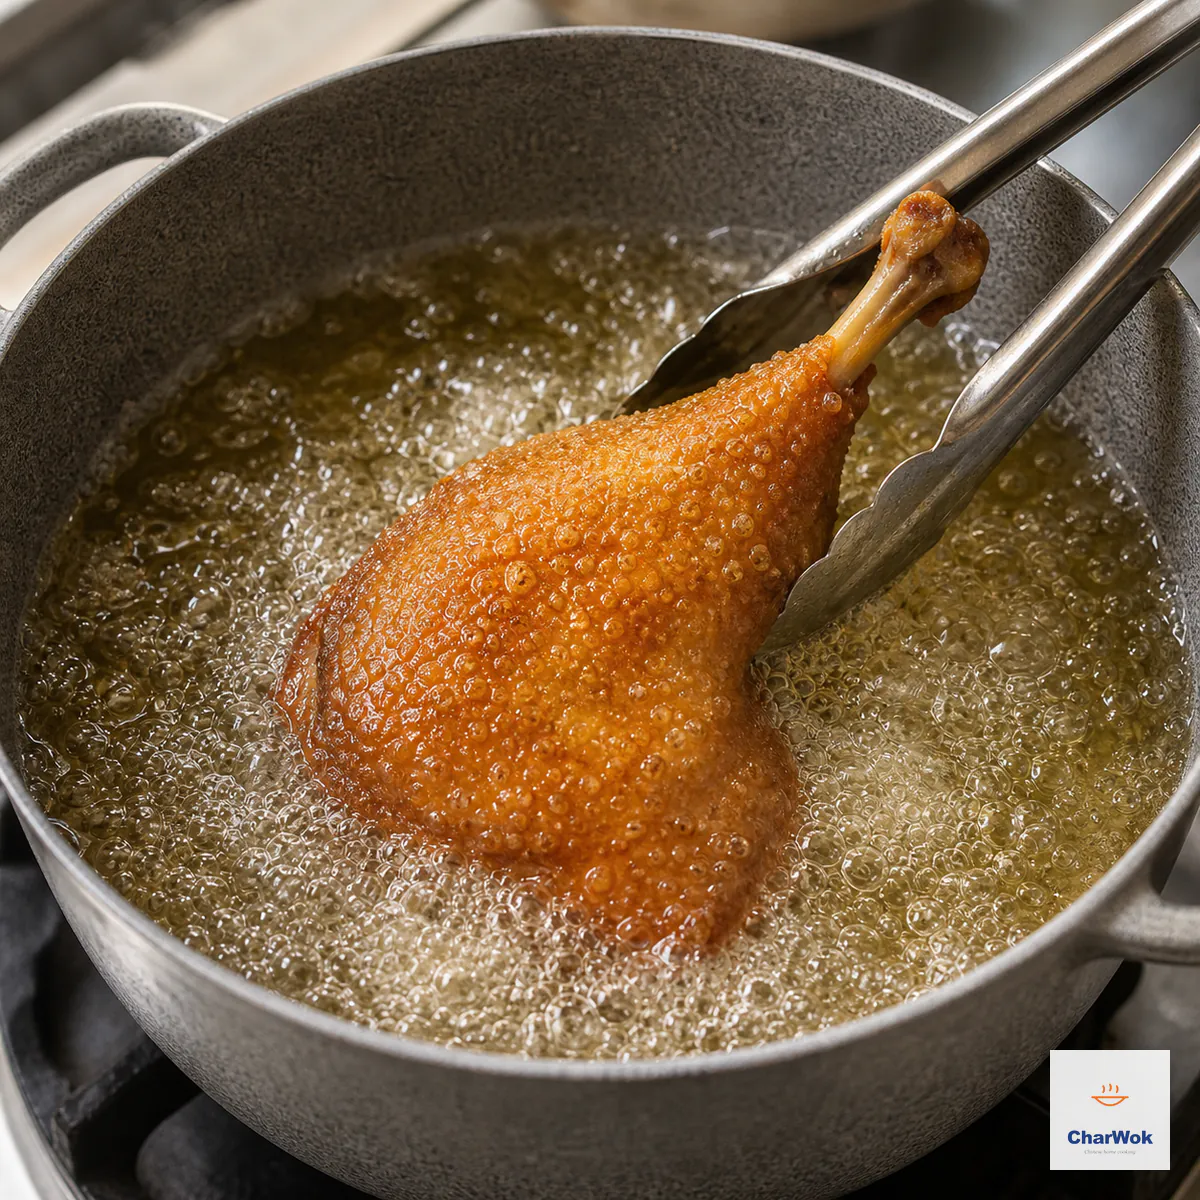
Flash-fry at 200°C or 390°F for about 20 seconds without letting the oil smoke, then drain immediately
- Pull the bone, shred the meat. Let the legs rest five minutes so the juices settle. The bone should lift out with a twist of your fingers. Tear the meat along its grain with two forks, or chop it into rough chunks. Keep some of the crackled skin in every bite.
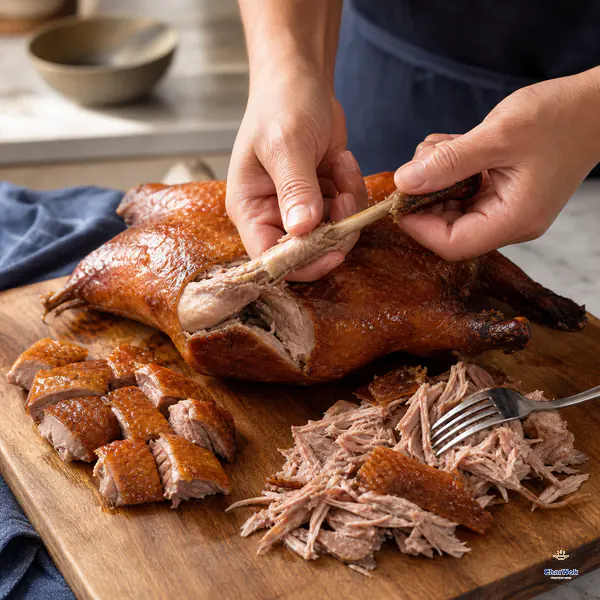
Rest for 5 minutes, twist out the loosened bones, then chop into rough pieces or shred with two forks while keeping crisp skin in every portion
- Build the buns. Pile shredded duck into a warm bao bun or a duck pancake with cucumber matchsticks, curled scallion, and a thin smear of sauce. Eat immediately, while the skin still talks back.
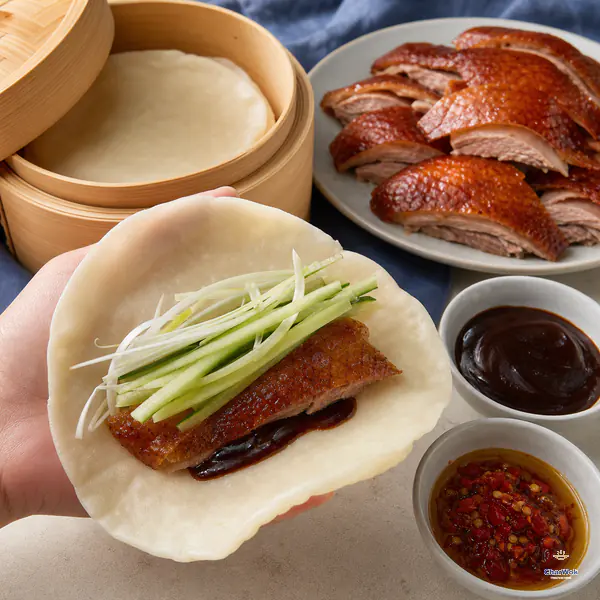
Fill each warm bun or pancake with crisp duck, cucumber, scallion, and a thin smear of sauce, then serve immediately
When it goes wrong
The skin is tough, not crisp. The legs may not have steamed until tender, or the skin may have remained damp before frying. On the next batch, confirm 165°F (74°C) first, continue steaming until a chopstick enters easily, then chill and dry the surface before frying.
The skin blisters unevenly or stays pale in patches. The surface was wet going into the oil. Cure with the skin exposed, dry it again after steaming, and never crowd the pot. Two legs at a time in a 24 cm pot is the limit.
Greasy, heavy meat. The oil dropped below 180°C/350°F during the first fry and the duck soaked up fat instead of being sealed by it. Hold the temperature with a thermometer, and fry in smaller batches so the oil recovers fast between additions.
The duck tastes too salty. Salt brands and duck-leg sizes vary. Weigh 15 g rather than relying on spoon volume, keep the cure within 2 days, and serve the duck with plain buns, cucumber, and scallion. If your legs are much smaller than 220 g each, scale the salt down proportionally.
The bottom of the steamer is running dry. Keep a kettle of hot water ready and top up before the water level becomes low. Stop the heat before adding water if the setup cannot be refilled safely.
Variations and what to serve alongside
The basic assembly is duck, cucumber, scallion, sauce, and a soft bun or pancake. These variations use ingredients already covered elsewhere on the site:
- Sauce swap. Hoisin is the default, but a spoon of Chiu Chow chili oil or a dab of scallion oil with a few drops of toasted sesame oil cuts the richness sharper than any sweet sauce. For heat that sits in the throat, a drizzle of chili oil over the meat before you fold the bun.
- Cucumber, two ways. Matchsticks are tidy; a quick smashed cucumber salad with garlic and vinegar on the side is louder and more refreshing. The full three-way cucumber treatment is worth the effort for a dinner party.
- Different wrappers. Fold the duck into a gua bao for a taller, softer bite, or serve it on a torn piece of mantou if you want something neutral to soak up the sauce. Stuffed steamed bao buns made from scratch are the upgrade that makes the dish feel like an occasion.
- Whole spread. Pair with scallion oil chicken for a two-protein table, or keep it light with a bowl of scallion oil noodles on the side. The noodles drink up any duck fat you trimmed off the legs.
Storage and reheating
For make-ahead cooking, stop after the duck has steamed to 165°F (74°C). Refrigerate it on a clean rack within 2 hours, then cover once cold; use within 3 to 4 days. Freeze cooked duck for 2 to 3 months for best quality and thaw it in the refrigerator. Fry the chilled, thoroughly dried legs just before serving. Reheat already-fried leftovers to 165°F (74°C); oven or air-fryer timing varies, so temperature rather than a fixed number of minutes decides when they are ready. See the USDA duck and goose guidance and USDA leftovers guidance.
Adjusting the cure
The listed 15 g of salt is for four duck legs weighing about 220 g each. Scale it with the duck rather than assuming every package contains the same size legs, and weigh the salt when possible because spoon volume changes with crystal size. Keep the covered cure refrigerated and within 2 days.
Frequently asked questions
Can I use duck breasts instead of legs? Legs suit the long steam better. If breasts are the only option, begin checking much earlier and remove each only after its thickest point reaches 165°F (74°C); do not rely on the 90-minute leg timing. Dry the cooked skin in the refrigerator and use only the first fry.
Do I have to deep-fry, or can I shallow-fry or air-fry? Shallow-frying works if you use at least 2 cm of oil and turn the safely cooked legs so every side browns. For an air fryer, start with chilled steamed duck at 200°C/400°F and cook until crisp and reheated to 165°F (74°C); appliance and leg size determine the time. Either method produces a thinner, less even crust than deep-frying.
Why steam instead of braising or roasting? Steaming softens the leg's connective tissue while keeping the skin intact and free of braising liquid, which makes the surface easier to dry before frying. Braising and roasting can also cook duck legs, but they create different surfaces and need their own timing.
Can I marinate for less than 10 hours? The listed method uses at least 10 hours or overnight in the refrigerator for even seasoning. A shorter cure gives lighter seasoning; do not compensate by adding extra salt, and keep the raw duck refrigerated throughout.
What do I do with the duck fat left after steaming? Pour the pan juices into a shallow container and refrigerate them within 2 hours of cooking. Once cold, lift off the fat for potatoes or fried rice and use the remaining cooking juices in soup. Use within 3 to 4 days or freeze.
How do I know the steamed duck is safely cooked? Check the thickest part of every leg with a food thermometer, avoiding bone. Each leg must reach 165°F (74°C) before cooling; tenderness and pink color are separate quality cues, not safety tests.