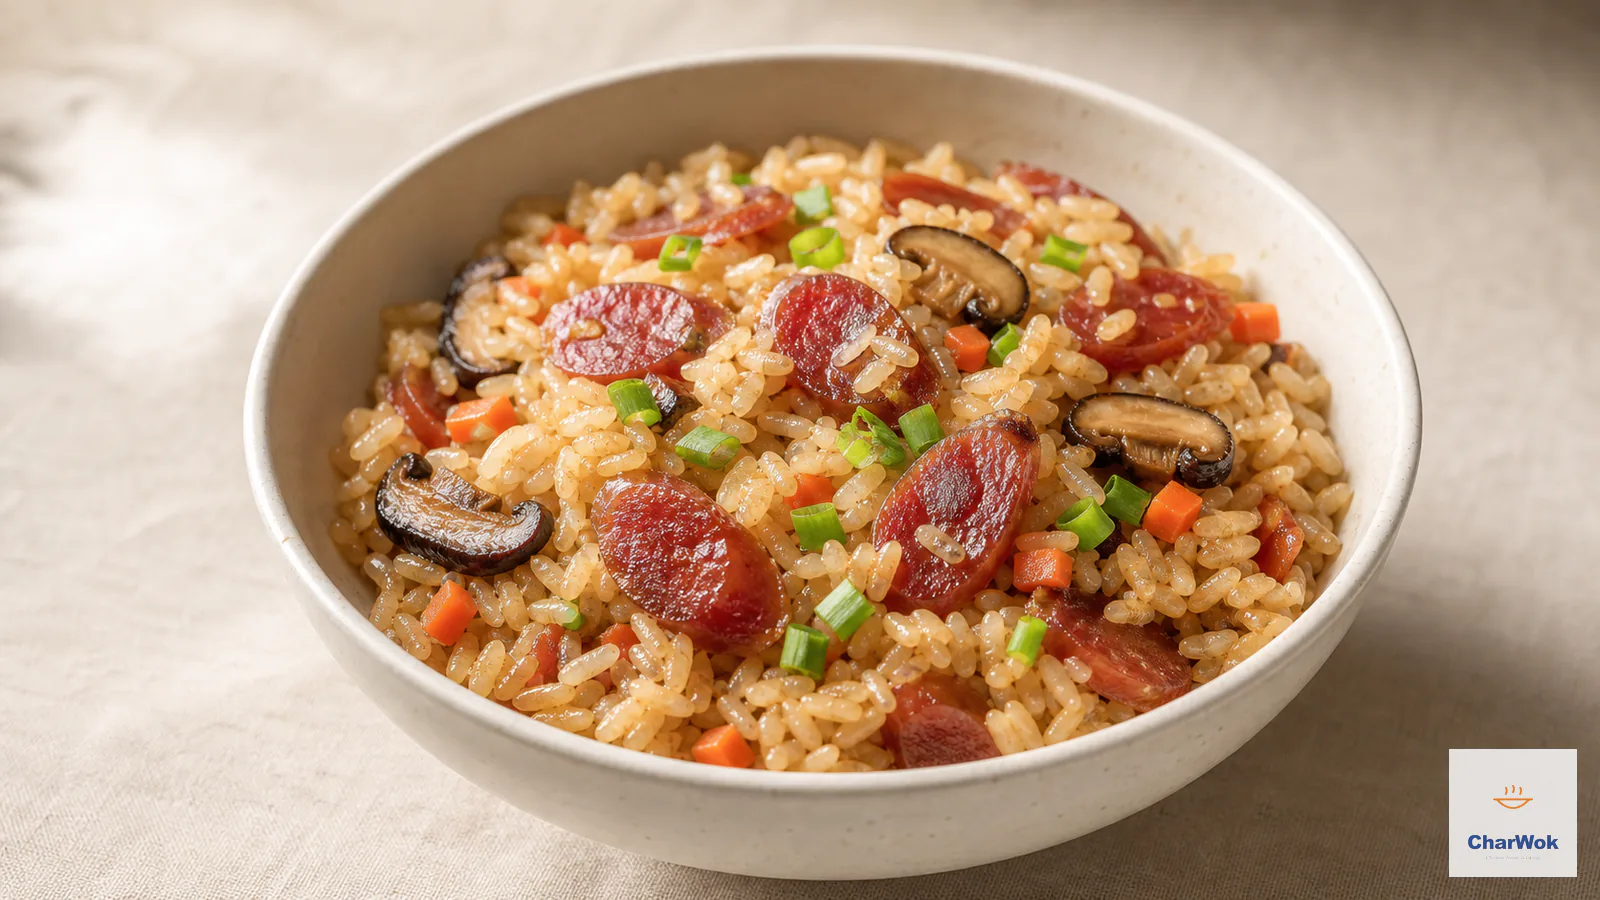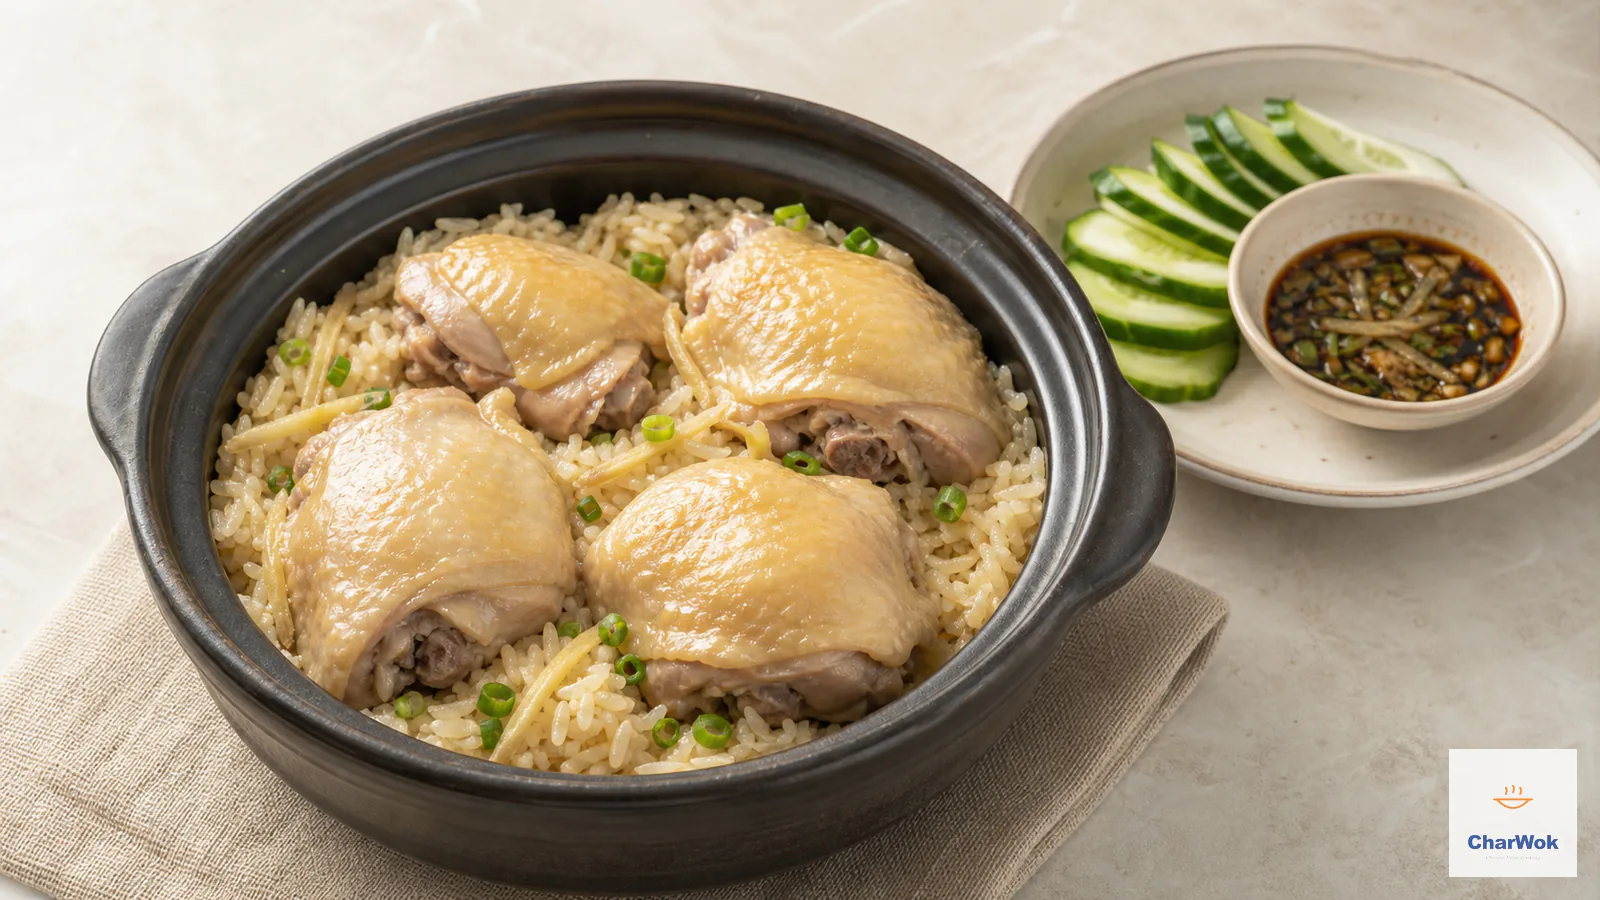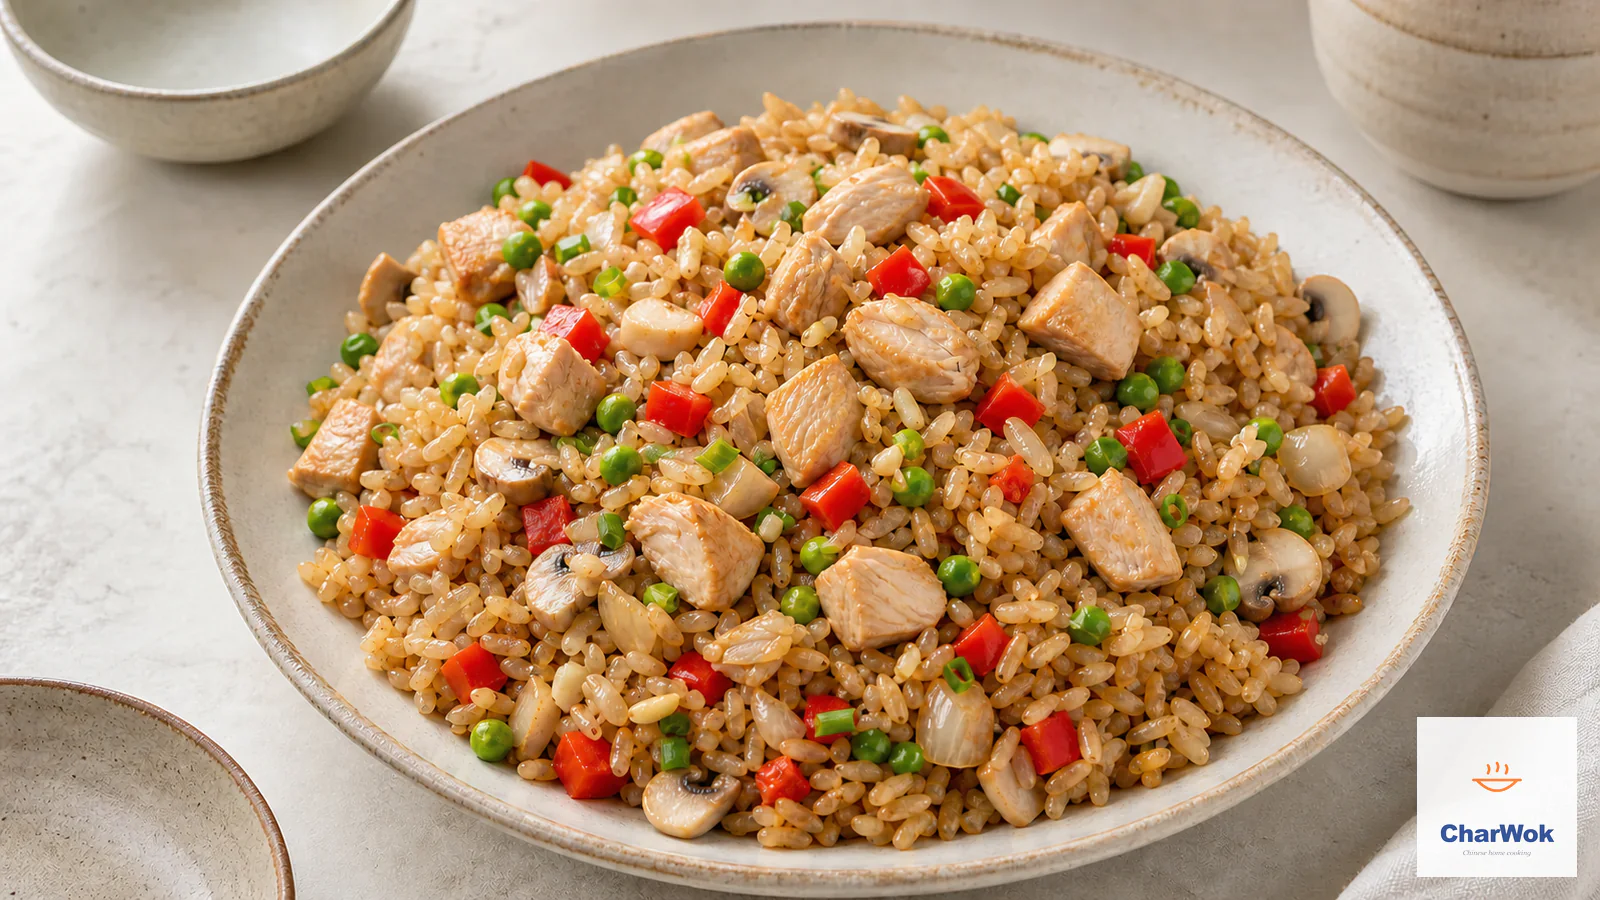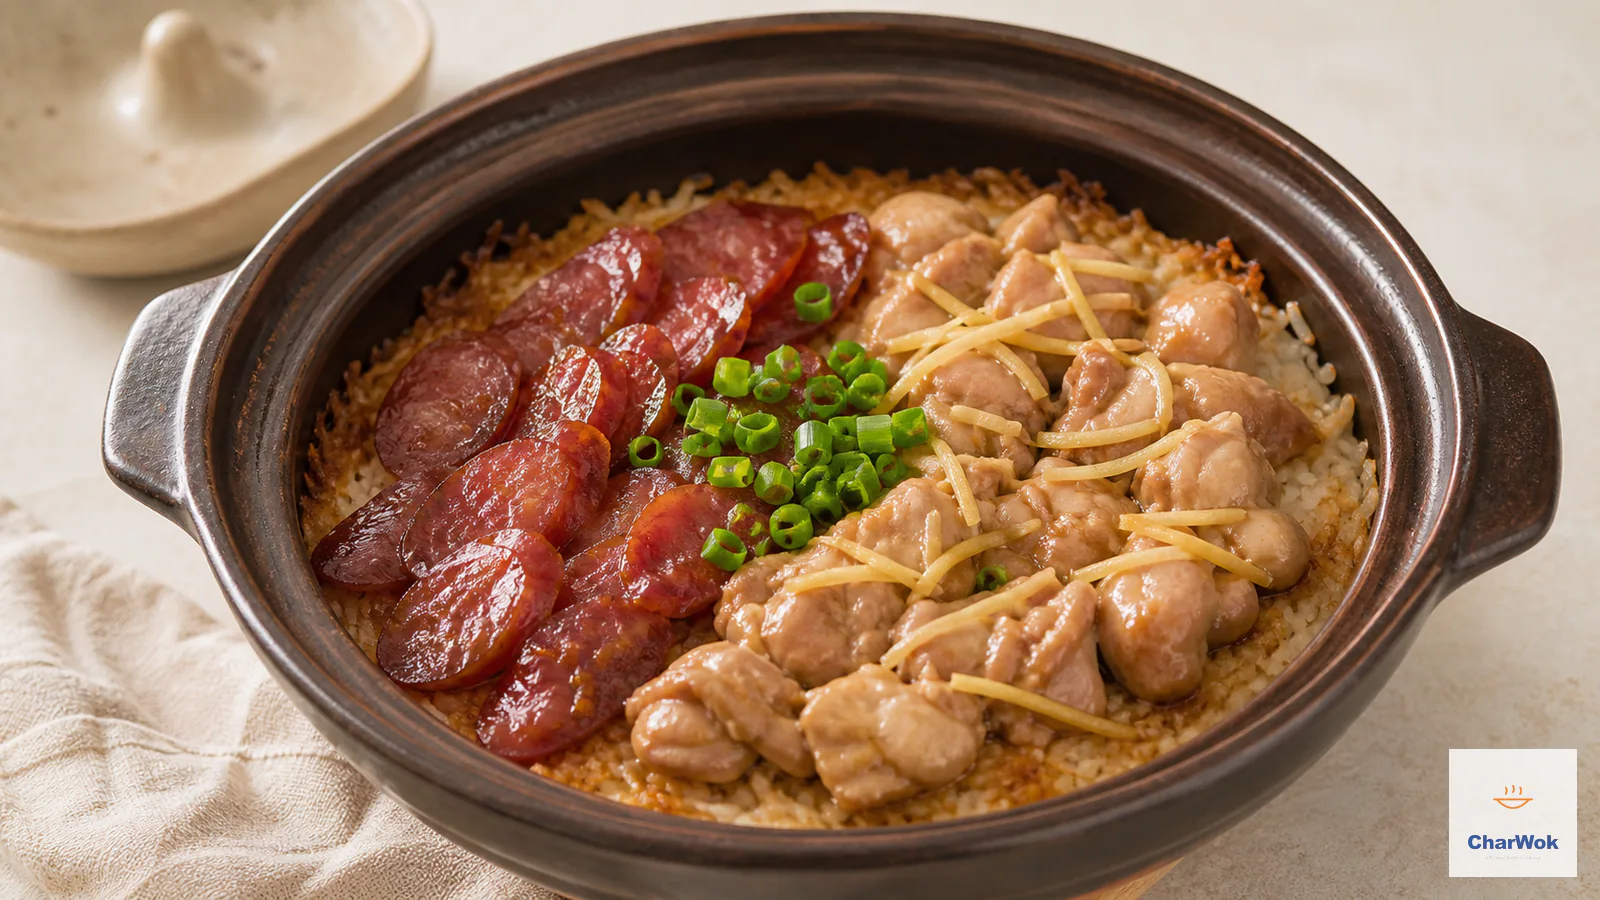
The soul of Cantonese clay pot rice is not the topping. It is the layer of golden, crackling rice stuck to the bottom of the pot, the part locals fight over and call fan jiu (飯焦). Everything else, the lap cheong sausage, the marinated chicken, the sweet-savory sauce you stir in at the end, exists to season that rice and to give you an excuse to scrape the crust loose.
You do not need a charcoal brazier or restaurant equipment. What matters is a tight-lidded, heavy vessel and two separate checkpoints: verify the topping is safely cooked before you raise the heat, then stop the crust stage at the first toasted aroma, before smoke.
At a glance. Cook 1 cup jasmine rice with 1 cup liquid uncovered until the water sinks to rice level, add the topping, then cover on the lowest heat for about 10 minutes. Before scorching, check the largest chicken pieces in several parts of the pot reach 165°F (74°C); for lap cheong not labeled ready-to-eat, follow its package or reach 160°F (71°C). Only after the topping is safe should you add oil and raise the heat for the crust. Pull the pot at the first toasted aroma, before smoke.
What this dish is, and where the crisp comes from
Bo zai fan (煲仔飯) is a Guangdong street and dai pai dong staple: raw rice and a savory topping cooked together in a small clay pot, finished with seasoned soy and scallion. This version covers the two classic options—lap cheong and marinated chicken thigh. Other raw proteins need their own safe-temperature target rather than the chicken timing; those limits are listed under variations.
The fan jiu crust is pure food science, and it is worth understanding because it dictates the technique. Jasmine rice is mostly starch. When that starch gelatinizes in the absorbed water and then keeps cooking with most of the moisture gone, the layer of rice touching the hot clay passes through a Maillard browning stage and then into dehydration. You are not "frying" the bottom; you are drying already-cooked starch against a very hot surface until it toasts and turns brittle. That is why the pot must be heavy and the heat must be directed at the base, and why a thin steel pan burns long before it crisps.
If you want the full Cantonese meal experience, serve this alongside a clear pork rib soup or a bowl of winter melon soup with meatballs; the soup resets the palate between bites of the rich, slightly charred rice. For an everyday weeknight, it stands perfectly on its own.
Equipment: do you really need a clay pot?
An unglazed Chinese clay pot (砂鍋, sha guo) is the right tool, and it is the only tool that gives you the clean, even scorch with no metallic off-flavor. They are cheap and last decades if you avoid thermal shock. If you don't own one, the best substitute is a small, heavy cast-iron Dutch oven or a thick enameled cocotte in the 1.5 to 2 liter range. What you are after is thermal mass and a lid that seals. A wok, even a good seasoned carbon-steel wok, is the wrong shape here: the sides are too thin and sloped to hold an even layer of rice against heat, and you lose the crust. A thin stainless saucepan will scorch before it crisps and is the tool most likely to ruin your rice. Don't use it.
Ingredients
Ingredients at a glance
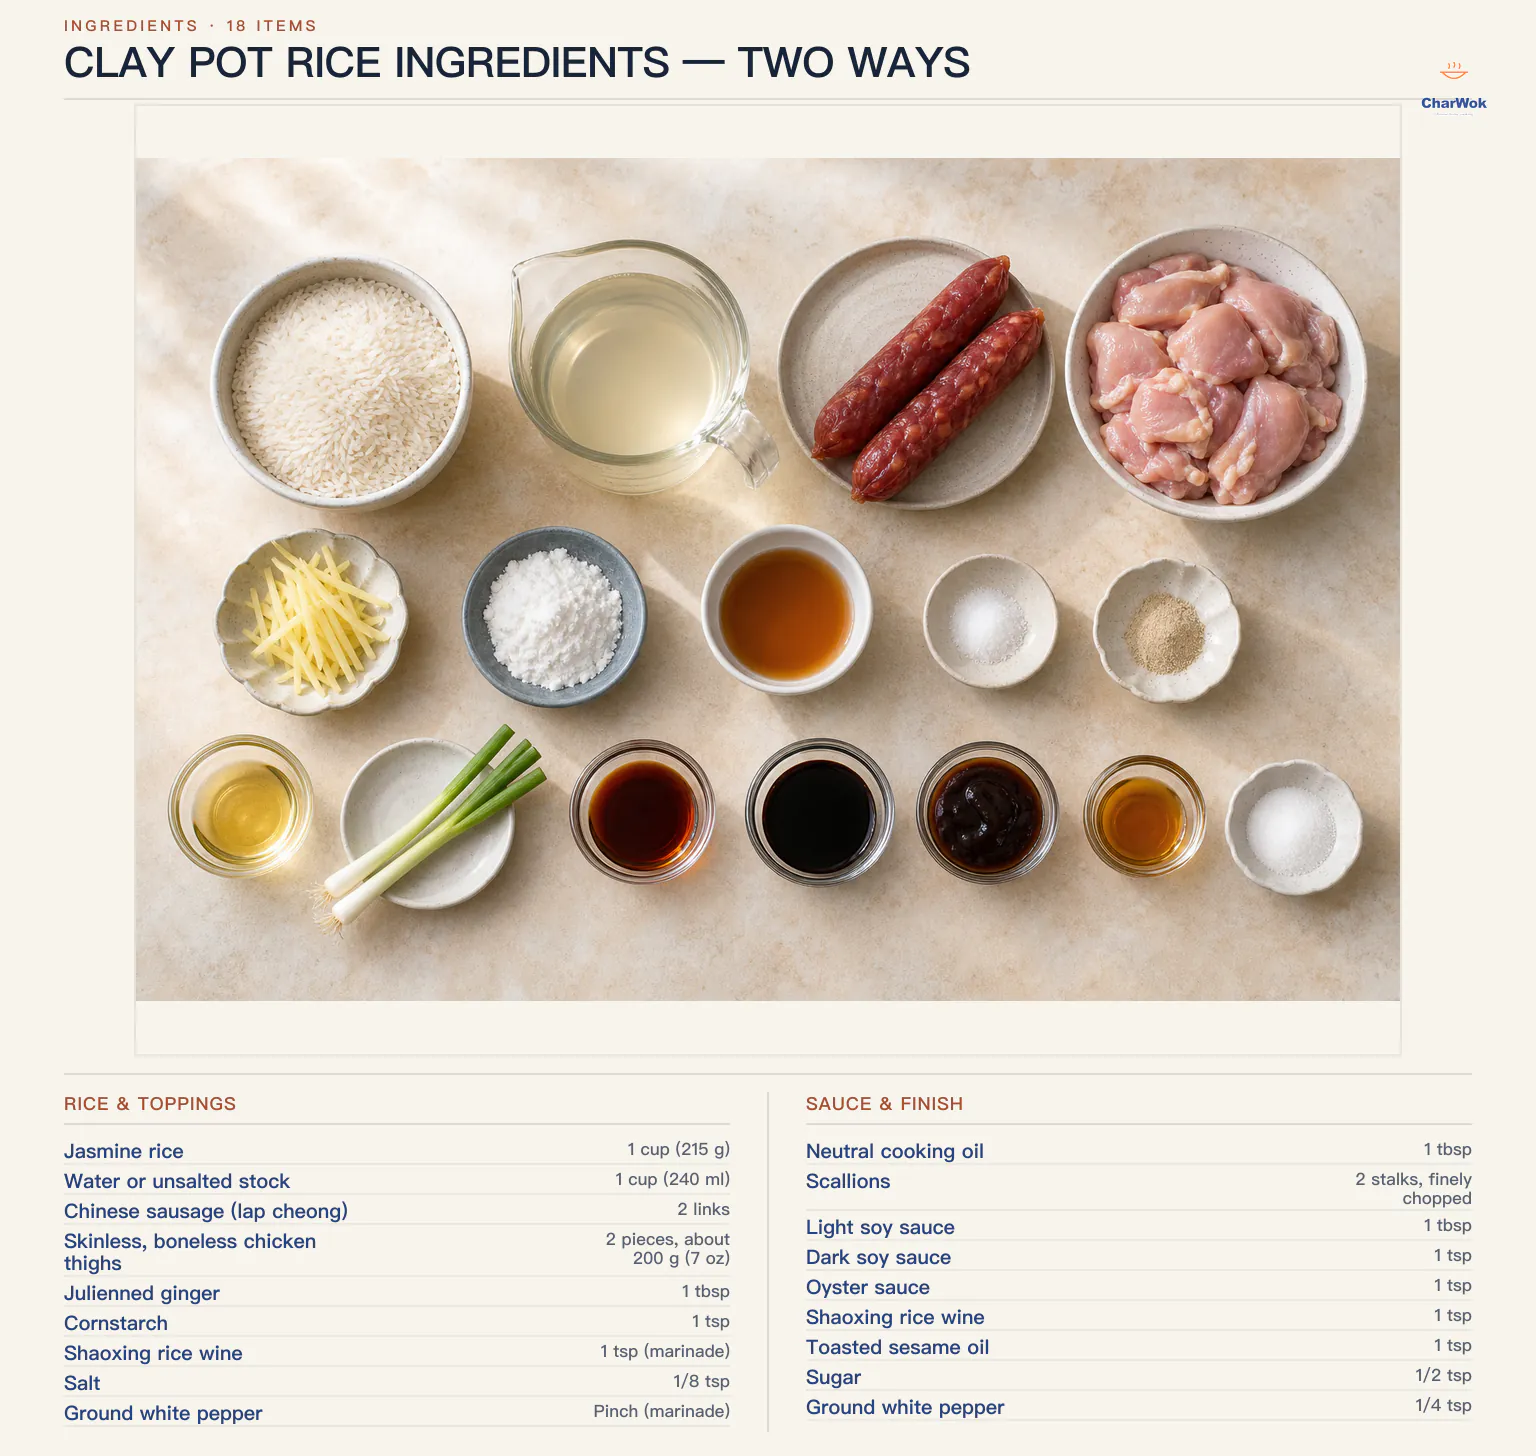
This serves two generously. The rice-to-liquid ratio is the load-bearing number: 1 part jasmine rice to 1 part liquid by volume. Resist the urge to add extra water "to be safe." Too much water and the bottom never crisps; too little and the top layer of rice stays chalky. One to one is correct for a stovetop clay pot, slightly different from how you would cook jasmine rice as a plain side, because here the lid is off for the first stage and you lose some steam.
| Ingredient | Amount | Notes / substitute |
|---|---|---|
| Jasmine rice | 1 cup (215 g) | Long-grain Thai jasmine. Do not use calrose or short-grain; they get gummy and won't scorch cleanly. |
| Water or unsalted stock | 1 cup (240 ml) | Stock adds depth; water is traditional and lets the topping carry the flavor. |
| Chinese sausage (lap cheong) | 2 links | Follow the package directions; wipe the casing with a damp paper towel if cleaning is needed. |
| Skinless, boneless chicken thighs | 2 pieces, about 200 g (7 oz) | For the chicken version. Thighs, never breast, because they stay juicy in the short cook. |
| Julienned ginger | 1 tbsp | Cuts the gaminess of the chicken. Omit if using only sausage. |
| Cornstarch | 1 tsp | Velvets the chicken so the surface doesn't seize and turn tough. |
| Shaoxing rice wine | 1 tsp (marinade) | See our notes on Shaoxing wine; dry sherry is the standard substitute. |
| Salt | 1/8 tsp | For the marinade only. |
| Ground white pepper | Pinch (marinade) | White, not black, to keep the marinade color clean. |
| Neutral cooking oil | 1 tbsp | For the scorching stage. Peanut, canola, or grapeseed. Not olive oil. |
| Scallions | 2 stalks, finely chopped | Stirred in at the end for fresh bite and color. |
| Ingredient | Amount | Notes |
|---|---|---|
| Light soy sauce | 1 tbsp | Salt and base seasoning. Light vs dark matters here; see our light and dark soy guide. |
| Dark soy sauce | 1 tsp | For color and a molasses edge. A little goes a long way. |
| Oyster sauce | 1 tsp | Adds body and umami. The same sauce behind oyster sauce chicken. |
| Shaoxing rice wine | 1 tsp | Brightens the sauce. |
| Toasted sesame oil | 1 tsp | Added last so the aroma isn't cooked off. Know your sesame oil. |
| Sugar | 1/2 tsp | Balances the salt; rounds the sauce without making it sweet. |
| Ground white pepper | 1/4 tsp | A faint warm heat through the sauce. |
If you want to round out the pantry for dishes like this, the sauces above are a subset of the ten condiments every Chinese kitchen should keep.
Method
Read the whole sequence once before you light the burner. The window where you act is short, and you want to have the sauce mixed and the scallions chopped before the rice needs you.
- Marinate the chicken, or prep the sausage. Cut chicken thighs into even 2 cm / ¾-inch pieces and toss with ginger, cornstarch, Shaoxing wine, salt and white pepper. Refrigerate if preparing more than a few minutes ahead. For sausage, follow the package's preparation directions; wiping the casing with a damp paper towel is enough when it needs cleaning. Keep raw-meat utensils and plates away from the sauce, scallions and cooked topping.
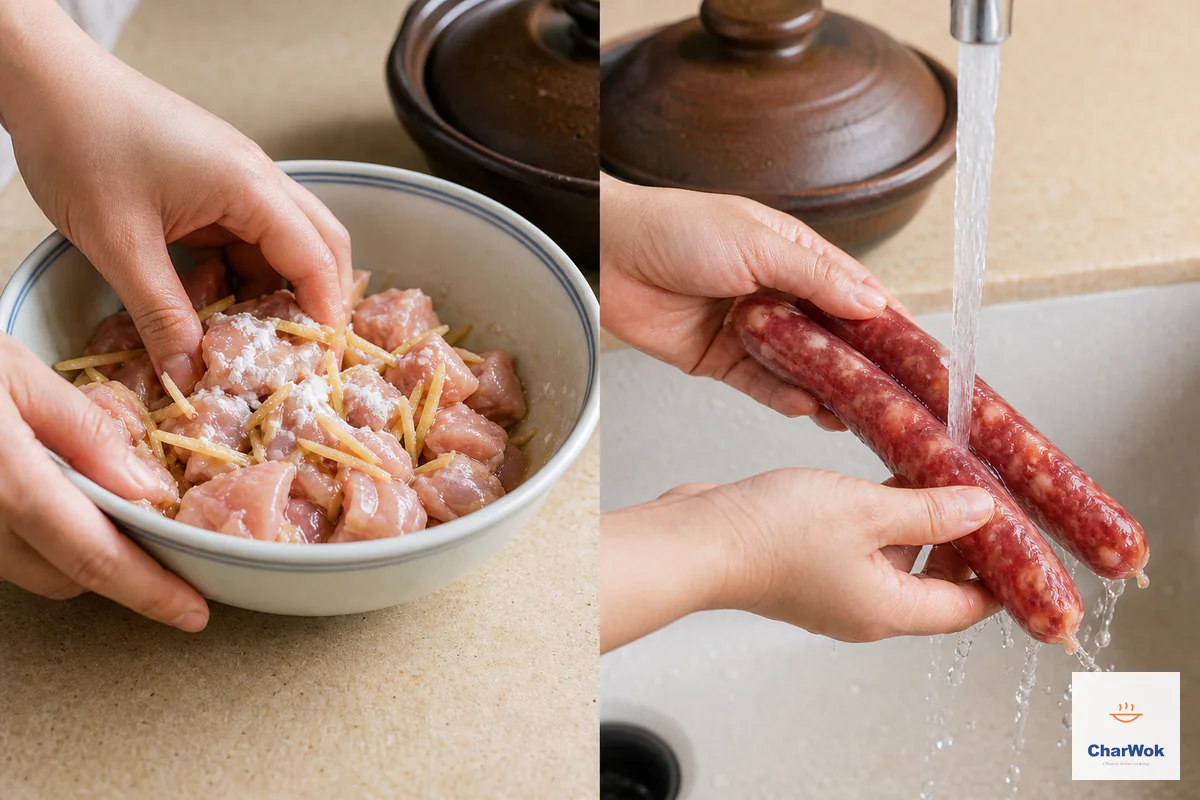
Marinate the boneless chicken with ginger, cornstarch, Shaoxing wine, salt and white pepper for 10 minutes; for sausage, follow its package and clean the casing only if directed.
- Rinse and drain the rice. Swirl the rice in a bowl under cold water two or three times until the water runs only faintly cloudy, then drain well. You are removing surface starch that would otherwise turn the cooking liquid into paste and glue the grains together, which kills the separate-grain texture you want. Do not soak the rice; soaked rice absorbs water unpredictably and throws off your 1:1 ratio.
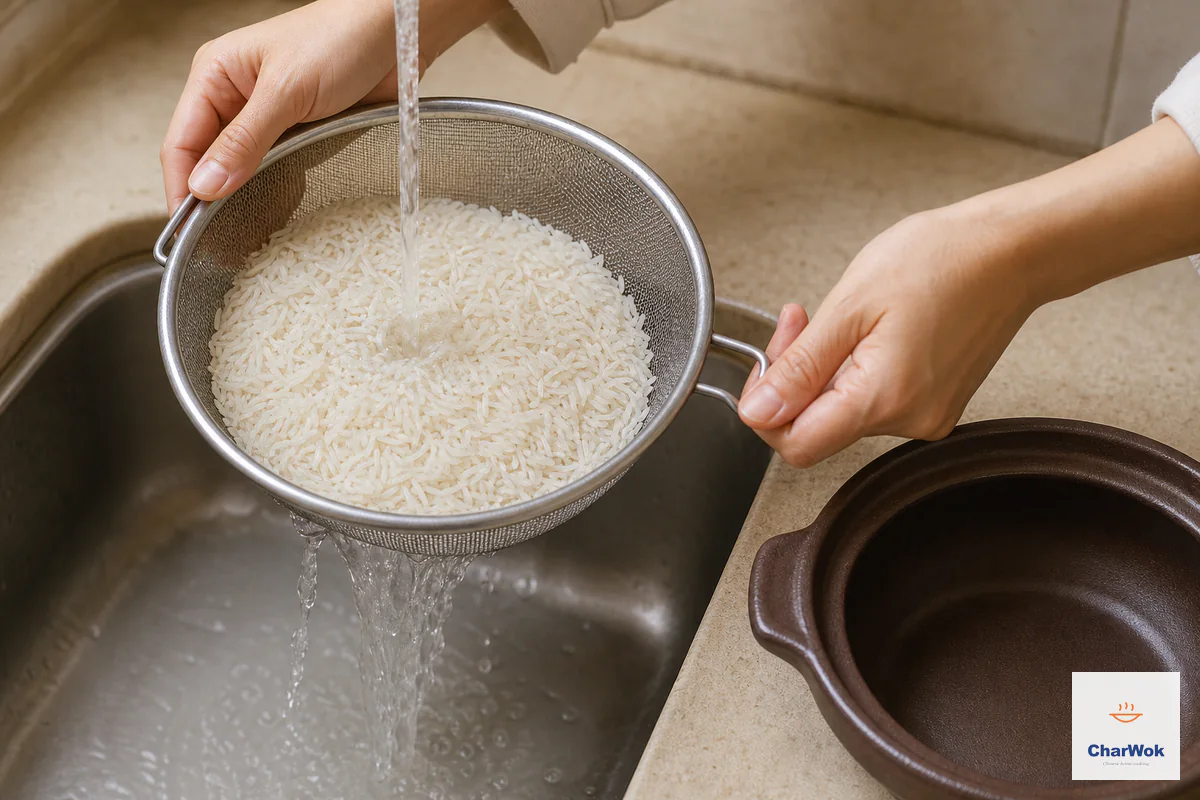
Rinse two or three times until the water is only faintly cloudy, then drain well without soaking so the 1-to-1 liquid ratio remains predictable.
- Start the rice uncovered, medium-low. Put the rice and 1 cup liquid into the pot over medium-low heat without a lid. Watch closely. Move to the next step when the water level reaches the rice surface and small holes bubble through, usually after 6 to 8 minutes. The visual cue matters more than the estimate because burners and pots vary.
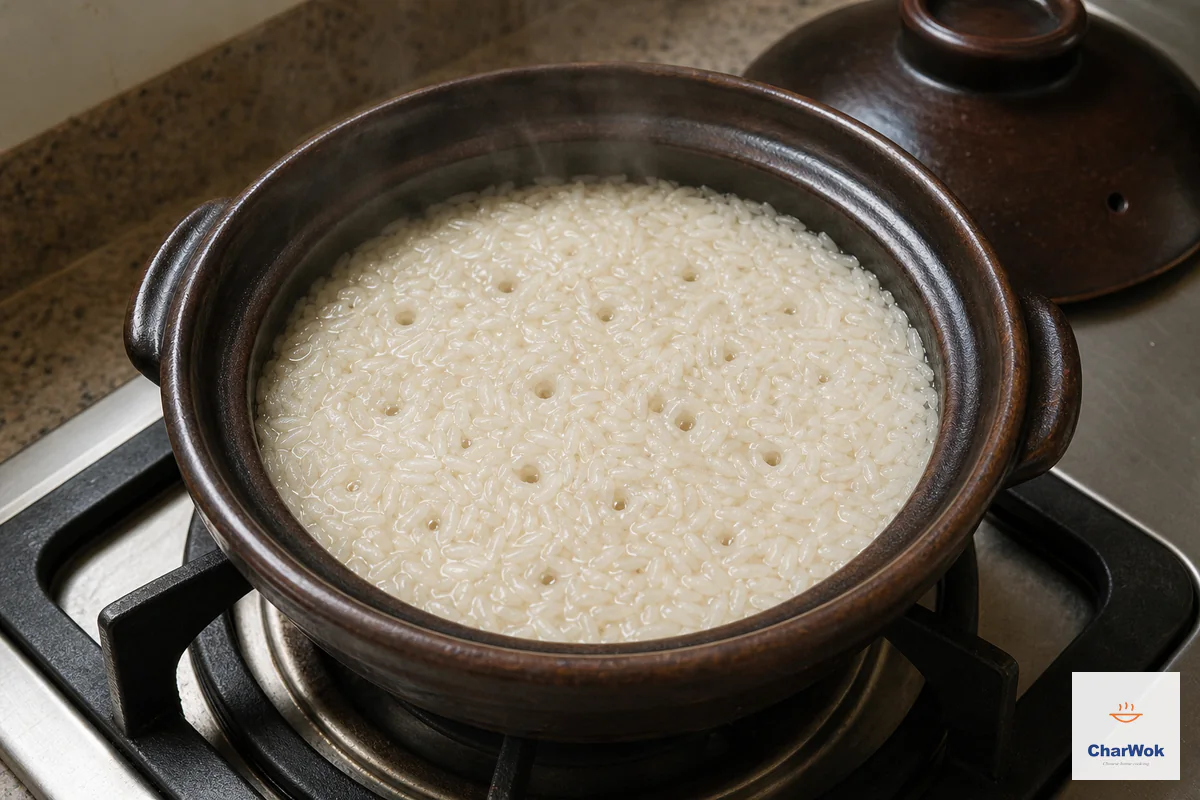
Cook the rice and 1 cup liquid uncovered over medium-low heat until the water falls exactly to the rice surface and small holes appear, about 6 to 8 minutes.
- Layer the topping and lid it. Arrange the marinated chicken in a single layer on top of the rice, or lay the whole sausage links across it. Do not pile or overlap the meat, because overlapped protein steams instead of browning and the rice underneath it stays pale and wet. Put the lid on tight and turn the heat down to the lowest setting your stove will hold.
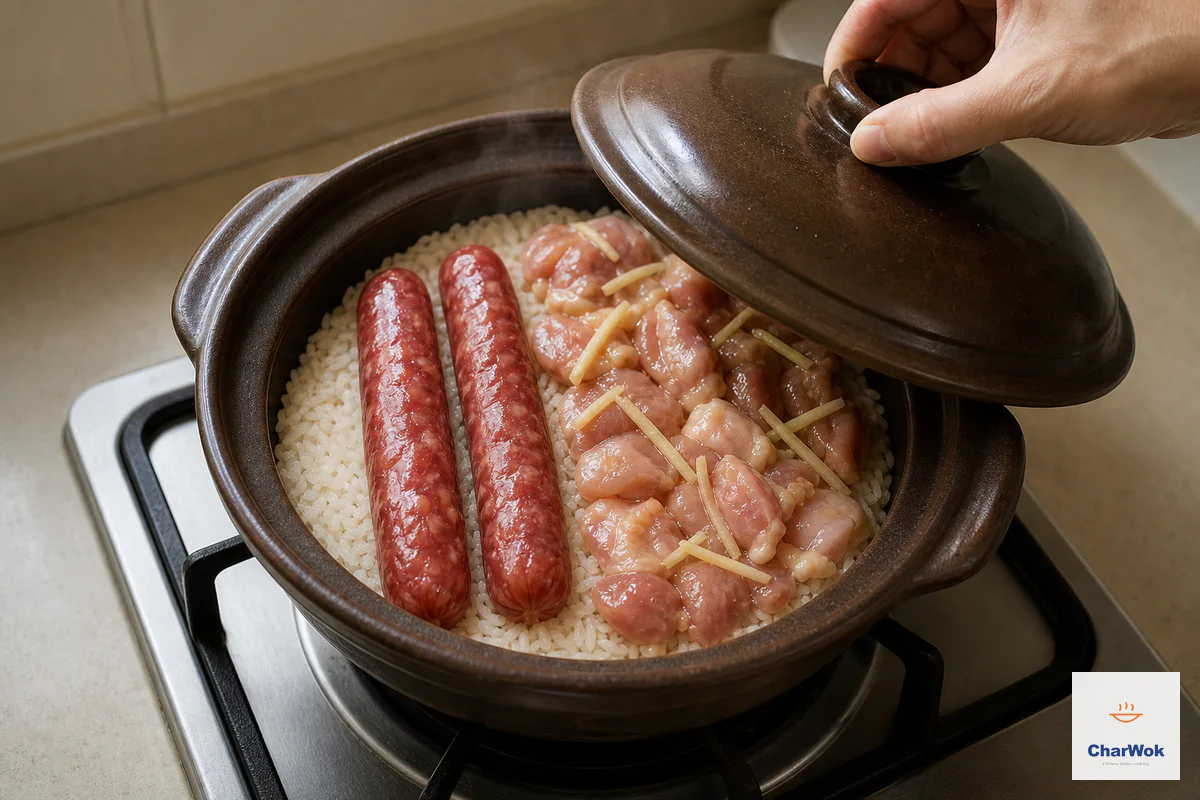
Lay either topping—or both for the mixed version—in one uncrowded layer with no overlap, then close the lid tightly and turn the heat down.
- Cook covered, then verify the topping. Keep the lid closed over the lowest stable heat for 10 minutes; this is the first-check point, not proof of doneness. Open carefully, keeping clear of steam. If using chicken, check several of the largest pieces from the center and edge with a clean instant-read thermometer; each checked piece must reach 165°F (74°C). If using lap cheong not labeled ready-to-eat, follow the package directions or check its center reaches 160°F (71°C). If either target is missed, add 1 tablespoon hot water, cover, cook on low for 2 to 3 minutes and recheck with a cleaned probe. Do not begin the crust stage until the topping is safe. You may move cooked topping to a clean plate now to keep it from cooking further.
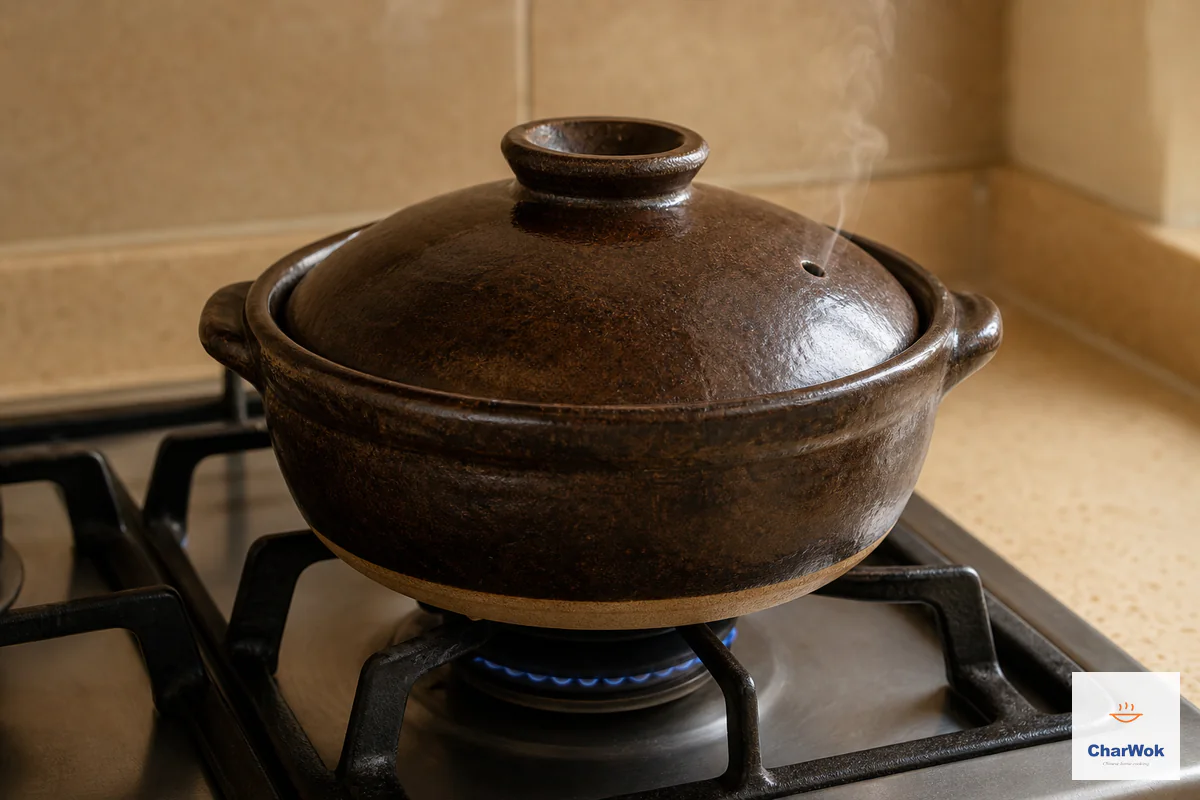
Cook covered on low for 10 minutes as a first check, then verify large chicken pieces across the pot reach 165°F (74°C), or unlabeled lap cheong reaches 160°F (71°C), before scorching.
- Scorch the bottom only after the topping is safe. Close the lid, trickle 1 tablespoon neutral oil into the seam between lid and pot, and raise the heat to medium. If using gas, tilt the closed pot gently every 30 seconds so each side wall faces the flame in turn. Stay at the stove and use dry oven mitts; clay and handles become very hot.
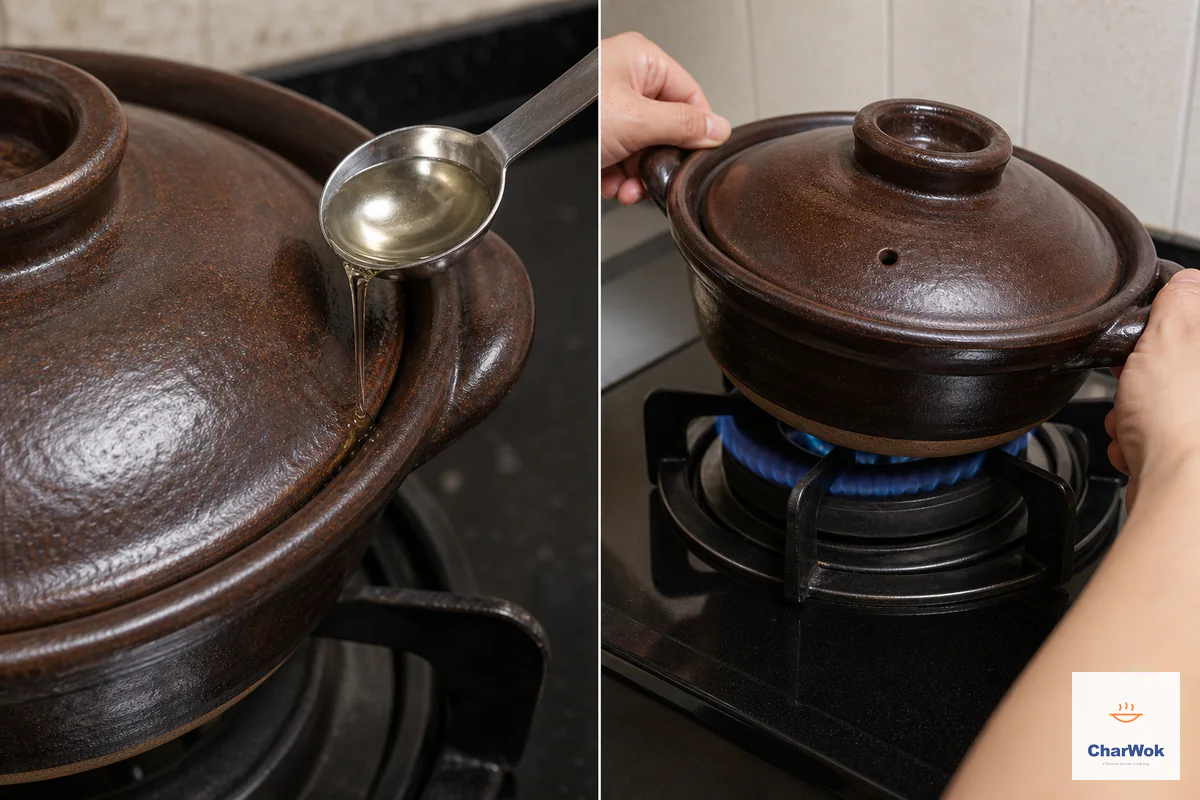
Only after the topping reaches its safe temperature, run 1 tablespoon neutral oil into the lid seam, raise the heat to medium and gently rotate a gas-fired pot every 30 seconds.
- Pull it at the first toasted aroma. Listen for faint crackling and monitor from a safe distance; do not put your face over the lid or vent. The first bread-like toasted aroma, often after 3 to 5 minutes, is the cue to move the pot to a dry heatproof trivet. Do not wait for smoke or a charred smell. Residual heat continues browning the crust after the pot leaves the burner.
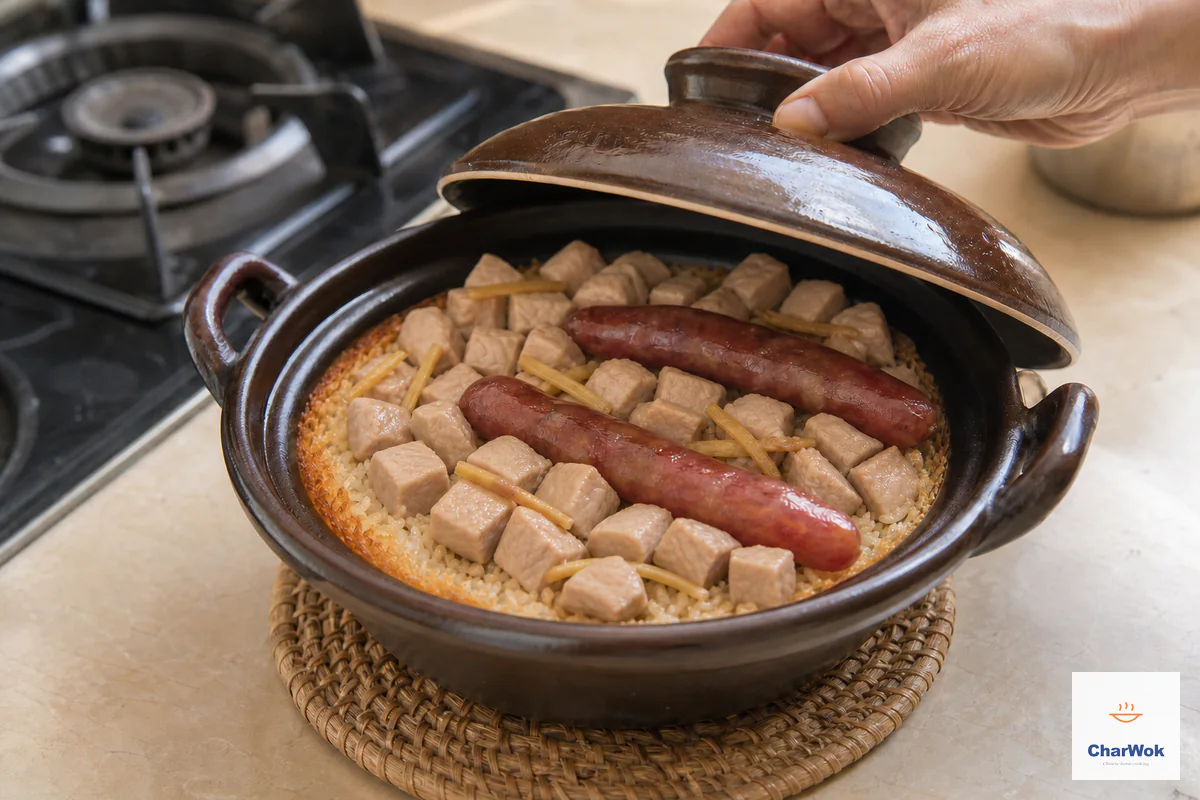
Remove the pot at the first bread-like toasted aroma and faint crackle, usually after 3 to 5 minutes, while the crust is golden and before smoke or bitter char develops.
- Return the topping and add the sauce. If using sausage, slice it diagonally on a clean board. Return any topping removed before scorching, pour over the finishing sauce and scatter the chopped scallions. Use clean utensils throughout.
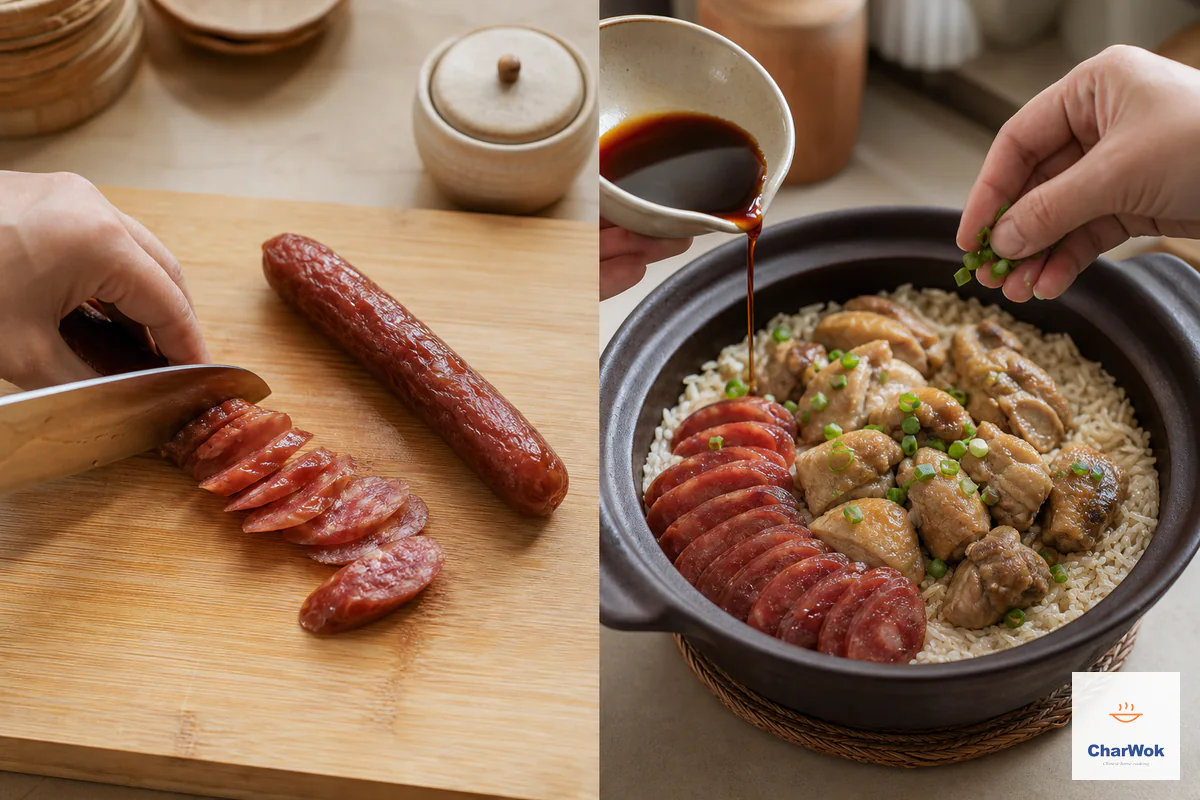
Slice the cooked sausages diagonally, return them to the pot, pour over the mixed finishing sauce and scatter the two finely chopped scallions.
- Mix at the table. Stir thoroughly with a spoon, scraping up from the bottom so the crisp layer breaks into the rice in golden shards. The sauce should coat every grain; the crust should be distributed, not left as one disc. Eat immediately, while the contrast between the soft top rice and the crunchy bottom is at its peak.
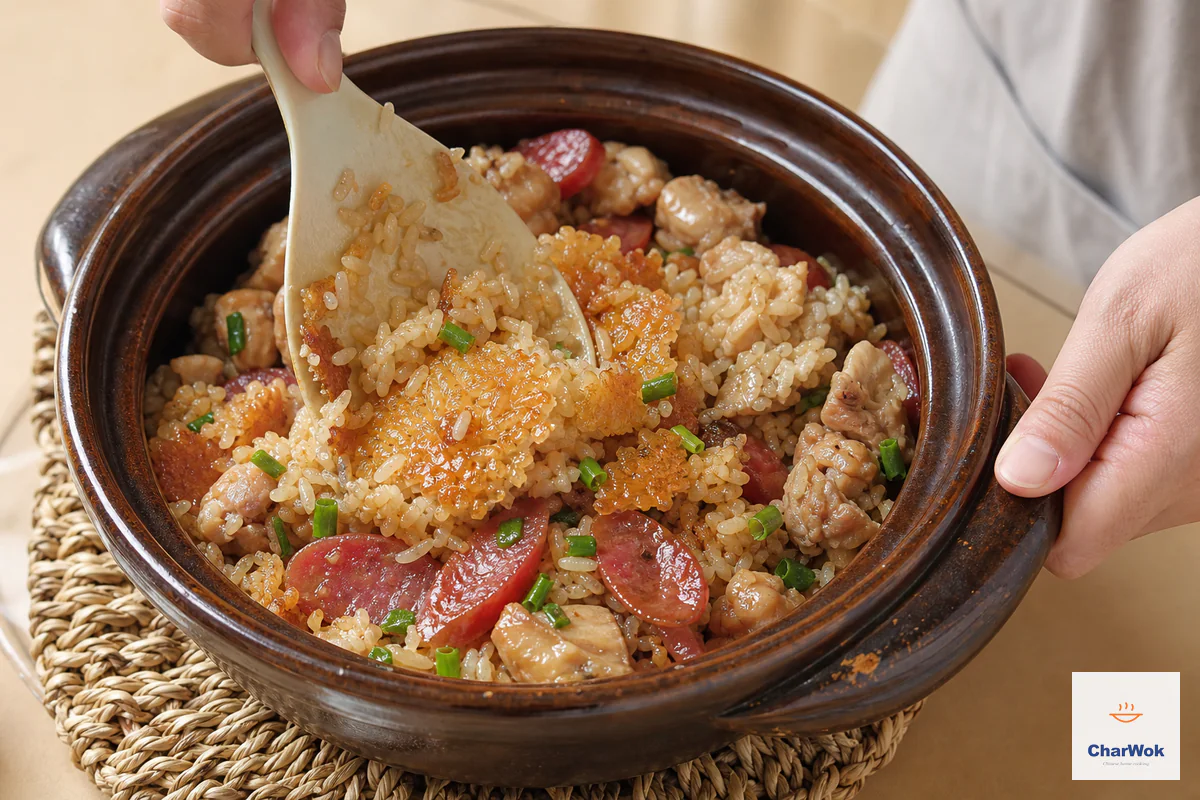
Mix at the table and scrape firmly from the bottom so the crisp golden layer breaks into shards and spreads through the soft, sauce-coated rice.
When it goes wrong, and how to fix it
Most failures trace to heat, water, sealing or the order of the two checkpoints.
- The bottom burned black instead of going golden. You left it on high heat too long during the scorch stage, or you used a thin-bottomed pot. The fix is judgment, not measurement: the moment the toasty smell appears, pull the pot. If your pot is thin, drop the scorch heat to medium-low and add a minute rather than going hot and fast. Burnt crust cannot be saved in the dish, but you can scoop out the good rice above it and serve that; the topping is still perfectly edible.
- The rice is chalky or undercooked on top. Either you lifted the lid too often, you started with less than a full cup of liquid, or you went to the scorch stage before the water was fully absorbed. Steam is what finishes the top layer, so a loose lid or an early peek starves it. Next time, weight the lid with something heavy to ensure a seal, and confirm the sizzle has gone quiet before you raise the heat.
- The rice is gummy, no crisp forms. Too much water, or the rice was rinsed too briefly and left coated in surface starch. Measure the liquid by volume, not by eye, and don't be tempted to add stock "for flavor" beyond the one cup. If your rice is already cooked and gummy, you can still rescue a crust: spread it out, add the oil around the rim, and give it a longer, gentler scorch on medium-low to evaporate the excess moisture first.
- The chicken is dry or rubbery. Once the largest pieces in several parts of the pot have reached 165°F (74°C), move the chicken to a clean plate before scorching the rice. Return it with the sauce. This separates the food-safety checkpoint from the crust-color decision.
- The crust sticks and won't release. The oil around the lid rim is not optional; it is what lets the crust slide free. If it's stuck, pour a tablespoon of hot water or hot stock around the inside edge, re-lid for 30 seconds, and the steam will release it. This is the same principle behind scallion oil chicken, where a flash of liquid deglazes the fond.
Variations and what to serve with it
Once the method is in your hands, the topping is wide open. The most reliable swaps, in rough order of how forgiving they are:
- Marinated spareribs. They do not share the chicken timing. Use small, even pieces and cook whole-cut pork to at least 145°F (63°C), followed by a 3-minute rest, before starting the crust; verify the thickest meat without touching bone. For a tested black-bean method, use the dedicated steamed spareribs recipe instead.
- Chicken and shiitake. Add rehydrated, sliced dried shiitakes to the chicken marinade. The mushrooms drink up the marinade and release it back into the rice. It is essentially steamed chicken with shiitake moved into the pot.
- A loose pork meatball patty. Keep it thin and check the center reaches 160°F (71°C) before the crust stage. Timing alone cannot verify ground pork is safe.
- Sausage and chicken together. For a mixed pot, use one link of sausage and one chicken thigh cut into even pieces. Apply both temperature checks before starting the crust.
For sides, this is a one-bowl meal, so a soup is the classic companion rather than another stir-fry. A quick tomato egg drop soup or a clear egg drop soup takes ten minutes and cuts the richness of the rice beautifully. If you want greens, blanch bok choy or gai lan separately and serve them on the side; adding raw greens to the pot throws off the water ratio.
Storage and reheating
Clay pot rice is best immediately because the crust softens as it cools. Refrigerate rice, meat and sauce in shallow containers within 2 hours of cooking—or within 1 hour above 90°F (32°C)—and discard food left out longer. Use refrigerated leftovers within 3 to 4 days. Reheat only the portion needed, covered with a few drops of water, until every part reaches 165°F (74°C); a skillet can restore some crispness after that temperature is reached. See the USDA safe-temperature chart and leftovers guidance.
Frequently asked questions
Can I make this in a rice cooker?
Yes for the topping, no for the crust. Most cookers have a "clay pot" or "crust" mode that will cook rice with a topping acceptably, but they cannot replicate the side-tilted, oil-basted fan jiu. Use the cooker when you want an easy dinner; use the stove and clay pot when you want the real thing.
Why 1:1 rice to water when plain jasmine usually takes more?
Because the first stage here is uncovered, and the topping releases juice as it cooks. Both add moisture to the system compared to a lidded stovetop pot of plain rice, so you start with less.
I can't find lap cheong. What works instead?
Any cured, fatty, slightly sweet sausage reads close: a good Spanish chorizo or a Portuguese linguiça in small amounts. Avoid dry-cured pepperoni, which is too sharply spiced. Otherwise, just use the chicken version, which doesn't need a substitute at all.
My clay pot cracked. Now what?
Almost always thermal shock: a hot pot meeting a wet counter, or a cold pot over high flame. Season a new unglazed pot by soaking it in water, then simmering rice starch water in it for thirty minutes before first use. Heat it gradually and never set a hot pot on anything wet, and the next one will last for years.
How do I know the chicken or sausage is safely cooked?
After the initial 10-minute covered cook and before raising the heat, check several of the largest chicken pieces from the center and edge; each checked piece must reach 165°F (74°C). For lap cheong not labeled ready-to-eat, follow its package or reach 160°F (71°C). If needed, add 1 tablespoon hot water, cover, continue on low for 2 to 3 minutes and recheck.
The reliable sequence is simple: watch the water level, verify the topping reaches its safe temperature, then build the crust and stop before smoke. Keeping those decisions separate makes the result safer and more repeatable across different pots and burners.