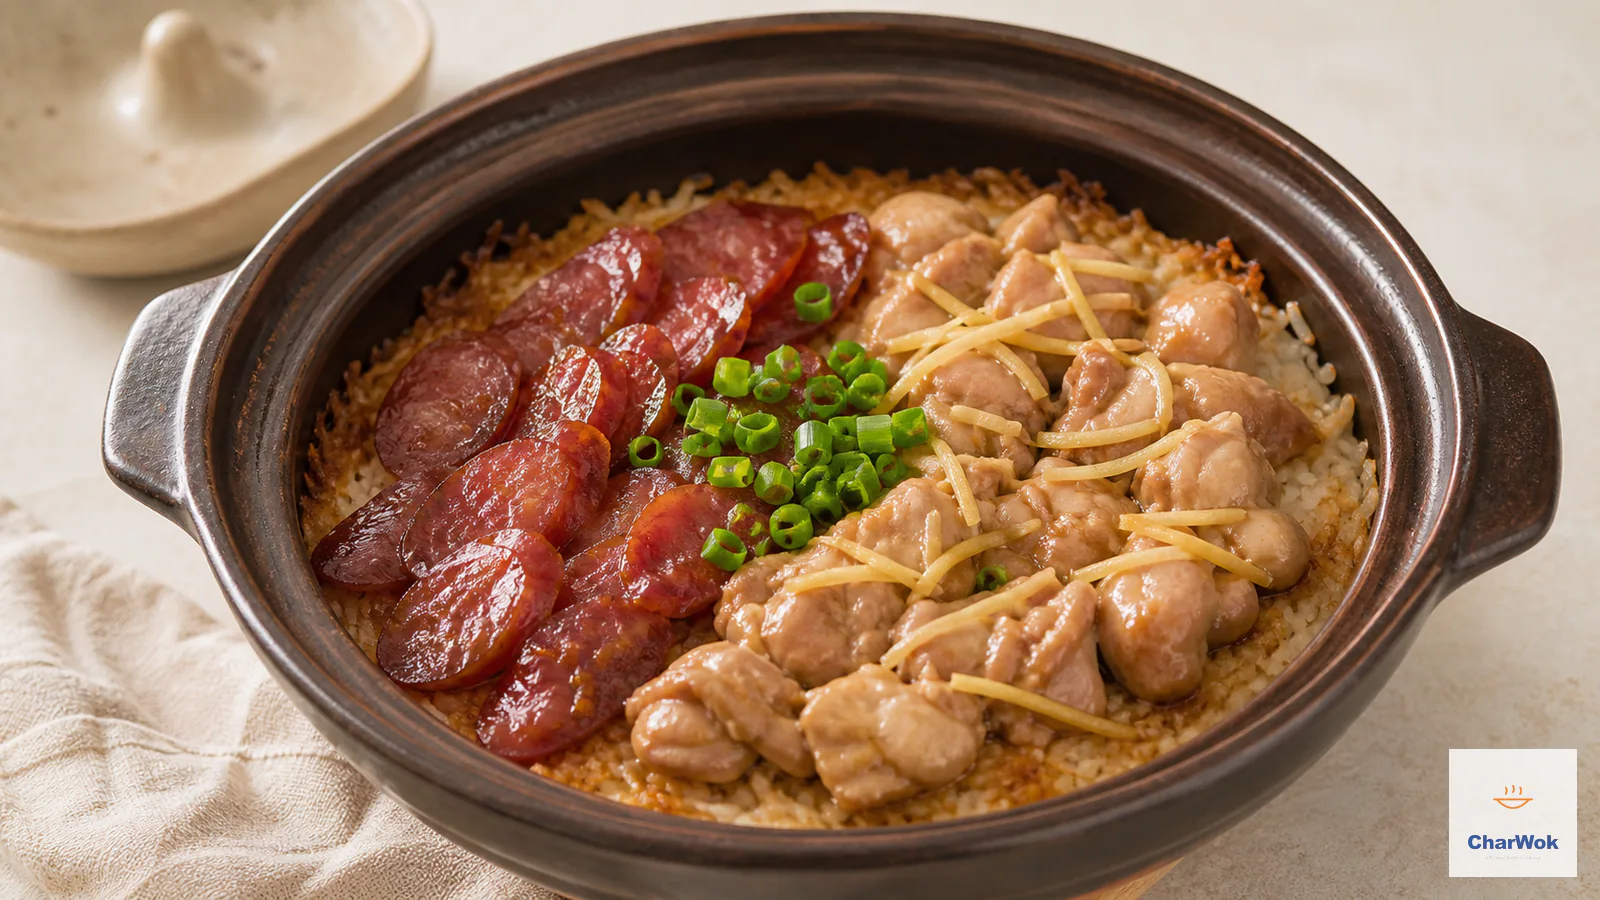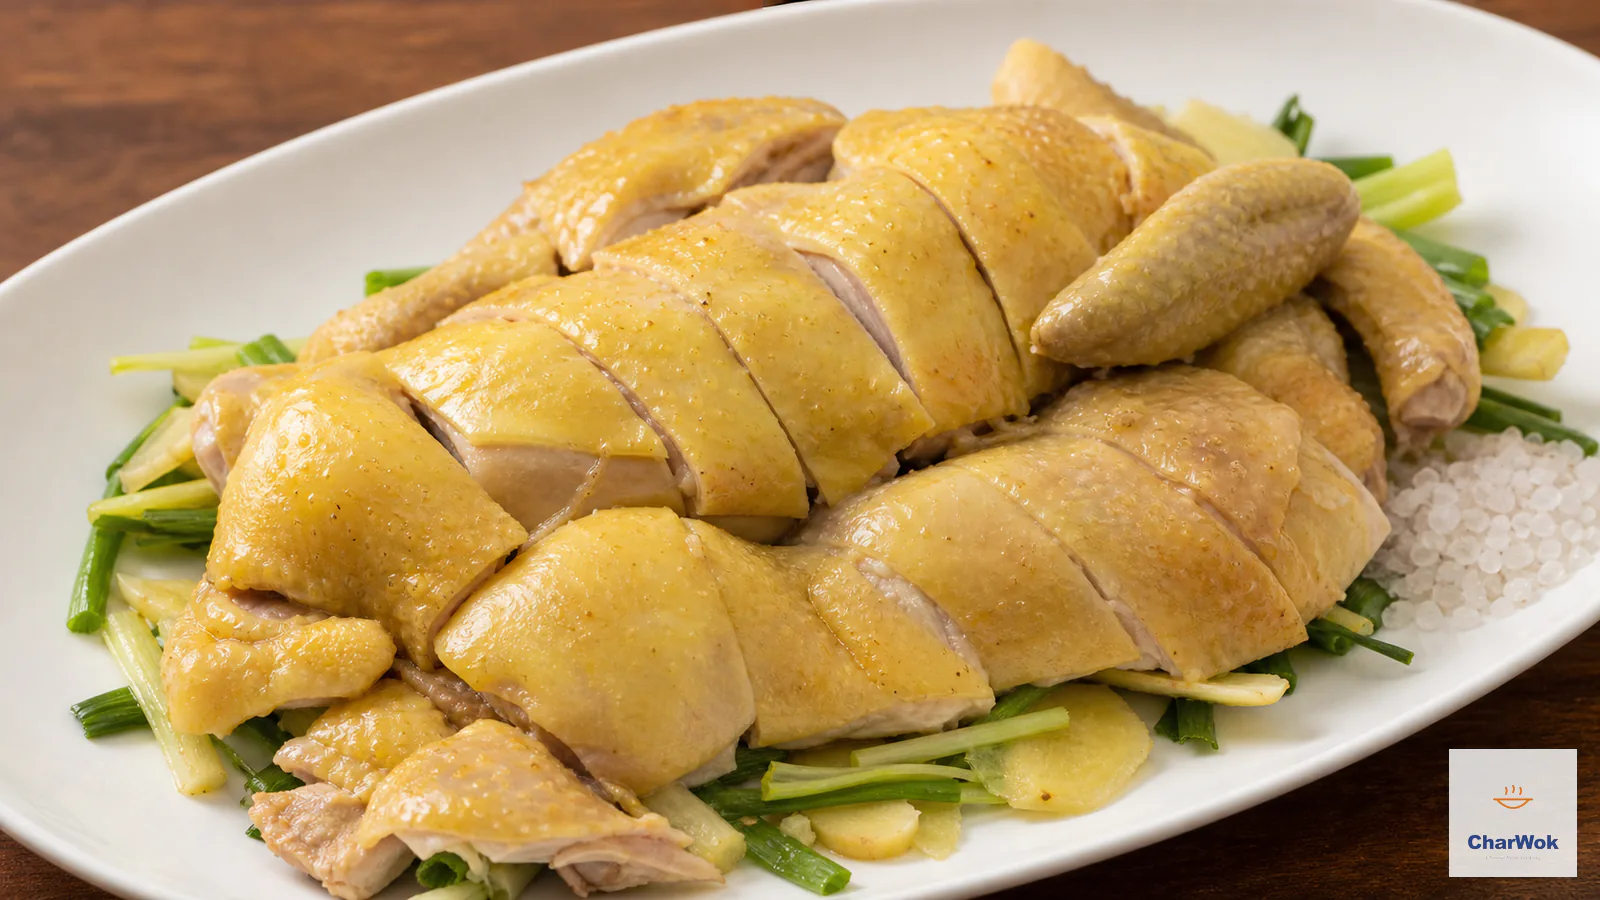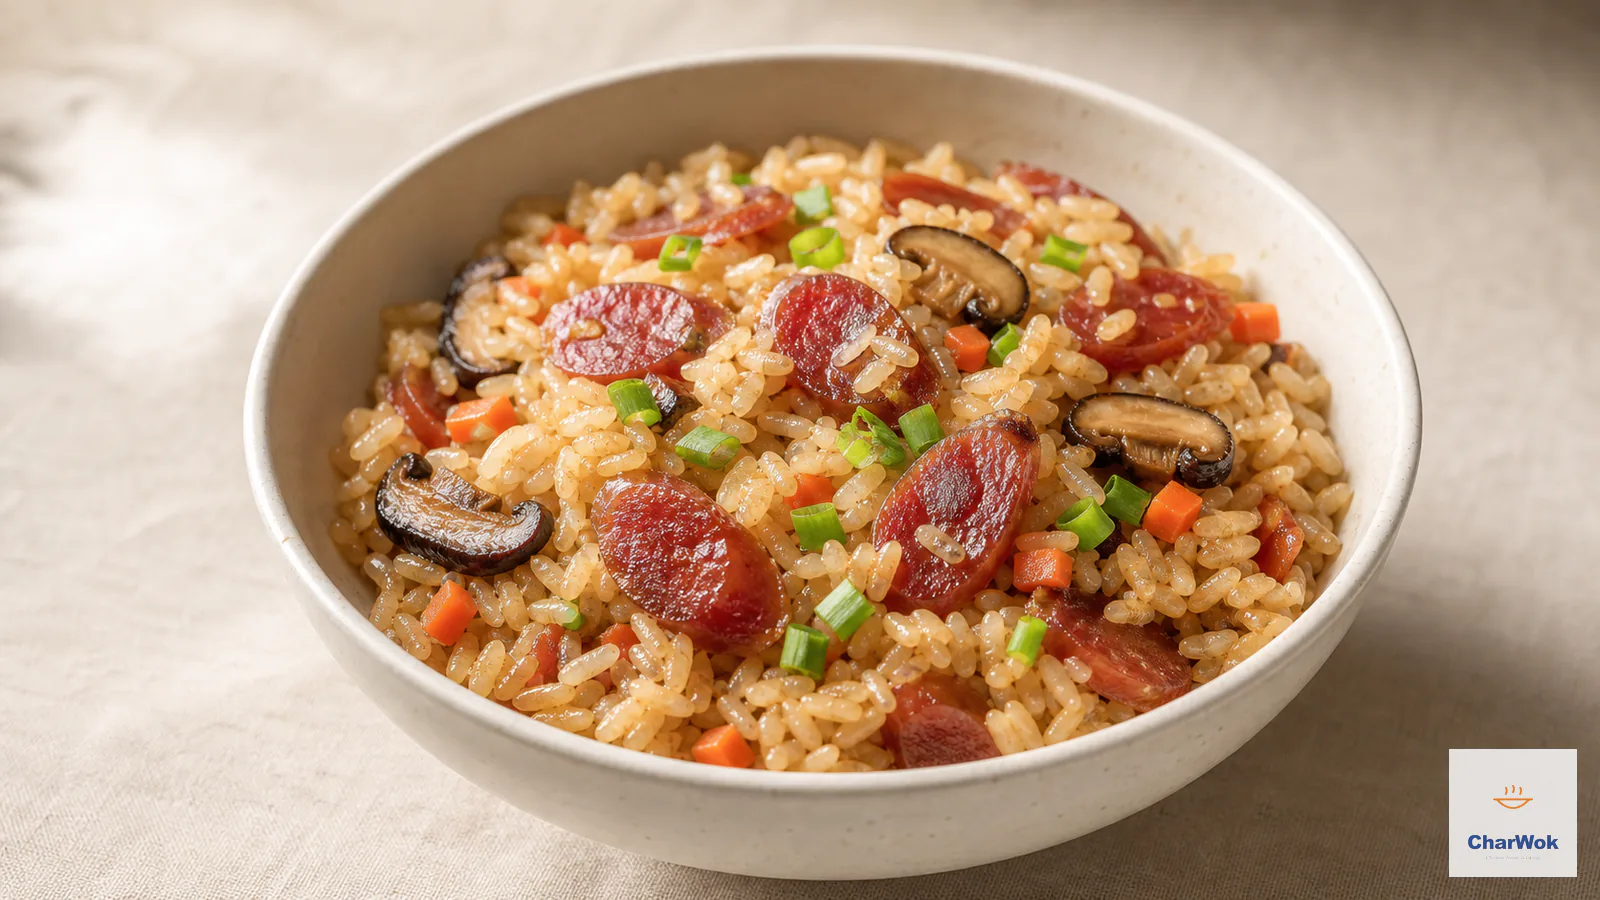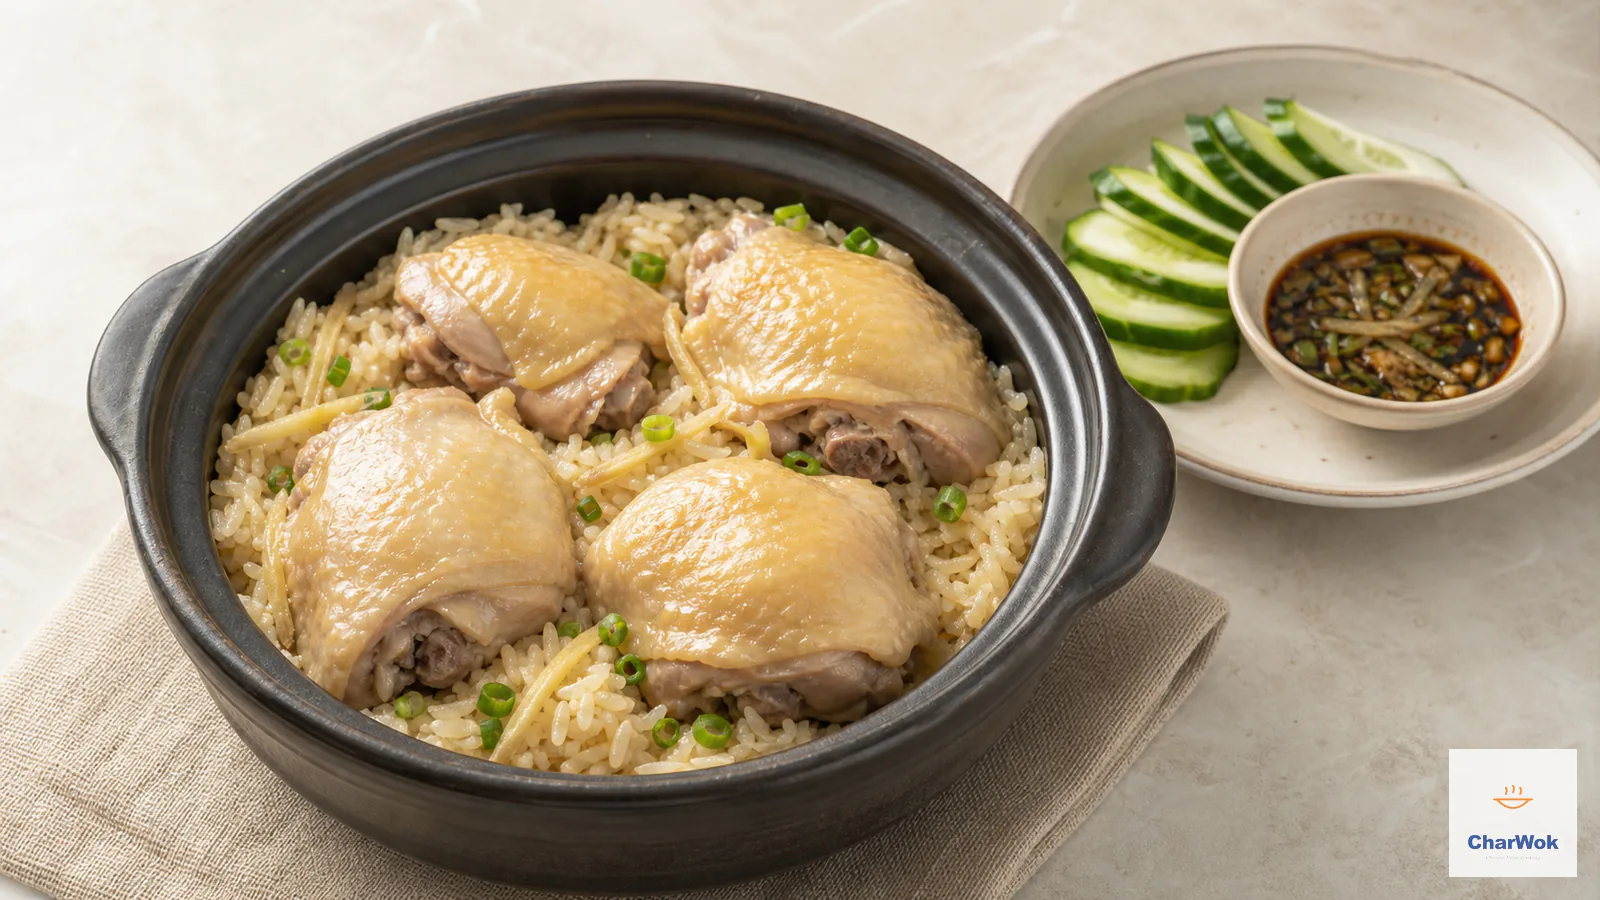
The soul of one-pot chicken rice is rice that has stolen the chicken's flavor. Every grain should be glossy, faintly yellow, and taste like the bird it was cooked under. The chicken itself is almost a side effect, which is the part most home cooks get backwards: they baby the meat and treat the rice as filler.
Two choices solve the most common texture problems: use skin-on, bone-in thighs, laid flat and never overlapping. The skin renders fat into the rice, while a single uncrowded layer lets steam reach every piece evenly.
At a glance. Skin-on, bone-in chicken thighs steam on top of jasmine rice in a 3:4 rice-to-water ratio by volume (1½ cups rice to 2 cups water). Cook 20 minutes at the lowest heat, then rest 10 minutes off the heat with the lid closed. Those times are the first-check point, not proof of doneness: before slicing, every thigh must reach 165°F (74°C) at its thickest part, away from the bone. The method also works in a rice cooker or Instant Pot with the water adjustments below.
What this dish is, and what it isn't
This is a home-cook's shortcut for Hainanese chicken rice, the dish the Hainanese diaspora carried through Southeast Asia and turned into a national obsession in Singapore and Malaysia. The restaurant version is a production: a whole bird poached in a master stock at a temperature that never quite boils, then shocked in ice water for that translucent, jelly-like skin; rice toasted in chicken fat and rendered aromatics, then steamed in the poaching liquid; and a trio of sauces, usually ginger-scallion oil, a sweet dark soy, and a fermented chili paste. Done right it is one of the great plates of food in the world, and done right it takes half a day.
This one-pot version keeps the spirit and drops the theater. You give up the glassy whole-bird skin and the deeply enriched stock rice. In exchange you get a complete dinner in under an hour, with rice that still tastes intensely of chicken because the thighs literally drip onto it as they cook. Think of it as a close cousin of clay pot rice, another Chinese one-pot tradition where meat cooks on top of grain and the two seasons each other. If you have ever made lo mai gai, the dim sum lotus-leaf sticky rice parcel, the logic is the same, only faster and with long-grain rice.
The ingredient decisions that actually matter
Ingredients at a glance
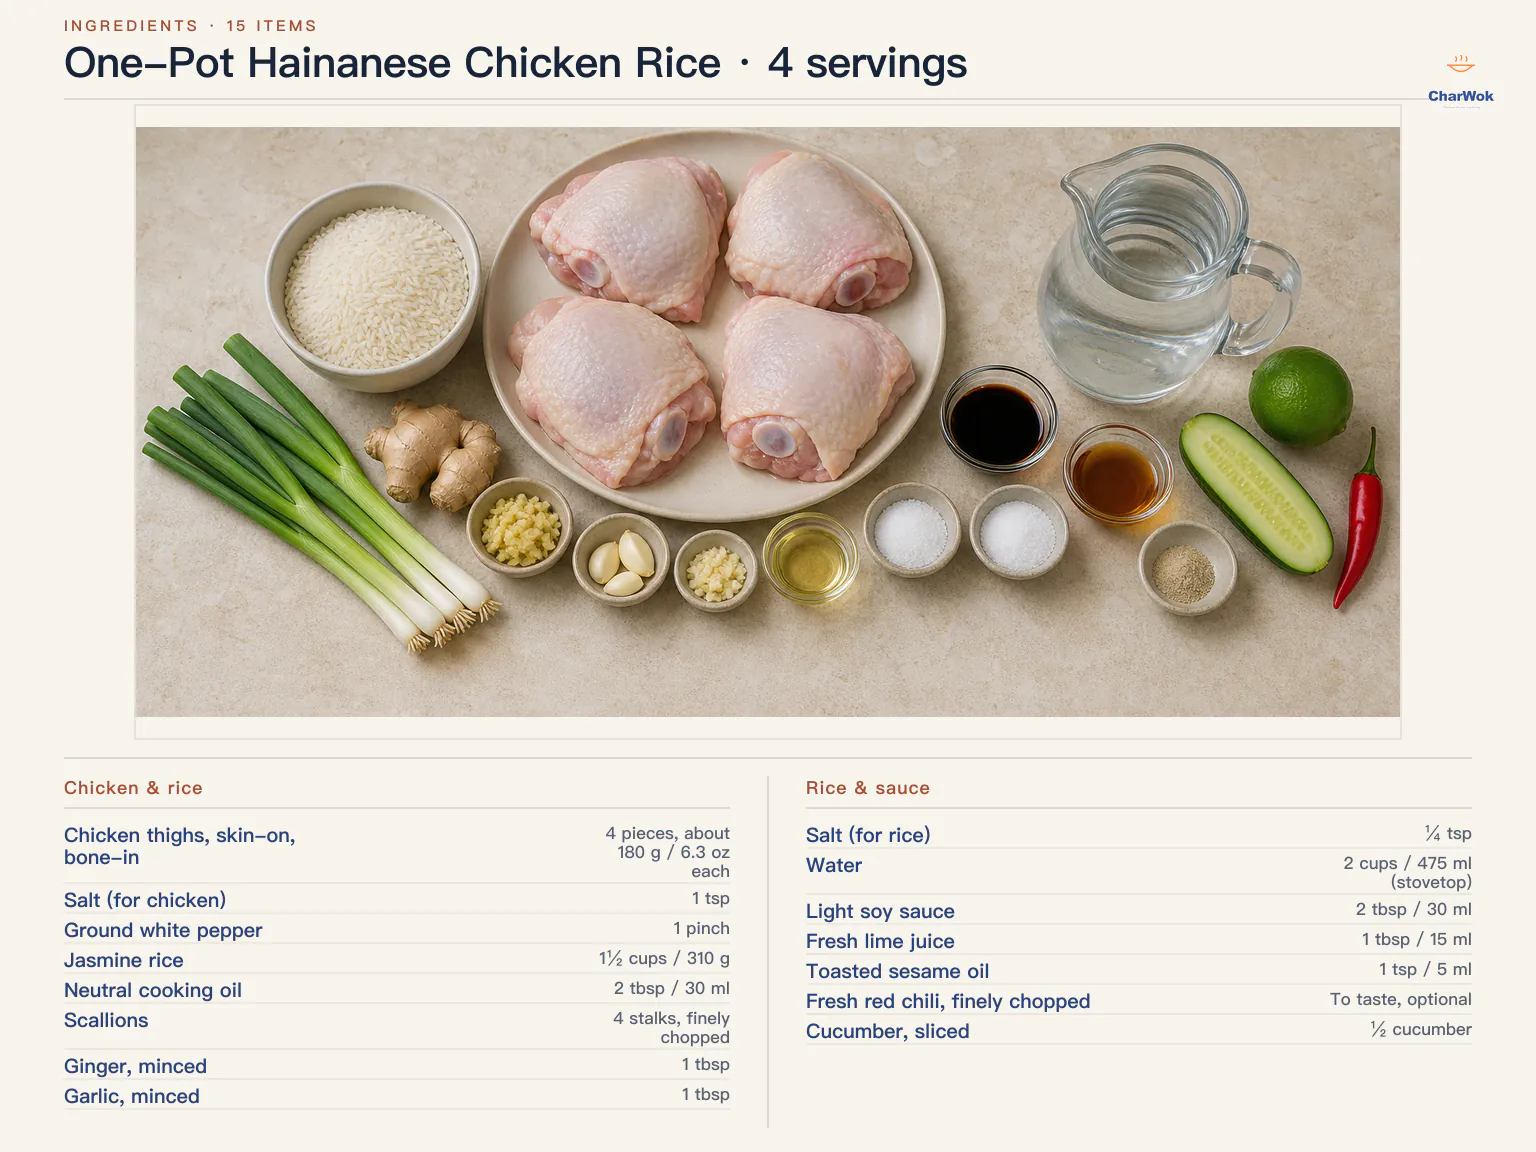
Most of the ingredient list is forgiving. Three choices are not.
Use skin-on thighs, ideally bone-in. The skin is where the fat lives, and that fat is the only seasoning the rice gets from the bird. Skinless thighs will cook fine but the rice stays pale and flat. The bone slows the cook slightly and helps the meat stay juicy. Boneless skin-on works if that is what your store sells; just pull each piece flat in the pot.
Use jasmine rice. Long-grain jasmine is what gives the finished dish its separate, slightly perfumed grains. Short-grain white rice will work in a pinch but reads as closer to Chinese sticky rice territory: softer, clingier, less elegant. Do not use brown rice without reading the troubleshooting section below, it needs different water and time. If you have never cooked jasmine on a stove before, the technique in this recipe is essentially how jasmine rice behaves on the stove, with chicken sitting on top.
Build the aromatics generously and split them. Scallion, ginger, and garlic flavor the rice from below and the sauce from above. You fry the whole batch once, then scoop out about two-thirds to become a raw-ish sauce later. This double duty is the move that makes the dish feel complete rather than like plain chicken rice.
| Ingredient | Amount | Notes / substitute |
|---|---|---|
| Chicken thighs, skin-on, bone-in | 4 pieces, about 180 g / 6.3 oz each | Boneless skin-on works; do not use skinless. About 720 g total meat. |
| Salt (for chicken) | 1 tsp | Kosher or fine sea salt. |
| Ground white pepper | 1 pinch | Black pepper is fine if that is all you have; white pepper is milder and more traditional. |
| Jasmine rice | 1½ cups / 310 g | Short-grain white rice acceptable. Not brown rice without changes. |
| Neutral cooking oil | 2 tbsp / 30 ml | Canola, grapeseed, or avocado. Not olive oil. |
| Scallions | 4 stalks, finely chopped | Use both white and green parts. |
| Ginger, minced | 1 tbsp | Fresh only; about a 2 cm / ¾ inch knob. |
| Garlic, minced | 1 tbsp | About 3 medium cloves. |
| Salt (for rice) | ¼ tsp | The chicken and soy sauce carry most of the seasoning. |
| Water | 2 cups / 475 ml (stovetop) | 1½ cups for Instant Pot; use your usual rice ratio for rice cooker. |
| Light soy sauce | 2 tbsp / 30 ml | For the sauce. See light vs dark soy sauce if unsure which bottle you own. |
| Fresh lime juice | 1 tbsp / 15 ml | Lemon works; rice vinegar in a smaller amount (2 tsp) if no citrus. |
| Toasted sesame oil | 1 tsp / 5 ml | For finishing the sauce. A little goes a long way. |
| Fresh red chili, finely chopped | To taste, optional | Or 1 tsp Chiu Chow chili oil for heat with more flavor. |
| Cucumber, sliced | ½ cucumber | Or blanched greens such as bok choy or spinach. |
Method, with the reasoning built in
The stovetop method makes each heat change visible. Instant Pot and rice cooker variations follow.
- Season the chicken and let it sit. Rub the thighs all over with the salt and white pepper. Ten minutes is enough. The point is not tenderness here, it is getting the salt onto the surface so it can draw a little moisture and flavor into the meat rather than sitting on top of it. You can do this an hour ahead and refrigerate; do not go longer or the texture starts to cure.
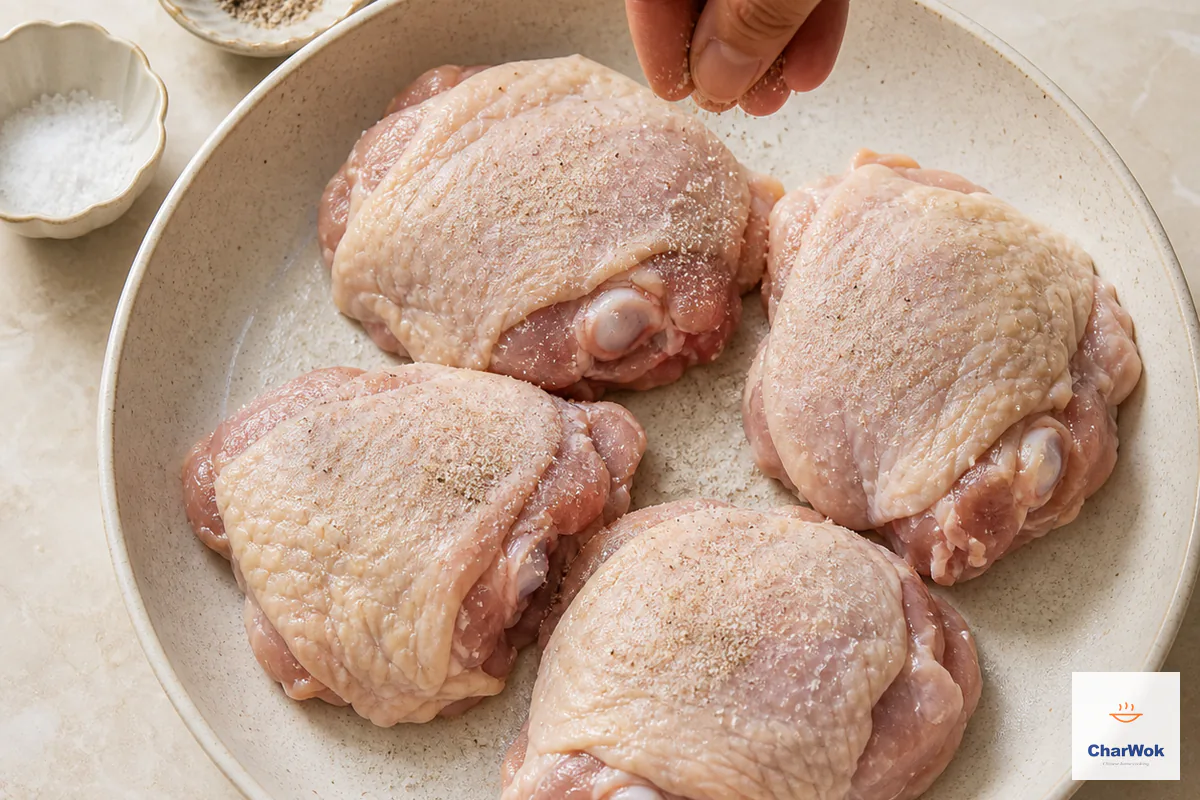
Season all four bone-in thighs evenly with the chicken salt and white pepper, then leave them to marinate while preparing the rice.
- Rinse the rice, then drain it well. Three quick changes of cold water until the water runs only slightly cloudy. You are removing surface starch that would otherwise make the grains gluey. Shake the strainer hard, wet rice added to hot oil spits violently.
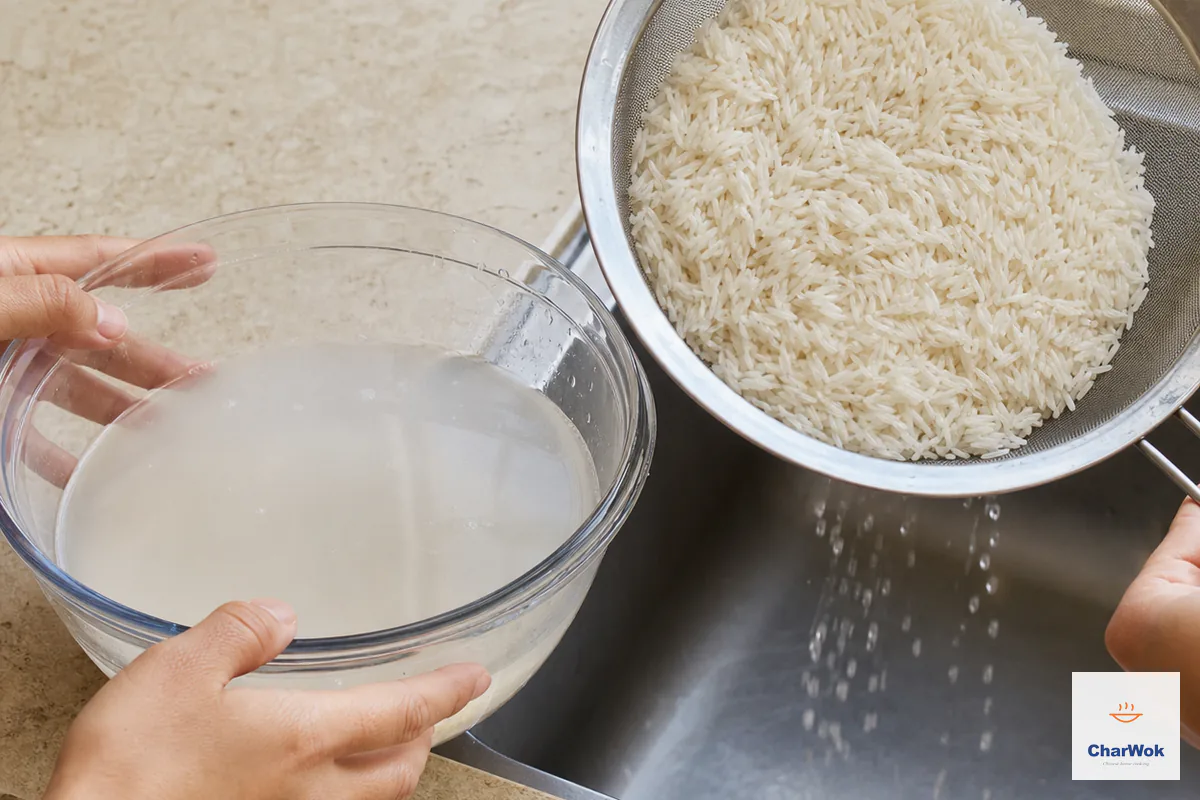
Rinse the jasmine rice until the water is much clearer, then drain it thoroughly so excess water does not upset the one-pot ratio.
- Fry the aromatics in oil over medium heat. Two tablespoons of oil in your pot, scallions, ginger, and garlic in. Stir and watch the color. The moment the garlic loses its raw smell and the scallions soften, around 45 seconds, stop. Burned garlic is bitter and there is no rescuing it; if it browns, start over.
- Scoop out two-thirds of the aromatics and save them. This reserved pile becomes your sauce later. Cover the bowl and keep it away from the raw-chicken work area; the one-third left in the pot is enough to perfume the rice.
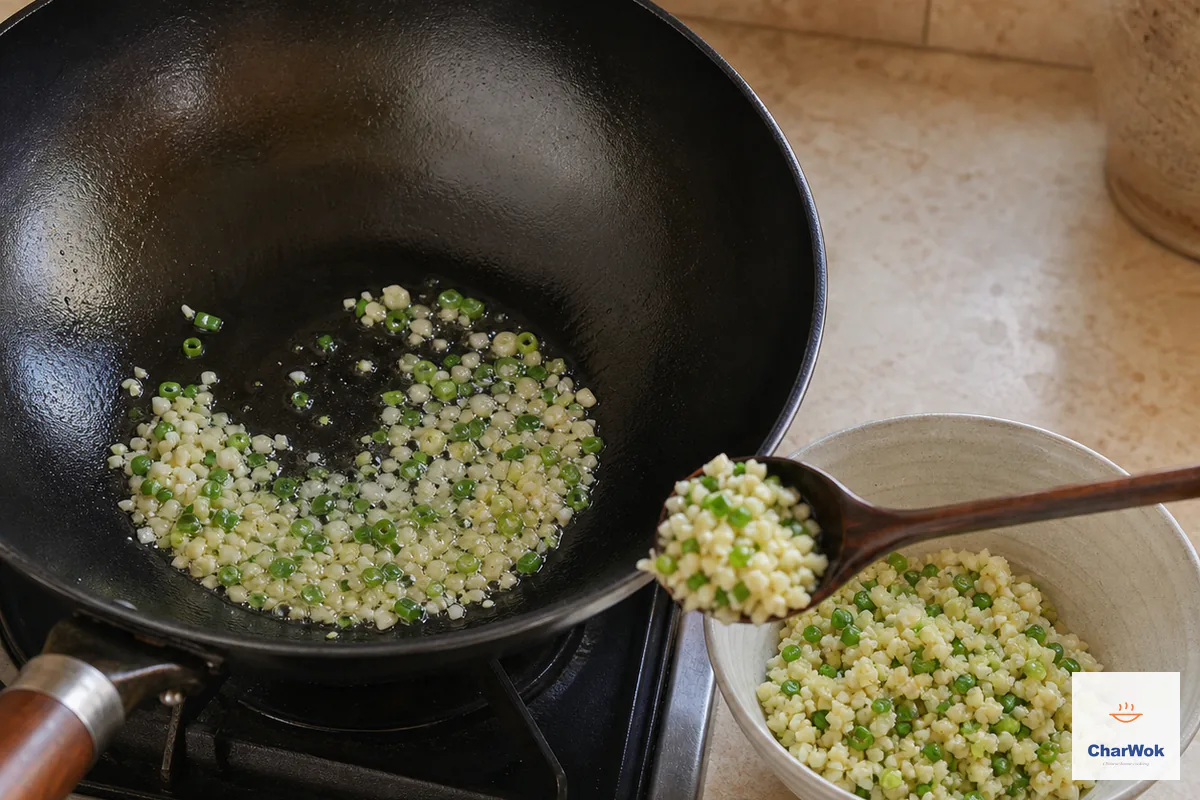
Fry the scallion, ginger and garlic until fragrant, then reserve about two thirds for the dipping sauce and leave the rest in the pot.
- Fry the rice for about 30 seconds. Toss the drained rice into the remaining aromatics and oil. You are not trying to brown it. You are coating each grain in fat so they cook to separate, glossy grains instead of a starchy mass. This is the same principle behind a good Chinese sausage rice or a proper fried rice.
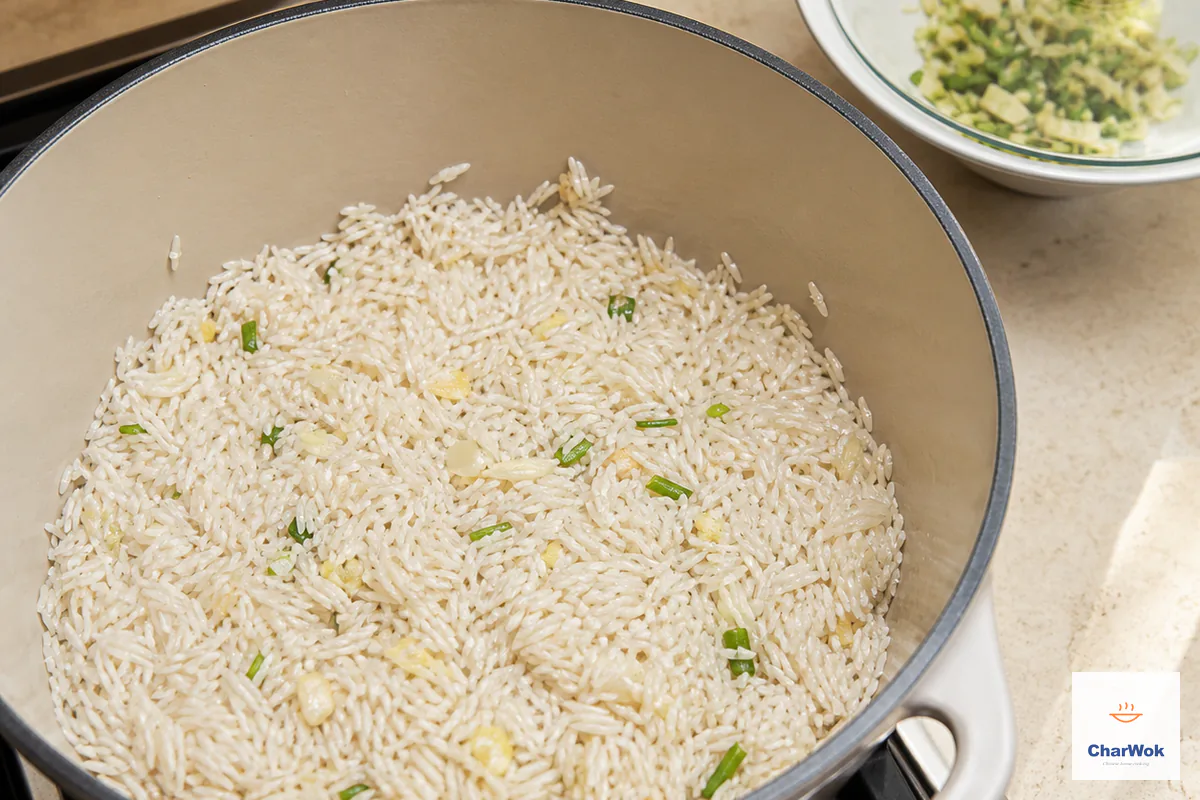
Add the drained raw rice and stir until every grain is lightly coated with the aromatic oil; do not add the water yet.
- Add the water and salt, and scrape the pot. Pour in the 2 cups of water and the ¼ tsp salt. Run a spatula across the bottom to dislodge any rice or aromatics stuck there, anything stuck now will scorch later when the heat drops and you cannot stir.
- Lay the chicken on top, flat, not touching. Skin side up. The chicken must not overlap, because overlapped pieces heat unevenly and block steam from the rice. If your pot is too small for four thighs in one layer, use a wider pot or cook two separate batches. After handling the raw chicken, wash your hands and use clean utensils for the cooked food.
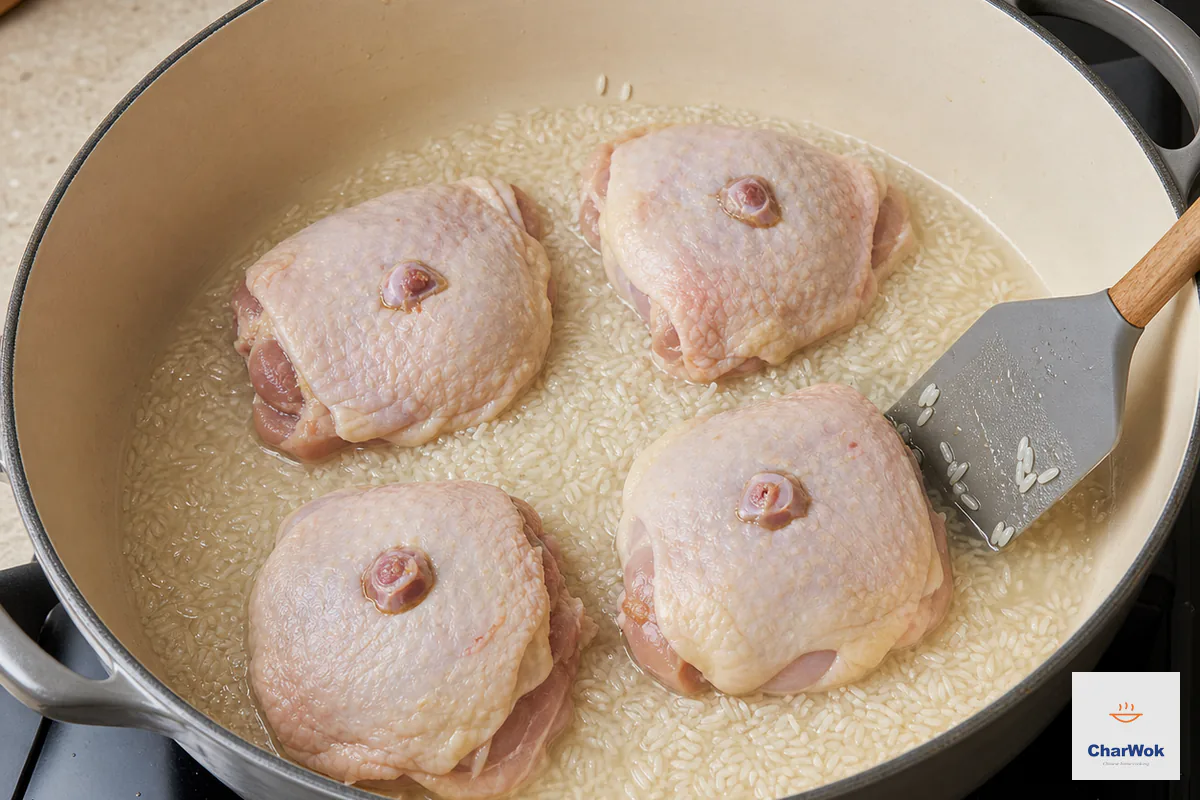
Add the measured water, then arrange all four bone-in thighs skin-side up in one layer without burying them in the rice.
- Bring to a gentle boil uncovered, then lid and drop the heat. Wait until you see small bubbles breaking the surface, then clamp on a tight lid and turn the burner to its lowest setting. The low simmer is what cooks the rice evenly. A rolling boil will blow out the bottom of the rice before the top is done.
- Cook 20 minutes. Do not lift the lid yet. Every early peek releases steam and drops the temperature. Keep the pot sealed for the full initial cook.
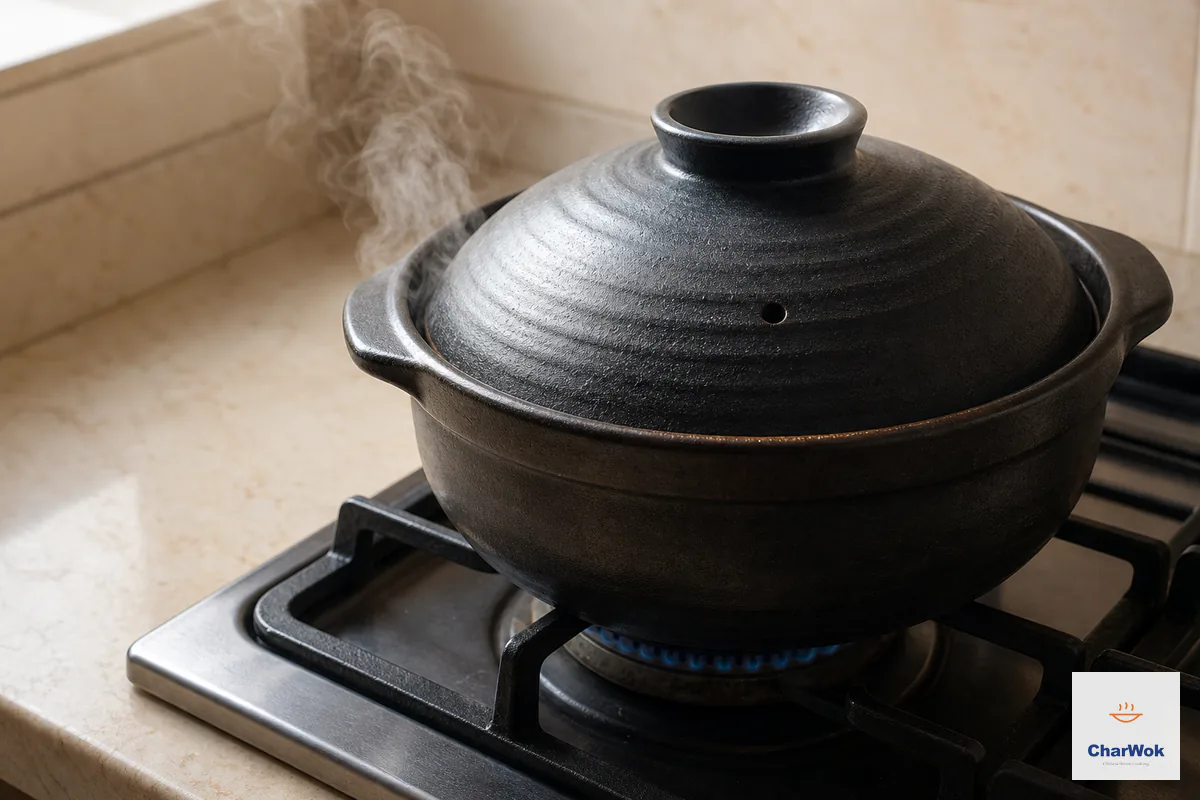
Once the liquid reaches a gentle boil, cover tightly, reduce to the lowest heat and cook for 20 minutes without lifting the lid.
- Off the heat, rest 10 minutes, still lidded. This is the step people skip and the step that matters most. Residual heat in the cast aluminum or steel of the pot, plus trapped steam, finishes the last of the rice and lets the chicken juices settle back into the grain rather than running out when you cut it. If your stove is electric and holds heat after you switch it off, physically move the pot to a cold burner.
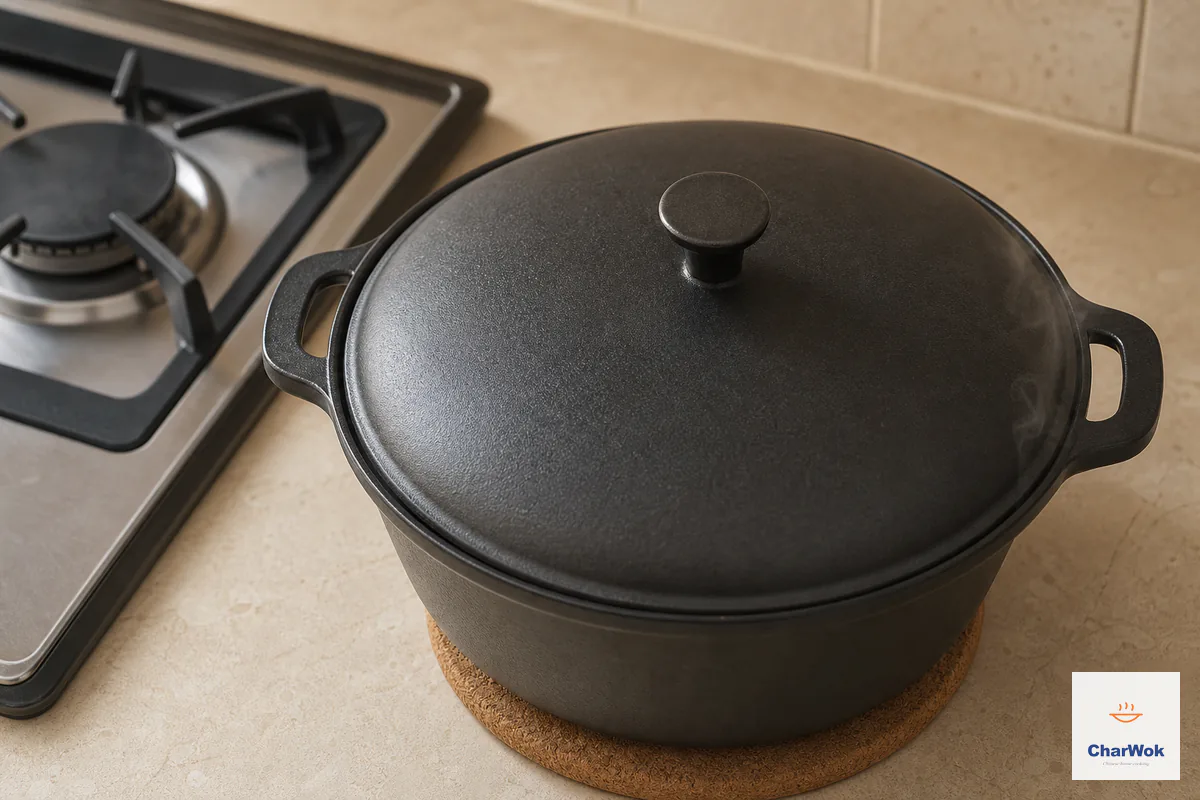
Rest the closed pot off the heat for 10 minutes, then check every thigh at its thickest part away from bone; each must reach 165°F (74°C) before slicing.
- Check doneness, then finish. After the 10-minute rest, open the lid and test every thigh at its thickest part with a clean instant-read thermometer, keeping the probe away from the bone. Each piece must reach 165°F (74°C); color, clear juices and a loose bone are not safety tests. If any piece is cooler, add 2 tablespoons water, cover, steam gently on low for 3 to 5 minutes and recheck every under-temperature piece with a clean probe. Only then lift out, debone and slice the chicken. Plate with the rice, cucumber or blanched greens.
- Make the sauce and dress the chicken. To the reserved aromatics add the light soy sauce, lime juice, sesame oil, and chili if using. Spoon it over the sliced chicken, or serve it on the side for dipping. The acid from the lime is what makes the sauce read as bright instead of heavy, do not leave it out.
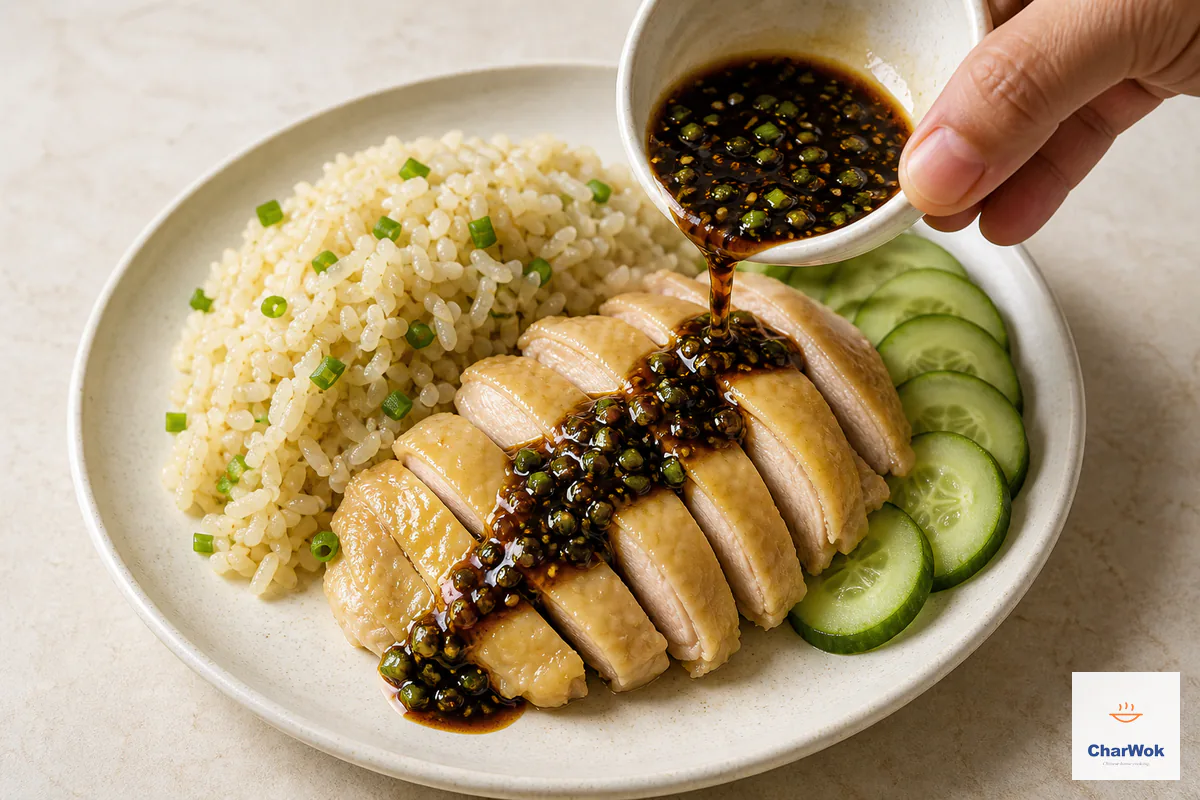
Only after every thigh reaches 165°F (74°C), slice it and spoon over the reserved-aromatic sauce; serve with rice and cucumber.
When you want to use the Instant Pot
The pressure cooker is actually the most forgiving vessel for this dish, because the sealed environment guarantees even heat and the timing is short. The trade-off is a different water ratio and one fiddly step.
Use the Sauté function to fry the aromatics and rice exactly as above, in the inner pot. Then add only 1½ cups of water for 1½ cups of rice, an equal volume, less than the stovetop calls for. A pressure cooker loses almost no water to evaporation, so what would be soup on a stove is correct here. Stir well and scrape the bottom, because stuck bits are what trigger the Instant Pot burn warning.
Now the fiddly part: switch the pot off, lift the inner pot out, and let the base unit cool for about five minutes before putting the inner pot back. The Sauté function leaves enough residual heat to scorch the rice as pressure builds, and the cool-down reduces that risk. Lay the chicken on top, seal the valve, and pressure cook on high for five minutes. Let the pressure release naturally for ten minutes, then vent the rest. Skip Keep Warm. Before slicing, check every thigh at its thickest part, away from bone, and use the machine's Sauté setting with the lid on only as directed by its manual if more cooking is needed to reach 165°F (74°C).
When you want to use a rice cooker
Fry the aromatics and rice in a separate skillet, then scrape everything into the rice cooker insert. Add water using the ratio you normally use for plain rice in that machine. Lay the chicken on top, close the lid, and run the normal rice cycle. Rest ten minutes after the cycle clicks off, then check every thigh for 165°F (74°C) at its thickest part. If any piece is cooler, continue on the cook setting according to the appliance manual and recheck before slicing.
Troubleshooting common texture and heat problems
- Crunchy rice on the bottom, paste on top. Either the heat was too high during the simmer, or the chicken was overlapping and blocking steam. Lower the heat next time and spread the thighs flat in a wider pot.
- Rice is mushy and wet. Too much water, or you lifted the lid. For stovetop, 2 cups water to 1½ cups rice is the ceiling. Different stoves hold heat differently, so if your first batch is wet, drop the water by a tablespoon next time. Wet rice cannot be fixed in the pot; spread it on a tray and let it dry, then use it for fried rice.
- Chicken is pink near the bone. Color does not establish safety. Check every thigh with a clean thermometer at the thickest part, away from bone; each must reach 165°F / 74°C. If any is cooler, add two tablespoons water, cover, steam gently on low for another 3 to 5 minutes and recheck. Larger bone-in thighs may need longer than the stated first-check time.
- Burn warning on the Instant Pot. You skipped the scrape, or skipped the five-minute cool-down, or reduced the water. Do all three next time. Do not scale the recipe down below four thighs in an Instant Pot, there is not enough liquid to reach pressure reliably and the pot may refuse to pressurize.
- Garlic turned bitter. The oil was too hot or the garlic sat too long. Mince the garlic last and add it after the scallions and ginger have been in for ten seconds; garlic cooks faster than the other two.
- You want to use brown rice. Do not apply the white-rice water and timing to brown rice. Use the rice package or appliance's brown-rice ratio and cycle; for the most predictable result, cook the chicken separately. If your appliance explicitly supports raw poultry cooked with rice, still verify every thigh reaches 165°F (74°C) before serving.
- The sauce tastes flat. You left out the lime. The soy and sesame are savory and rich; without acid the sauce coats instead of cuts. Add another squeeze of lime and taste again.
Variations, because four thighs get boring
The skeleton of this recipe, aromatics fried in oil, rice toasted in that oil, chicken steamed on top, is sturdy enough to bend in several directions.
Swap the aromatics for the sauce. Instead of the scallion-ginger-soy finish, spoon hot sizzling oil over more scallion and ginger for a scallion oil chicken style topping. Or skip the sauce entirely and serve the sliced chicken with a salt-and-pepper dip, leaning toward the clean taste of salt baked chicken.
Push it toward ginger chicken. Double the ginger in the marinade and the aromatics, add a tablespoon of Shaoxing wine to the chicken before cooking, and finish with a ginger-forward sauce. This turns the dish into a one-pot cousin of ginger chicken.
Use a richer liquid than water. Replace half the water with homemade chicken stock or the liquid from a quick scallion simmer. The rice deepens in color and savory weight. Do not use all stock in a stovetop pot, the extra gelatin can make the bottom layer stick.
Build a better side. Cucumber is classic because its cold crunch offsets the rich rice. A cucumber salad dressed ahead is even better, as is a quick blanched green like bok choy with garlic. A bowl of clear soup on the side turns this into a full restaurant-style meal.
Storing and reheating
Within 2 hours of cooking—or 1 hour when the surrounding temperature is above 90°F (32°C)—divide leftovers into shallow containers and refrigerate them. Store the chicken and rice separately when practical, use within 3 to 4 days, and discard anything left out beyond that limit. Reheat only the portion you need, covered in a microwave or pan with a little water, until the chicken and rice reach 165°F (74°C) throughout. Leftover rice can also become chicken fried rice, but it still needs prompt chilling and thorough reheating.
This dish does not freeze well. The rice breaks down and turns grainy on thaw, and the chicken skin goes flabby. Make it fresh.
Food-safety sources: USDA guidance for handling and cooking chicken and cooling, storing and reheating leftovers.
A note on the finishing oil
The sesame oil in the sauce should be toasted sesame oil, the dark, fragrant kind, not the pale cold-pressed sort. A teaspoon is correct, not a tablespoon. If you love the flavor, the same logic that makes scallion oil so useful applies here: a small amount of fat carrying a big aromatic punch, applied at the end so the heat does not cook the fragrance out of it. Add the sesame oil off the heat, never into a hot pan.
Questions cooks actually ask
These short answers cover the decisions that most affect the result.
Can I use boneless skinless chicken thighs?
You can, but the rice will be noticeably blander because there is no fat to baste it. Skin-on thighs are what carry the flavor into the grain. If you must use skinless, add a tablespoon of chicken fat, butter, or neutral oil to the rice before cooking.
What rice-to-water ratio should I use for one-pot chicken rice?
On a stovetop, 1.5 cups of jasmine rice to 2 cups of water, roughly a 3:4 ratio by volume. In an Instant Pot use an equal volume of water to rice. In a rice cooker, use the same ratio you would for plain rice in that machine.
Why is the resting step so important?
Residual heat and trapped steam finish cooking the rice and let the chicken juices reabsorb. Skip it and the rice is often slightly hard in the center while the juices run out the moment you slice the chicken.
Can I make this with brown rice?
Brown rice is not a direct swap for jasmine rice. Use the package or appliance's brown-rice ratio and cycle; for the most predictable result, cook the chicken separately. If the appliance explicitly supports raw poultry cooked with rice, every thigh must still reach 165°F (74°C) before serving.
My Instant Pot showed a burn warning or did not pressurize. What went wrong?
Usually stuck food on the bottom or too little liquid. Scrape the pot thoroughly after adding water, let the base cool five minutes before pressure cooking, and do not scale the recipe below four thighs, which leaves too little liquid to reach pressure.
How do I know the chicken is safely cooked?
After the covered rest, check every thigh at its thickest part with a clean instant-read thermometer, keeping the probe away from bone. Every piece must reach 165°F (74°C). If any is cooler, add 2 tablespoons water, cover and steam gently for 3 to 5 minutes, then recheck before slicing.
One-pot chicken rice depends on the fat from the skin, steady trapped steam and a final thermometer check. Get those three points right and the method becomes much more predictable across different pots and stovetops.