Good congee is the dish that taught me what "soft" really means in Chinese cooking. Not soft like overcooked pasta, and not the mush you get from leaving rice in water too long. Soft the way a grain yields on the tongue and dissolves into a starchy, glossy liquid that clings to a spoon. The first few times I made it at home I produced either a watery gruel or a dense paste that had welded itself to the bottom of the pot. The fix was never more rice. It was understanding what the starch is actually doing in there.
Congee, also called jook or zhou (粥), is rice cooked in a large volume of water until the grains swell and release starch that thickens the surrounding liquid into porridge. That is the whole dish. Everything else, the toppings, the stock, the salted duck egg cracked over the top, is a decision you make after the base is right. This guide gets the base right and then shows you where to take it.
At a glance: 1 cup of raw white rice to 9 cups of liquid, simmered covered for about 40 minutes. Start hot, finish low, stir the bottom twice. If you can hold back the heat after the boil, you will not scorch it. Freeze the rinsed rice overnight and the same pot is done in roughly 15 minutes.
What congee is, and why a Cantonese bowl differs from a northern one
Congee is older than the wok, older than most of the stir-fries people associate with Chinese food. Wherever rice was the staple, cooks eventually cooked it in extra water to feed the sick, the very young, the very old, or simply a household early in the morning. That is why nearly every rice-eating culture in East and Southeast Asia has a version; the Cantonese jook, the Japanese okayu, the Korean juk, the Vietnamese cháo. The technique is universal. The differences are in consistency and ambition.
In northern China the bowl tends to be loose and quick, the grains still distinct, the liquid thin. It is sometimes called xi fan, literally "diluted rice," and people drink it as much as eat it. In Guangdong the ambition is higher. Cantonese cooks use more water and a longer simmer so the grains break open and release amylopectin, the branched starch molecule responsible for the creamy, slightly sticky mouthfeel. A good Cantonese congee is closer to velvet than to soup. This recipe leans toward that creamier southern style, because that is the texture most people are chasing when they fail at home, and it is the one that rewards patience.
Congee shows up across the day, not just at breakfast. Plain congee with pickles is a quick supper. A savory version with meat and ginger is what many families reach for when someone is recovering from a cold. And a bowl topped with fried dough and salted egg is one of the great comfort plates in any cuisine.
The only ratio that matters
There is no single "correct" rice-to-water ratio for congee, and that is not vagueness, it is the nature of the dish. The texture you end up with is set by two moving variables: how long the grains have to leak starch, and how much water you want left at the finish. A short stove simmer holds onto its water; a long one boils it down. So instead of one number, I think in a working range and pick within it based on the bowl I want. For a stovetop pot cooked about 40 minutes, 1 part raw rice to 8 to 10 parts liquid by volume covers every texture most people want. Land on 1:9 the first time. That produces the velvety southern style. Push to 1:8 for a northern, drinkable bowl. You almost never need 1:10 on a stove, but it is the right call if you are cooking the day before, because congee tightens as it cools.
By weight, this is roughly 200 g of raw rice to 1.9 to 2.4 liters of liquid. Volumes are easier here because a cup of rice and a cup of water are both things you already own, and the range is forgiving. Do not treat these numbers as gospel. Treat the first batch as calibration.
Choosing the rice
The rice to reach for is whatever you already cook with, with one hard exception: long-grain aromatic rices like basmati are the wrong tool. They are bred to hold their shape and stay distinct, which is exactly what you do not want in a bowl built on starch release. Medium- and short-grain white rice (Japanese-style Calrose or sushi rice) and Thai jasmine all carry enough branched amylopectin to build the glossy body congee depends on. Short grain gives the silkiest result; jasmine gives a lighter, more fragrant bowl. I keep jasmine on hand for everyday congee and reach for short grain when I want the full Cantonese texture.
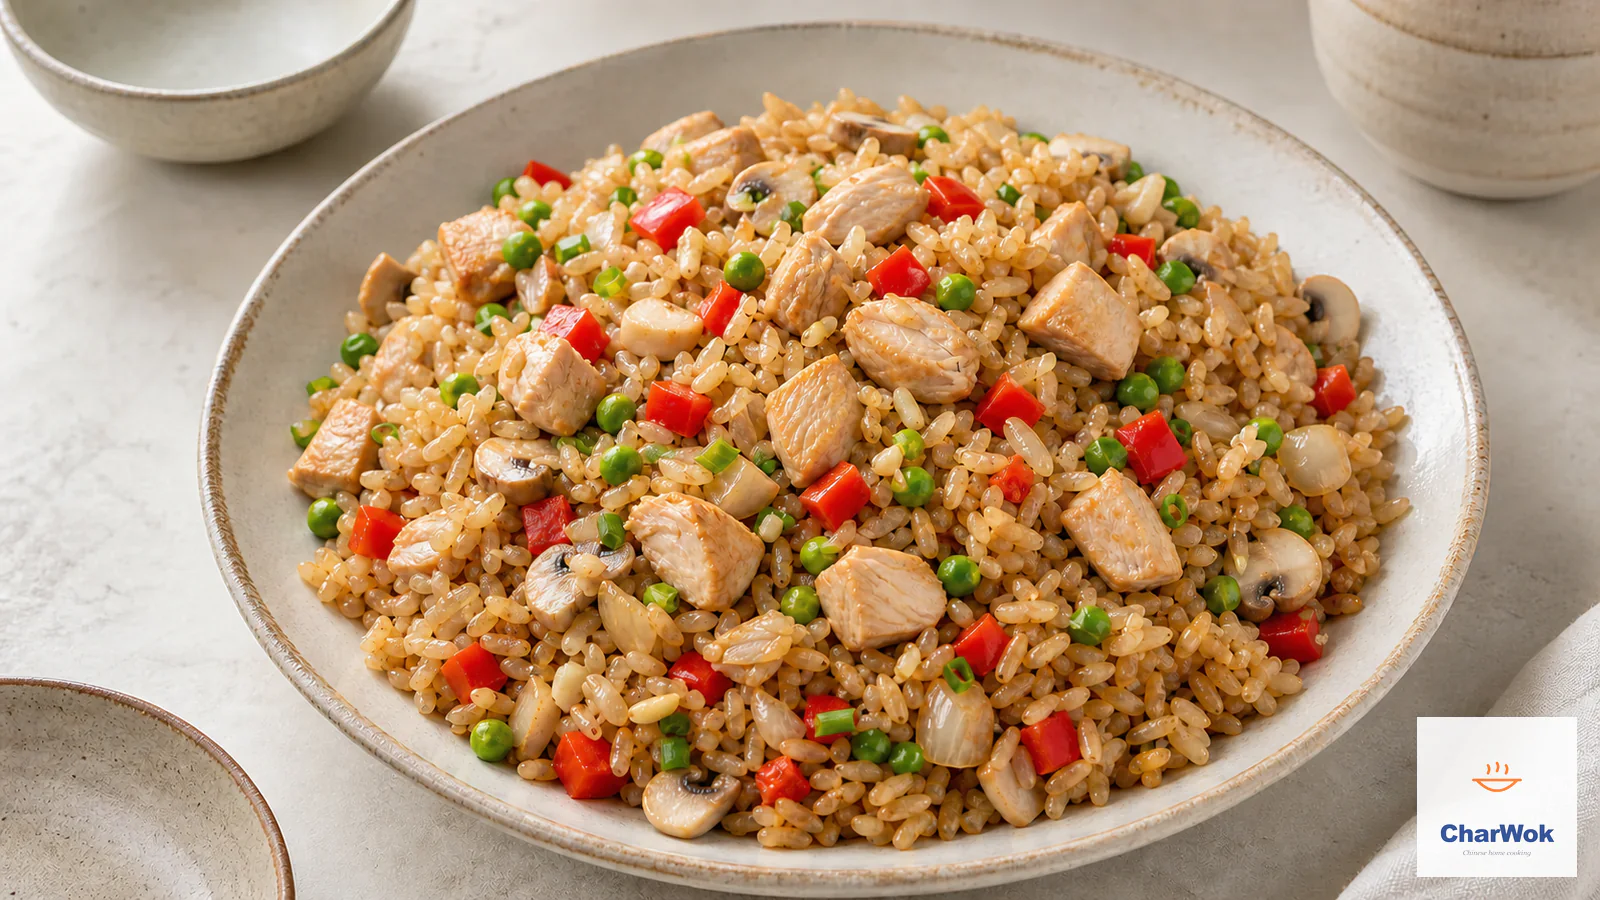
You can fold in a small handful of glutinous (sweet) rice, no more than a quarter of the total, to push the creaminess further. Do not use glutinous rice alone; the result turns gummy and heavy. Brown rice is not traditional and resists breaking down, so expect a coarser bowl and a longer simmer if you try it. Leftover cooked rice is the obvious shortcut, and it works for speed, but the flavor is flatter and the texture thinner because some starch has already been washed away in the first cooking. Honestly, if you have day-old rice sitting around, egg fried rice is the better use of it. Save the raw rice for congee.
Ingredients
Ingredients at a glance
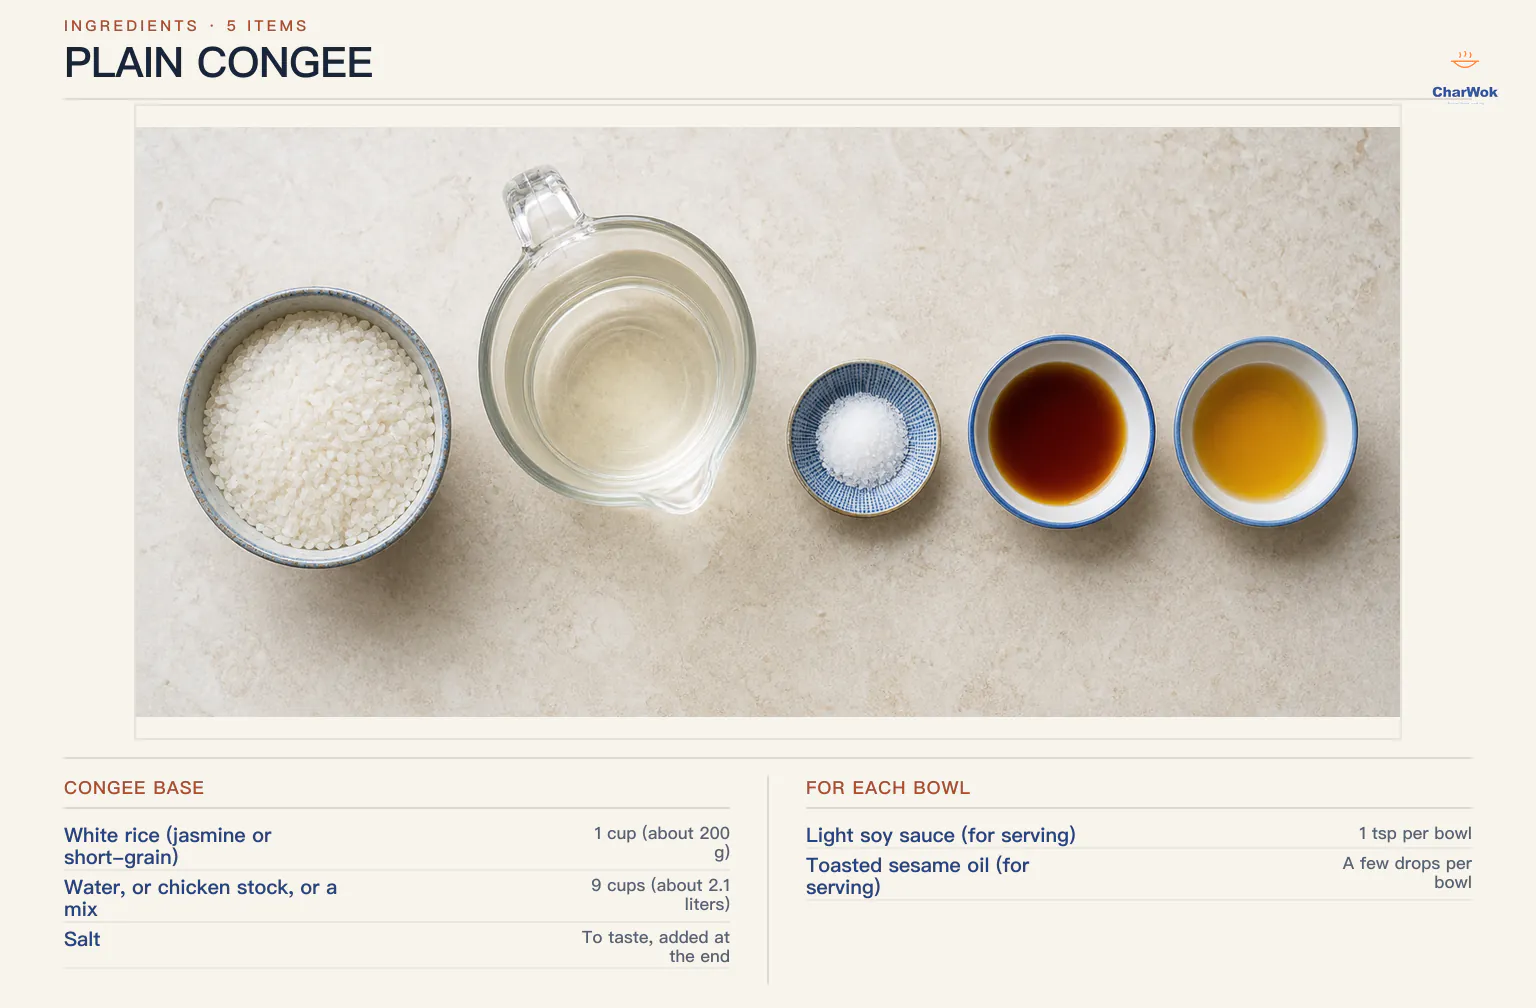
| Ingredient | Amount | Notes / substitute |
|---|---|---|
| White rice (jasmine or short-grain) | 1 cup (about 200 g) | Short grain = silkiest; jasmine = lighter and fragrant. Avoid basmati. Optional: swap 25 g for glutinous rice for extra cream. |
| Water, or chicken stock, or a mix | 9 cups (about 2.1 liters) | Range 8 to 10 cups. Use stock for savory congee; see variations. A mix of half stock, half water is my default for meat versions. |
| Salt | To taste, added at the end | About 1/2 tsp fine salt per batch as a starting point. |
| Light soy sauce (for serving) | 1 tsp per bowl | Or tamari for gluten-free. See the difference between light and dark soy sauce. |
| Toasted sesame oil (for serving) | A few drops per bowl | Adds the characteristic nutty finish. |
The stovetop method, with the reasoning behind each move
- Rinse briefly, do not scrub. Swirl the rice under cold water two or three times until the water runs only slightly cloudy, then drain. The point is to lift dust and bran, not to strip the surface starch. That surface starch is what thickens your congee, so aggressive rinsing works against you. A quick rinse is enough for most modern packaged rice.
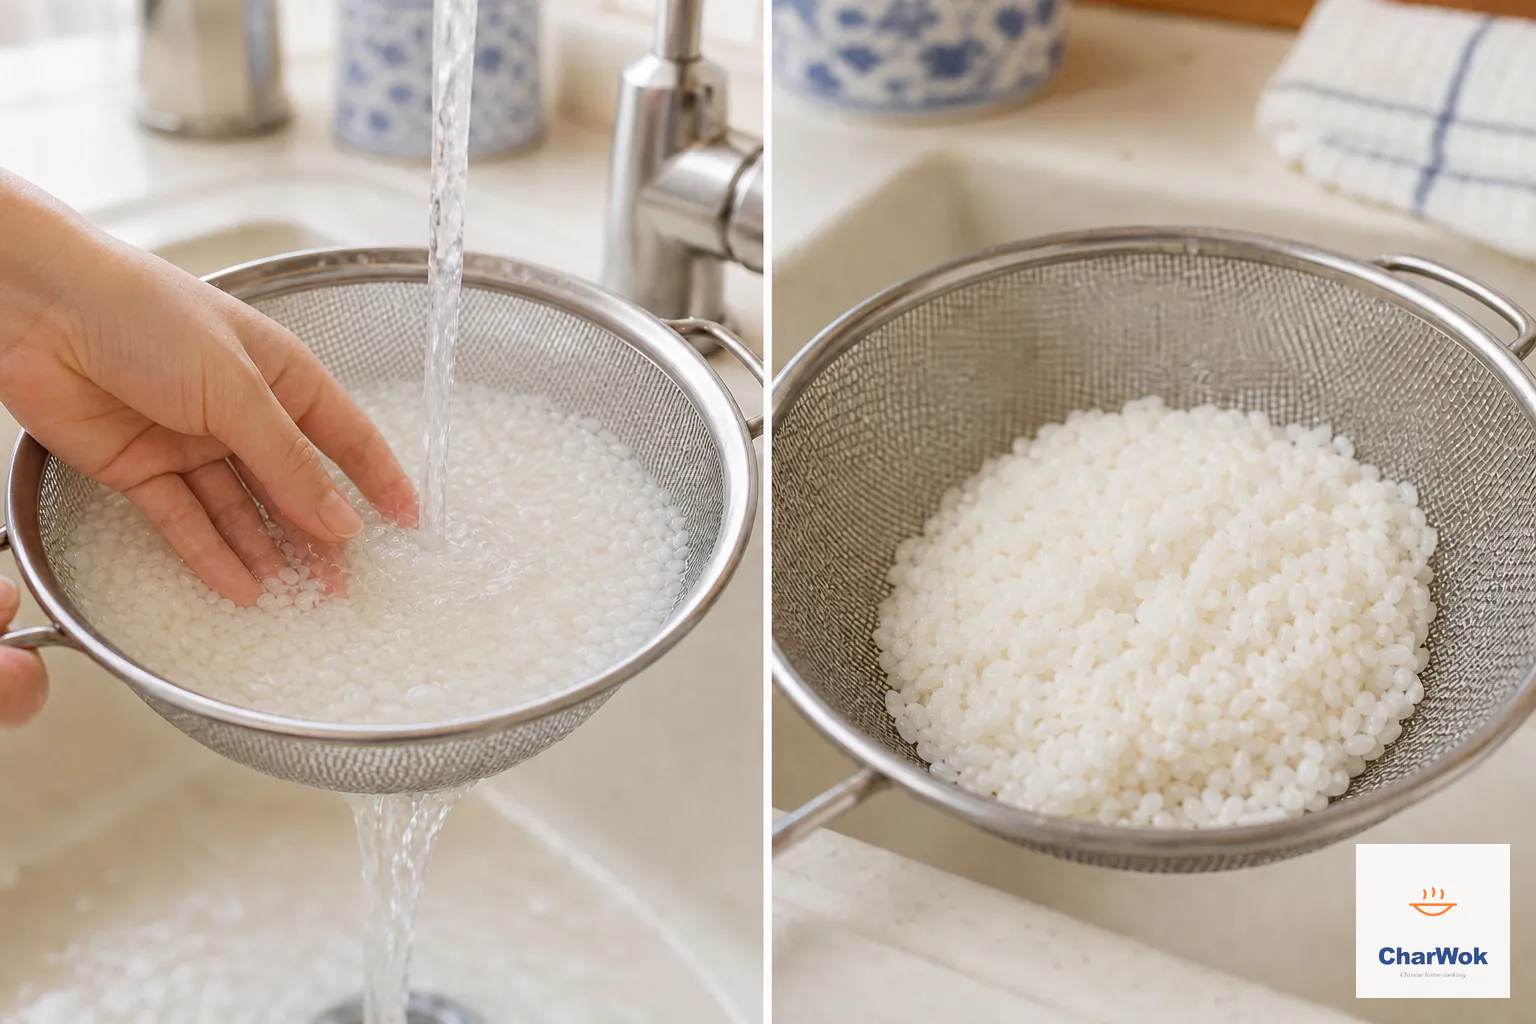
Swirl the rice lightly under cold water only two or three times, stopping while the runoff remains slightly cloudy, then drain well without scrubbing away the surface starch.
- Bring the water to a full, rolling boil before the rice goes in. This is the step most people skip, and skipping it is why their congee scalds on the bottom. If you start rice in cold water, the grains sit on the hot base for the entire heating period and stick. Dropping rinsed rice into already-boiling water keeps the grains suspended and moving.
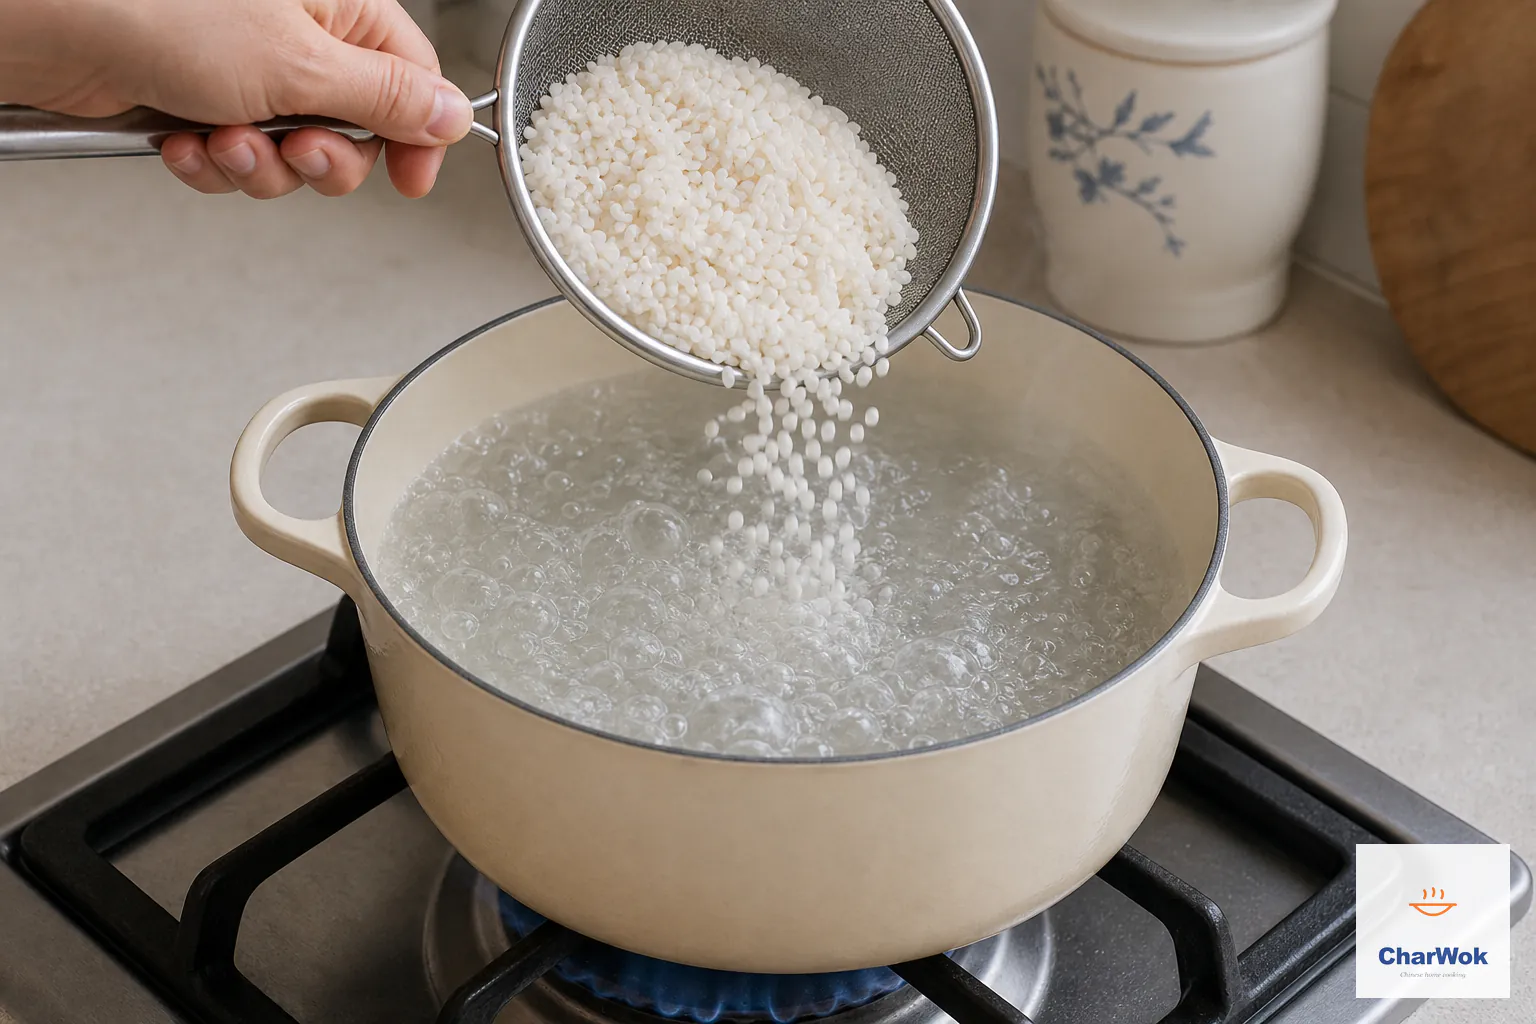
Bring all nine cups of liquid to a full rolling boil before adding the drained rice so the grains enter moving water instead of sitting against the heating pot base.
- Add the rice, wait for the boil to return, then stir and drop the heat to the lowest setting. Once the pot is bubbling again, give it one thorough stir so nothing is settled on the floor of the pot, then cut the heat. You want the gentlest possible simmer from here on, the kind where you see a few lazy bubbles break the surface every second or two. A hard boil will not cook congee faster; it will only evaporate your water and rough up the grains.
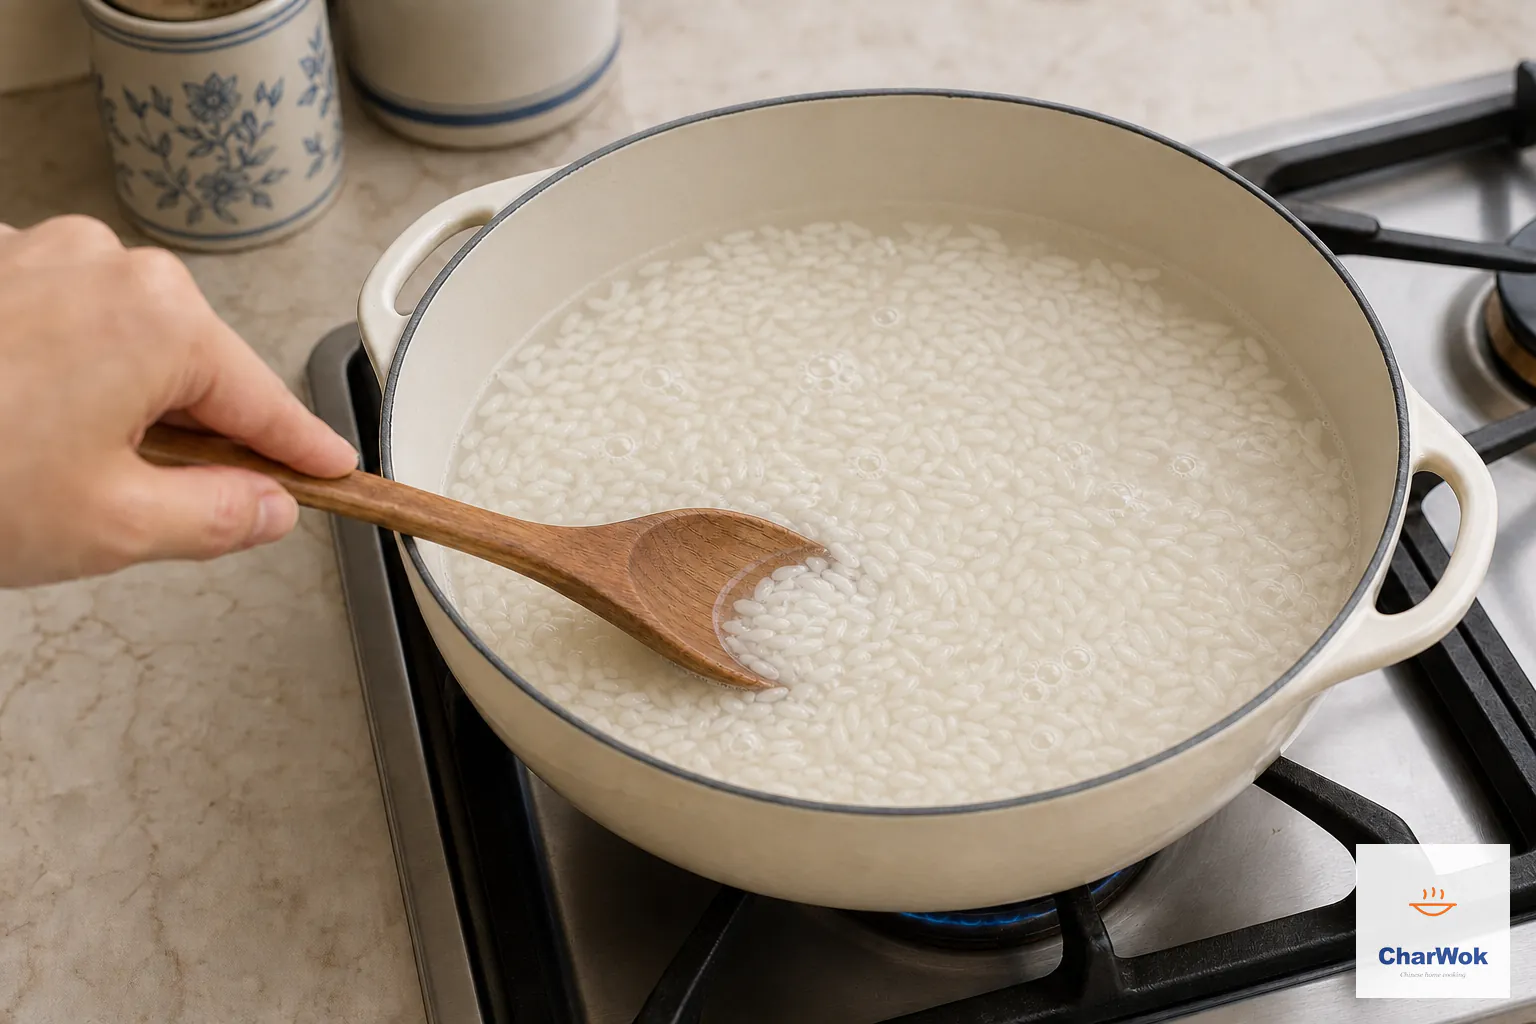
When the water returns to a boil, sweep the bottom once in the same direction and reduce immediately to the smallest flame and only a few lazy bubbles.
- Cover, leaving a small gap, and simmer 35 to 40 minutes. Crack the lid so steam can escape and the pot cannot foam over. During the cook, stir the bottom twice, once around the 15-minute mark and once near 30 minutes, scraping the base with a wooden spoon or silicone spatula. This is the single most important habit. Starch settles and gels onto a hot base, and once a layer forms it insulates the rest of the pot and accelerates scorching. Two stirs prevent it.
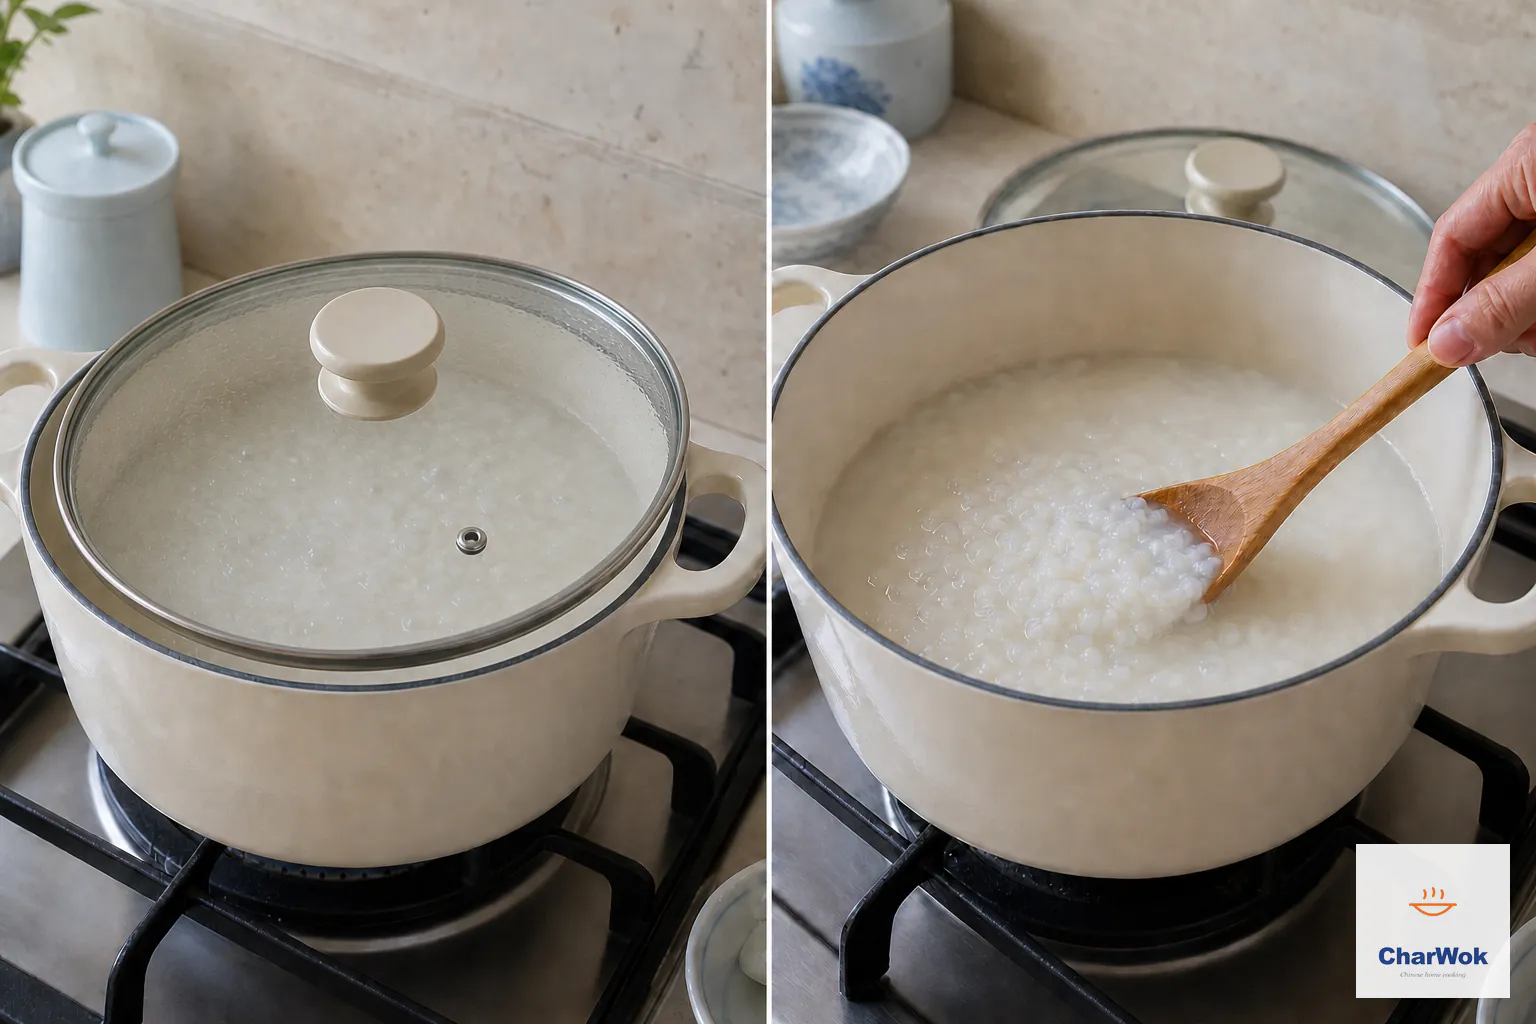
Leave one narrow steam gap, simmer for 35 to 40 minutes, and scrape the bottom around 15 and 30 minutes before any starch layer can stick or scorch.
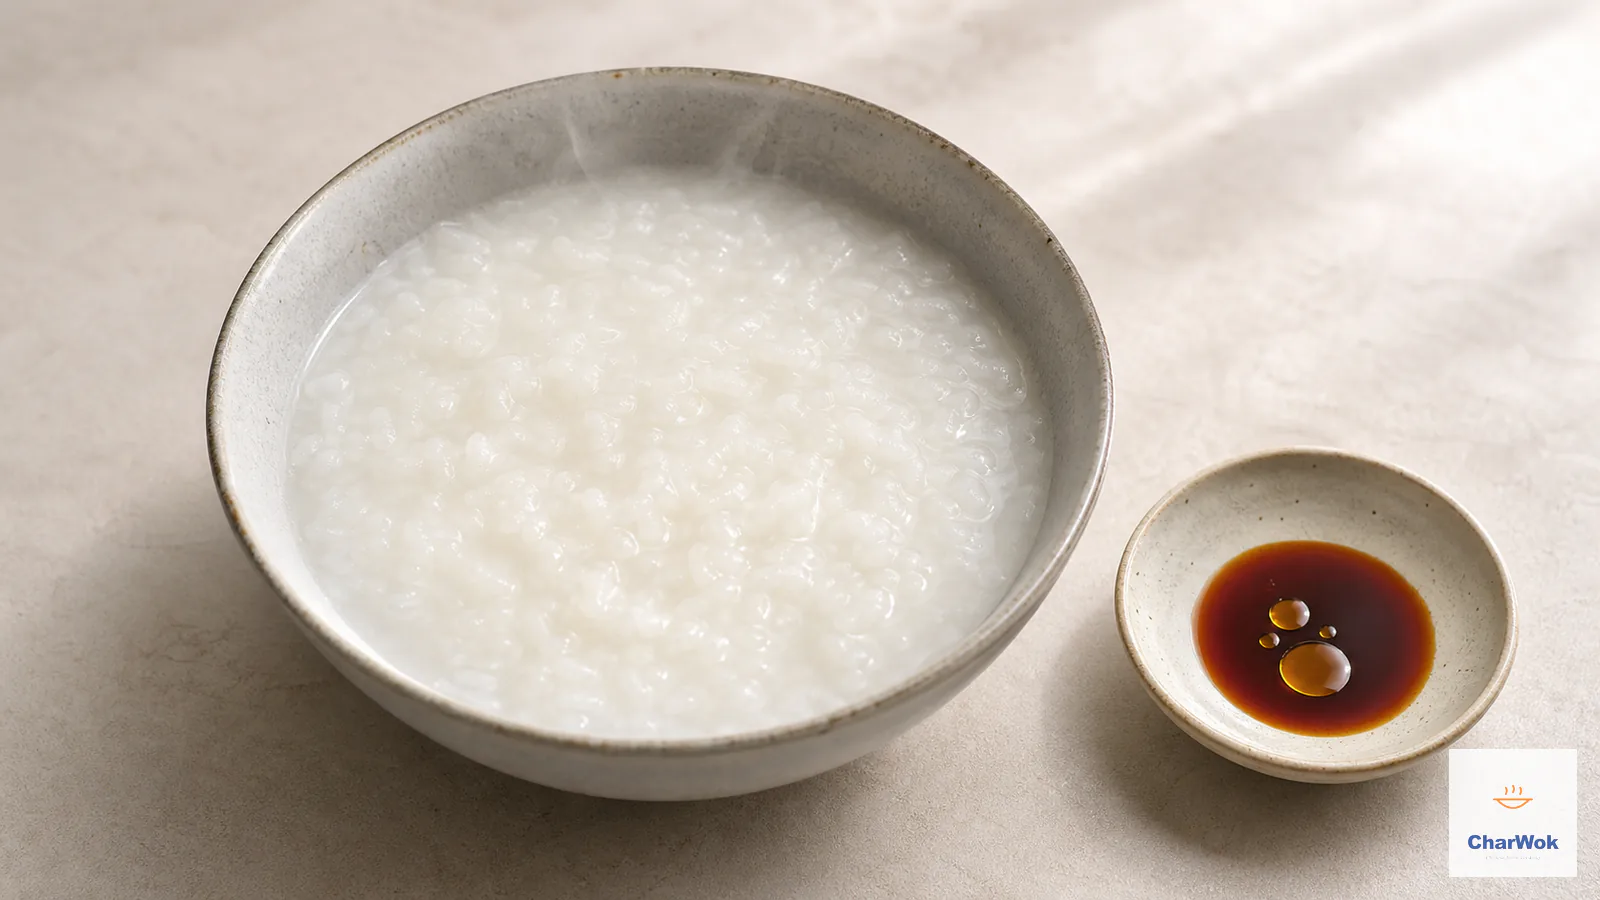
- Test the consistency, then decide whether to keep going or to finish. A spoonful dragged through the pot should leave a slow, visible trail that fills back in over a couple of seconds. If the liquid still runs thin and clear, give it another 5 to 10 minutes. If it is already thick but the grains feel firm in the center, add a splash of hot water and keep simmering. Remember the bowl will tighten further as it cools, so pull it slightly looser than you want to serve.
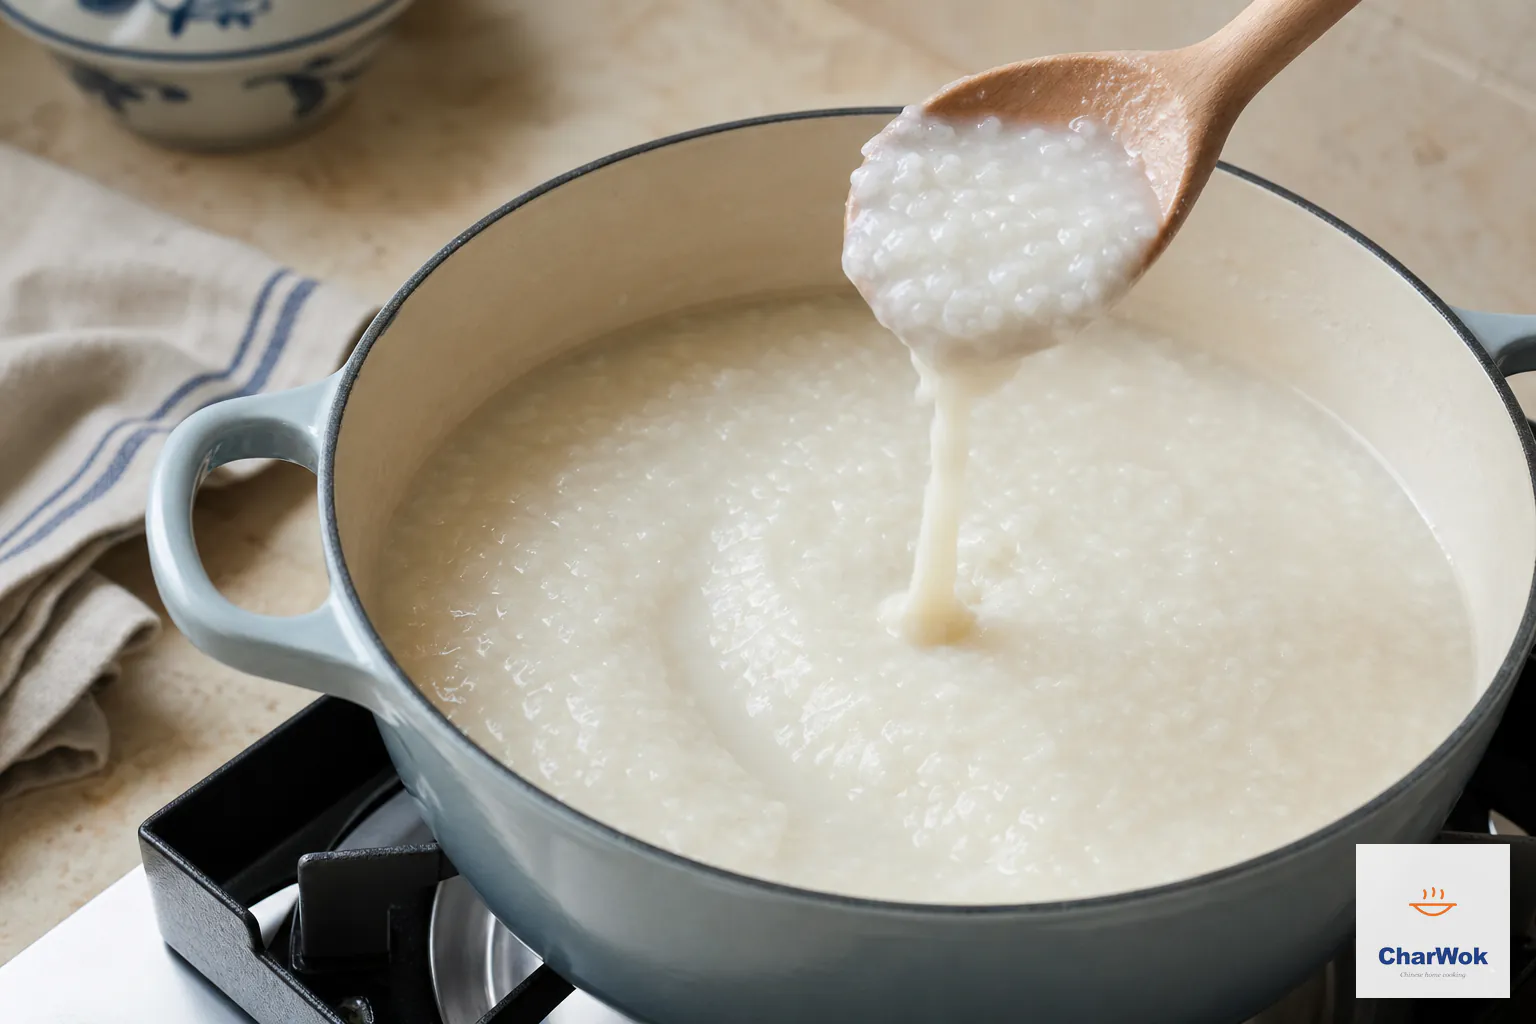
Stop when the spoon leaves a trail that closes slowly and the congee falls in a soft ribbon; keep it slightly looser than the final bowl because it thickens as it cools.
- Optional: whisk for a silkier finish. If you love the fully broken, Cantonese-teahouse texture, take a whisk to the pot off the heat for about 30 seconds. This mechanically shreds the softened grains and disperses their starch, turning a rustic porridge into something closer to cream. I do this for plain breakfast congee and skip it for rustic versions with meat.
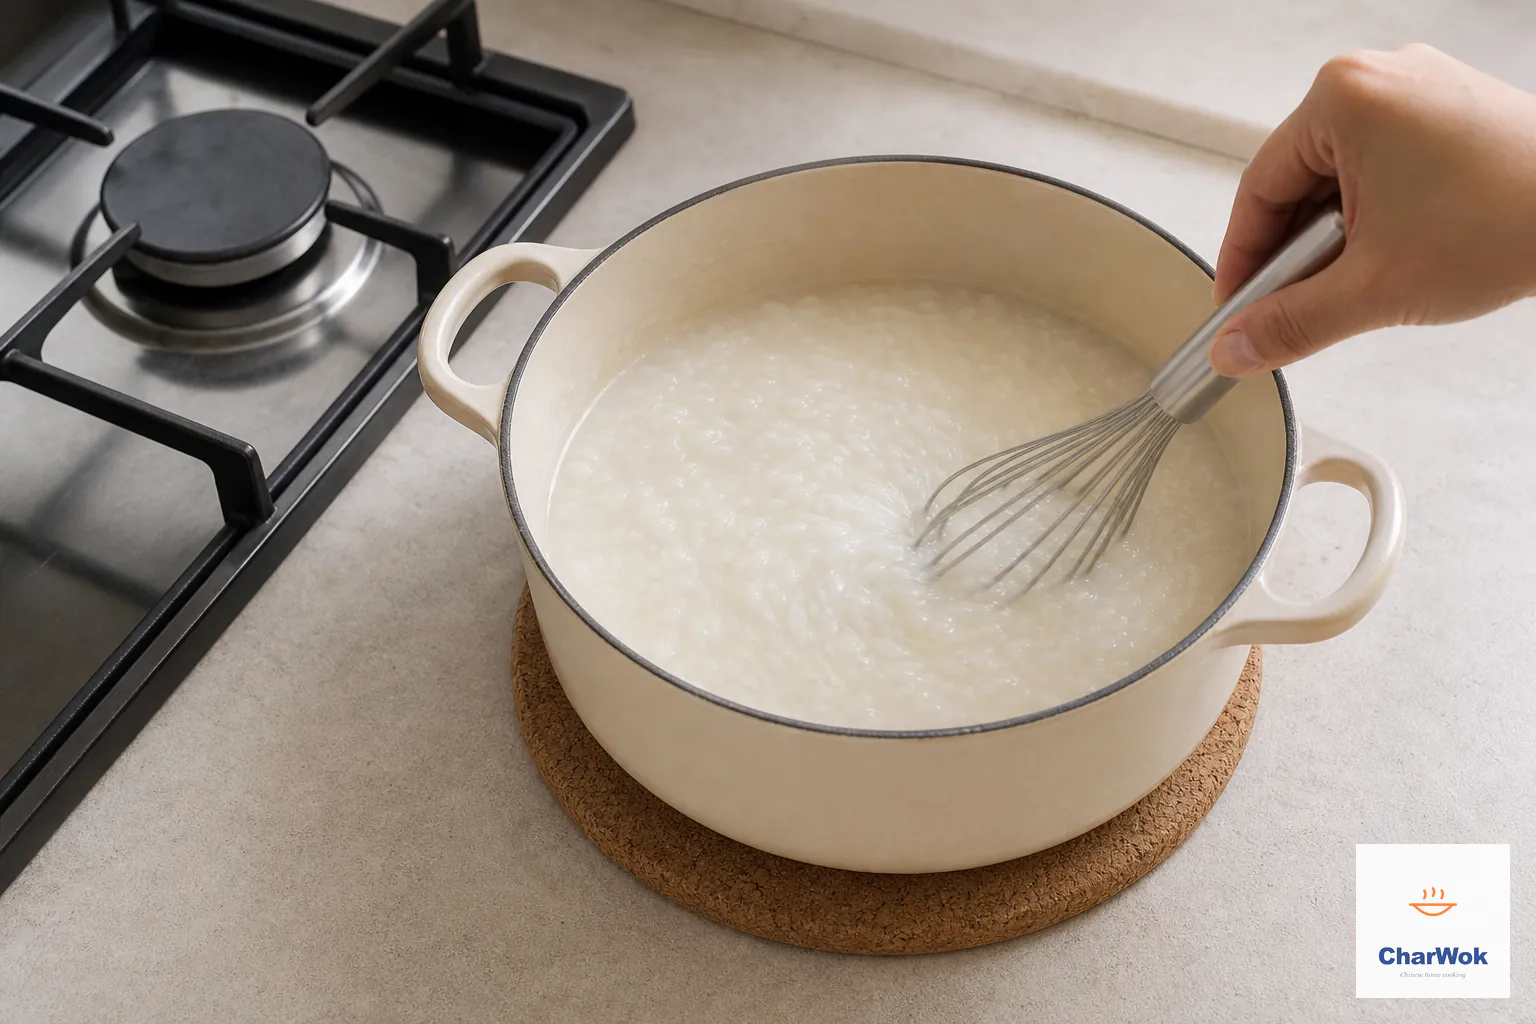
For a silkier Cantonese-teahouse texture, move the pot off heat and whisk for about 30 seconds to break some softened grains without turning the congee into paste.
- Season at the end, not the start. Salt draws water out of the grains and slows starch release, so salting early gives you a thinner, less creamy bowl. Stir in salt to taste after cooking, and let each diner add their own soy sauce, sesame oil, and chili.
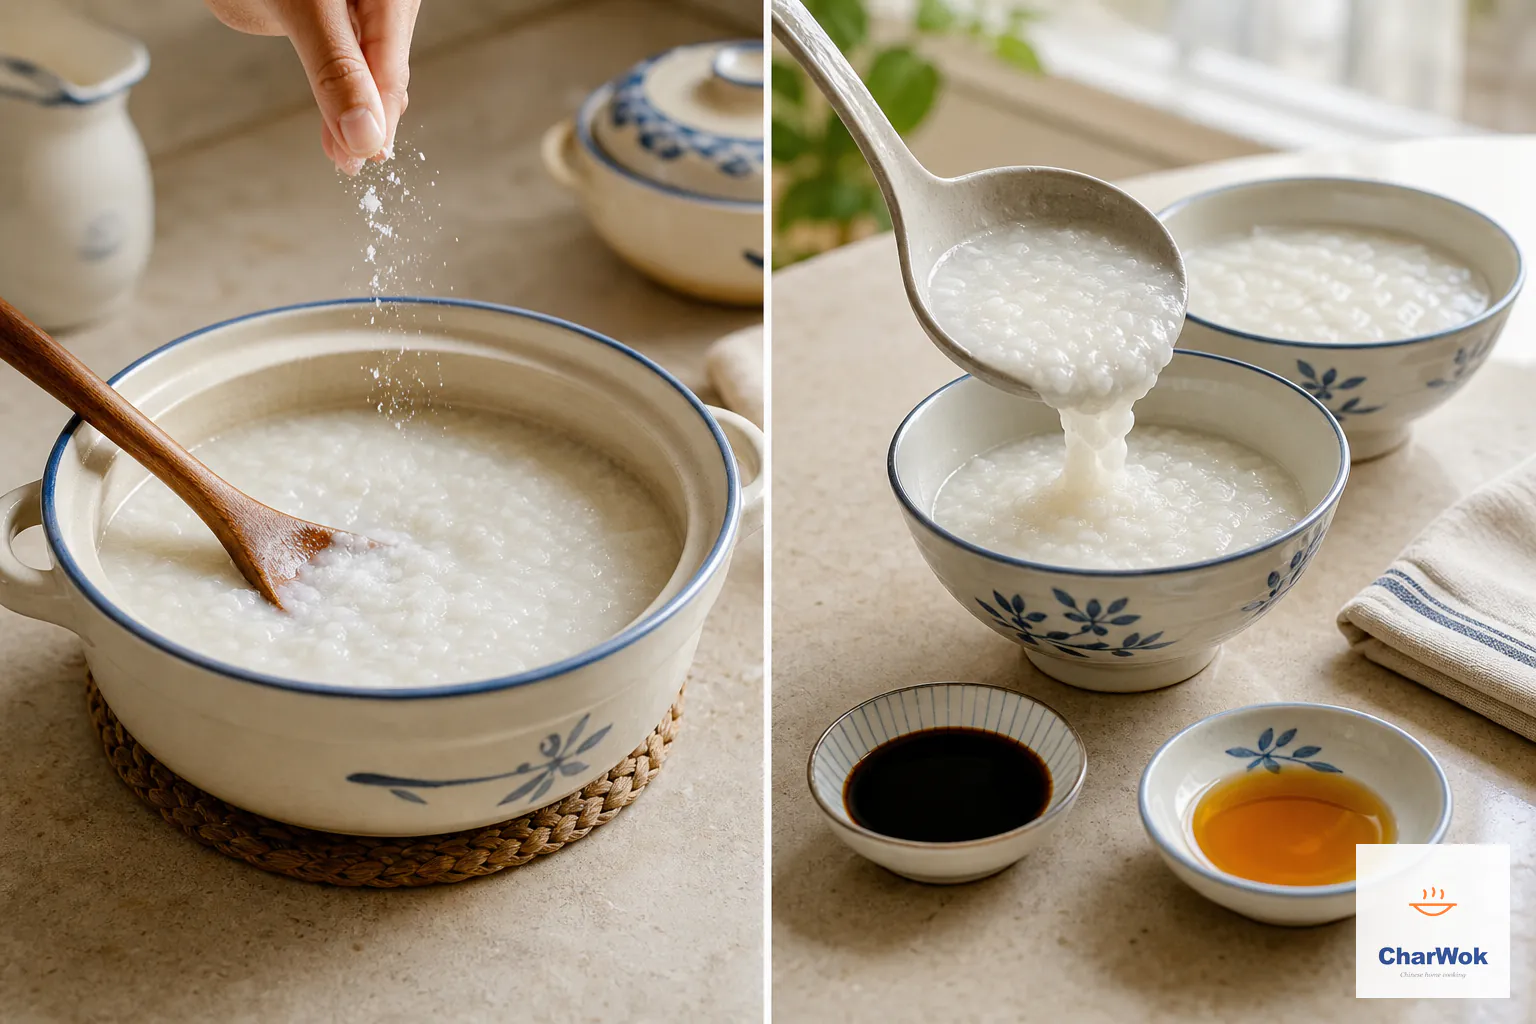
Season the cooked batch with salt only at the end, then let each diner finish their own bowl with light soy sauce and a few drops of toasted sesame oil.
The freezer shortcut
The 40-minute simmer exists for one reason: the grain's starch needs time and heat to gelatinize and leak into the water. You can shortcut that time by breaking the grain's structure ahead of time, so the starch has less work to do in the pot. Some recipes grind dry rice in a blender, which works but dusts your kitchen. The cleaner trick is to freeze the rinsed rice. Rinse and drain a portion of rice, seal it in a container, and leave it in the freezer overnight. As the moisture trapped inside each grain freezes, ice takes up more room than liquid water does, and that outward pressure cracks the grain open from within. Those hairline cracks let the starch pour out the moment it hits heat, so a portion that would take 35 to 40 minutes to soften cooks through in a fraction of the time. Pour boiling water over the frozen block, scale the liquid down to roughly a 1:6 ratio to match the faster cook, and the pot is done in about 15 minutes.
I keep a container of pre-rinsed, frozen rice in the freezer at all times now. It is the difference between congee as a project and congee as a weeknight thing you actually make. The texture is marginally less refined than the long simmer, a touch grainier, but for a quick supper bowl no one notices.
When things go wrong
Congee is forgiving, which also means it lets you make the same mistake quietly for years. Here are the failures I see most often, and how I fix them.
- Scorched, brown bottom layer. The heat was too high or the rice started in cold water. Scrape the good congee off the top into another pot and leave the burned layer behind, because stirring it in will ruin the whole batch with a bitter char flavor. Next time, start in boiling water, keep the simmer truly low, and stir the base twice.
- Watery, even after the full time. Two possible causes. The lid was off and you lost liquid to steam, or the rice was rinsed too aggressively and lost its surface starch. Cook it uncovered for another 10 minutes to reduce, or whisk vigorously to release more starch from the grains. Do not just add more rice; it will not cook through in time.
- Too thick, almost paste. This usually means you served it from a pot that has cooled. Stir in hot water, a quarter cup at a time, over low heat until it loosens. For next time, pull the pot off the heat slightly looser than you want, since congee tightens fast as the temperature drops.
- Grains still firm in the center. The simmer was too gentle or the time too short. Add a little hot water and keep going another 10 minutes. Undercooked grains are a texture problem, not a flavor one, and more time fixes them.
- Boiled over the moment you put the lid on. The heat was not low enough when you covered it, or the lid was fully sealed. Crack the lid and keep the flame at the absolute minimum where you can still see the occasional bubble.
- Bland bowl. Plain congee is intentionally mild, but a bowl should not taste like warm water. The quick fixes at the table: a teaspoon of light soy sauce, a few drops of toasted sesame oil, a pinch of white pepper, and a scatter of scallion. That quartet turns water into breakfast.
Equipment beyond the saucepan
A regular 4 to 5 liter saucepan or Dutch oven is what I use, because the heavy base distributes heat and resists scorching. A clay pot or Japanese donabe is the traditional choice and gives a marginally rounder, sweeter flavor, though it takes longer to come to temperature. Rice cookers and Instant Pots both have a porridge setting and are genuinely good for this; use about one cup less liquid than the stovetop recipe calls for, because they lose almost no water to evaporation. The one pot I would avoid is a thin, lightweight aluminum saucepan, which scorches the moment you turn your back.
Toppings and add-ins
Plain congee is a stage. What you put on it is the show. These are the categories I draw from, and you can layer several in one bowl.
- Condiments: light soy sauce or tamari, toasted sesame oil, chili oil, Chiu Chow chili oil, scallion oil, fermented bean curd (fu ru). A spoonful of any one of these changes the whole bowl.
- Aromatics: finely sliced scallion, slivered ginger, chopped cilantro. Add at the very end so they stay bright.
- Pickled and preserved things: zha cai (preserved mustard stem), Chinese olive vegetables, pickled long beans. These bring salt and funk, the two things plain rice wants most.
- Eggs: a soft-boiled egg cracked into the hot bowl, marbled tea eggs, salted duck egg, or century eggs stirred in at the end for the classic lean pork and century egg congee.
- Crunch: youtiao (fried dough sticks) torn into the bowl, pork floss, toasted peanuts, crumbled seaweed. The contrast of soft porridge and crisp youtiao is the whole reason Cantonese breakfast exists.
Turning it savory: meat, fish, and vegetable congee
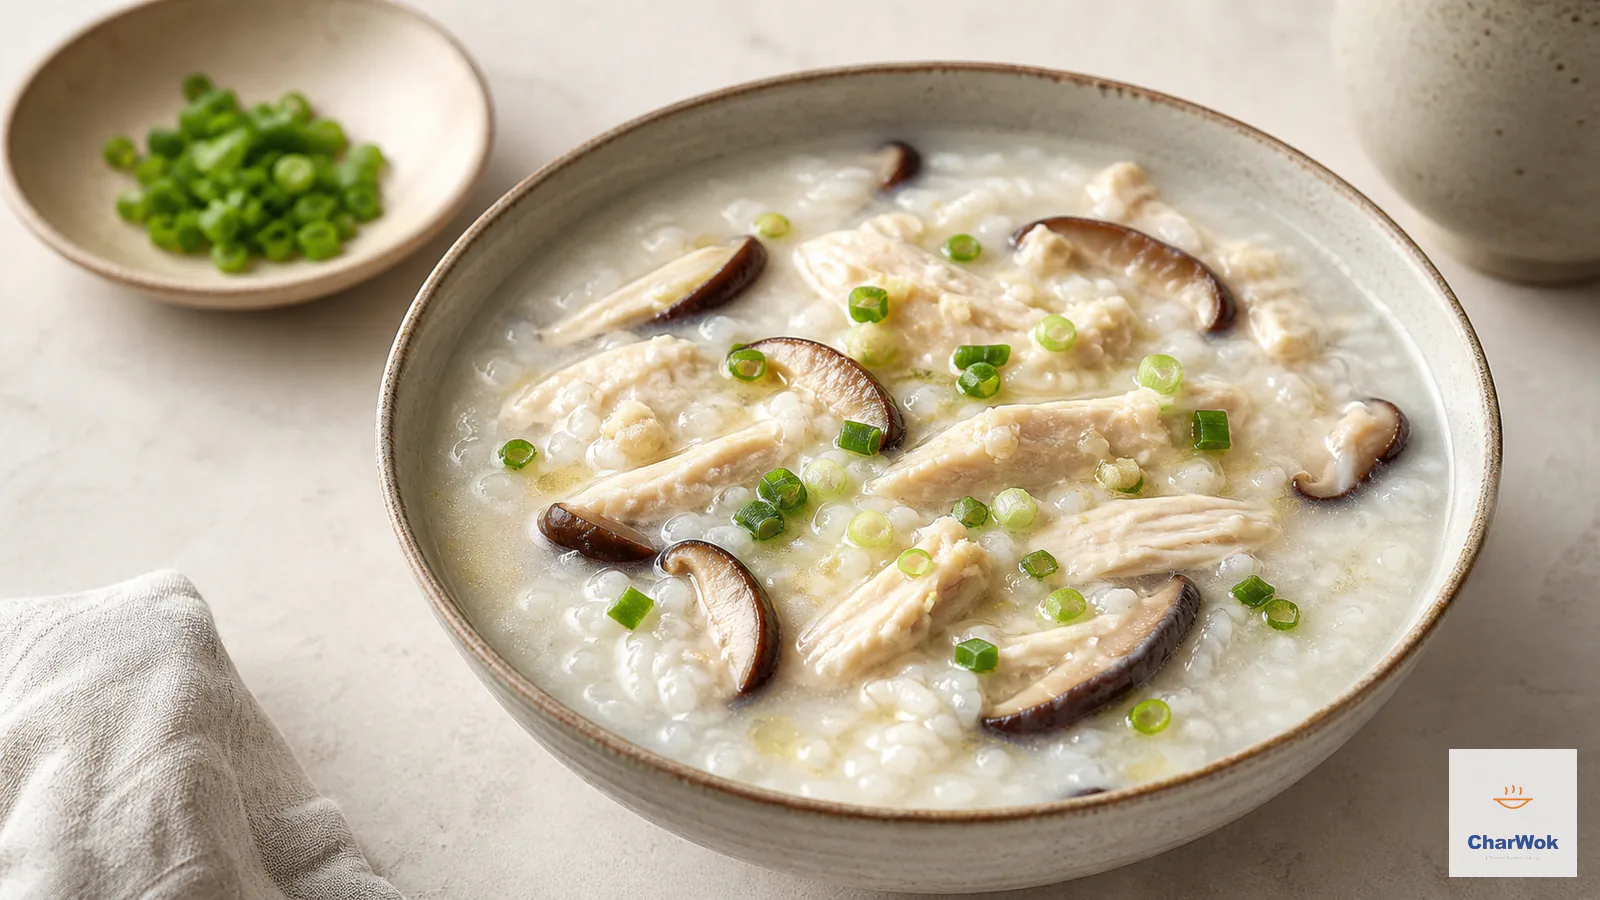
When you want a meal rather than a side, cook the congee in stock instead of water, or half stock and half water, and fold in proteins near the end. The principle is simple: anything that turns rubbery or overcooks goes in late, anything that needs to soften goes in early. My chicken and mushroom congee is built on exactly this logic and is the version I cook most often.
- Raw meat and seafood: anything that goes from raw to done in under two minutes, such as a sliver of pork, beef, or chicken cut thin or minced, along with shrimp and flaked fish. These belong in the pot only at the very end, just long enough to lose their translucence, so they finish tender instead of turning tough.
- Cooked meat: shredded roast chicken, diced char siu. Stir these in off the heat; the lingering warmth of the porridge is all they need.
- Vegetables: quick ones like shredded lettuce or scallion go in off the heat. Dense ones like diced carrot or sliced shiitake need 10 minutes, so add them during the simmer.
- Seasoning: salt, light soy, and sesame oil go in last, after the meat, never before.
What to serve alongside
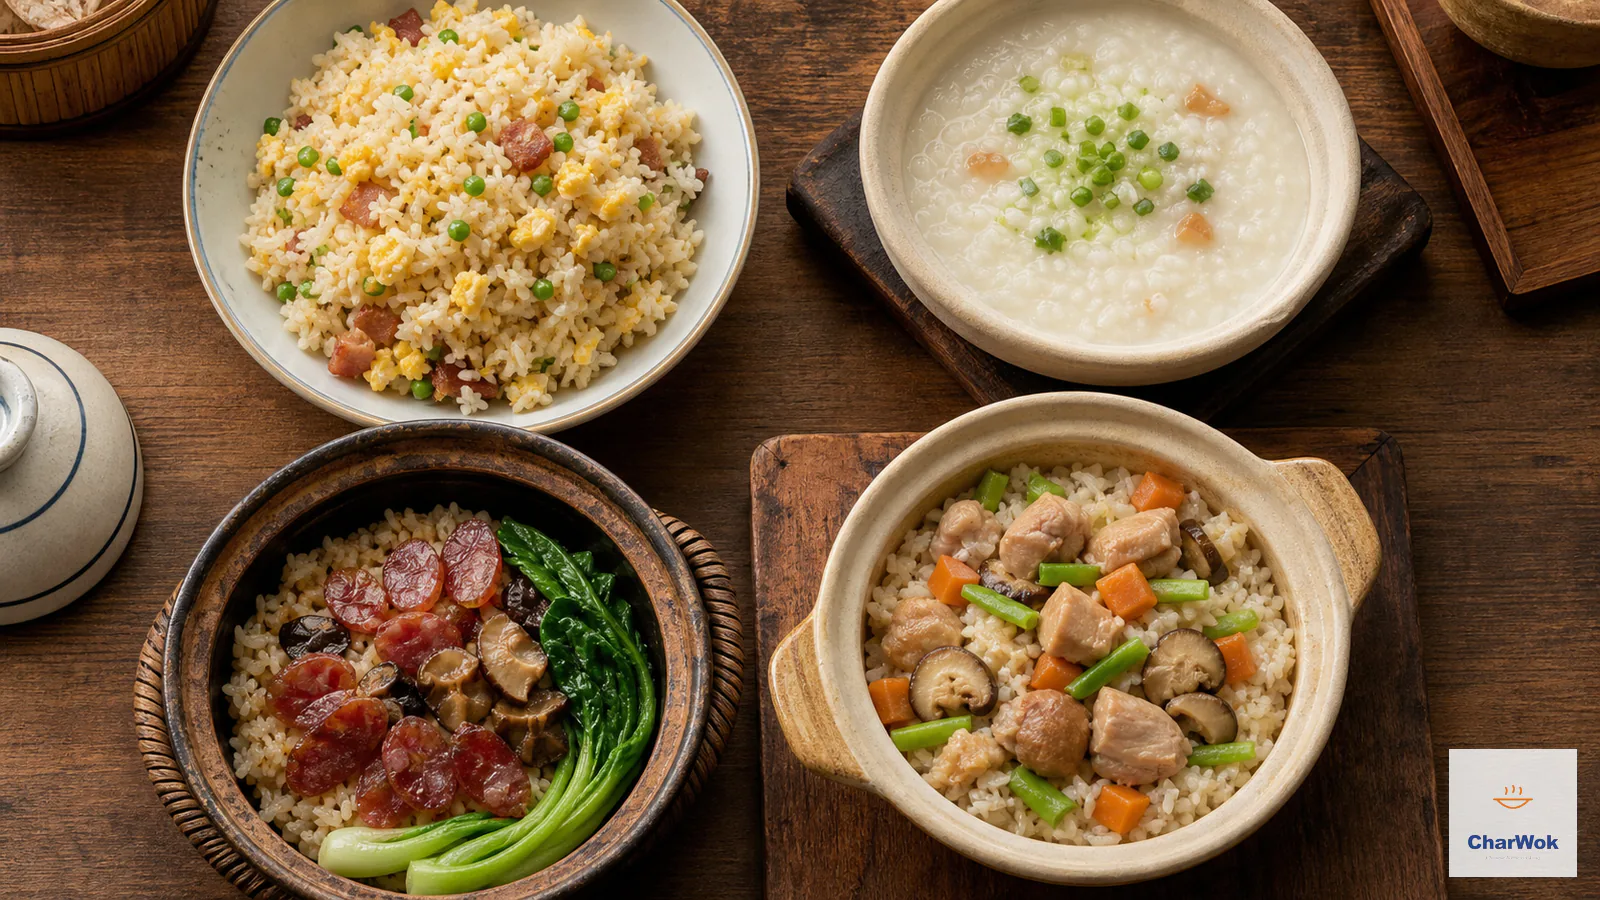
A bowl of plain congee with a couple of sides is one of the easiest Chinese breakfasts to put together. The classics are the salty, crispy things that contrast the soft porridge: fried dough, scallion pancakes, pan-fried buns. If you want a fuller table, any dish you would normally serve over steamed rice works next to congee instead, including stir-fries, braises, and simple soups. A bowl of rice-based dishes and a light soup turn plain congee into a complete meal without much effort.
Make ahead, store, and reheat
Congee keeps beautifully and reheats better than almost anything else, which is why I usually make a double batch. A few rules keep it from turning to cement.
- Cook it looser if you are storing it. Plan the pot one rung wetter than you would for eating right away. On my stove that means taking the everyday 1:9 batch up to 1:10 when it is headed for the fridge. The grains keep absorbing liquid once cold and the starch sets up firmer chilled than hot, so what looks loose in the pot will be just right the next day.
- Fridge, up to three days. Let the pot cool to room temperature, then cover and refrigerate. Plain congee keeps longer than savory versions with meat or seafood in it.
- Reheat low and wet. Warm over the lowest heat, stirring the bottom frequently because cold congee scorching is even faster than hot. Loosen with splashes of hot water until it flows again. The microwave works for a single bowl; cover it and stir halfway through, and expect to add a tablespoon of water.
- Freeze the base, not the finished bowl. Plain congee freezes for about a month and thaws well. Meat congee does not; the texture of reheated fish or shrimp suffers, so freeze plain and add proteins fresh when you reheat.
Frequently asked questions
Do I have to rinse the rice? Only briefly. A couple of quick swirls lift dust without removing the surface starch you need for cream. Skip the aggressive five-rinse routine you might use for fried rice.
Is soaking worth it? Not really. It shaves only a few minutes and ties up a bowl overnight. If you want real speed, the freezer method is faster and needs no planning during the day.
Can I make it in a rice cooker? Yes, and it is a hands-off win. Use the porridge setting and hold back about a cup of liquid versus the stovetop recipe, since the sealed cooker loses almost nothing to steam. Expect a slightly softer, more uniform texture.
Why is mine gritty? Either the simmer was too low to fully soften the grains, or you stopped too early. Add hot water and cook another 10 minutes, then test a grain by pressing it between your fingers; it should smear with no hard core.
Is congee gluten-free? Plain rice congee is, naturally. The toppings are where gluten sneaks in, so use tamari instead of regular soy sauce and check your chili oil and fermented bean curd labels.
Get the base right once and congee stops being a project. The ratio is a range, the simmer is low, the bottom gets stirred twice, and everything else is a topping decision. Keep a container of frozen rinsed rice in the freezer and the dish drops to fifteen minutes on a weeknight. That is the whole trick.