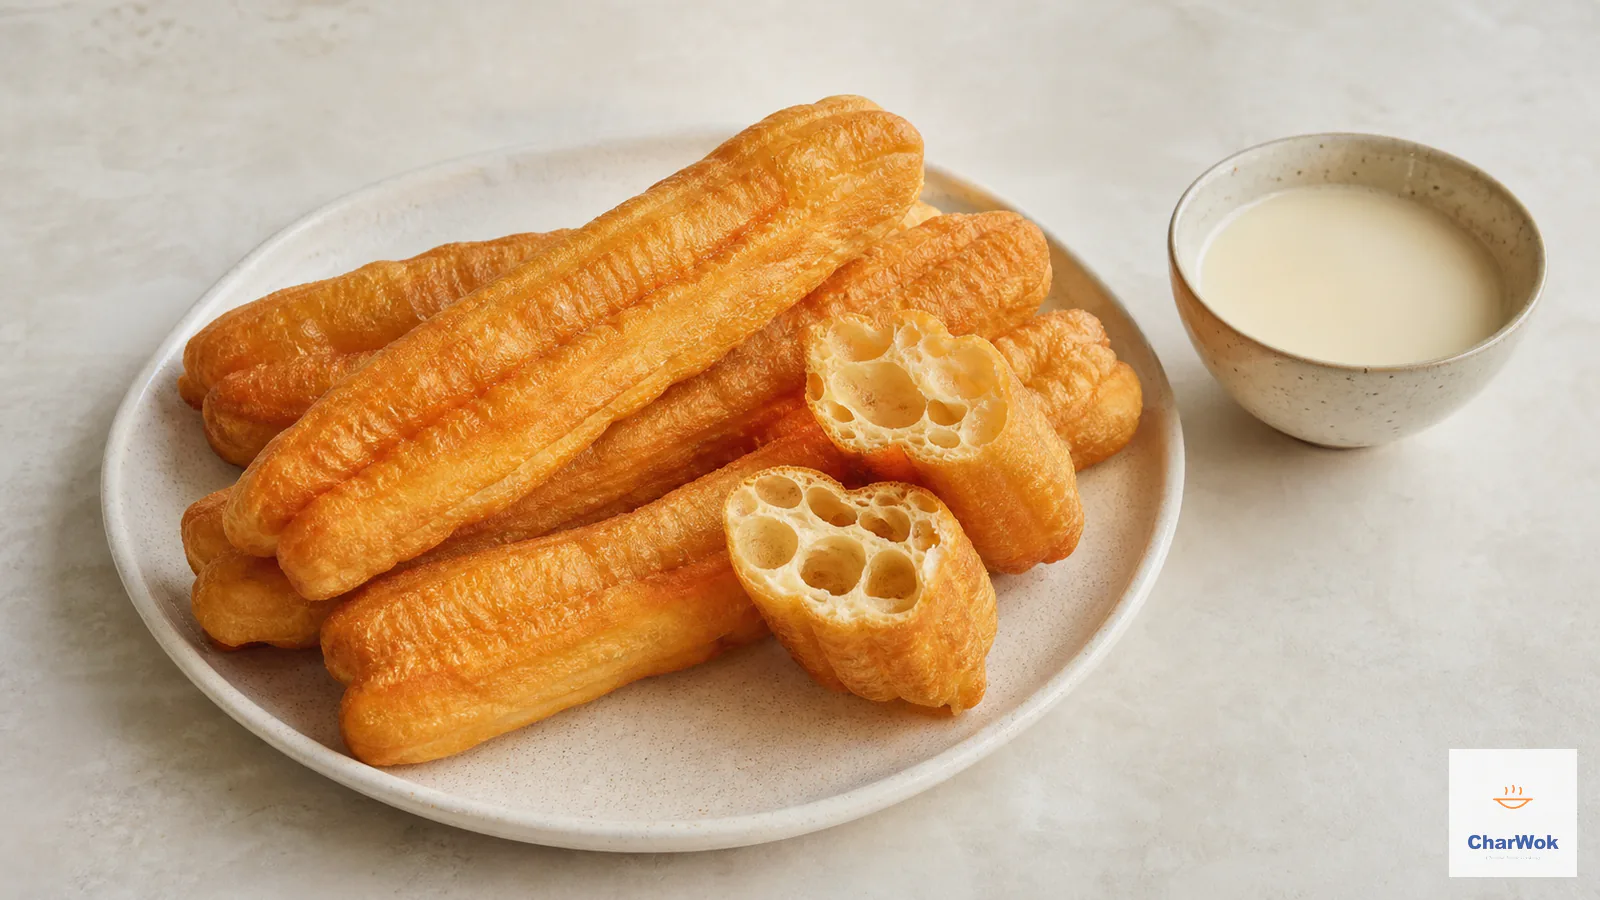
A good youtiao is one of those things that looks simple and isn't. It's just flour, water, a leavening agent, and hot oil. Yet most home attempts come out dense, oily, or stiff, nothing like the hollow, stretchy sticks you get from a breakfast stall, the kind that shatter at the crust and pull apart in long chewy strands.
The difference between a flat stick and a puffed one is not a secret ingredient. It is how the dough is handled. Youtiao relies on a strange combination of low-protein softness and an aggressive deep fry, and the whole thing succeeds or fails on two moments: the long rest that lets the gluten relax, and the oil temperature that decides whether the dough expands or just sits there soaking up grease. I have ruined more batches than I care to admit by rushing both. This guide is the version I finally settled on after those failures.
At a glance: A youtiao is a deep-fried dough stick leavened with baking powder (and a little baking soda), rested 2 to 4 hours so the gluten fully relaxes, then fried at about 190°C / 374°F. Plan on about 20 minutes of active prep, roughly 15 minutes of frying, and 2 to 4 hours of resting in between, for a total of around 2½ hours end to end. The resting and the oil heat are everything. Two stacked dough strips pressed in the middle is what creates the hollow center and the signature shape.
What youtiao actually is, and why it puffs
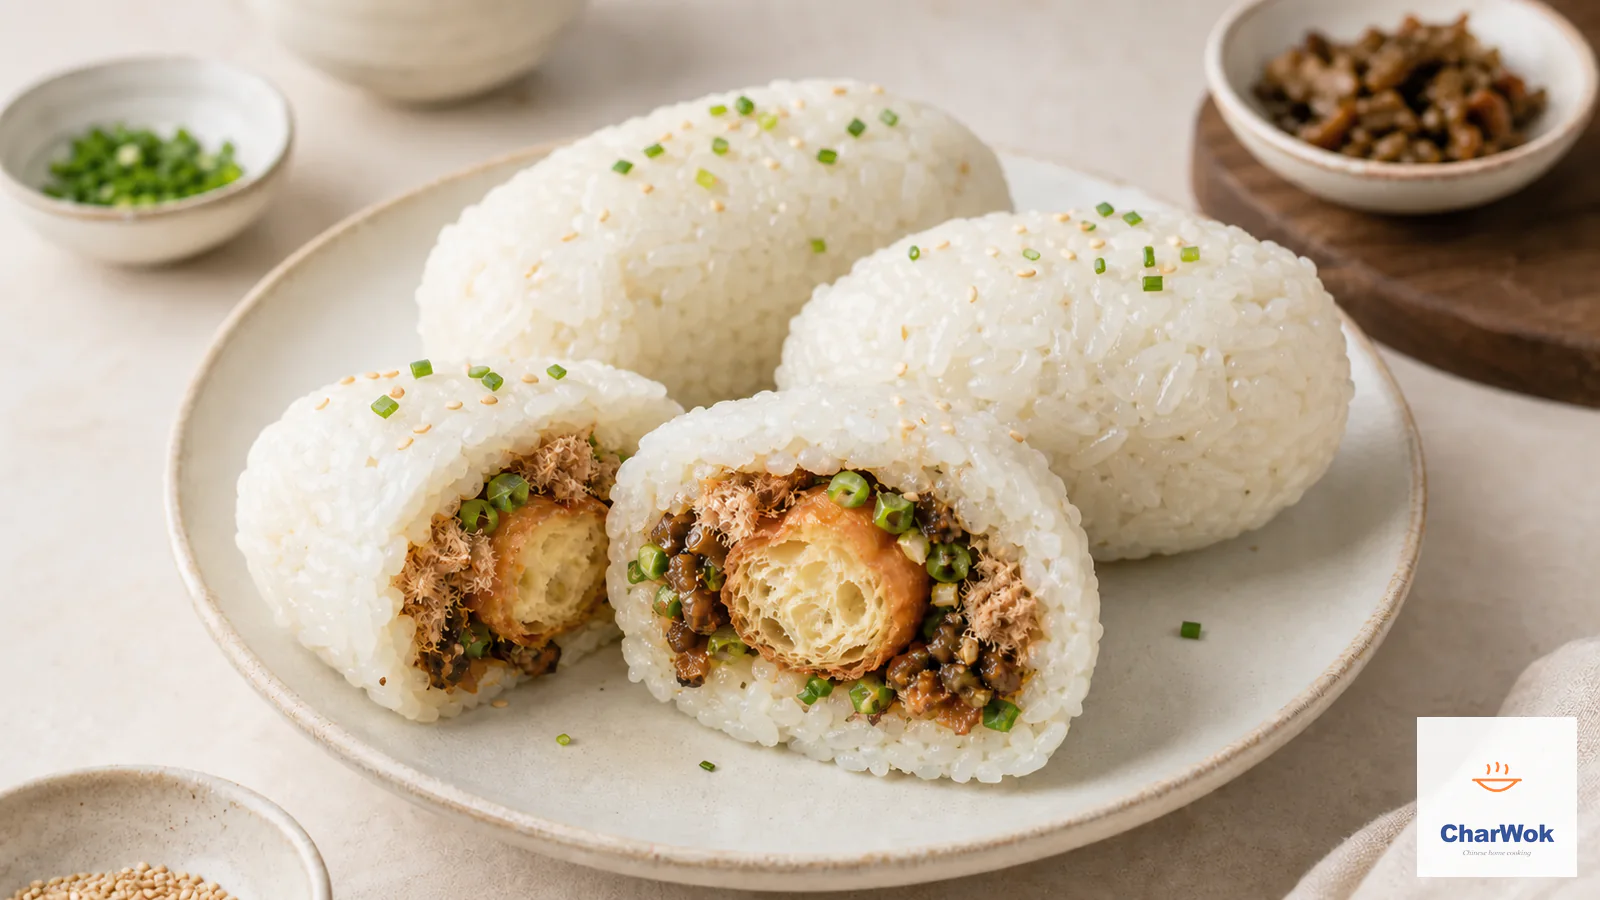
Youtiao (油条) is the most famous member of the Chinese breakfast table, eaten across the country alongside a bowl of rice congee or warm soy milk. In northern and eastern China it is dunked straight into the soy milk until it softens; in the south it shows up tucked inside a fan tuan sticky rice roll or wrapped in a rice noodle sheet. It is also the recurring crispy element in a full Chinese breakfast spread, the fried thing you reach for between bites of something soft.
The puff has a clear cause. Baking powder releases carbon dioxide as the dough heats. At around 60°C / 140°F the starches on the surface gelatinize and set into a crust, trapping the gas inside before it can escape. The water inside the dough flashes to steam at the same time, adding lift. If the oil is too cool, the crust forms slowly and the gas leaks out before it can hold, leaving you with a greasy, dense stick. If the oil is right, the crust snaps shut almost instantly and the inside balloons. That is the entire physics of the dish, and it explains every step below.
The leavening question: baking powder, or the alum-and-lye tradition?
Traditional youtiao uses a mix of alum (aluminum potassium sulfate), baking ammonia, and lye water. That combination gives the crisp, slightly brittle crust and the very airy interior that street vendors get. The trouble is that alum is increasingly hard to find for home cooks, and many people want to avoid the aluminum. A baking-powder-only dough, which is what I use here, gives a slightly softer, more bread-like result, closer to a tender bread stick than a shattering street-market one. It is a real trade-off, not a free upgrade. If you want that brittle authentic snap, you can add a pinch of baking soda (note in the table) for extra browning and a hint of that mineral edge, but do not expect a perfect replica of the stall version.
Ingredients
Ingredients at a glance
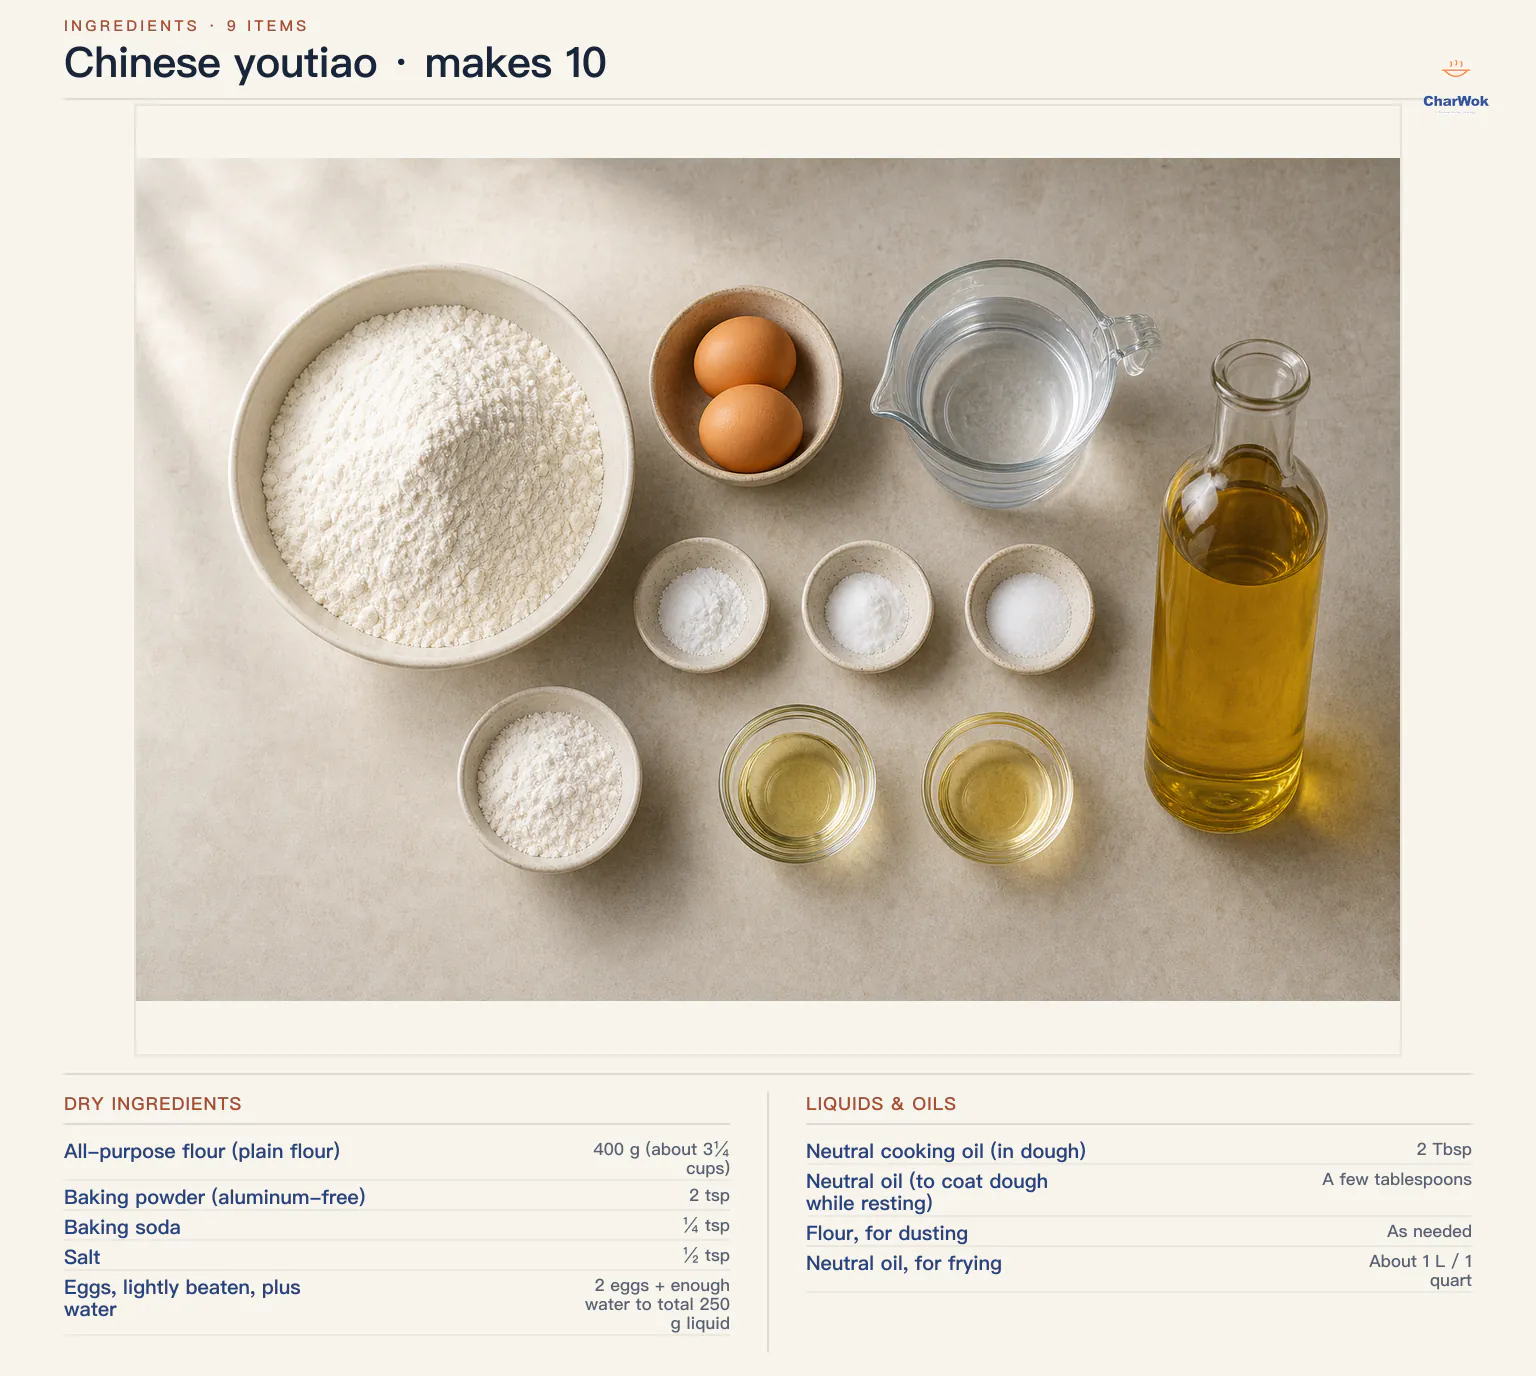
| Ingredient | Amount | Notes / substitute |
|---|---|---|
| All-purpose flour (plain flour) | 400 g (about 3¼ cups) | Use standard AP flour (about 10–11% protein). Bread flour makes the sticks tough; cake flour makes them collapse. |
| Baking powder (aluminum-free) | 2 tsp | Must be fresh. If it does not fizz in hot water, replace it. |
| Baking soda | ¼ tsp | Optional. Adds browning and a faint traditional mineral edge. Skip for a softer, milder stick. |
| Salt | ½ tsp | Balances the leavening and seasons the dough. |
| Eggs, lightly beaten, plus water | 2 eggs + enough water to total 250 g liquid | Crack the eggs into a bowl on a scale, then add water to 250 g. The egg adds richness and helps browning. Egg-free: use 250 g water. |
| Neutral cooking oil (in dough) | 2 Tbsp | Vegetable, canola, or grapeseed. Oil tenderizes and makes the dough easier to stretch. |
| Neutral oil (to coat dough while resting) | A few tablespoons | Prevents a skin from forming and stops sticking. |
| Flour, for dusting | As needed | For the work surface and the dough top before cutting. |
| Neutral oil, for frying | About 1 L / 1 quart | Enough for 5–6 cm / 2–2½ in depth in a deep, narrow pot. Reuse once for savory frying, then discard. |
Mixing the dough: soft, slack, and barely kneaded
- Build a slack, high-hydration dough. Dump the flour, baking powder, baking soda if you are using it, salt, the 250 g of egg-water, and the 2 tablespoons of oil into a stand-mixer bowl and run it on low for roughly eight minutes, long enough for everything to gather into one soft, slightly tacky mass. What you are after is a slack, high-moisture dough (around 62% hydration) that yields easily when pressed, the opposite of a firm bread ball; under-hydrating is what makes the sticks dense and tight, so resist the urge to add extra flour to make it behave. No stand mixer? Bring it together with a spatula until it is only a shaggy, ragged clump, drape a cloth over the bowl, and walk away for fifteen minutes. The flour drinks in that moisture while you are gone, and once it has, oiled hands and a series of folds — lift an edge, fold it over the middle, give the bowl a quarter turn, repeat — will smooth it out far more easily than muscle would.
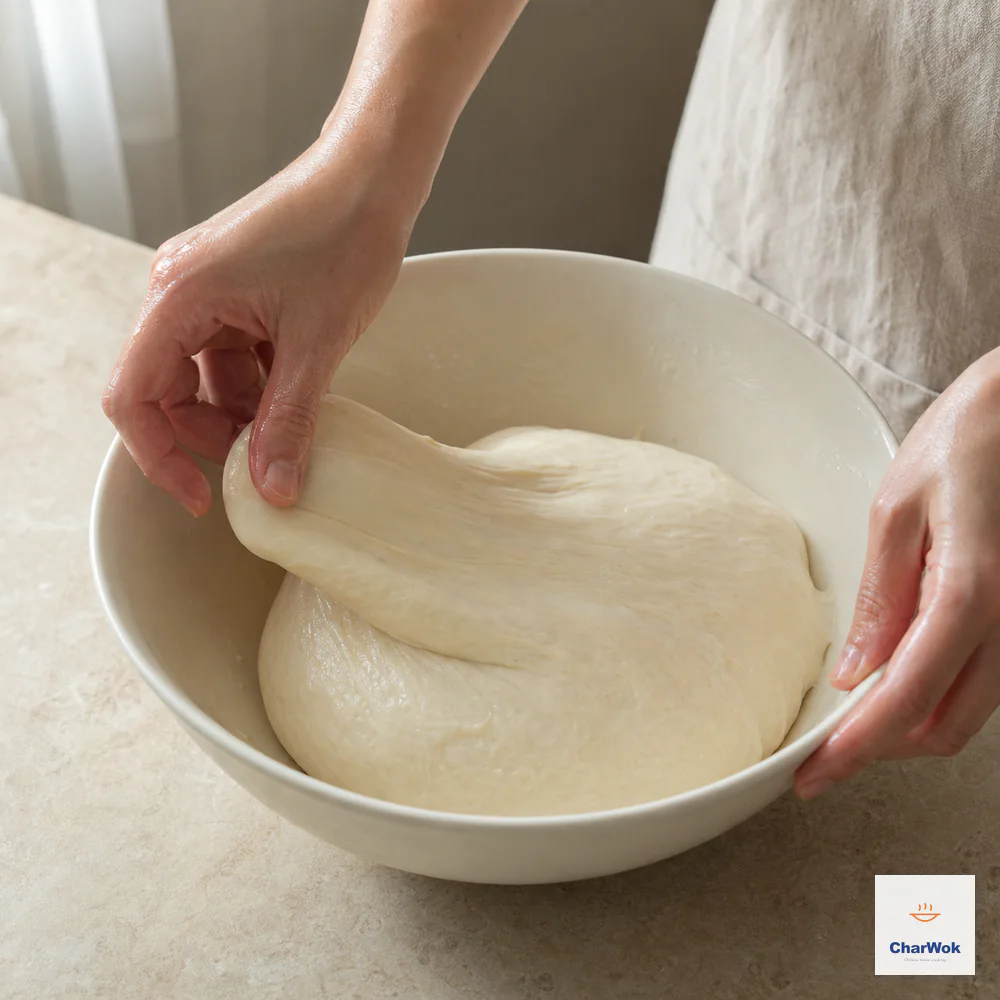
After the 15-minute pause, oil your hands and fold the soft, high-hydration dough from the outside toward the centre until smooth; do not add flour or knead it hard
- Oil the surface, never flour it. Before the dough leaves the bowl, rub it down with a film of oil. A floured surface now would crust over and crack during the long rest, and you would spend the next day fighting it; the oil keeps the skin soft and stretchy.
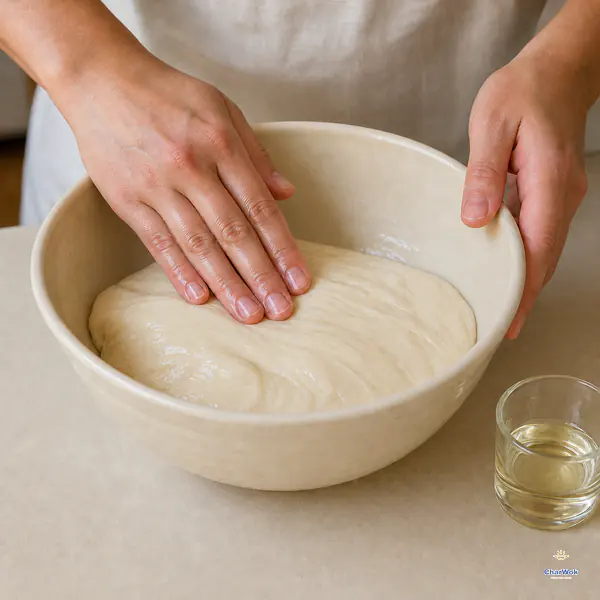
Before the dough leaves the bowl, coat its surface with a thin film of oil and keep the counter flour-free so the long rest does not form a dry cracked skin.
- Make two tidy balls. Half the dough and round each half against the counter until it is neat and smooth, then give each one a generous oil coating. Slip them into a lidded, oiled container, or wrap each ball snugly in cling film. Splitting the batch in two simply makes the shaping step less unwieldy, since a single 800-gram slab is awkward to roll into a clean rectangle.
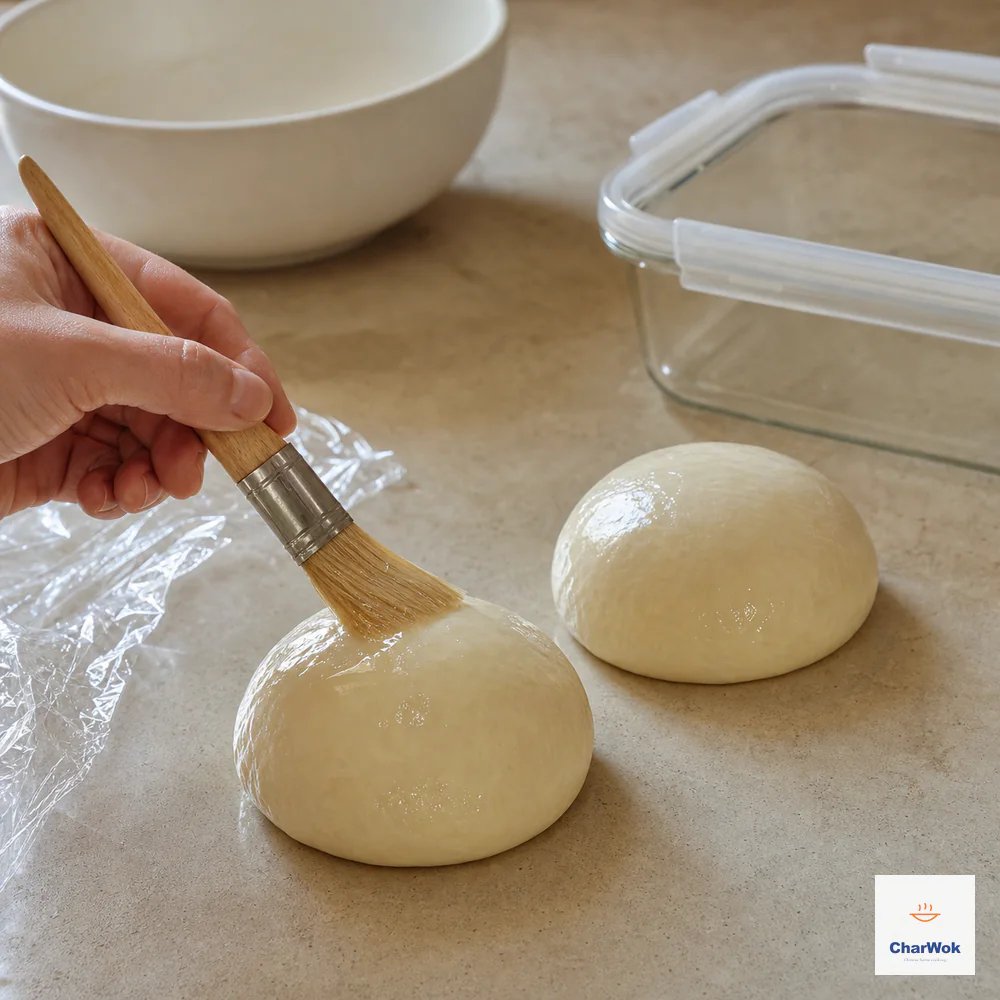
Divide into two equal smooth balls and coat every surface with oil before placing them in an oiled lidded container or wrapping closely
- Give the gluten a long, slow rest. Two to four hours on the counter is the floor; an overnight stay in the fridge is better still, and a chilled dough simply needs to lose its chill for an hour or so before it hits the oil. Do not skimp here. Youtiao gets stretched thin and expected to balloon in seconds, which only a thoroughly relaxed gluten network will allow; rush the rest and the dough will snap back on you and the sticks will fry up small and dense.
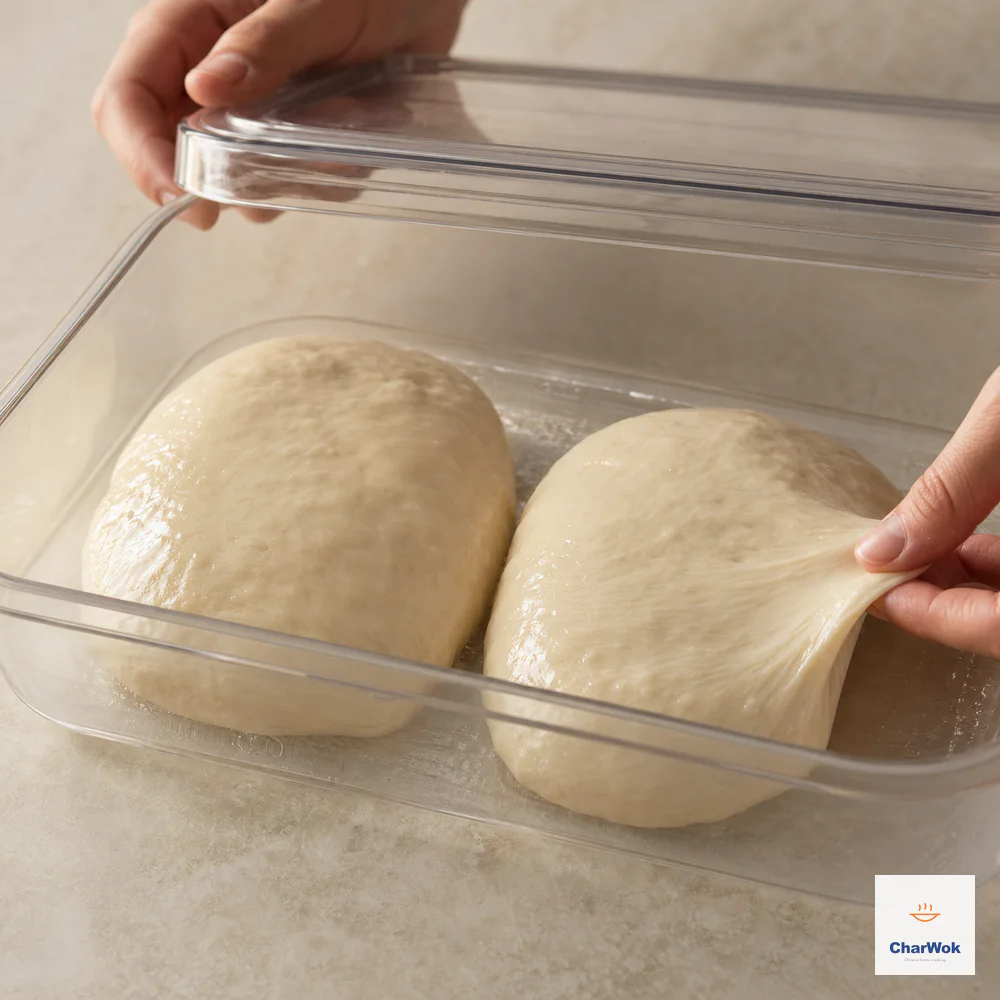
Rest the covered dough for 2 to 4 hours, or refrigerate overnight and bring it back to room temperature, until an edge stretches without snapping back
This dough is a good candidate for make-ahead cooking. I almost always mix it the night before, refrigerate it, and fry fresh in the morning. The overnight rest gives an even more relaxed dough than the counter version, and the flavor is barely different.
Shaping: why two strips pressed together
- Get the oil heating first. Light the burner before you lay a finger on the dough, because shaped youtiao is impatient; the moment the strips are cut and pressed they want to meet the oil, and you do not want to be waiting on a thermometer.
- Press out a rectangle, gently. Set a dough ball on a lightly floured board and coax it flat with your fingertips into a slab about 10 × 25 cm / 4 × 10 in. Light pressure is the whole point — you spent hours teaching that gluten to relax, and a heavy hand now re-tightens it and undoes all of that.
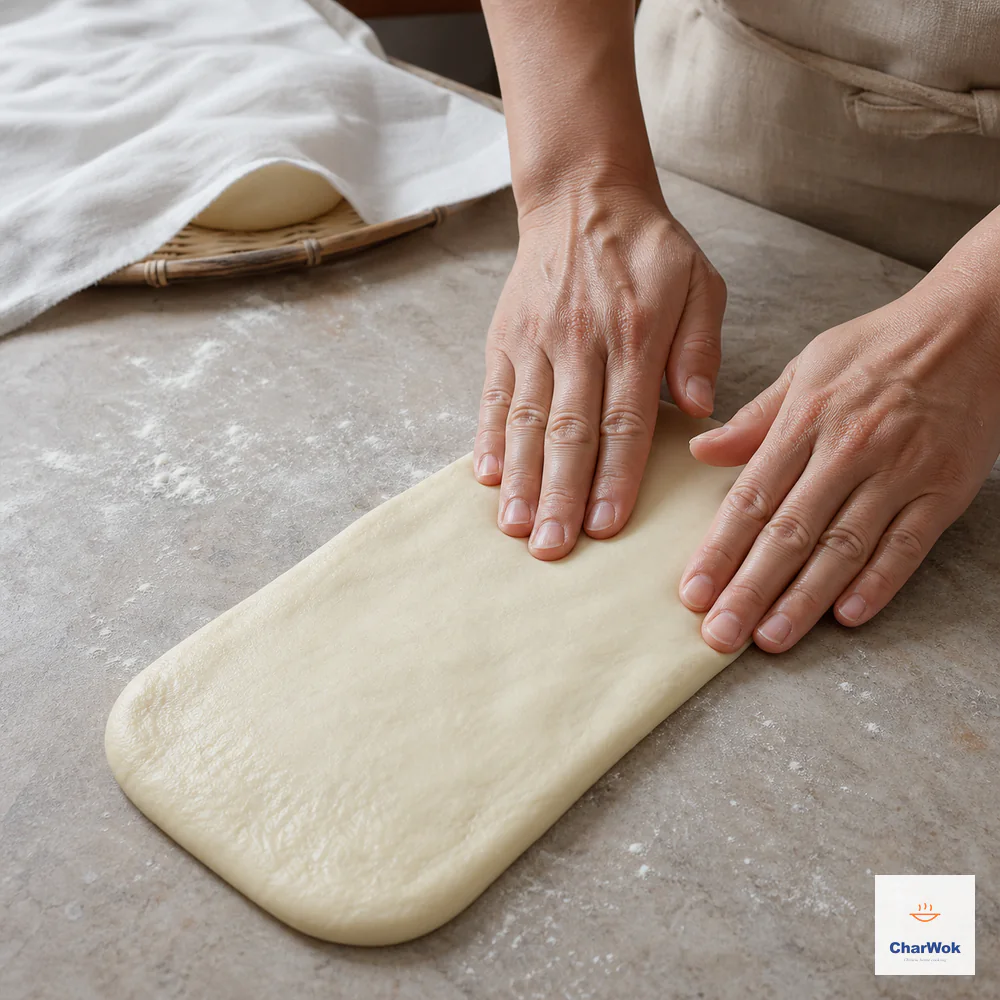
On a lightly floured board, coax one rested portion into an even rectangle about 10 by 25 centimetres using light fingertip pressure, never kneading again
- Mark and slice. A thin dusting of flour over the top keeps the knife clean, then divide the slab into ten even strips, each roughly 2.5 cm / 1 in across. Repeat with the second ball.
- Pair them up and seam the middle. Lay one strip over a partner. Run a chopstick (or the spine of a thin knife) straight down the middle of the pair, pressing firmly enough that the two layers bond into a single piece with a crease running its length. That crease is the whole trick of the shape: in the fryer the bonded center stays soft while the two outer faces set and puff, opening up the hollow two-lobed interior youtiao is known for. Skip it and you are frying a solid rod with nothing inside.
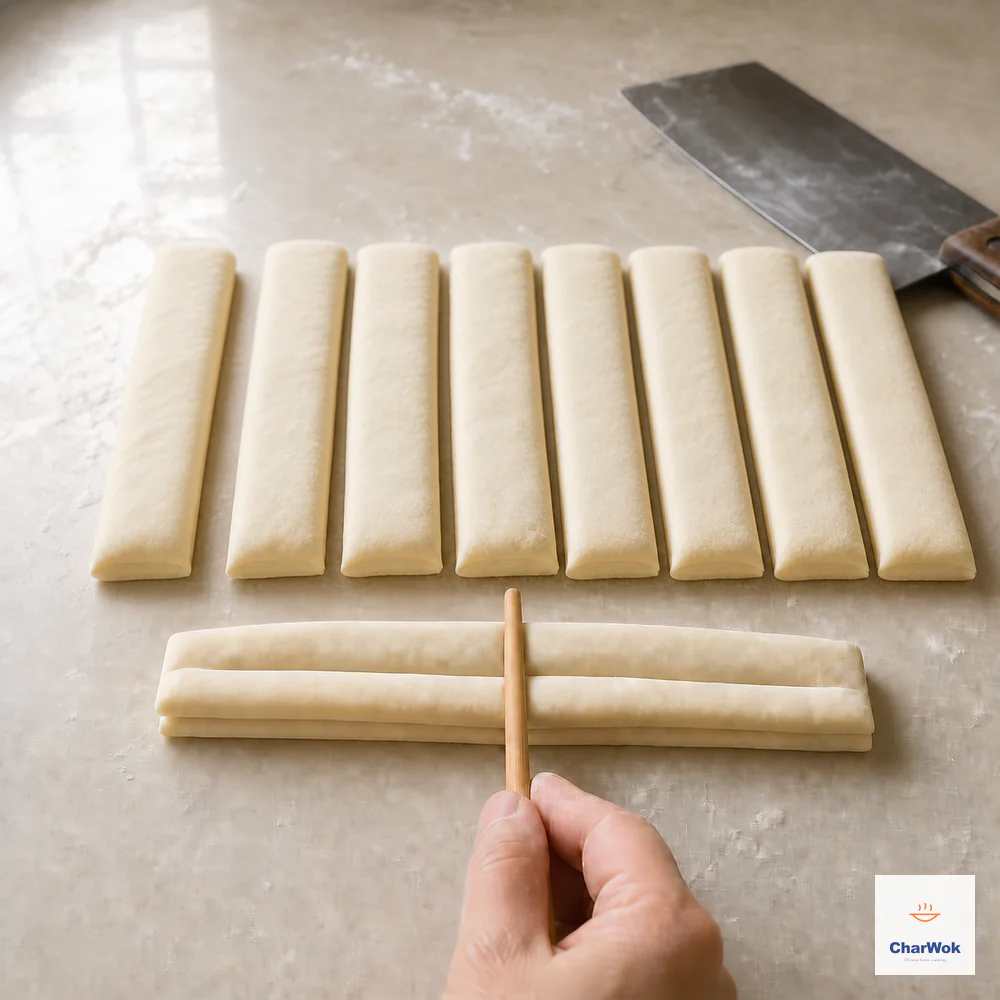
Cut each dough portion into exactly 10 strips, stack them in pairs, and press firmly down the full centre with a chopstick so the two layers bond without being cut through
Frying: the temperature is the whole game
- Climb to 190°C / 374°F, then back the heat off. With a clip-on thermometer in the pot, let the oil climb to 190°C, then turn the flame down to its lowest. The hot oil and the low burner work together to hold the temperature steady as cold dough goes in; leave the heat cranked and the crust scorches while the middle is still flat.
- Stretch and slide it in. Lift a pressed pair by both ends, ease it out gently to roughly 20 cm / 8 in, and feed it into the oil. Lower it close to the surface rather than dropping from a height — a tall fall splashes, and hot oil on skin is the kind of mistake you only make once.
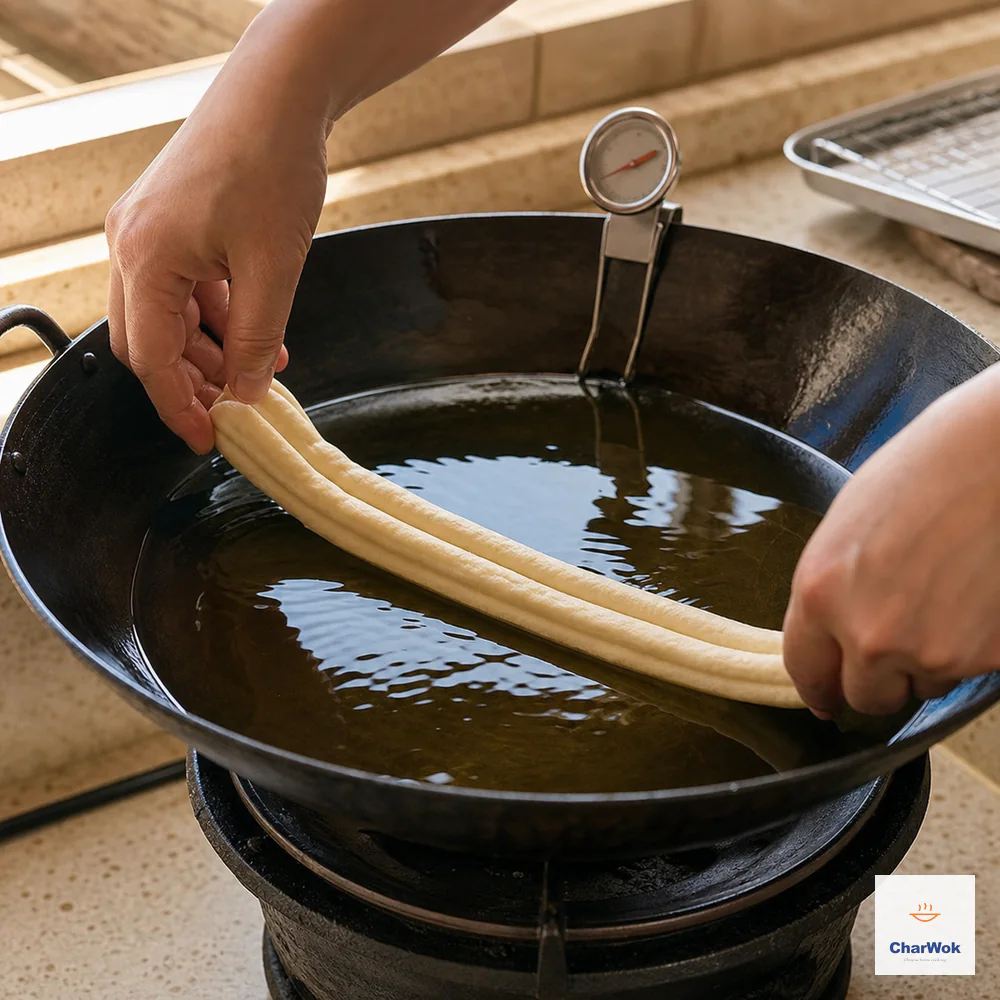
Bring the oil to 190°C, turn the heat low, stretch one pressed pair to about 20 centimetres, and lower it close to the surface without splashing
- Start rolling the instant it floats. A few seconds in, the stick bobs up. From that point it belongs to your chopsticks: keep it turning, end over end, for the whole fry. Staying in motion is what gives even color and even growth; park it on one face and that side sets while the other blows out and splits.
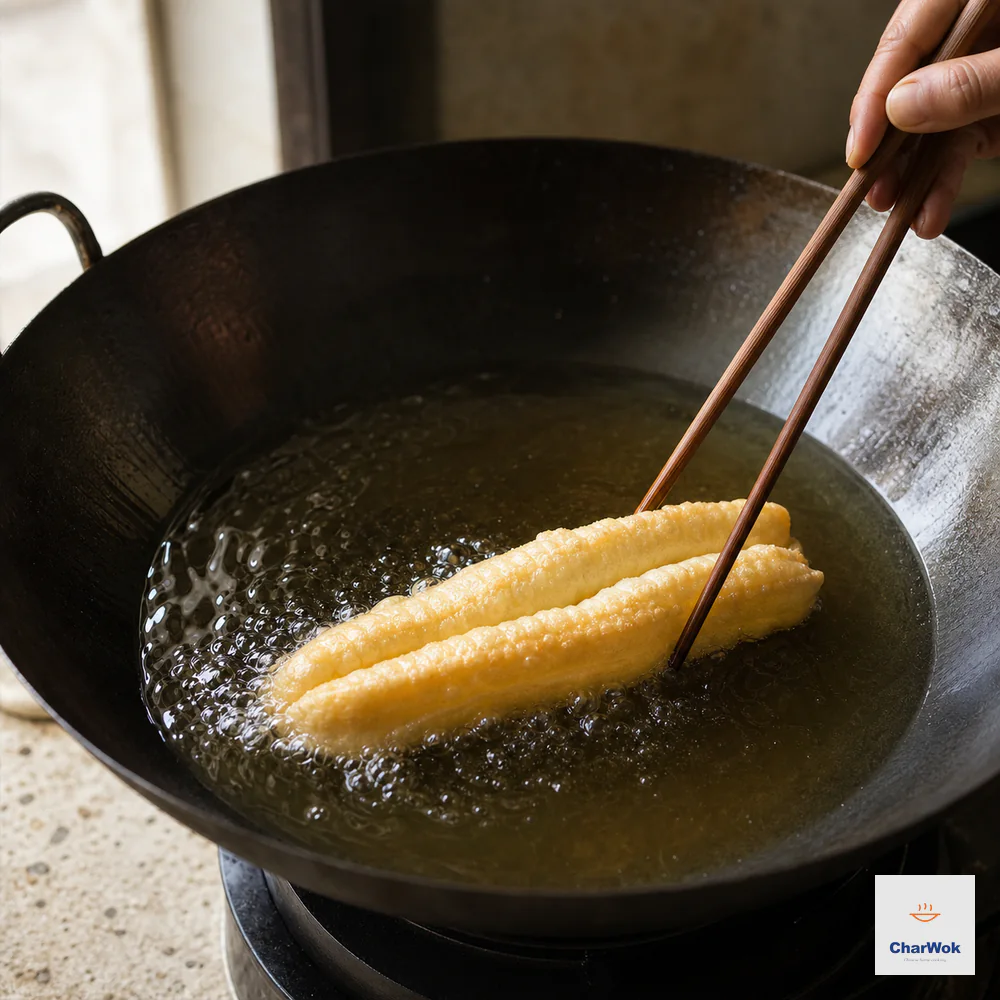
As soon as the stick floats, roll it continuously with chopsticks so every face expands and colours evenly instead of leaving one pale flat side
- Pull it when it stops growing. The stick tells you it is done by simply stopping — once the expansion has clearly stalled and the color has settled into an even deep gold, usually around the one- to two-minute mark, lift it out to drain on paper. Work in pairs at most: a third stick drops the oil temperature, and a cool pot is exactly how you end up with greasy, oillogged youtiao.
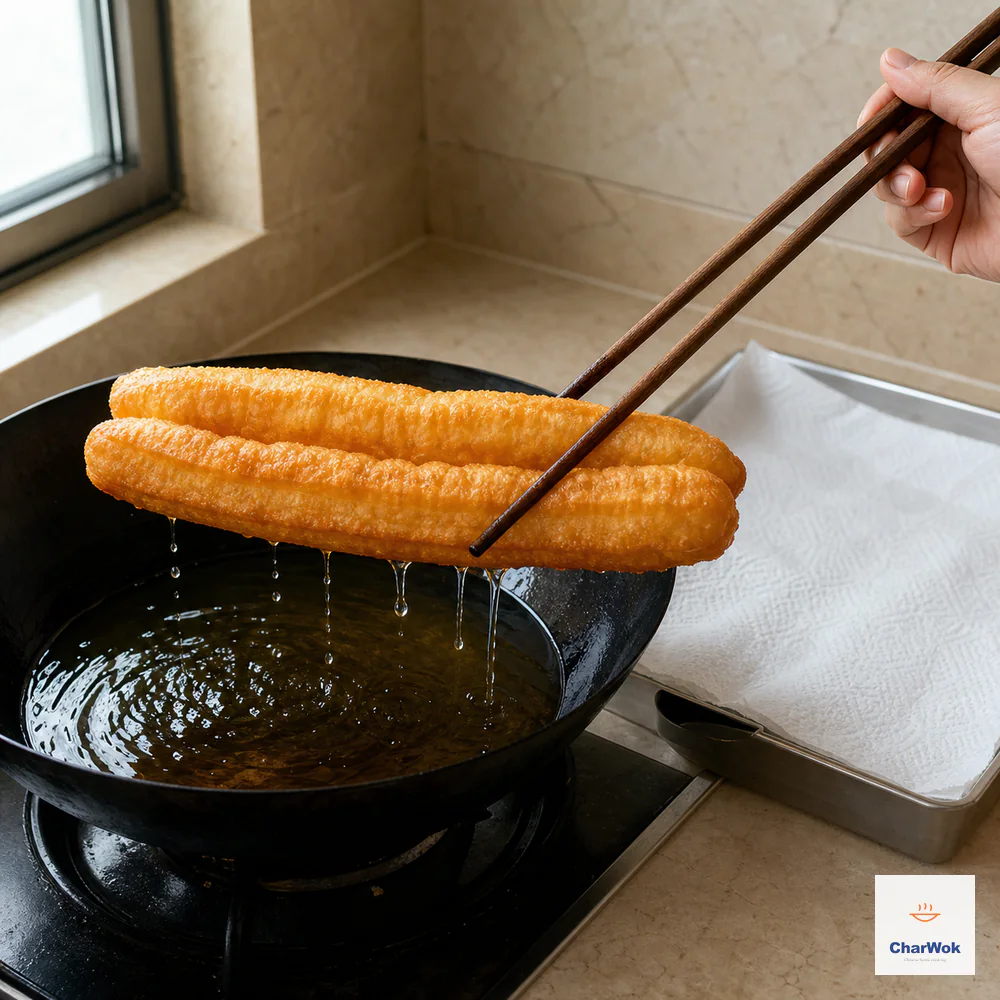
Lift the youtiao once it has stopped expanding and is evenly deep gold, let the oil drip back, and drain on kitchen paper; fry no more than two at once
A note on equipment: a deep, relatively narrow pot works better than a wide skillet because you want depth of oil, not surface area. A seasoned carbon-steel wok is actually ideal if you have one, since it holds a lot of oil and the rounded shape lets the long sticks float freely.
When things go wrong
Here are the failures I have eaten my way through, and what each one means.
- The stick barely puffed and looks dense. Almost always the oil was too cool, or the dough was too cold from the fridge. The crust needs to set instantly to trap gas. Recheck the thermometer, and never fry dough straight from the refrigerator.
- The sticks tore apart in the oil. The seam was not pressed firmly enough, or the dough was over-stretched. Press hard enough with the chopstick that the two strips are clearly joined, and stretch gently, not to the breaking point.
- Greasy, oillogged sticks. Oil temperature too low, or you fried too many at once. Also check that your frying oil is fresh; old oil with broken-down compounds seeps into dough faster.
- Sticks are tough and chewy in a bad way. You used a higher-protein flour like bread flour, or you re-kneaded the rested dough during shaping. Use all-purpose and handle the rested dough as little as possible.
- Uneven browning. You stopped rolling. The stick has to keep turning in the oil the entire time.
- The dough was a sticky mess and impossible to shape. The hydration was off, or you skipped the oil coating. Weigh the egg-water to a true 250 g, and coat the dough in oil, never flour, before the rest.
Variations and what to eat them with
Youtiao is a building block, not just a snack. The classic pairing is warm unsweetened soy milk; dunk a piece and let it soak for a few seconds so the crust softens but the inside stays chewy. Equally good is a bowl of plain rice porridge, where the stick does the same soaking job and adds crunch to an otherwise soft meal.
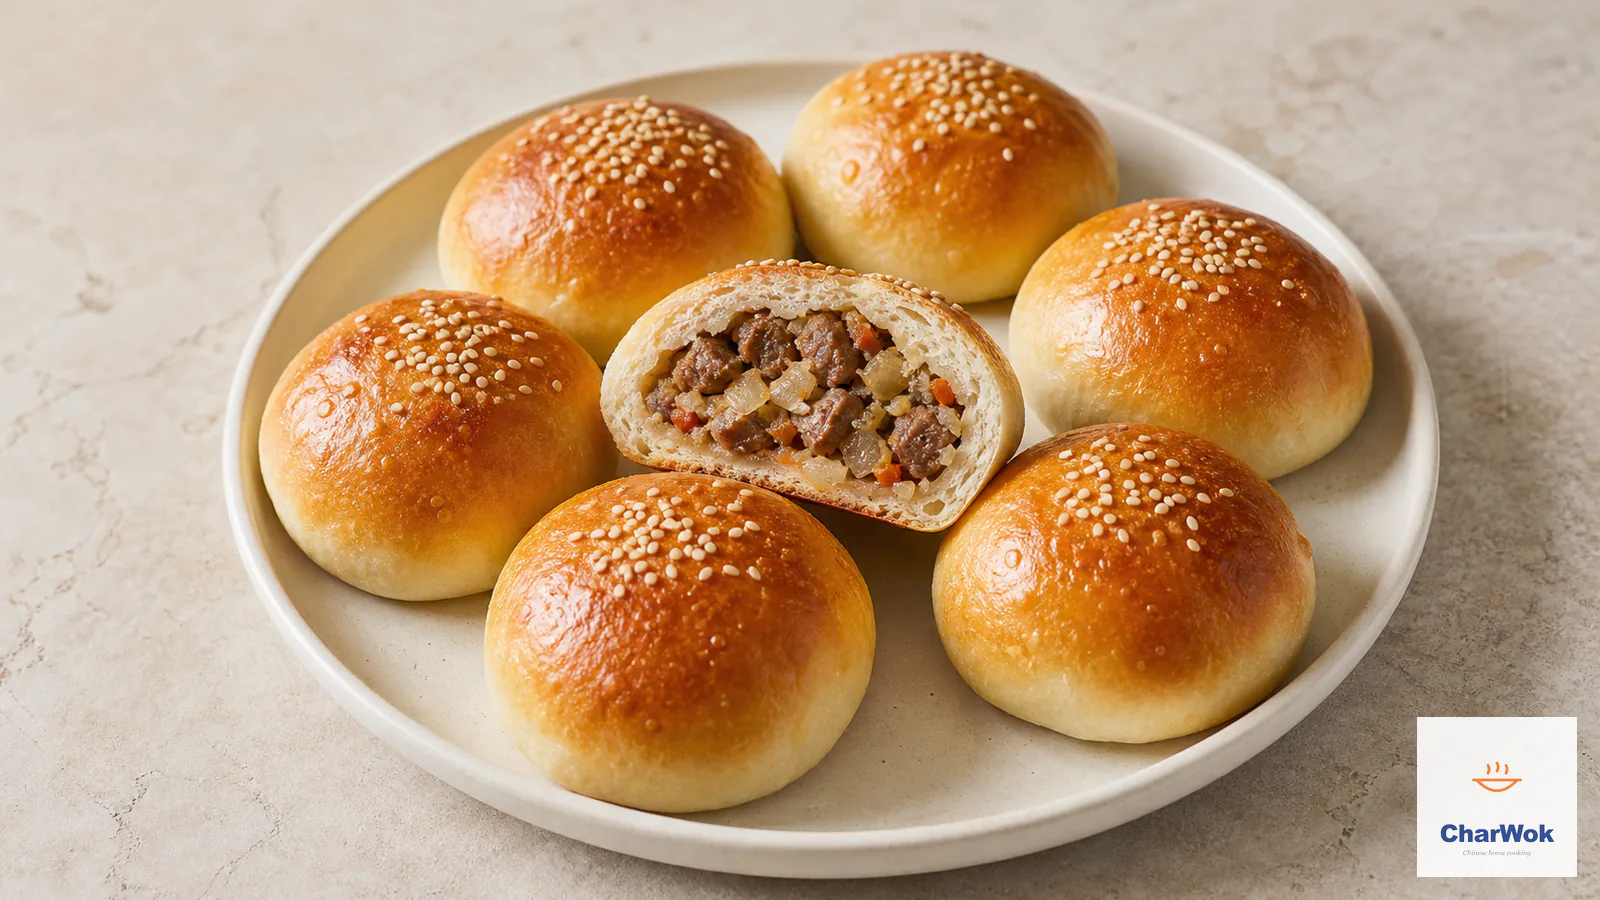
For something more substantial, the sticks fold neatly into the rest of the breakfast family. Try a piece inside a soft bao bun or a steamed baozi, in the style of a filled roll, or tucked into a sticky rice roll for the contrast between soft rice and crisp fried dough. They are also the secret crispy layer in a savory jian bing crepe or an egg and scallion crepe, where a strip of fried youtiao stands in for the usual crisp filling.
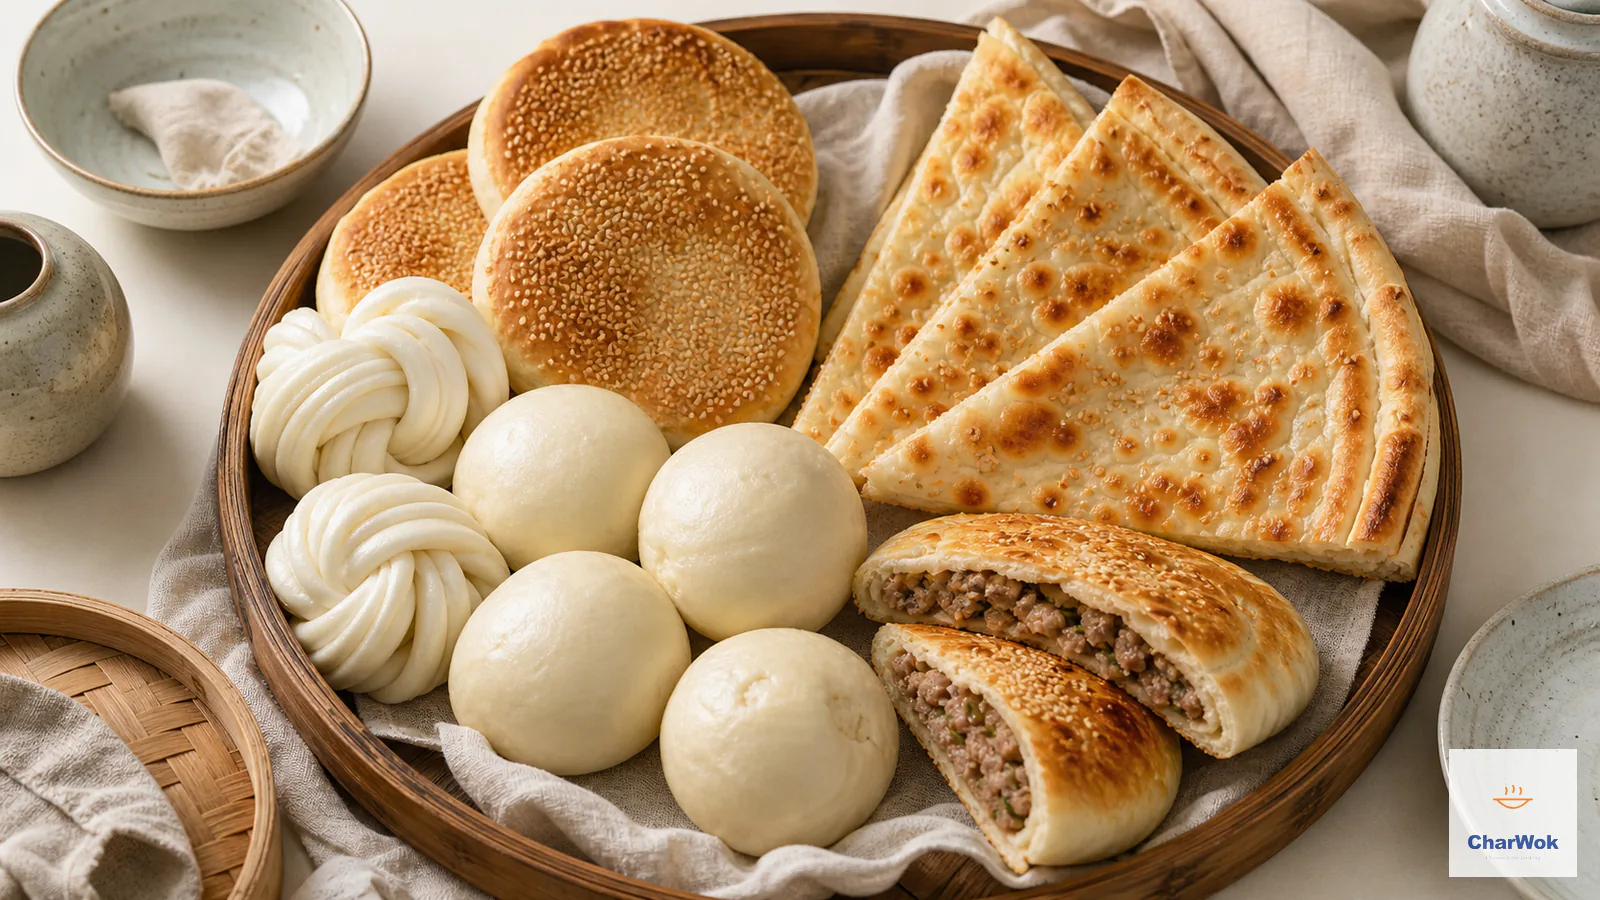
If you want to round out the table, youtiao sits happily next to other morning staples. Pair it with steamed mantou for a study in contrasts (fried versus steamed, the same flour, two different results), or with pan-fried turnip cake for a southern dim-sum-style breakfast. For a sweeter ending, follow it with sesame balls, which use a similar frying principle on a glutinous-rice dough.
Storing and reheating
Youtiao rewards being eaten right out of the pot, ideally within the hour. If you do have some left over, let them cool fully and then tuck them into a sealed bag — three days in the fridge, or about two months in the freezer is the outside limit before the texture really falls off.
Restoring the crust means staying away from the microwave, which only turns the dough rubbery. From the fridge, a dry skillet on a low flame does the job: turn the sticks often until they warm through and crisp back up. From frozen, send them straight into a 180°C / 356°F oven for around five minutes, or let them thaw first and use the skillet method. They will never fully match a fresh one, but the snap does come back far better than you might expect.
A few honest notes
This is deep-fried food, and I would rather be straight with you than pretend otherwise. The dough itself is not heavily seasoned; the appeal is the texture, the contrast between a thin crisp shell and a hollow, stretchy inside. If you have never made a Chinese bread or dough before, youtiao is a forgiving place to start, and it belongs on any list of approachable Chinese recipes. Just respect the two things that matter: give the dough its full rest, and trust the thermometer. Skip either and you are back to dense sticks, no matter how good the recipe is.
It is also worth saying that the baking-powder version will not fully match the brittle, mineral-edged youtiao from a professional stall. That texture comes from alum and ammonia, and chasing it at home is a frustration I gave up on. The version here is the one I actually make on a weekend morning, and it is more than good enough to dunk into soy milk without missing the original.
Frequently asked questions
Can I skip the eggs?
Yes. Replace the egg-water mixture with 250 g of plain water. The sticks will be slightly paler and leaner, with a marginally less tender crumb, but they will still puff and fry the same way.
Why do I have to rest the dough for so long?
Youtiao dough is stretched thin before frying, and tight, freshly kneaded gluten will shrink back and refuse to expand. The long rest lets those gluten strands relax so the dough can stretch and then balloon in the hot oil. Cut the rest short and you get small, dense sticks.
Can I bake or air-fry these instead of deep-frying?
You can try, but do not expect the same result. Baking or air-frying gives a drier, bread-stick-like texture without the hollow interior or the thin crisp crust. The classic puff depends on immersion in very hot oil. For the real thing, deep-frying is the method.
Why press two strips together instead of frying one?
One strip fries into a solid rod. Two strips pressed at the seam create a weak center line that stays soft as the outsides set, so the dough puffs outward and leaves a hollow gap in the middle. That hollow is the whole point of youtiao.
How do I know the oil is hot enough without a thermometer?
Drop in a small piece of dough trimmings. It should sink briefly, then rise to the surface within a couple of seconds and sizzle vigorously, browning in well under a minute. If it sits on the bottom or browns almost instantly, the oil is too cold or too hot. A thermometer is still more reliable, so use one if you have it.