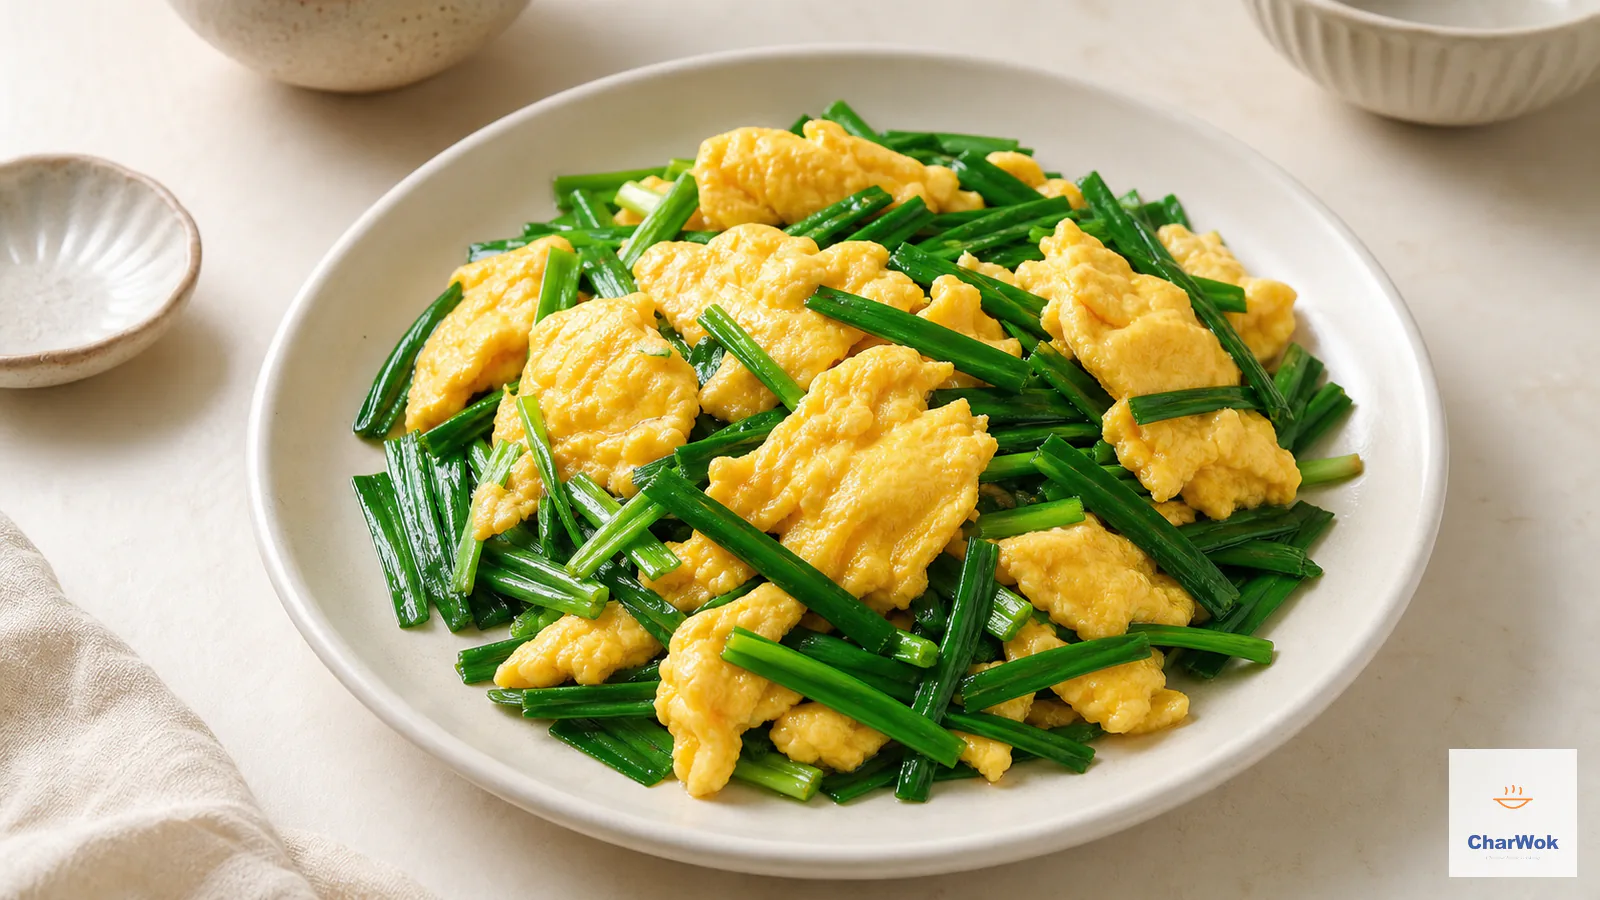
Two ingredients. One pan. Under five minutes from fridge to plate. Chinese chive and egg stir-fry (Jiu Cai Chao Ji Dan / 韭菜炒鸡蛋) is the kind of home cooking that exposes every shortcut you take. The recipe card is so short it fits on a sticky note, yet most home versions come out either rubbery, weepy, or oddly bland. The gap between "fine" and "the version you keep thinking about" comes down to two things: how hot your pan is when the eggs hit it, and how wet your chives are.
What follows is the way I cook this on a weeknight, with the reasoning behind each move and the failures I have personally made so you don't have to.
At a glance: roughly equal volume of chives to beaten egg (about 115 g chives to 4 large eggs), oil heated to about 175–180°C (350–355°F), hot and shimmering but not smoking, and out of the pan in under 90 seconds. Pull it the instant the eggs are just set but still glossy. Carryover heat finishes the job on the plate.
What this dish actually is
This is a northern Chinese home dish, everyday food rather than restaurant food. You will rarely see it on a takeout menu because it doesn't travel and it doesn't keep. The two components do the heavy lifting for each other: garlic chives (jiu cai) bring a sulfurous, garlicky punch that raw egg lacks, and egg supplies the rich fat and protein that mellow the chives' sharp edge. Salt and a neutral oil are the only other inputs. There is no soy sauce, no sugar, no aromatics like ginger or scallion, because any of those would muddy the single clean flavor the dish is built around.
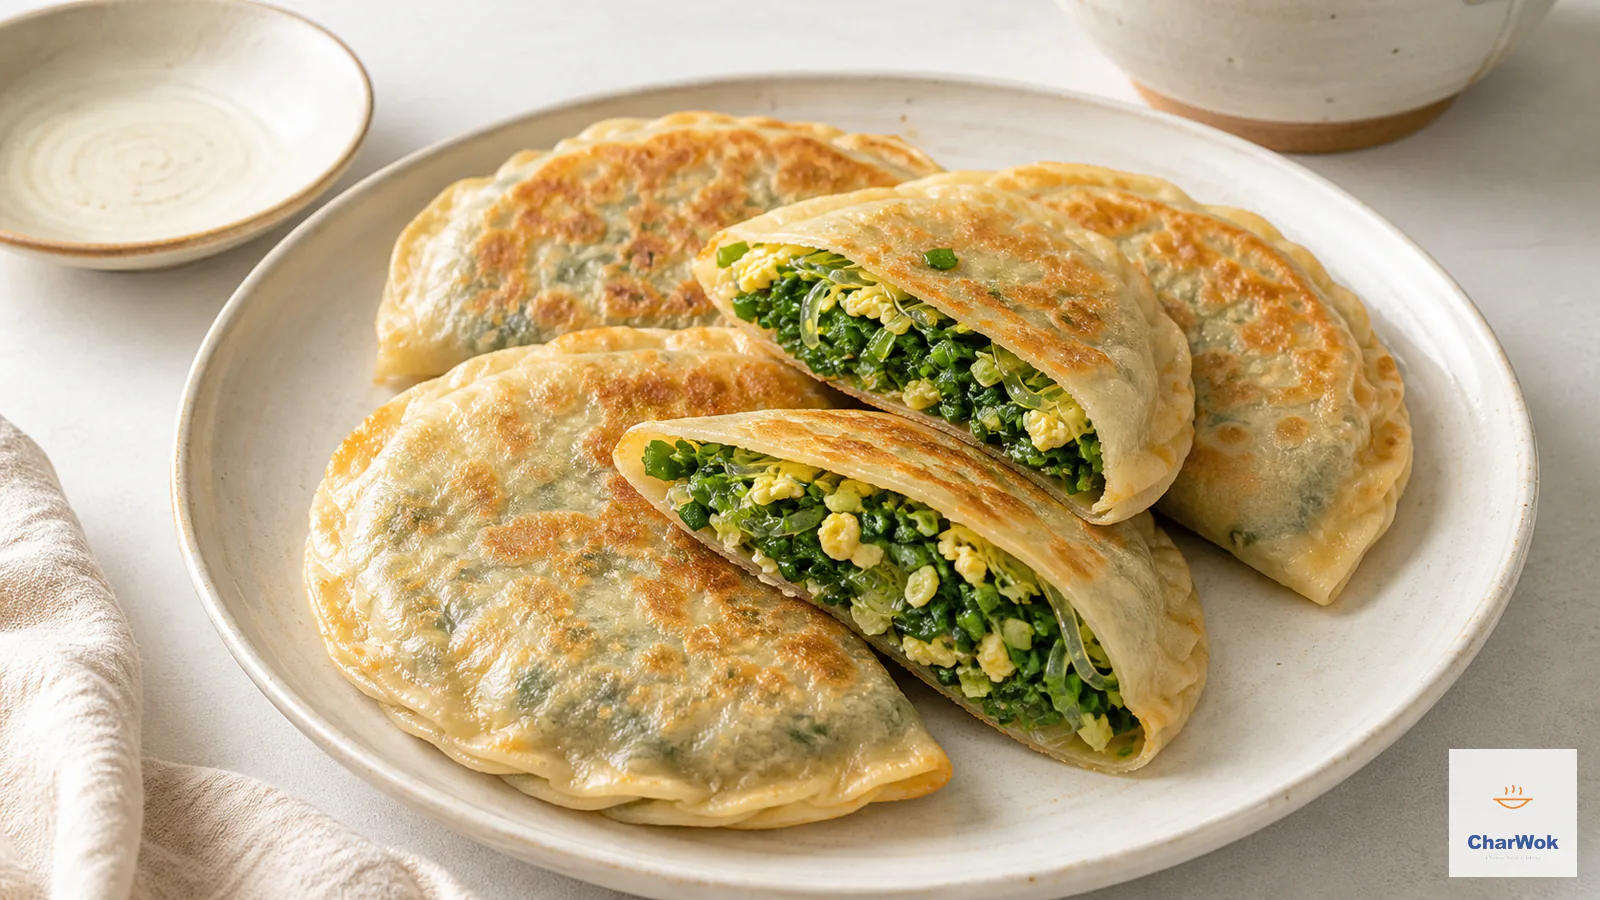
Garlic chives are flat-leafed, not the round hollow chives you find bundled at a Western supermarket. The two are not interchangeable here. Regular chives will give you a mild onion note and then vanish into the egg; you need the flat Asian garlic chives (sometimes labeled "yellow chives" when blanched, or "Chinese leeks") to get the dish's signature taste. They are easy to track down at any Chinese or Southeast Asian grocery. If you have only ever used them inside a filling, this is the dish that lets them lead.
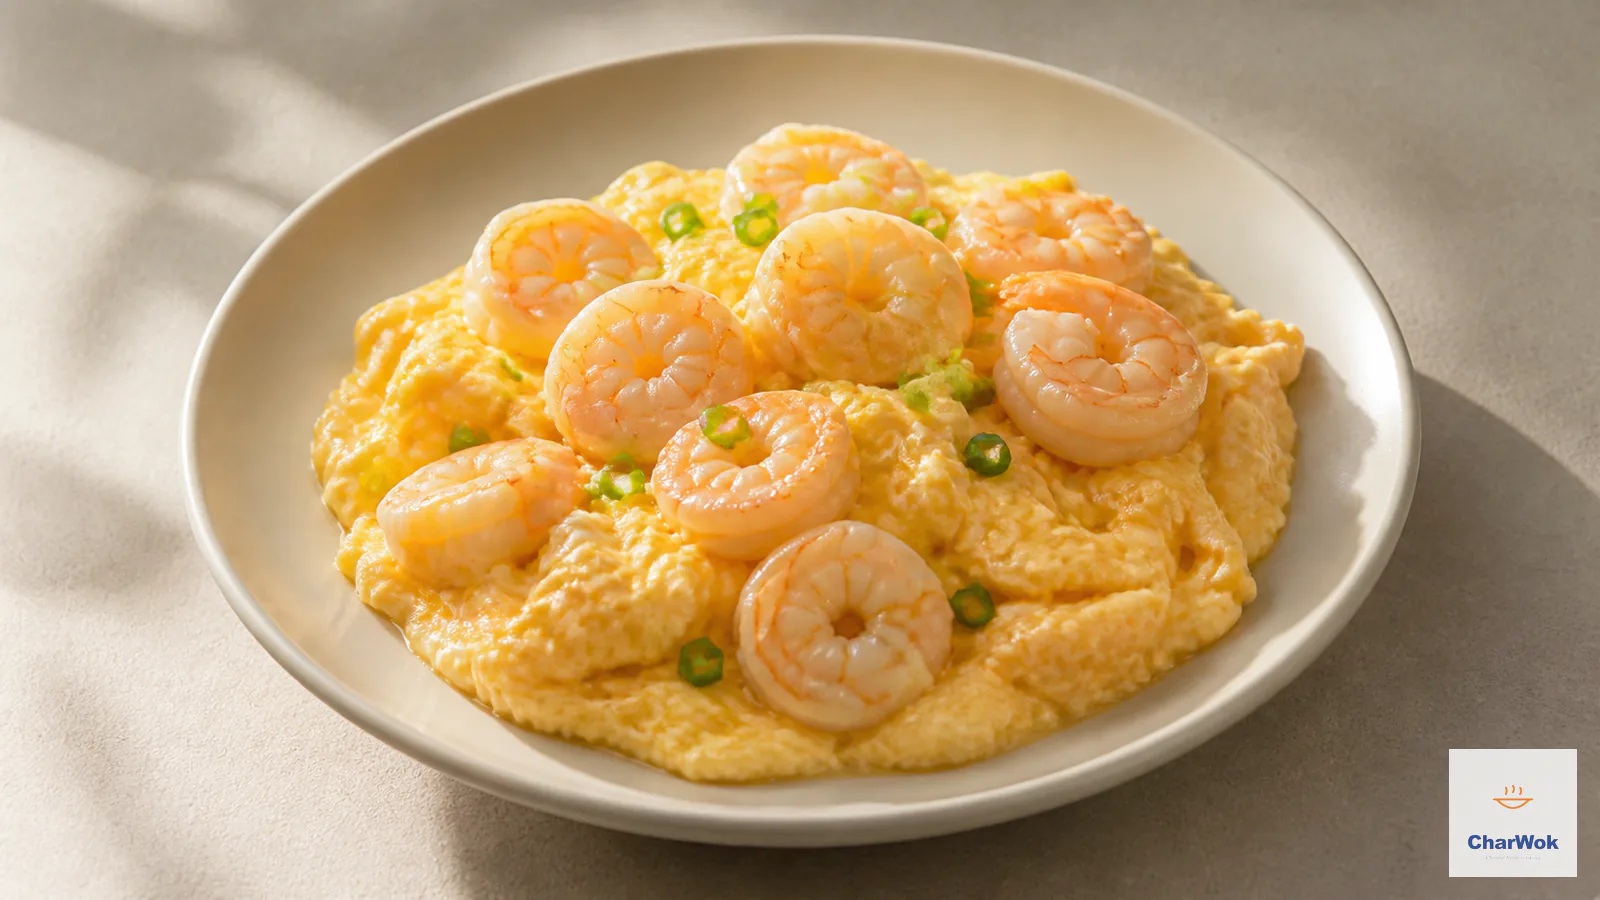
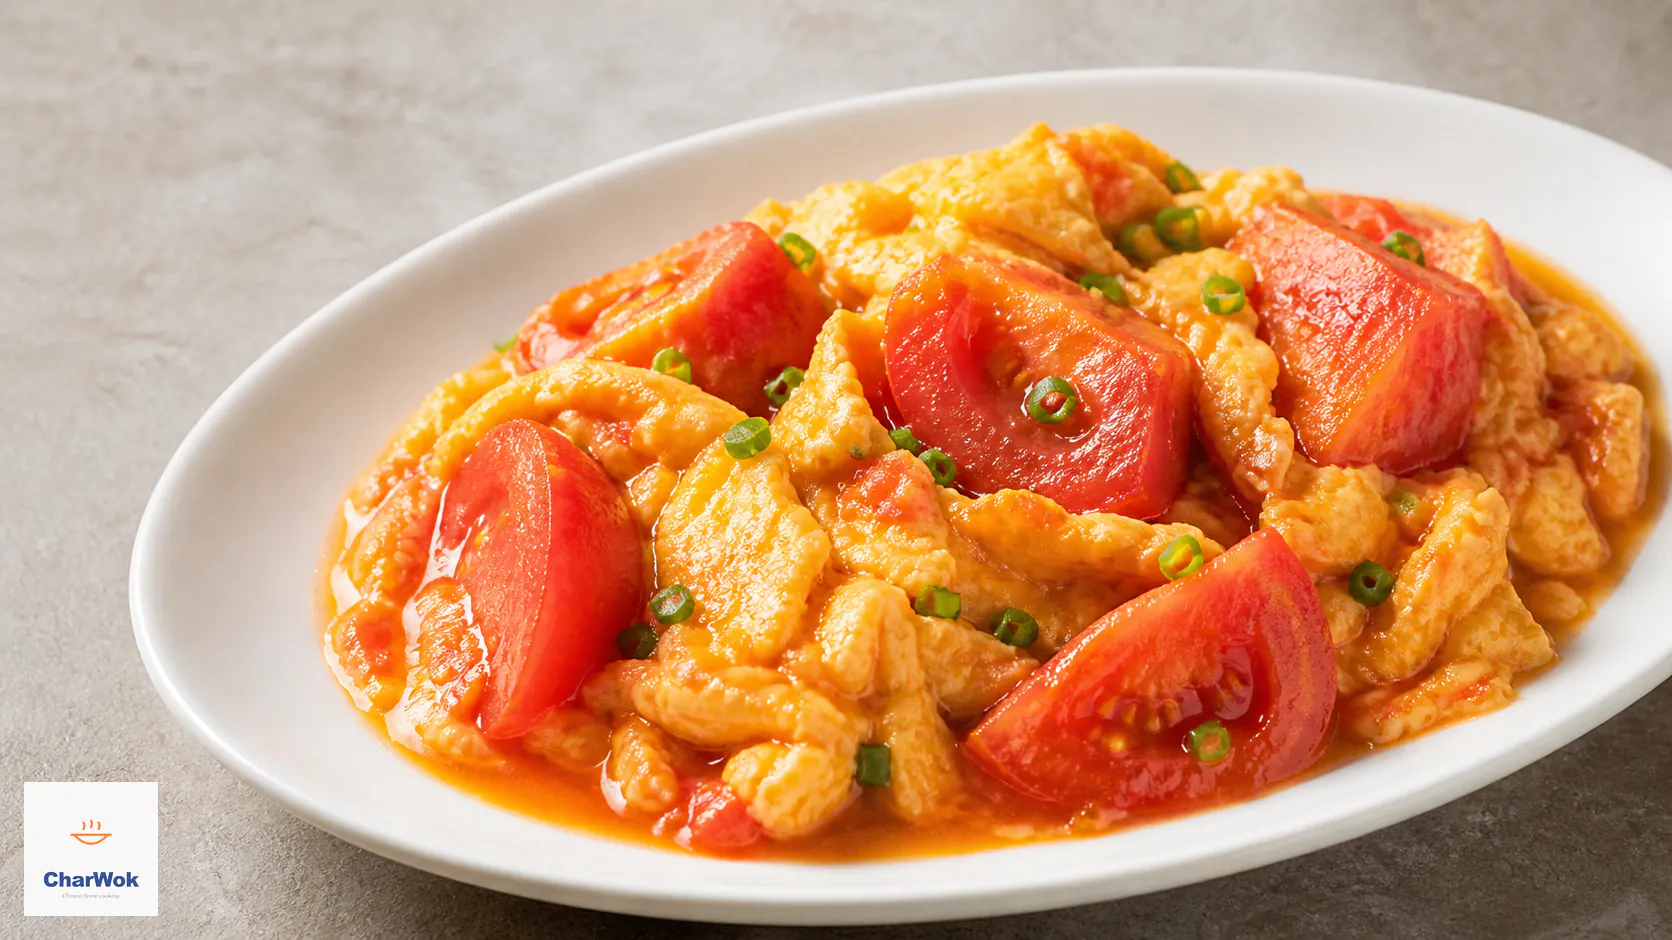
It belongs to the small family of Chinese egg stir-fries that treat egg as the main event rather than a supporting player, the way tomato egg stir-fry or shrimp and egg stir-fry do. Think of it as a cousin of those, stripped down to its bones.
Ingredients
Ingredients at a glance
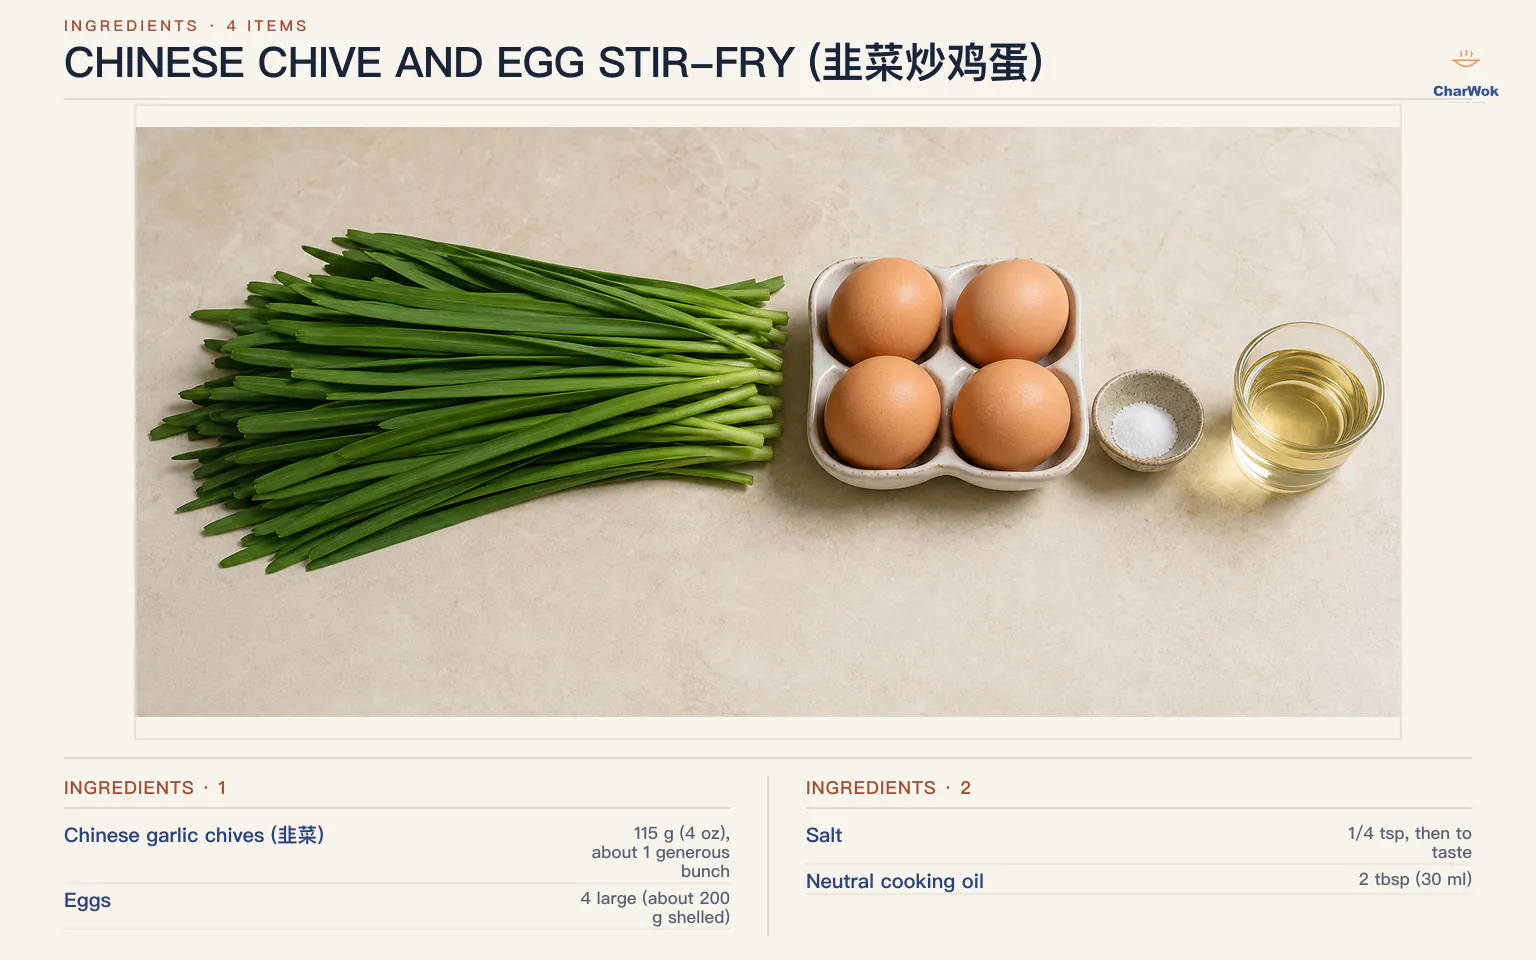
For 2 servings as a side dish (or 1 hungry person over rice). Scaling is linear.
| Ingredient | Amount | Notes / substitute |
|---|---|---|
| Chinese garlic chives (韭菜) | 115 g (4 oz), about 1 generous bunch | Flat leaves only. Blanched "yellow chives" (jiu huang) work and are milder. Regular round chives and chive flowers are not substitutes. |
| Eggs | 4 large (about 200 g shelled) | Use the freshest you have. Older eggs spread thin and cook up watery. |
| Salt | 1/4 tsp, then to taste | Fine sea salt. Don't swap in soy sauce; it changes the dish's character and tints the egg brown. |
| Neutral cooking oil | 2 tbsp (30 ml) | Peanut, canola, or grapeseed. Avoid olive oil and toasted sesame oil for the main fry; their flavor fights the chives. |
The method, and why each step matters
- Wash, then dry the chives hard. Rinse under cold water and inspect the base of the bunch where grit hides. Shake them, then lay them on a cloth and pat. Surface water is the enemy: it drops the oil temperature when the eggs go in and turns the dish soggy. Wet chives also leach green liquid into the egg so it looks gray instead of sunny yellow flecked with green.
- Cut into 5 cm (2 inch) lengths. Slice across the grain, separating any tougher stem ends from the leafier tops if your bunch is uneven. Long enough to bite cleanly, short enough to mix through the egg. A dull knife will crush the leaves and release water, so use something sharp.
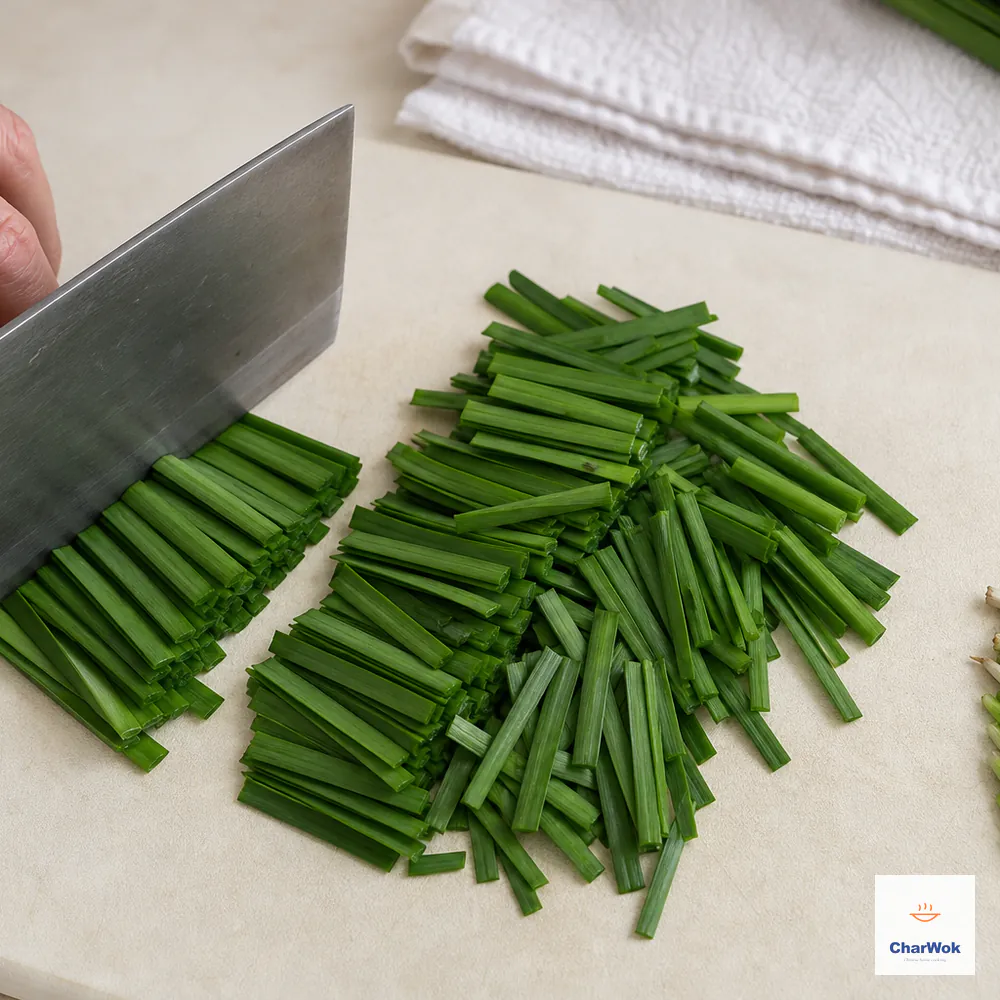
Dry the washed chives thoroughly, trim the tough root ends, and use a sharp blade for clean short sections without crushing out water
- Beat the eggs only until blended. Whisk yolks and whites together until uniform with no streaks, but stop short of frothing. Over-beating whips in air that collapses into a spongy texture; you want dense, tender curds. A pair of chopsticks does this better than an electric beater.
- Fold chives and salt into the raw egg. Stir in the chopped chives and the salt and let the bowl sit for a minute. The salt will start pulling a little moisture out of the chives; that is fine and actually seasons the egg from the inside.
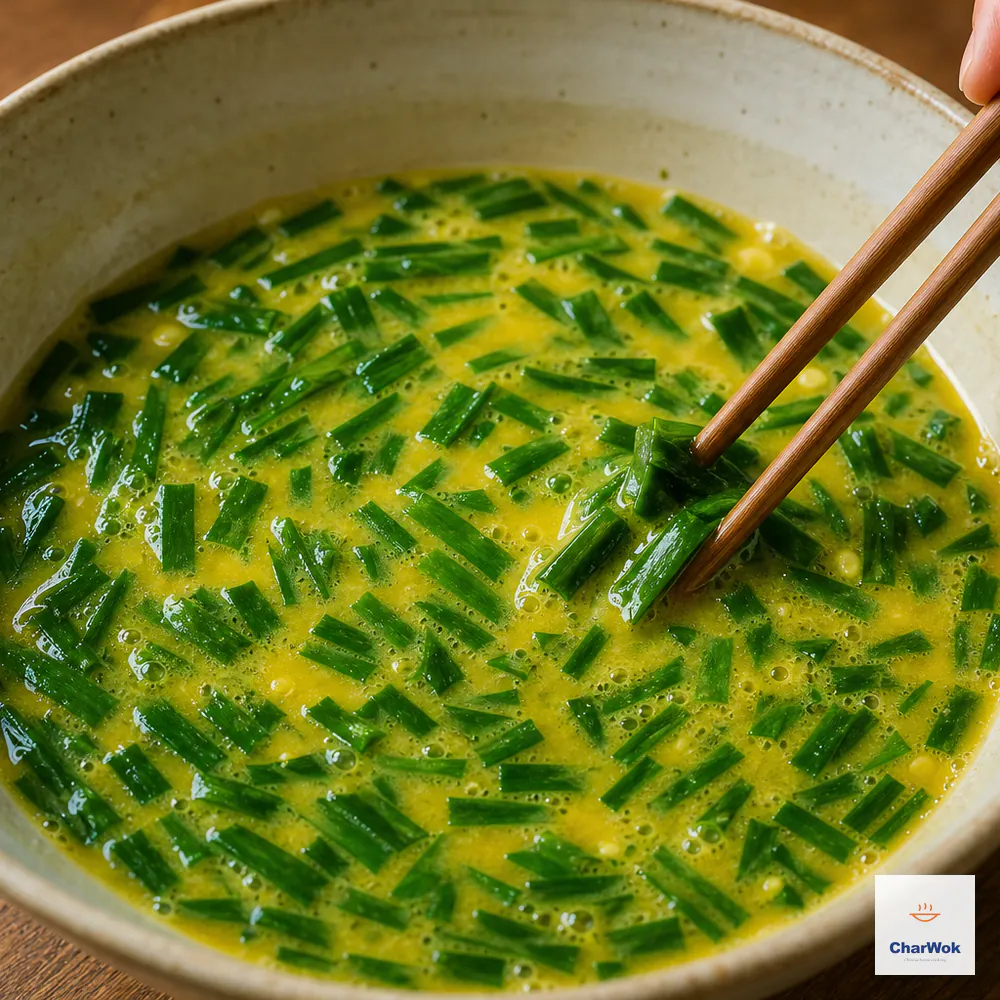
Beat the four eggs only until uniform, then fold in the chives and salt without whipping the mixture into a pale froth
- Preheat the pan, then bring the oil to a shimmer. For seasoned carbon steel, heat the dry wok over medium-high for 60 to 90 seconds, add the oil and swirl; for nonstick, add the oil before heating. Bring the oil gradually to about 175–180°C / 350–355°F, fluid and shimmering but not smoking. If smoke appears, turn off the burner and let the oil cool before adding the egg. This controlled heat gives the egg a puffed edge without overheating the oil or coating.
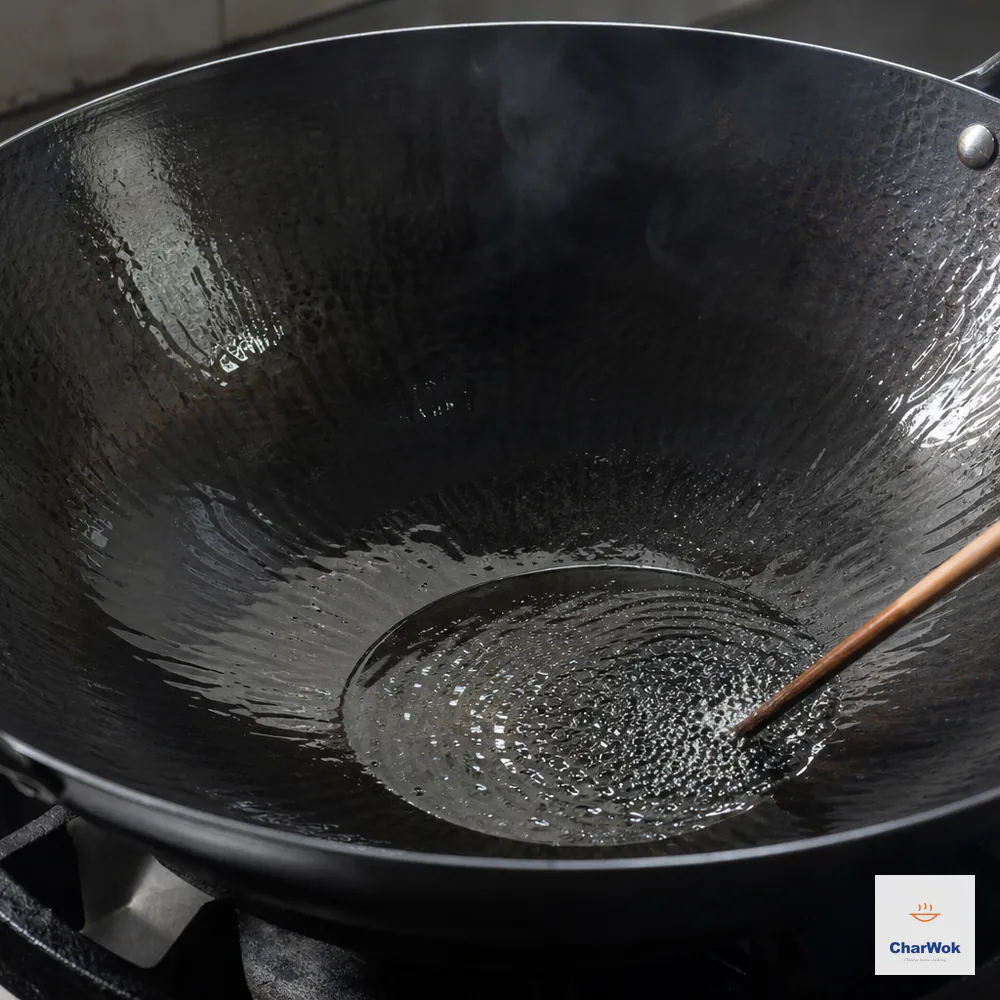
Preheat seasoned carbon steel briefly, add and swirl the oil, then stop at about 175–180°C / 350–355°F while it shimmers without smoking
- Pour in the mixture and don't touch it. Empty the whole bowl in at once and resist the urge to stir. Let the bottom set into a single golden sheet while the top stays liquid. This is where the lift comes from; stirring immediately would give you small dry curds.
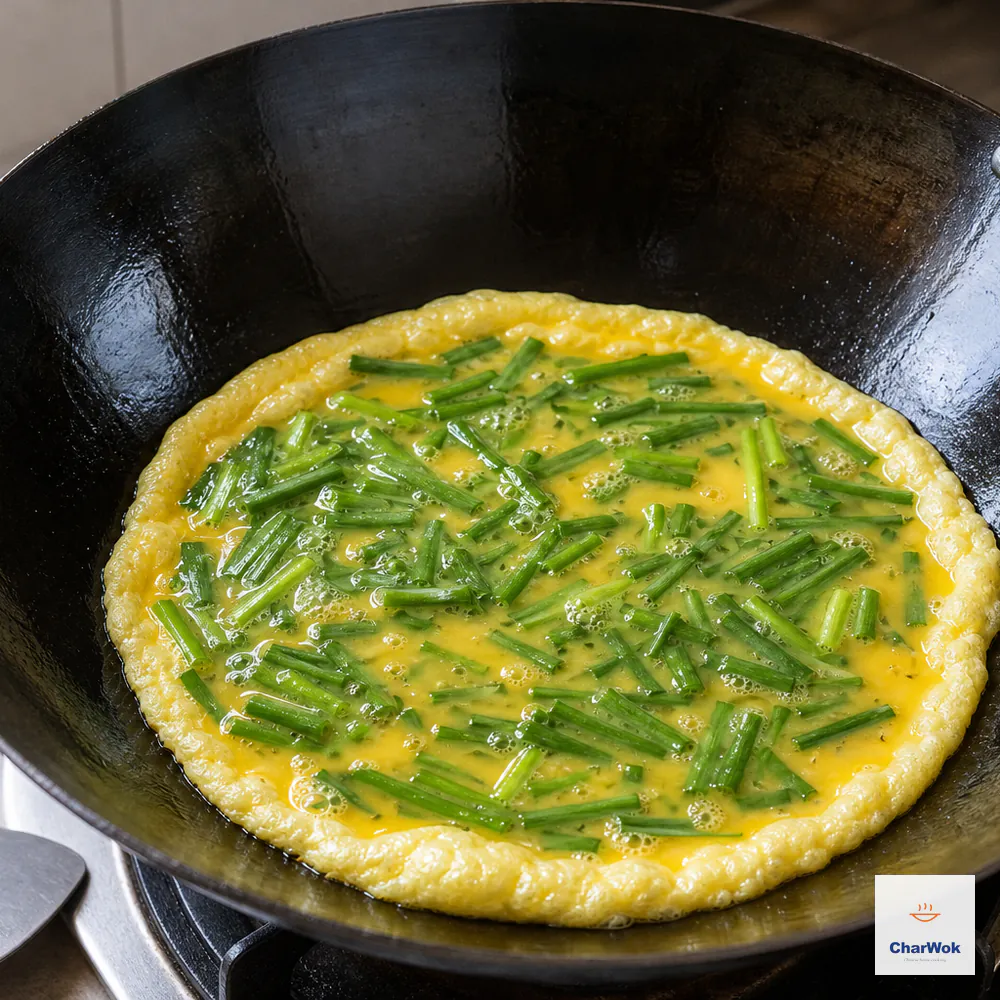
Pour the mixture in at once and leave it untouched for the first 15 to 20 seconds so the bottom forms one puffed golden sheet
- Push, don't scramble. Once the bottom is set (about 20 to 30 seconds), use a spatula to push the set portion up the side of the pan so the liquid runs into the hot center to cook. Repeat once or twice. You are tilting and redirecting, not breaking it up yet.
- Break up and pull immediately. When most of the egg is set but a few glossy wet spots remain, break it into rough bite-sized pieces and tip the whole thing onto a plate. Those wet spots vanish from residual heat. If you wait for every last drop to look dry in the pan, the dish is already overcooked by the time it reaches the table.
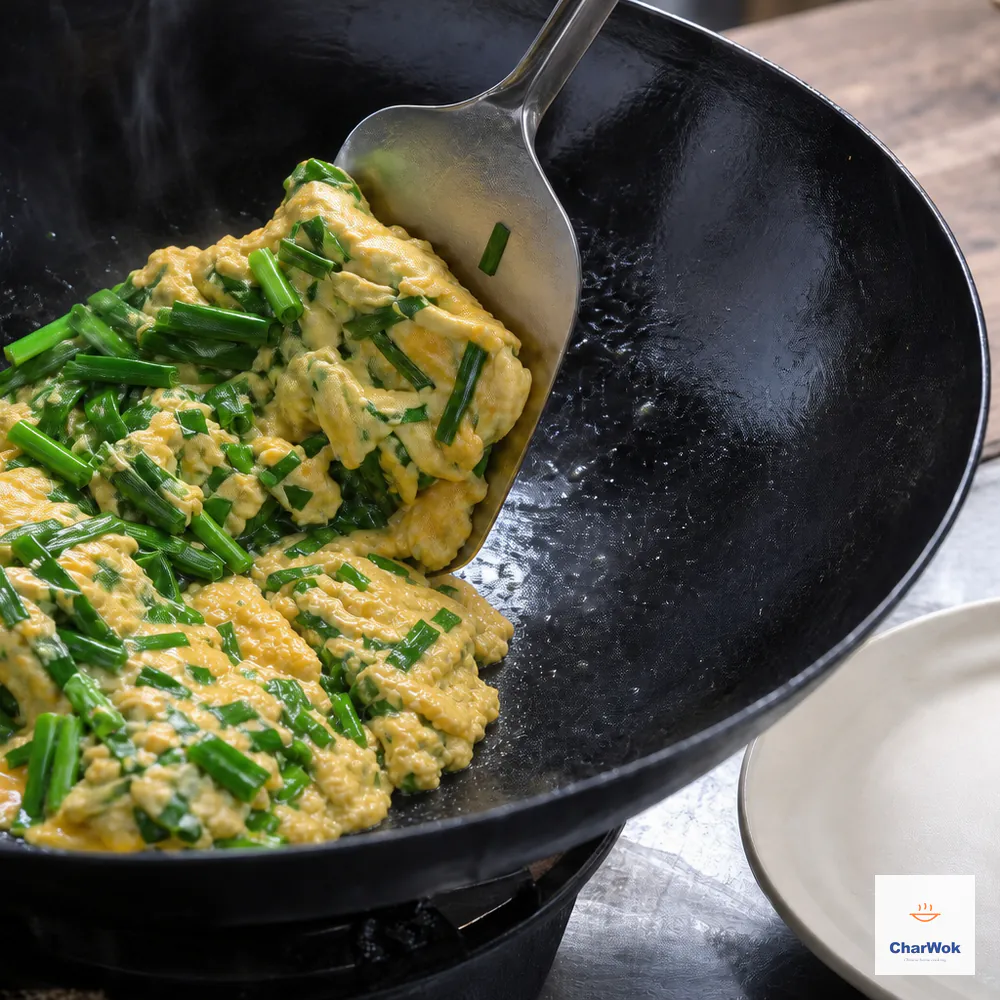
Push the set portion aside so the liquid reaches the hot centre, then break into rough pieces and pull them while a few glossy spots remain
The single most common mistake is cooking this like a Western omelet, on medium heat until fully firm. Medium heat dries the egg before the chives soften, and you end up with something that tastes like boiled rubber studded with raw-tasting greens. Trust the high heat and the short time.
Oil-temperature safety follows the U.S. Fire Administration cooking guidance: stay beside the pan, turn off the burner if oil smokes, and never add water to burning oil.
When it goes wrong
Weepy, watery eggs. Almost always wet chives. Next time, dry them more thoroughly, and consider salting the chopped chives separately and pressing them in a sieve for five minutes before folding them in. A pan that wasn't hot enough also lets liquid pool instead of flashing off.
Eggs turned gray-green. Two causes. One, the chives were wet and bled chlorophyll into the egg. Two, you cooked it too long and the sulfur compounds in the chives reacted with the egg. Pull earlier and drier the next time.
Tough, rubbery texture. Heat too low or time too long. The eggs should spend barely a minute in the pan. If your stove's high setting is timid, preheat the pan for an extra minute before adding oil so it holds its temperature when the cold egg hits.
Sticking to the pan. The pan wasn't hot enough before the oil went in, or you used too little oil. This dish uses 2 tablespoons of oil on purpose; cutting it to be "healthier" ruins the texture. You can drain any excess off the finished plate, but don't starve the pan.
Chives still taste raw. Your bunch may have had thick, older stems. Trim the very ends, and if the stems look woody, use only the leafy tops next time. Blanched yellow chives cook through faster if your regular chives keep undercooking.
Variations worth making
The classic is salt-only, and I'd cook that the first time so you know the baseline. After that, a few directions are worth exploring without losing the spirit of the dish.
Add dried shrimp. A tablespoon of soaked, finely chopped dried shrimp folded into the egg turns this into a more savory, umami-driven version, the kind that shows up in Cantonese home cooking. Soak them in warm water for ten minutes and drain well so they don't add water to the pan.
Add a few drops of sesame oil at the end. Not for frying; a half teaspoon drizzled over the finished dish off the heat. It perfumes the eggs without burning. Use toasted sesame oil, not the untoasted kind.
Swap in blanched yellow chives. Pale yellow chives (jiu huang) are milder and more tender. They appear seasonally in Chinese markets and make a softer, sweeter version that is common in restaurant settings.
How to serve it
Over plain steamed jasmine rice is the default in my house, with the egg spooned on top so the rice soaks up any oil. It is also a breakfast dish in northern China, folded into a meal with congee, mantou steamed buns, or youtiao doughnut sticks. As part of a larger spread, it sits well next to a stir-fried green like bok choy with garlic or a bolder dish such as moo shu pork, where its clean chive-egg flavor acts as a palate reset.
For a quick meal built around it, serve alongside egg fried rice or fold the cooked stir-fry into a bowl of tomato egg noodle soup for a light supper. It also makes a fine filling for a flatbread wrap with scallion pancakes if you have leftovers.
Storage and reheating
This is a cook-and-eat dish. Refrigerated leftovers keep for a day but lose the tender texture and the bright chive aroma, and reheating continues to cook the egg until it's firm and slightly sulfurous. If you must reheat, use a hot pan for 30 seconds, never the microwave. My honest advice is to cook only what you'll finish at the table. The prep is so fast that making it twice is easier than rescuing it once.
Frequently asked questions
Can I use regular supermarket chives instead?
No. Round hollow chives are too mild and will disappear into the egg. You need flat Asian garlic chives for the dish's defining flavor.
Why no soy sauce?
Soy sauce darkens the egg and shifts the flavor toward a generic stir-fry. Salt alone lets the chive and egg come through. If you want more depth, add sesame oil after cooking, not soy during.
Can I cook it in a nonstick skillet instead of a wok?
Yes. A wide nonstick skillet works. Add the oil before heating, use medium-high heat, and add the egg once the oil is fluid and shimmering at about 175–180°C (350–355°F). Do not use smoke as the readiness cue.
How do I know the eggs are done?
Pull the pan off the heat when a few glossy wet spots remain. They set from residual heat on the plate. If it looks fully done in the pan, it will be overcooked by the time you eat.
Can I add the chives at the end instead of mixing them in?
You can, but you lose the integration. Folding raw chives into the egg first lets them flavor the mixture and cook evenly. Adding them late leaves some pieces sharp and undercooked.
The whole dish hinges on confidence at the stove. Get the pan properly hot, commit to a short cook time, and pull early. Do that and the four-ingredient recipe on the sticky note turns into the version people remember.