The first time I tried to make cheung fun at home, I produced six sheets of something closer to wet paper than a noodle roll. They tore when I lifted them, stuck to the pan in patches, and tasted of raw rice flour even after the full steam time. The restaurant version, by contrast, slips off the plate in one glossy, quivering sheet, rolls around its filling without a fight, and has that faint chew the Cantonese call hou saang. The gap between those two results is not a secret ingredient. It is a batter ratio and a steaming technique most home recipes never explain properly. I want to close that gap here.
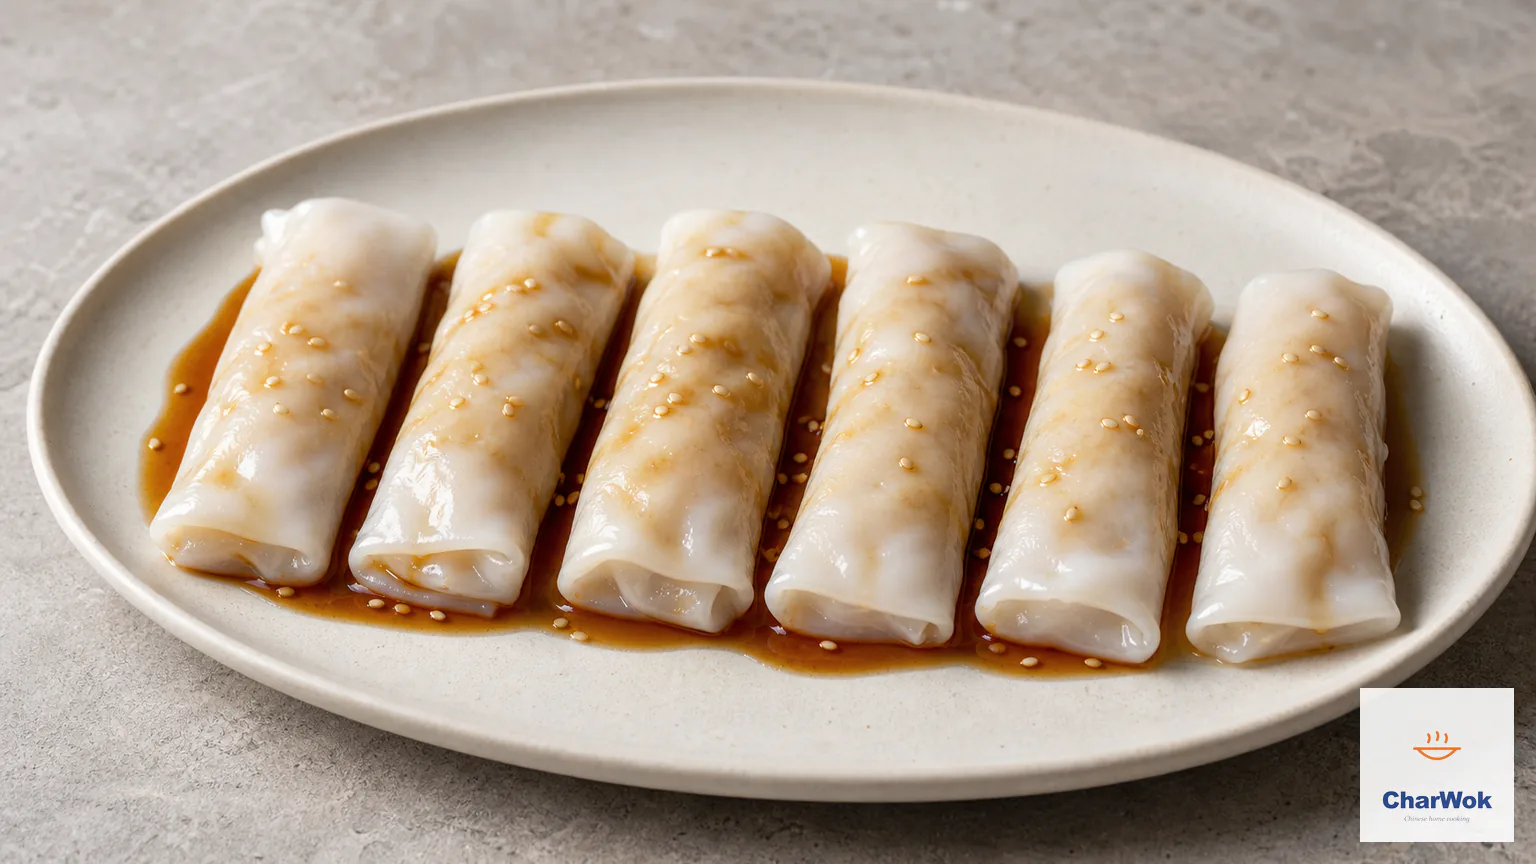
Cheung fun (肠粉, "intestine noodles," so named because the rolled sheet resembles a coiled intestine) is the Cantonese steamed rice noodle roll you have eaten in dim sum halls alongside sticky rice chicken parcels and steamed chicken feet in black bean sauce. A thin layer of rice-flour batter is poured onto a flat tray, steamed for a couple of minutes until it sets into a translucent sheet, then rolled up around shrimp, char siu, or nothing at all and doused in sweetened soy sauce. The street-stall version is made on long cloth belts in Guangzhou and Hong Kong; the home version uses a flat tray inside a wok or a steamer. Done right, it tastes better than the takeout box, because a fresh roll has a softness and stretch that the pre-made refrigerated sheets never recover.
Two parts rice flour to one part wheat starch by weight, about 60 ml of thin batter per 18 cm tray, and a steamer already at a rolling boil the instant the tray drops in. That ratio and that opening burst of heat are the entire dish. Get the sheet thin enough to read newsprint through and the roll will be tender; crowd the tray and it turns gummy.
What you are actually trying to make
A cheung fun sheet is a cooked starch gel. Rice flour alone gives you a sheet that sets but cracks and breaks, because rice starch has little elasticity on its own. Wheat starch (the same stuff that gives har gow wrappers their translucent stretch) adds the pliancy that lets you lift and roll the sheet without tearing. This is why virtually every working cheung fun recipe blends the two. The ratio I land on, roughly 2:1 rice flour to wheat starch by weight, leans a touch softer than some and rolls cleanly without splitting.
Steam sets the gel. The tray surface has to be hot enough that the batter starts to coagulate on contact, otherwise it pools and slides to the low side before it can set. That is the single most common failure, and it is a heat problem, not a recipe problem. Start the steamer at a hard boil so the tray is hot the moment the batter meets it, then let it settle into a steady medium simmer for the cook. If your wok is not at a hard boil the instant the tray drops in, nothing in the batter formula will save you.
The batter and the sauce
Ingredients at a glance
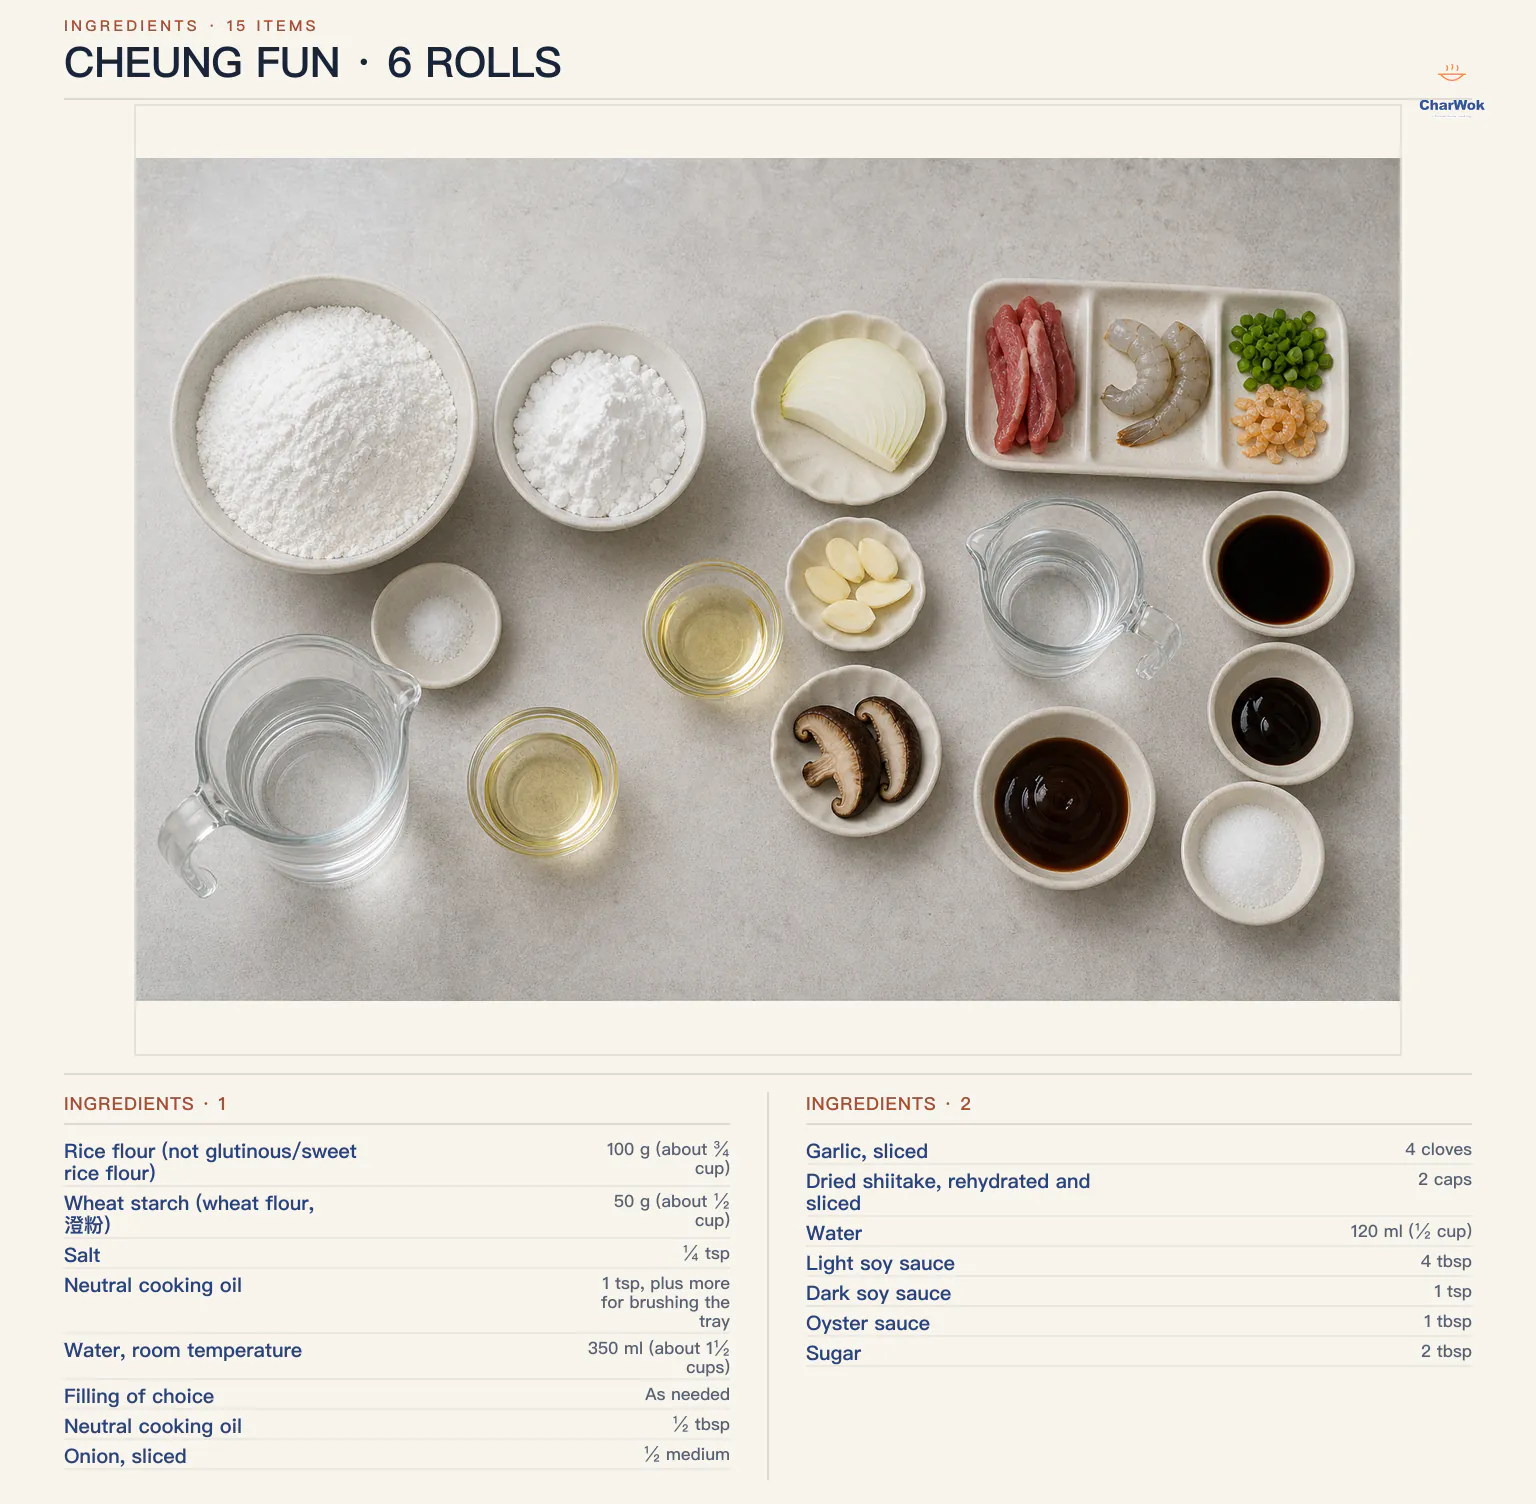
This makes about six rolls, enough for two hungry people or three as a dim sum course. The dipping sauce is the one I keep coming back to, a sweetened soy reduction infused with fried onion, garlic, and rehydrated dried shiitake. It is sweeter than a northern soy-vinegar dip because cheung fun is a Cantonese dish and the sauce is meant to read as a glaze, not a sharp condiment. If you prefer a punchier, vinegar-forward dip, the six dumpling sauces on this site give you a full toolkit to raid.
| Ingredient | Amount | Notes / substitute |
|---|---|---|
| Rice flour (not glutinous/sweet rice flour) | 100 g (about ¾ cup) | White rice flour, sometimes labeled "rice powder." Do not use mochiko or glutinous rice flour, which gives a gummy, stretchy sheet. |
| Wheat starch (wheat flour, 澄粉) | 50 g (about ½ cup) | Cornstarch or tapioca starch work but yield a slightly more brittle sheet; wheat starch gives the cleanest stretch. |
| Salt | ¼ tsp | Just enough to season the noodle itself. |
| Neutral cooking oil | 1 tsp, plus more for brushing the tray | Canola, grapeseed, or avocado. The oil in the batter keeps the sheet supple; the brushed oil releases it from the pan. |
| Water, room temperature | 350 ml (about 1½ cups) | The total liquid for the batter. Cold water is what causes dry starch to float and clump into "fish-eyes"; room-temperature water wets the starch more evenly and is the easier path to a smooth pour. |
| Filling of choice | As needed | See variations: char siu, shrimp, scallion and dried shrimp, or plain. |
| Ingredient | Amount | Notes / substitute |
|---|---|---|
| Neutral cooking oil | ½ tbsp | For frying the aromatics. |
| Onion, sliced | ½ medium | A mild yellow or white onion. |
| Garlic, sliced | 4 cloves | Sliced, not minced, so it flavors the oil without burning. |
| Dried shiitake, rehydrated and sliced | 2 caps | Optional, but adds a rounded umami base. Save the soaking liquid for soup. |
| Water | 120 ml (½ cup) | The body of the sauce. |
| Light soy sauce | 4 tbsp | Provides salt and the savory backbone. |
| Dark soy sauce | 1 tsp | For color. Omit if you only have light soy. |
| Oyster sauce | 1 tbsp | Vegetarian mushroom stir-fry sauce is a clean substitute. |
| Sugar | 2 tbsp | This sounds like a lot; it is not a mistake. The sauce should taste sweet-savory. |
Equipment that decides whether this works
You need a flat, light tray that fits inside your steamer, and you need steam tight enough that no raw batter sits in a cool spot. A thin metal quarter-sheet pan or a small enamel tray is ideal because it heats through fast and the sheet sets in under three minutes. A thick ceramic plate works but slows the set and makes timing harder. For the steamer itself, a wok with a rack and a tight lid is the classic home setup; the bamboo steamer guide on this site walks through the matching and stacking if you are unsure. Two trays, rotated, roughly halve the waiting time, because one tray can cool while the other steams.
The method, step by step
- Make the sauce first. Warm the oil in a small saucepan over medium, then sweat the mushrooms, garlic, and onion together until the onion takes on a little caramel at its edges. This brief fry is what extracts the savory notes; raw aromatics boiled in water taste flat. Measure in the 120 ml water, let it reach a full boil, clap on the lid, and drop the heat to a gentle simmer for three minutes so the rehydrated mushroom finishes softening and gives up its flavor to the liquid.
- Season and strain. Take the lid off and stir in the sugar, oyster sauce, dark soy, and light soy. As soon as the liquid returns to a boil, pull it off the burner. Tip everything through a fine-mesh sieve and press the aromatics with the back of a spoon to wring out the last of the flavor, then discard them. You are keeping a clear, dark, glossy liquid, not a chunky sauce. Park it off the heat.
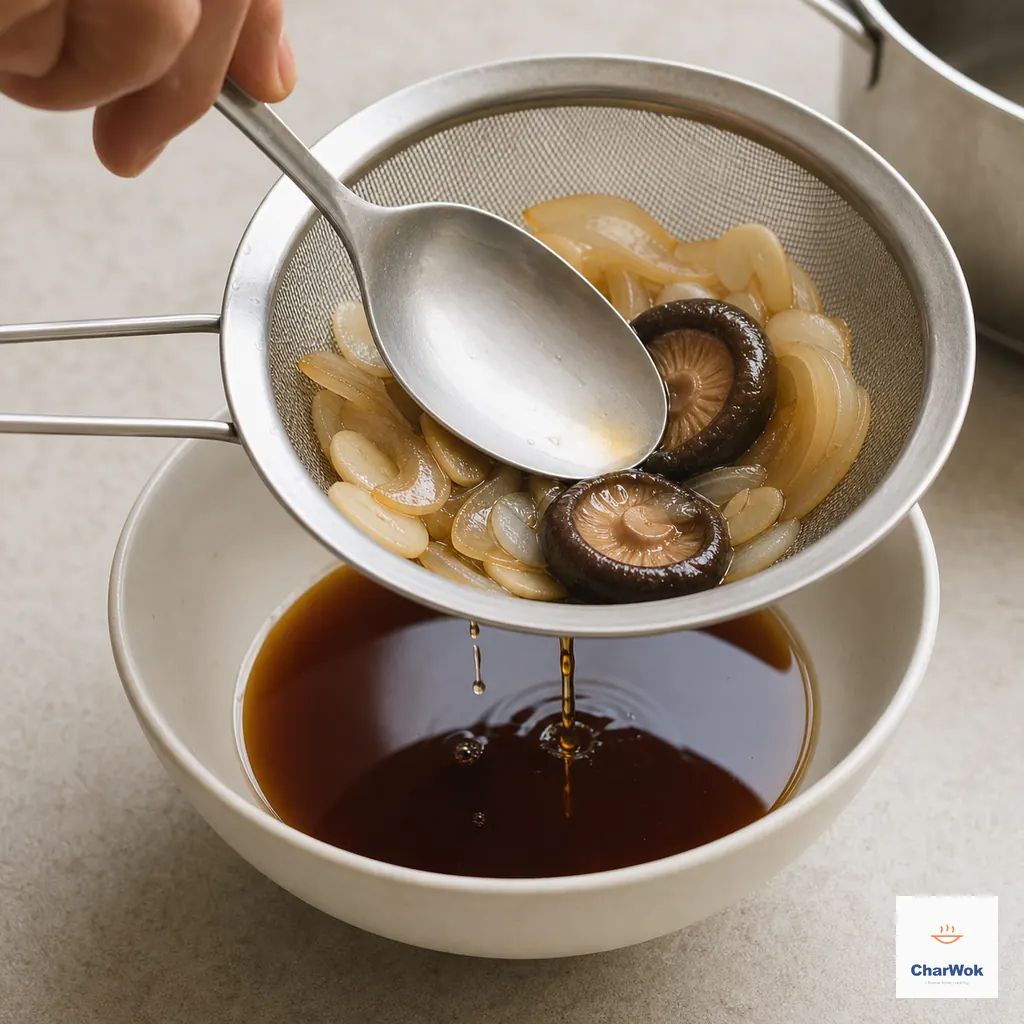
Press the softened aromatics in a fine sieve and keep only the clear, glossy dark amber sauce
- Build the batter as a paste first. Tip the rice flour, wheat starch, salt, and oil into a bowl and pour in only a third of the measured water. Work this small amount into a thick, glossy paste, scraping the bowl so no pockets of dry flour hide in the corners, because everything is concentrated and easy to wrangle while it is stiff. Once the paste is smooth, flood it with the remaining water and whisk until the batter runs thin and even. Starting thick is the trick that keeps dry starch from sitting on the surface in fish-eye clumps, which would otherwise harden into white specks across the finished sheet.
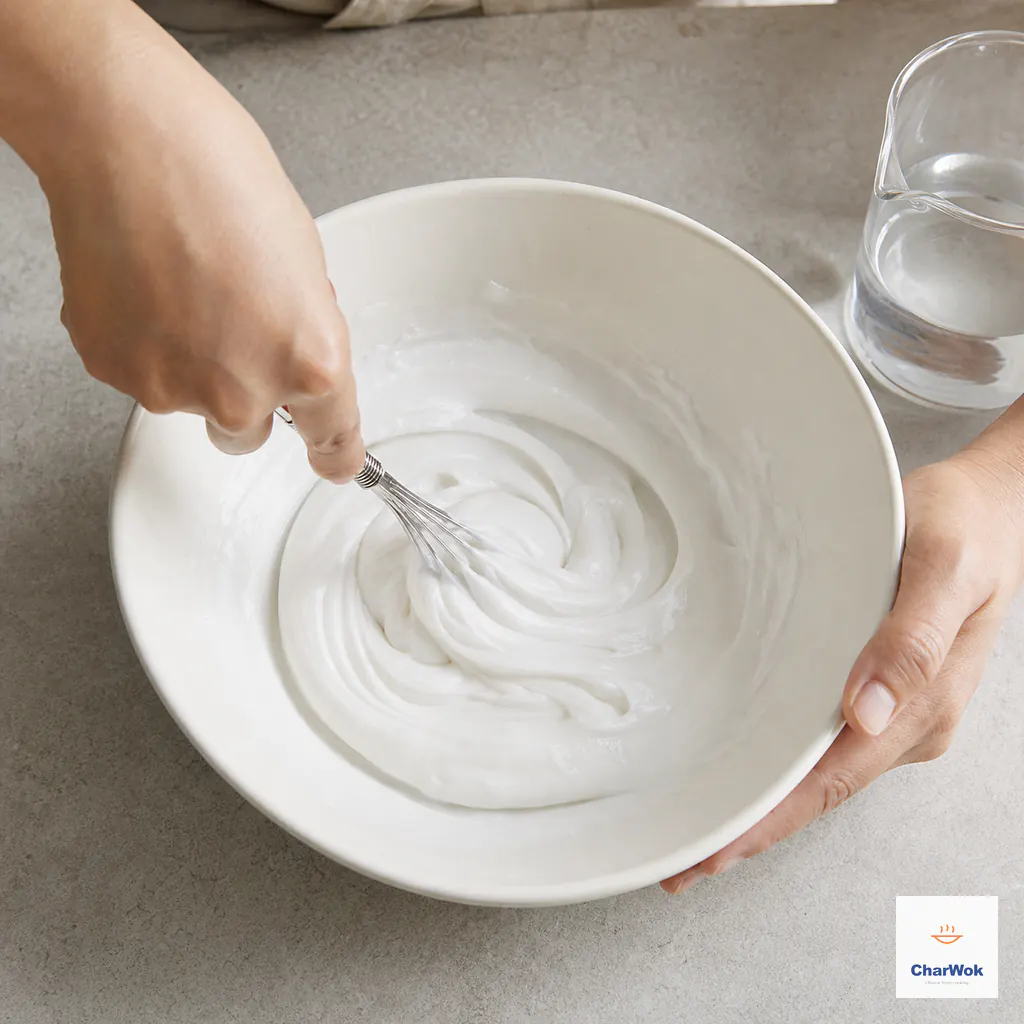
Start with only one third of the water and whisk the flours into a thick, perfectly smooth paste before thinning the batter
- Bring the steamer to a full, rolling boil before the tray goes anywhere near it. Wipe a barely-there coat of oil across the tray surface. Set the tray on the rack (or inside the basket) to preheat for ten seconds, then pour in just enough batter to coat the bottom in a thin film. For an 18 × 18 cm (7 × 7 in) tray, that is about 60 ml, or a quarter cup. Tilt the tray to spread the batter evenly. The tray should already be hot enough that the batter firms slightly on contact.
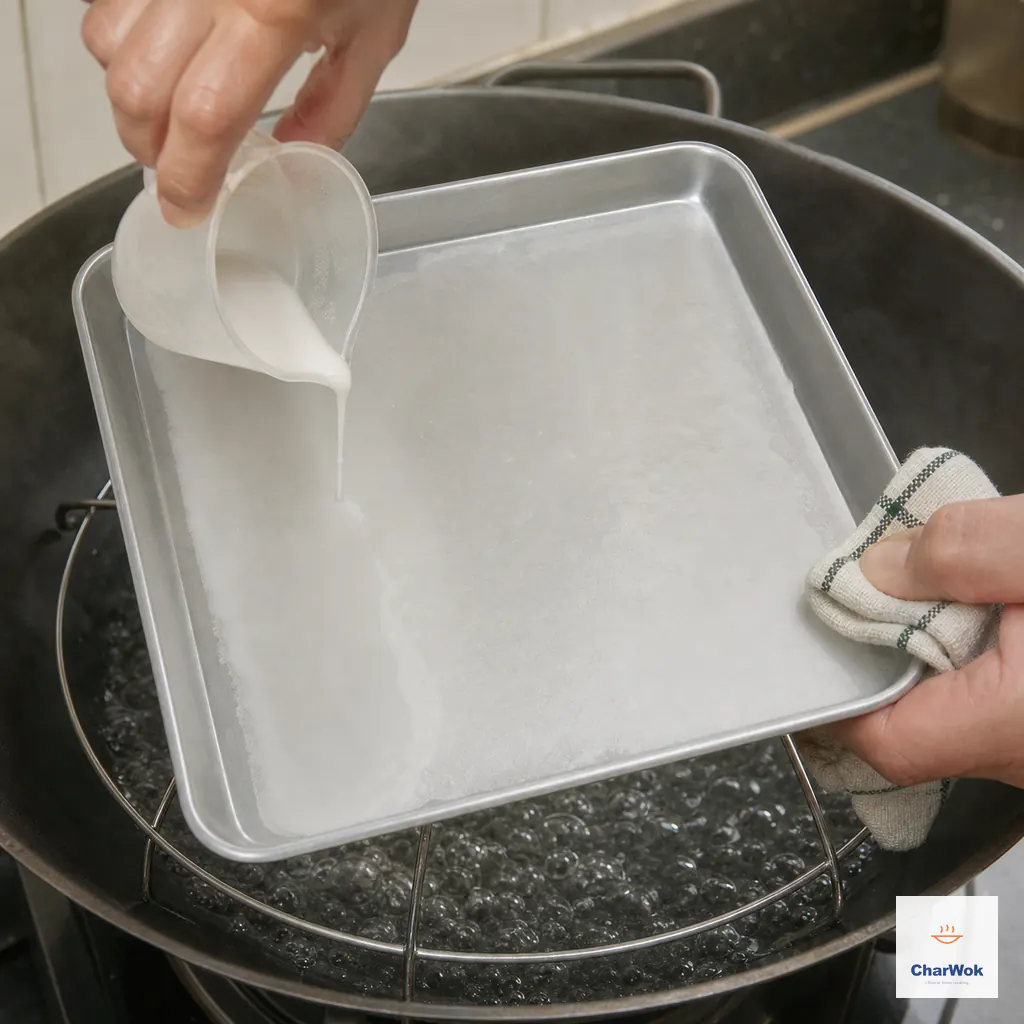
Pour about 60 ml into the hot 18 cm tray, tilt immediately, and leave only a paper-thin even film
- Scatter the filling, if using. Add it now, while the surface is still wet, so the filling sinks slightly and is captured by the sheet as it sets. Drop the heat from the initial boil to a steady medium, clamp on the lid, and steam for about three minutes. You are watching for the surface to lose its wet shine and show fine bubbles, the signal that the gel has set through.
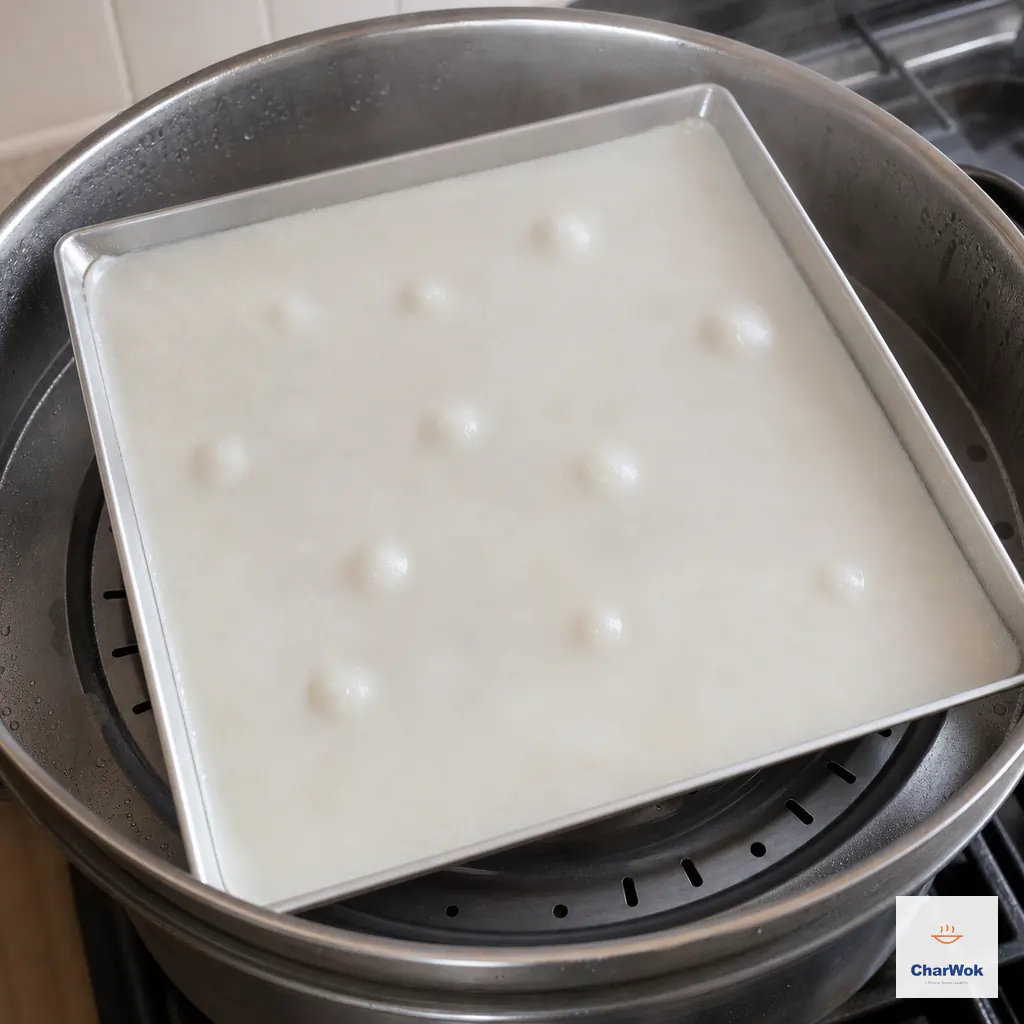
The sheet is ready when its wet shine disappears and a few fine bubbles rise across the set surface
- Cool one minute, then roll. Lift the tray out carefully and let it rest for about a minute. This short cool lets the sheet firm just enough to release cleanly instead of tearing. Run a thin scraper or spatula under one edge, lift, and roll the sheet toward the far side. Repeat with the rest of the batter, stirring the batter each time because the starches settle fast.
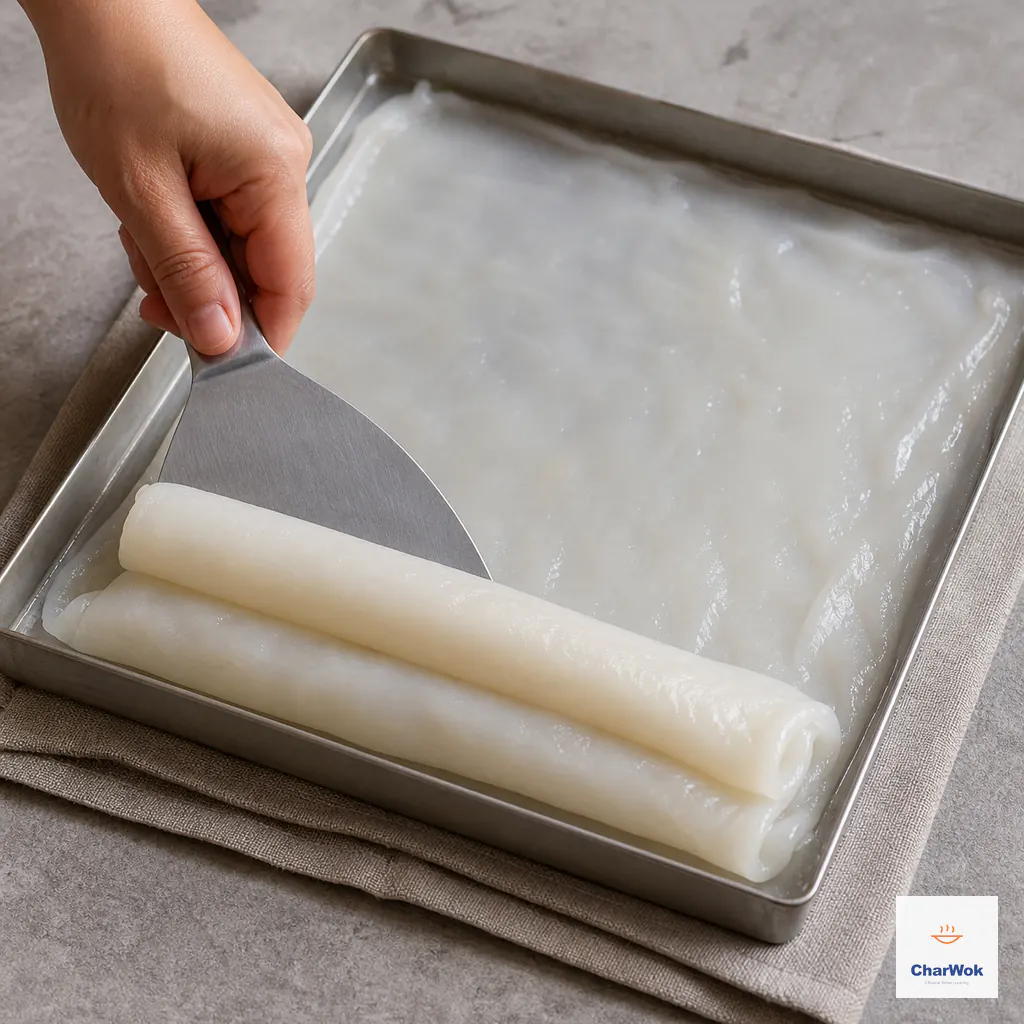
Let the sheet cool for one minute, then use a broad scraper to lift and roll it without tearing
- Cut and sauce. Slide the rolls onto a serving plate, cut into bite-sized pieces with the scraper edge or a knife, and pour the warmed sauce over the top, or serve it on the side for dipping.
Why rolls split, stick, or turn gummy
The sheet tears when I lift it. The batter is too thick, or the tray was too cool when you poured it, so it set in a thick layer with weak structure. Thin the batter with another tablespoon of water and make sure the tray is preheated.
The sheet sticks to the pan. Either the oil film was too thin, or the one-minute cool was skipped. The sheet releases best when it has cooled just enough to contract from the metal. A second light oiling between rolls fixes most sticking.
The sheet is gummy and translucent-opaque, not tender-clearest. The layer was poured too thick. Aim for thin enough that printed text would be legible through the raw batter on the tray. More batter is never better here.
The batter slides to one side of the tray. The tray is not level, or the steamer was not at a full boil when the tray went in, so the batter traveled before it could set. Level the tray and confirm a rolling boil at the moment the batter hits the pan.
White specks or lumps in the sheet. Starch clumps from a rushed mix. Whisk through a fine strainer before the first pour if your flour is lumpy, and stir the batter before each pour because it settles in minutes.
Filling ideas and what to serve alongside
Plain rolls, called cheung fun zai, are a legitimate choice and arguably the purest test of the batter. Scatter chopped scallion and a few rehydrated dried shrimp on the wet sheet before you cover it, and you have the breakfast-stall classic. For a dried shrimp topping with real depth, chop the rehydrated shrimp fine rather than leaving them whole, so they flavor the whole bite instead of clustering.
Char siu is the most forgiving filling, because leftover Chinese BBQ pork is already cooked and seasoned, so it only needs warming through in the steam. Slice it thin and lay a single line down the center before rolling. Shrimp wants a little more care: chop raw peeled shrimp roughly, never whole, so it cooks through in the short steam time, and pat it dry or the wet layer under it will not set. If you love the Cantonese shrimp-and-pork pairing, a spoon of the seasoned pork mix from siu mai works here too.
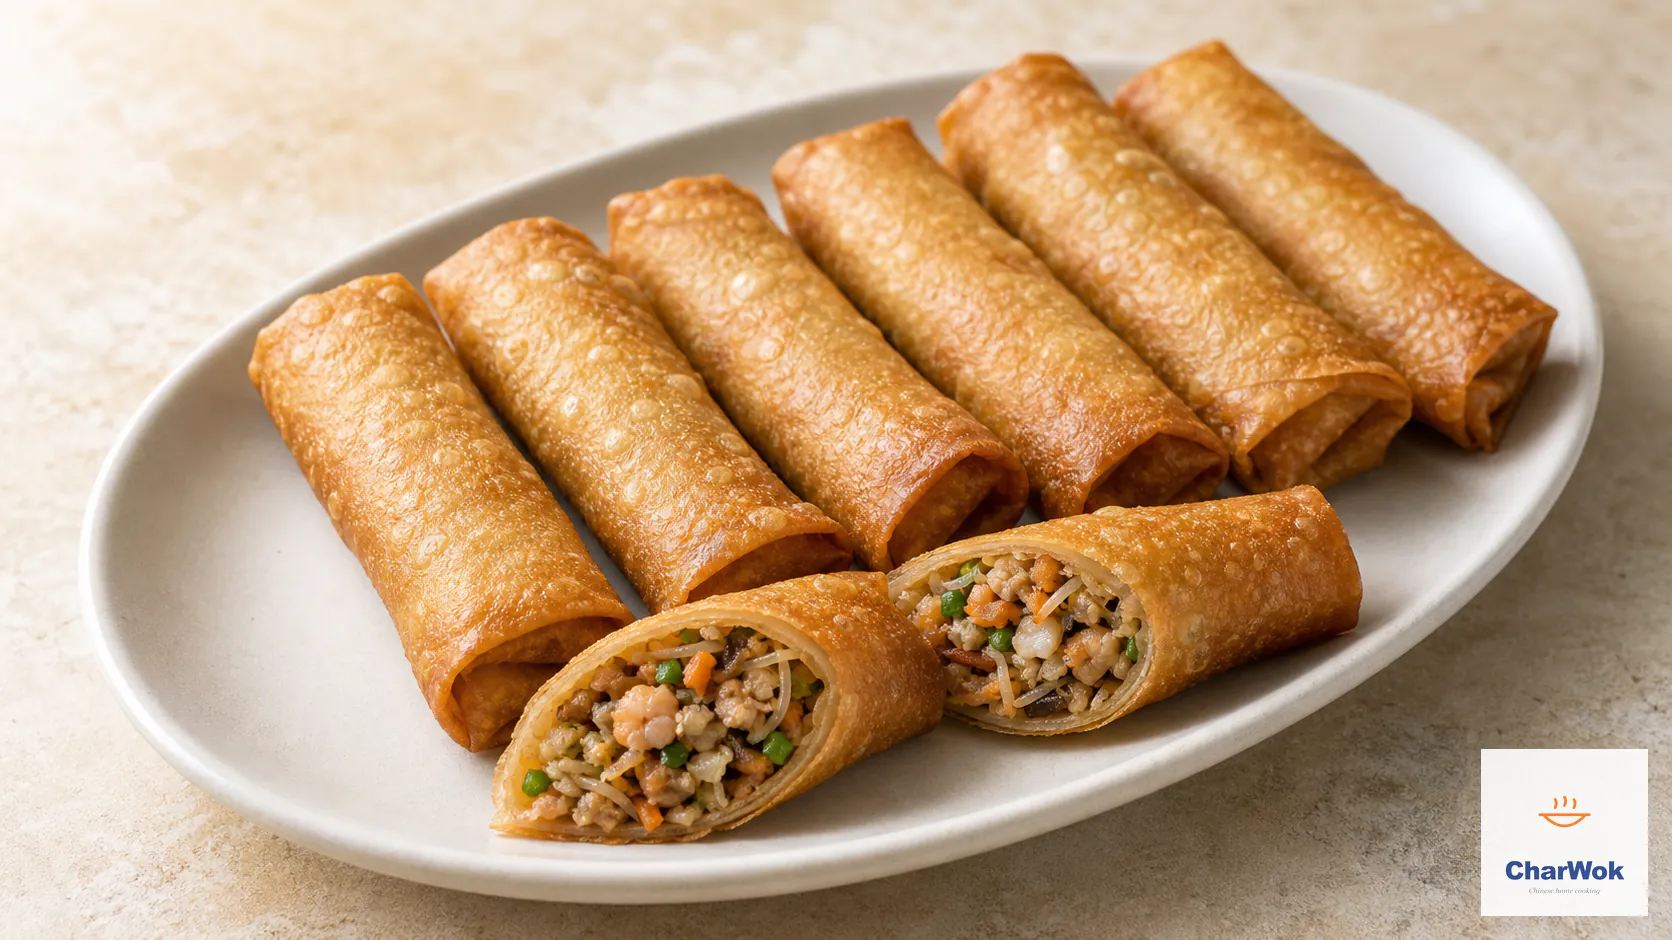
For a full dim sum spread at home, cheung fun sits naturally next to turnip cake, char siu bao, and a plate of crispy spring rolls for contrast in texture. The shared thread is that all of these reward a hot, well-sealed steamer and punish a wobbly one, so build the spread around steamed items you can rotate through one rig.
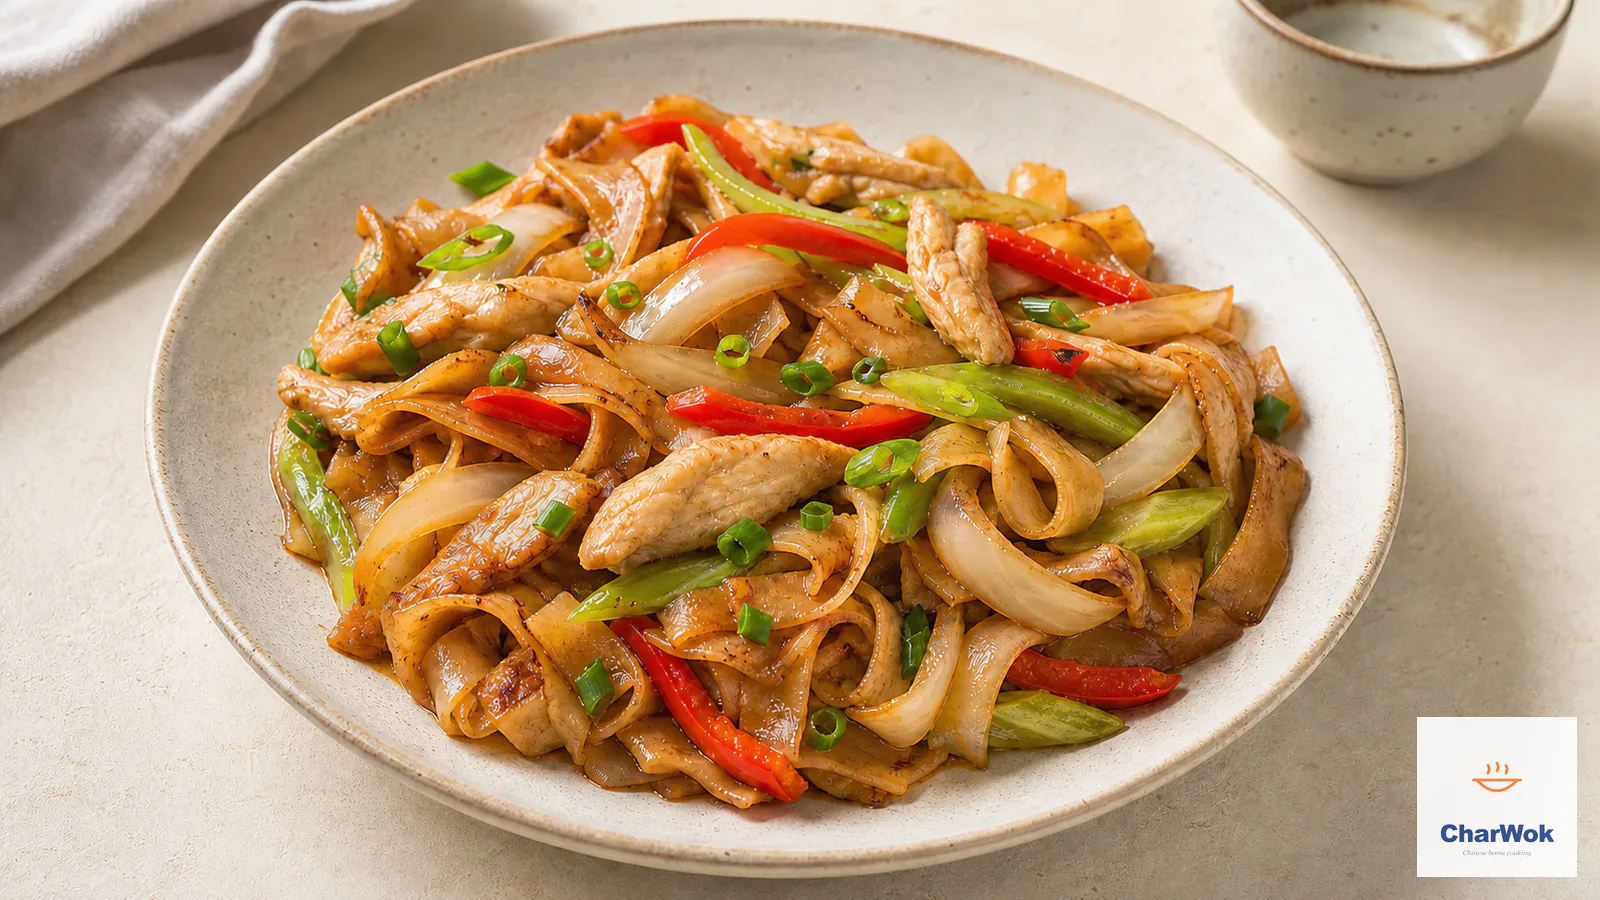
Outside dim sum, the steamed-rice-sheet technique has cousins worth knowing. Liang pi, the cold skin noodles, uses a similar wheat-starch batter washed from dough rather than mixed dry, and the gel science is the same. And if you end up with extra rice noodles in another form, the wide, flat ribbons in beef chow fun or a plate of Singapore mei fun will use them up with no waste.
Storage and reheating
Cheung fun is best eaten within an hour of steaming, when the sheet is at peak stretch. Leftover rolls keep in an airtight container in the fridge for up to three days, and they reheat surprisingly well by steam, about three minutes from chilled. Microwaving works in a pinch but toughens the sheet and can turn the edges rubbery. You can also freeze the plain (unfilled) rolls for up to a month and steam them straight from frozen for about six minutes; filled rolls freeze less cleanly because the filling weeps on thaw.
One honest limitation: no home method reproduces the papery thinness of the cloth-belt street-stall roll, because that setup pours batter onto a continuously moving, steam-heated surface. What the home tray version loses in delicacy it makes back in freshness, and a freshly rolled sheet beats a refrigerated commercial one every time.
Frequently asked questions
Can I make the batter ahead? Yes, up to a day in the fridge. Stir it thoroughly before each pour, because the starches settle into a hard layer at the bottom. Let it come back toward room temperature so the sheet sets evenly.
Is glutinous rice flour the same as rice flour? No, and this is the most common mix-up at the store. Glutinous rice flour (mochiko, sweet rice flour) makes a sticky, stretchy dough. You want plain white rice flour for cheung fun. Check the label for the word "glutinous" and avoid it.
Can I use a glass lid instead of bamboo? You can, and a glass lid lets you watch for the bubbles without lifting it. Just keep the steam in. Lifting the lid early drops the temperature and stalls the set, which is exactly the failure you are trying to avoid.
Why add oil to the batter itself? A small amount of oil in the mix keeps the cooked sheet flexible as it cools, so it rolls without cracking. It is not optional in my version; skipping it makes the sheet brittle the moment it leaves the steam.