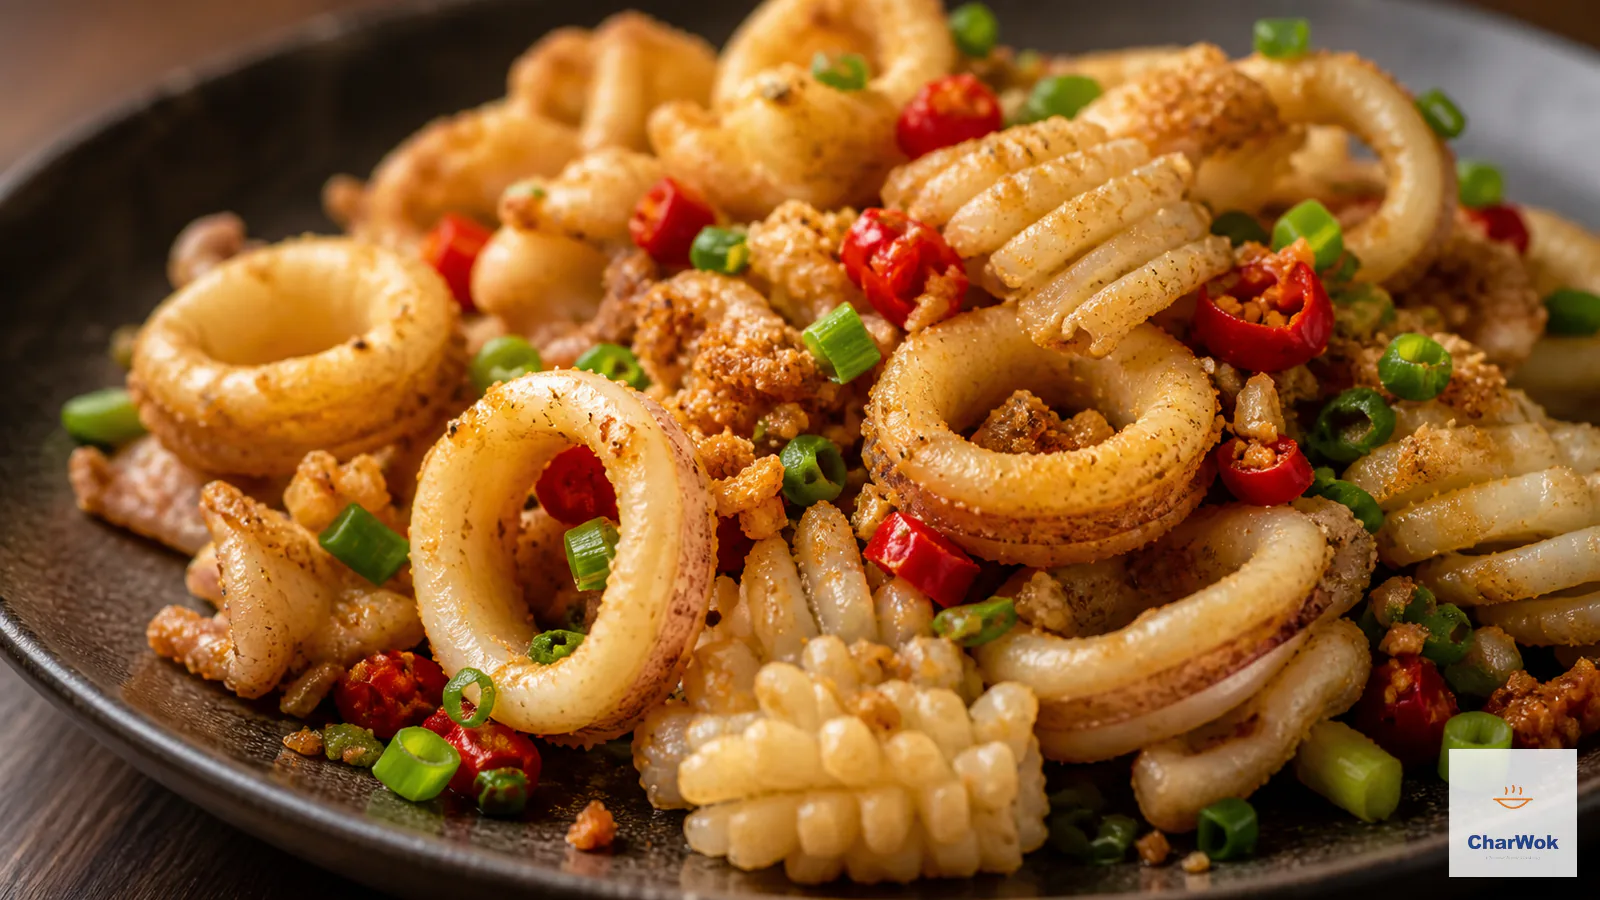
Salt and pepper squid is a dish that lives or dies in about ninety seconds. You batter the squid, you drop it into oil, and somewhere between the moment the crust turns pale gold and the moment it turns deep amber, the meat underneath goes from glassy and sweet to something closer to a rubber band. I have ruined this dish more times than I care to count, almost always because I was watching the wrong thing. The crust is not the dish. The squid is the dish. The crust is just there to protect it.
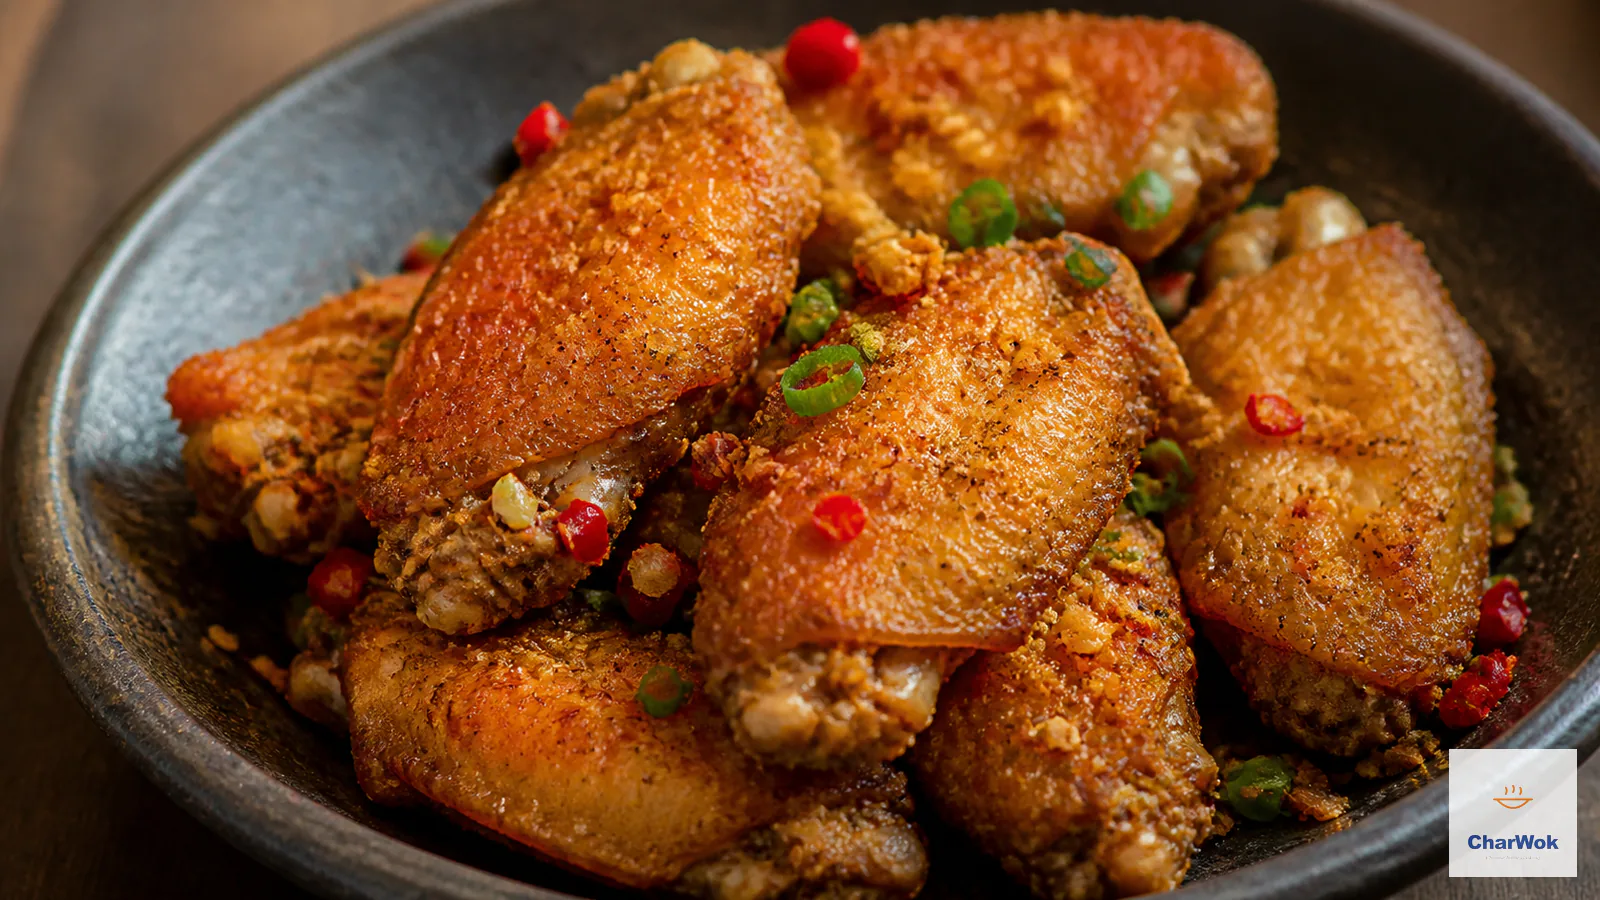
What you want at the end is a thin, blistered, almost lacy shell that shatters when you bite it, then gives way to squid that is still faintly translucent and barely cooked through. Then the whole thing gets tossed in a screaming-hot wok with garlic, ginger, fresh chili, and a pinch of toasted Sichuan-pepper salt. That salt, called jiao yan in Mandarin, is the soul of the seasoning, and once you make a jar of it you will reach for it on everything from crispy salt-and-pepper shrimp to fried chicken wings and even pan-fried tofu.
Fry at 180°C / 350°F, in small batches, for under 90 seconds per batch. The single biggest mistake is crowding the pan, which drops the oil temperature, turns the crust soggy, and forces you to overcook the squid while you wait for color. Tender squid is a temperature problem, not a recipe problem.
Where this dish comes from
Salt and pepper cooking is a Cantonese technique, and squid is its most demanding test piece. The same approach shows up across Hong Kong and Guangzhou seafood houses: prawns, scallops, chunks of fish, even cubes of pork, all given a light starch coat, flash-fried, and finished with a flurry of aromatics and toasted pepper salt. The version most home cooks meet first is the Cantonese restaurant plate, a tangle of squid rings dusted with scallion greens and flecked with red chili.
The reason squid is the hard one is that it has almost no fat and a lot of collagen that seizes up fast under heat. Compare it with something forgiving like shrimp and egg stir-fry or salmon with scallion and ginger, where a few extra seconds barely register. With squid, those few seconds are the whole texture. Treat it the way you would treat a whole steamed fish: the goal is to cook it as little as the surface will allow.
The ingredients, and why each one is there
Ingredients at a glance
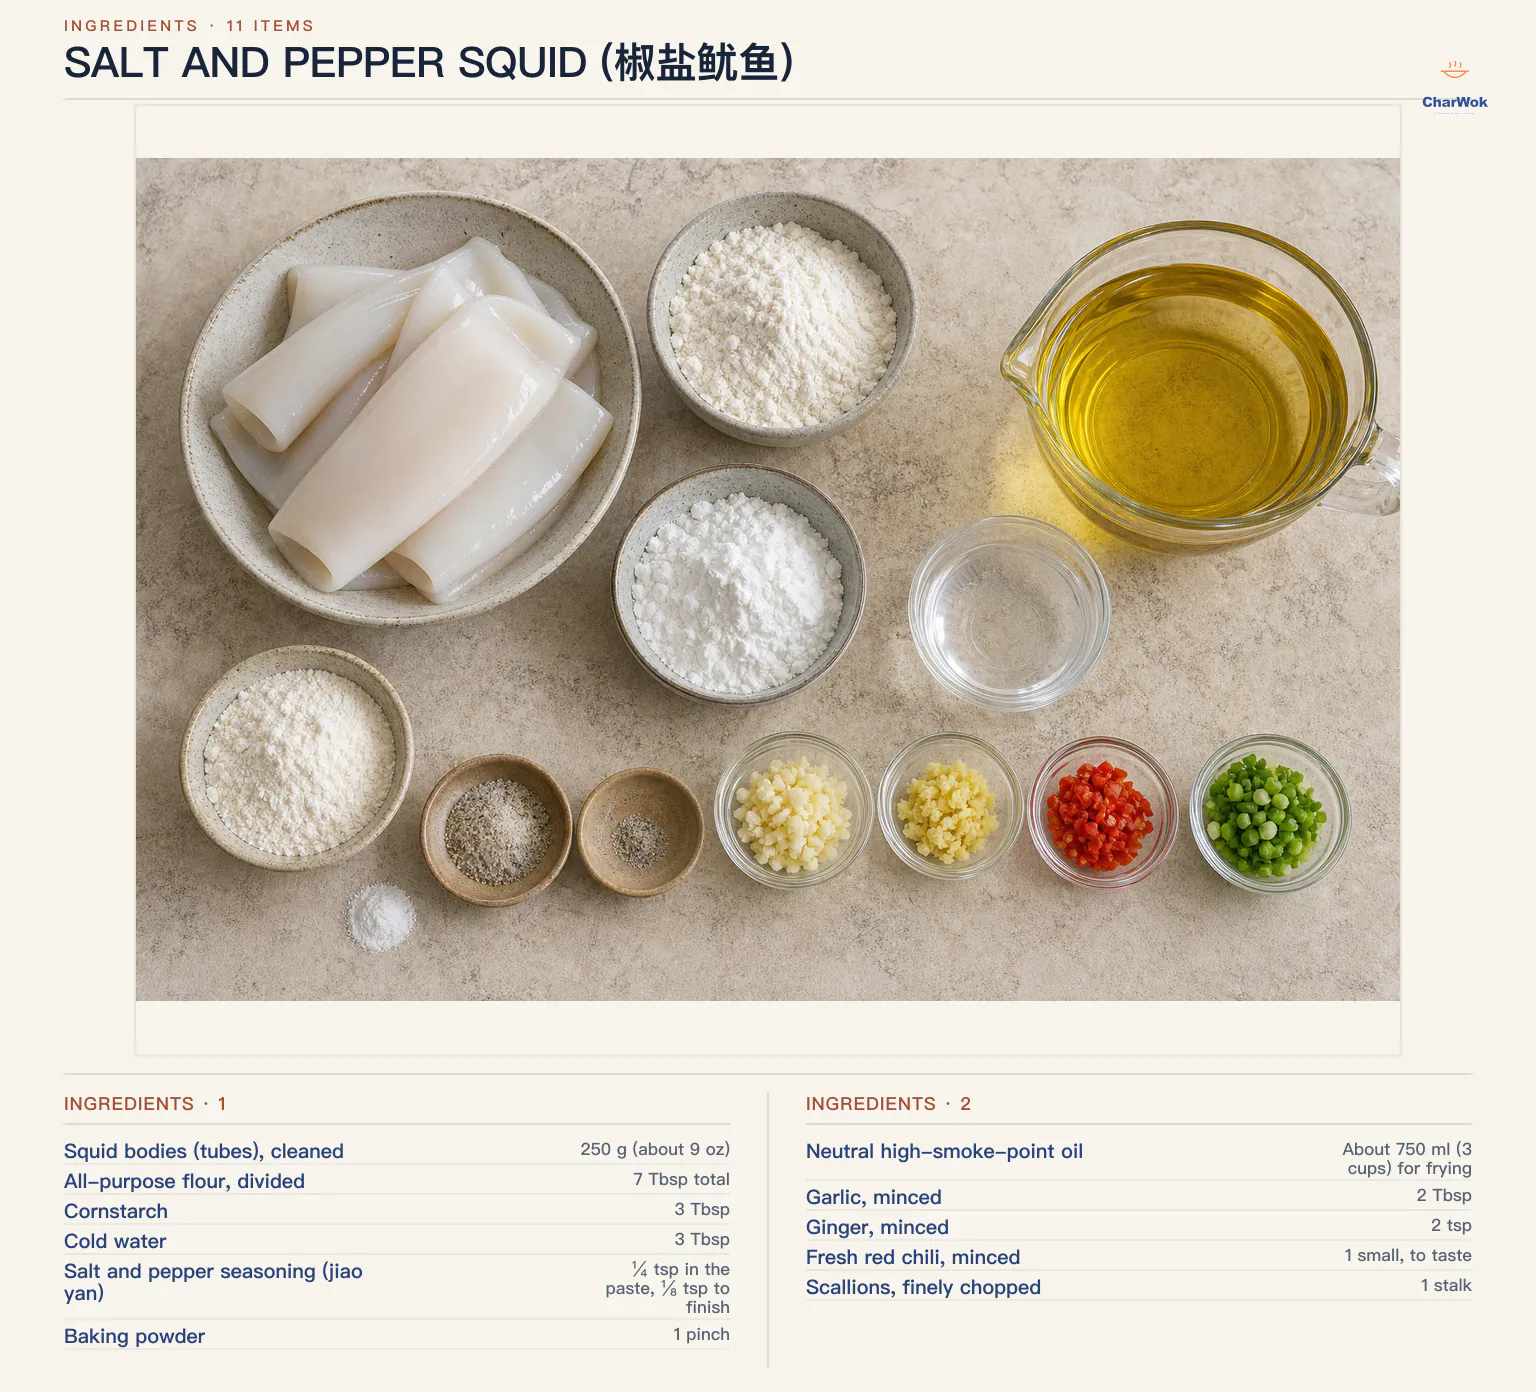
| Ingredient | Amount | Notes / substitute |
|---|---|---|
| Squid bodies (tubes), cleaned | 250 g (about 9 oz) | Small or medium squid are more tender than large ones. Calamari works identically. Save the tentacles if you have them. |
| All-purpose flour, divided | 7 Tbsp total | 4 Tbsp for the wet paste, 3 Tbsp for the dry coat. A 1-to-1 gluten-free blend works for celiac cooks. |
| Cornstarch | 3 Tbsp | This is what gives the crust its glassy crunch. Potato starch is a fine substitute. |
| Cold water | 3 Tbsp | Cold liquid slows gluten formation in the wet paste, which keeps the coating tender instead of bread-like. |
| Salt and pepper seasoning (jiao yan) | ¼ tsp in the paste, ⅛ tsp to finish | See the homemade version below. If you have none, substitute fine salt plus a pinch of five-spice powder or freshly ground Sichuan pepper. |
| Baking powder | 1 pinch | Optional, but it puffs the dry coat into rough, crisp peaks instead of a flat shell. |
| Neutral high-smoke-point oil | About 750 ml (3 cups) for frying | Peanut, canola, sunflower, or refined vegetable oil. Do not use olive oil or unrefined sesame. |
| Garlic, minced | 2 Tbsp | Finely chopped, not pressed. Pressed garlic burns before the squid is in the pan. |
| Ginger, minced | 2 tsp | Peel it first; the skin turns fibrous and bitter at high heat. |
| Fresh red chili, minced | 1 small, to taste | Bird's-eye or Fresno. Seed it for less heat, leave the seeds in for a proper burn. |
| Scallions, finely chopped | 1 stalk | Green and white parts both go in at the end. |
Make your own jiao yan (it takes five minutes)
The commercial jars are fine, but the pepper loses its buzz the moment it is ground, and most store-bought blends taste flat and dusty. Toasting whole spices yourself and grinding them the same day is a different ingredient entirely. If you want the full background on the pepper itself, our Sichuan pepper guide covers the varieties and the citrusy numbing quality you are after.
- Combine 1 tsp whole Sichuan peppercorns, ½ a star anise, ½ tsp sesame seeds, ¼ tsp fennel seeds, and 4 tsp fine salt in a dry pan.
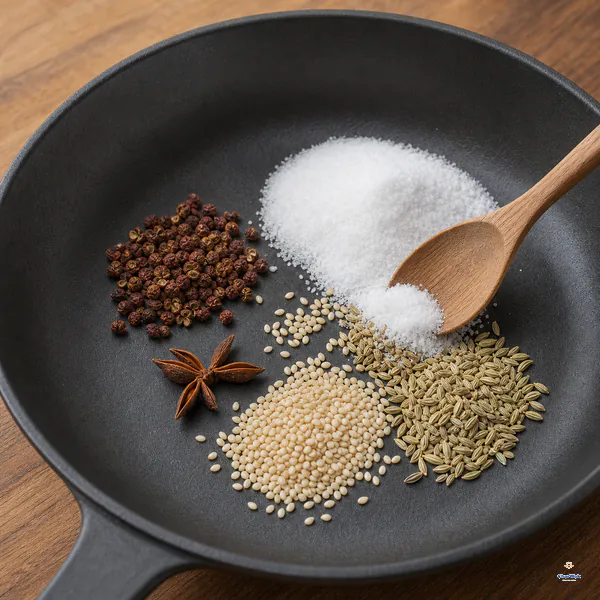
Combine 1 teaspoon Sichuan peppercorns, half a star anise, ½ teaspoon sesame seeds, ¼ teaspoon fennel seeds and 4 teaspoons fine salt in a dry pan.
- Toast over low heat, shaking the pan, until the salt takes on a faint yellow tint and the spices smell warm, about 3 minutes.
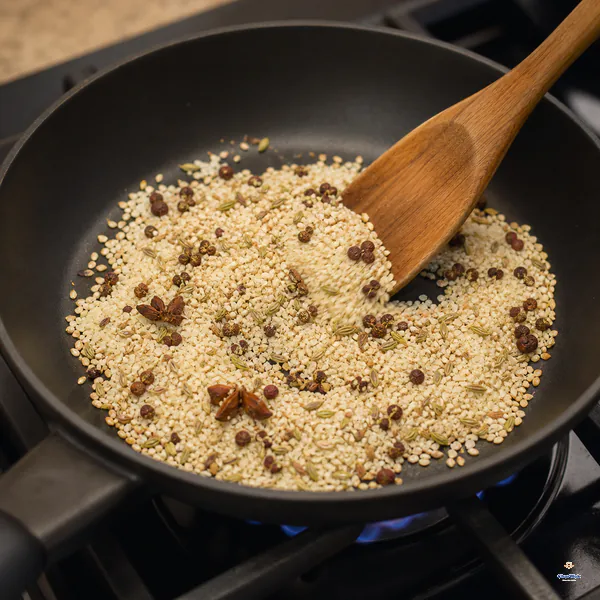
Toast over low heat for about 3 minutes, shaking or stirring until the salt is only faintly yellow and the spices smell warm.
- Cool completely, then grind to a fine powder in a mortar or spice grinder. Keeps in a sealed jar for about a month.
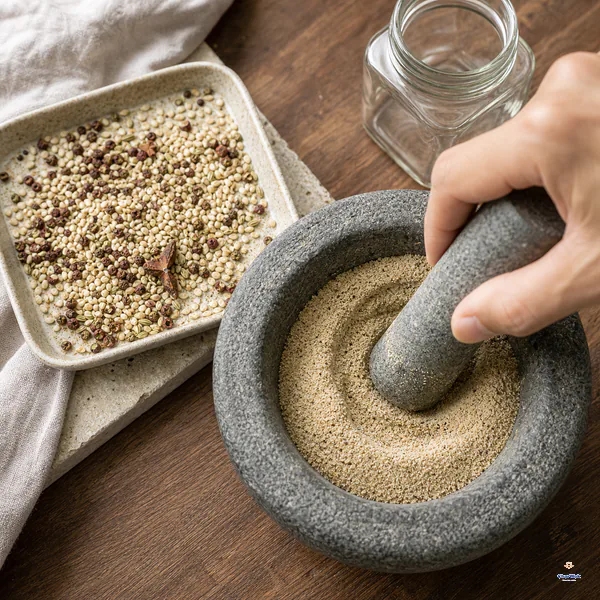
Cool the mixture completely, grind it to a fine powder and keep it sealed for up to about one month.
How to cook it, step by step
This is a two-stage coating, which sounds fussy but is the whole trick. The wet paste grips the squid; the dry coat fries up crisp. Skip either one and you get either bare squid or a soggy, sliding shell.
- Score, then cut the squid. If you have tubes, score the inside surface in a shallow diamond pattern about 5 mm apart, cutting no more than halfway through. This lets the rings curl and cook evenly. Cut into rings about 1.5 cm wide. Pat the pieces completely dry with paper towels; moisture is the enemy of a crisp coat.
- Mix the wet paste. Whisk 4 Tbsp flour, 3 Tbsp cold water, and ¼ tsp jiao yan into a loose, semi-runny batter, the texture of crepe batter. Add the squid and toss until every piece is filmed. This thin glue layer is what holds the dry coat on.
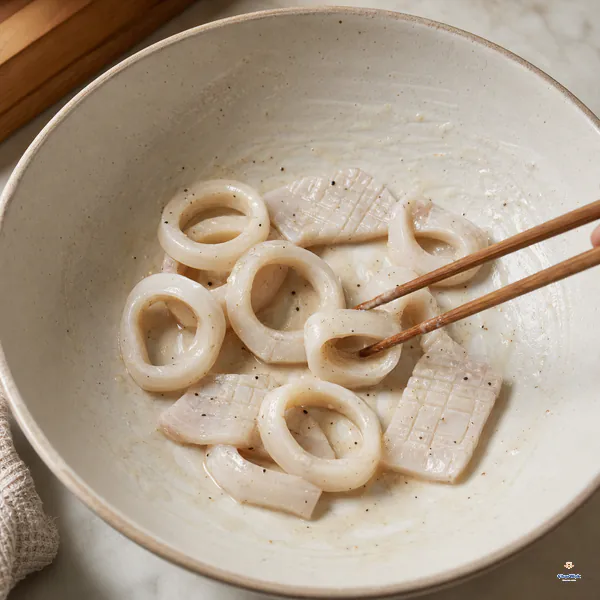
Mix 4 tablespoons flour and ¼ teaspoon jiao yan with 3 tablespoons water into a semi-runny paste, then coat the drained squid with a thin film.
- Mix the dry coat. On a wide plate, combine the remaining 3 Tbsp flour, 3 Tbsp cornstarch, and the pinch of baking powder. Lift the squid pieces out one at a time, let the excess paste drip off, and roll them in the dry mix, pressing gently so the starch sticks in a thin, even layer.
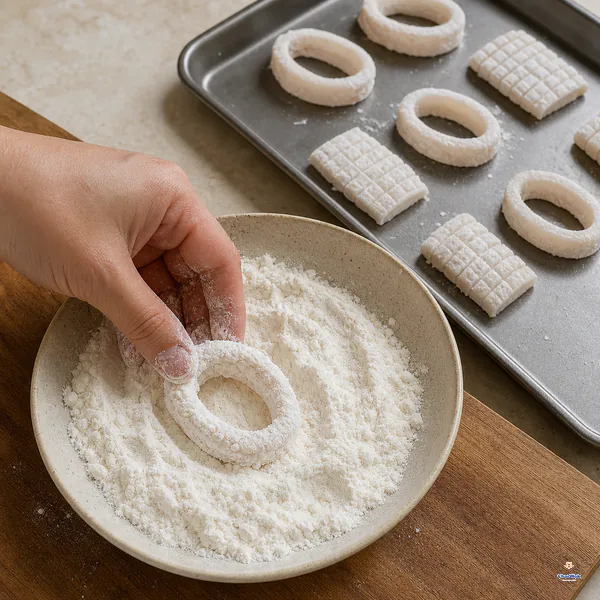
Mix the remaining 3 tablespoons flour with 3 tablespoons cornstarch and a pinch of baking powder; coat each piece fully and keep them from touching.
- Do not let them sit. Lay the coated pieces on a tray spaced apart so they do not touch. The instant the dry coat meets wet paste it starts hydrating; if it sits, the surface turns pasty and the crust will peel off in the oil. Move straight to frying.
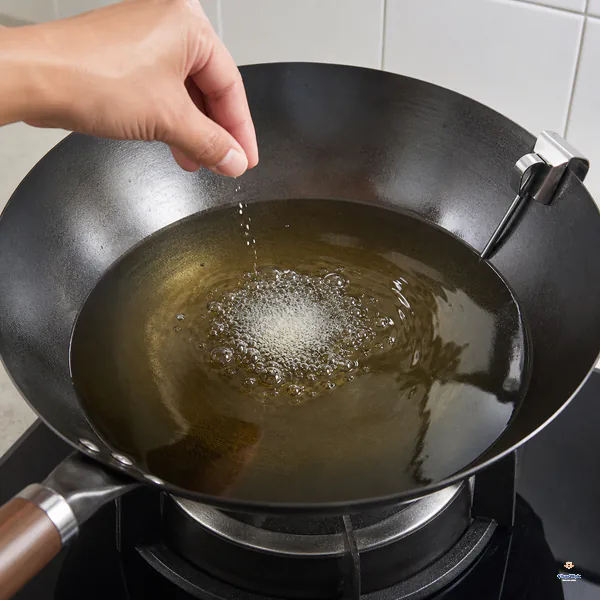
Heat the frying oil to 180°C or 350°F; without a thermometer, a pinch of dry coating should bubble vigorously and float at once before the squid goes in.
- Heat the oil to 180°C / 350°F. Use a deep, narrow pot or wok and at least 5 cm of oil. A thermometer is the single best investment for this dish. No thermometer? Drop one piece in: it should sizzle aggressively and float within two seconds, surrounded by rapid bubbles.
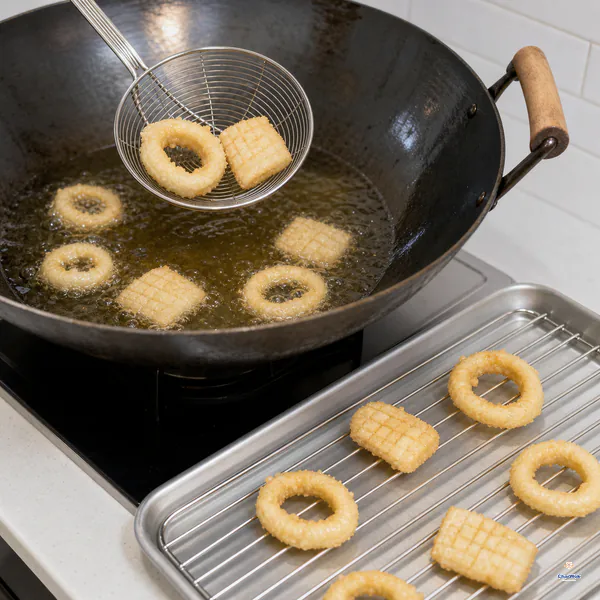
Fry in 2 to 3 uncrowded batches and lift each piece as soon as the crust turns lightly golden, then drain in a single layer.
- Fry in small batches. Add six to eight pieces at a time, never more. They fry for about 60 to 90 seconds, just until the crust is pale gold. Scoop them out the instant they color. If you wait for deep gold, the squid is already overcooked.
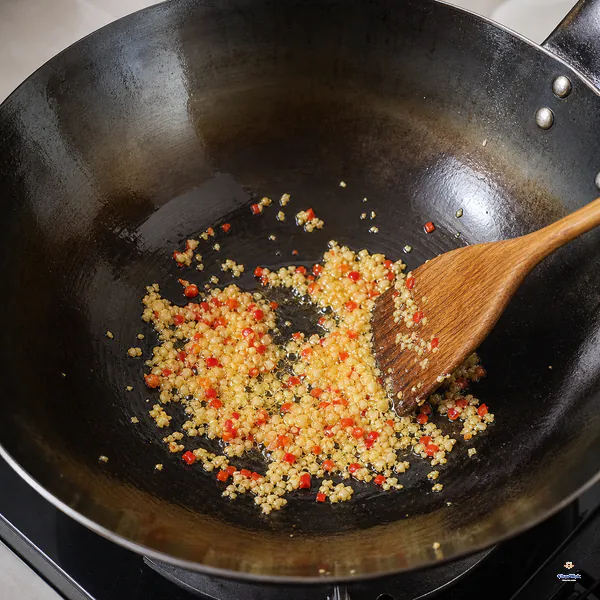
Pour off the frying oil, leave only a thin coating and fry the garlic, ginger and fresh chili just until fragrant.
- Drain on a rack, not paper. A wire rack set over a tray keeps air circulating underneath so the crust stays crisp. Paper towels steam the bottom.
- Finish in the wok. Pour out all but a thin film of oil. Over high heat, fry the garlic, ginger, and chili for ten seconds, no more, until fragrant but not browned. Add the fried squid and scallions, toss once or twice, then kill the heat. Sprinkle the remaining ⅛ tsp jiao yan over the top and serve immediately.
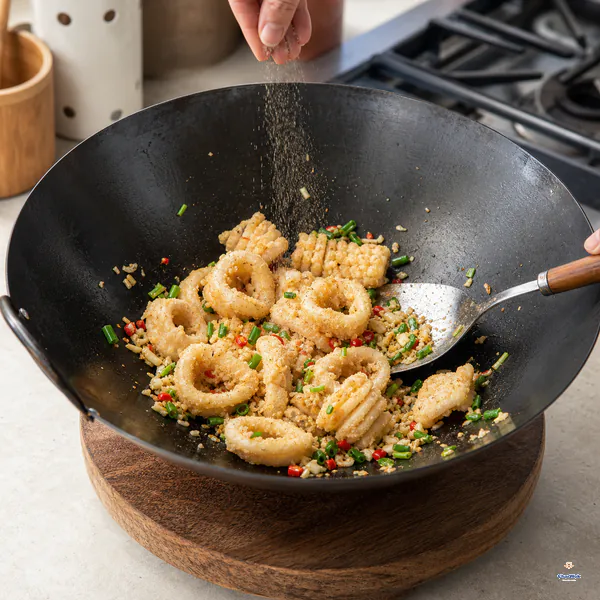
Quickly toss in the fried squid and scallions, move off the heat, sprinkle the final ⅛ teaspoon jiao yan evenly and serve warm.
When it goes wrong (and how to fix it)
This is the section I wish someone had handed me the first time I tried this. Most failures come down to one of four things, and the fixes are simpler than you would think.
The crust falls off in the oil. You either skipped the wet paste, did not dry the squid before coating, or let the coated pieces sit too long. Pat the squid bone-dry first, keep the paste layer thin, and fry within a couple of minutes of coating.
The squid is rubbery. It spent too long in the oil. This almost always traces back to oil that was too cool, which forced you to overcook the meat waiting for the crust to color. Use a thermometer and fry hotter and shorter. The pieces should be in and out in under 90 seconds.
The coating is heavy and bread-like. Too much all-purpose flour, not enough starch. Flour develops gluten in hot oil and turns cakey; cornstarch or potato starch fries thin and glassy. When in doubt, push the ratio toward more starch.
The garlic burns before the squid is coated. The wok was too hot, or the garlic sat in the oil too long. Add garlic to oil that is hot but not smoking, keep it moving, and have the squid already drained and ready next to the stove. The finish takes about 20 seconds total.
Big squid, and other tenderizing tricks
If you can only find large squid, the bodies will be thick and prone to toughness no matter how carefully you fry. A 30-minute soak in lemon juice or buttermilk before cooking helps break down the muscle fibers. Score the flesh more deeply in that case, and consider cutting the tubes open flat and slicing them into strips rather than rings, so no piece is very thick.
The same fast-fry discipline applies to other quick-cooked seafood. Once you trust your oil temperature, you can carry the technique straight into dishes like Sichuan boiled fish prep, suan cai yu, or a platter of steamed garlic prawns where the margin for error is just as thin.
What to serve with it
Salt and pepper squid is loud and salty, so it wants calm around it. A bowl of plain steamed jasmine rice is the classic base and absorbs the toasted-pepper oil. For a fuller spread, add a clean vegetable with no competing spice, something along the lines of a quick shrimp and broccoli is too close in protein; instead think a simple stir-fried green, or a soup to cut the richness.
If you want heat and crunch on the side, a spoonful of homemade chili oil over the rice is my favorite move. The citrus note in the jiao yan plays well against it. Beer or a cold lager is the obvious drink, and frankly the right one.
Variations worth trying
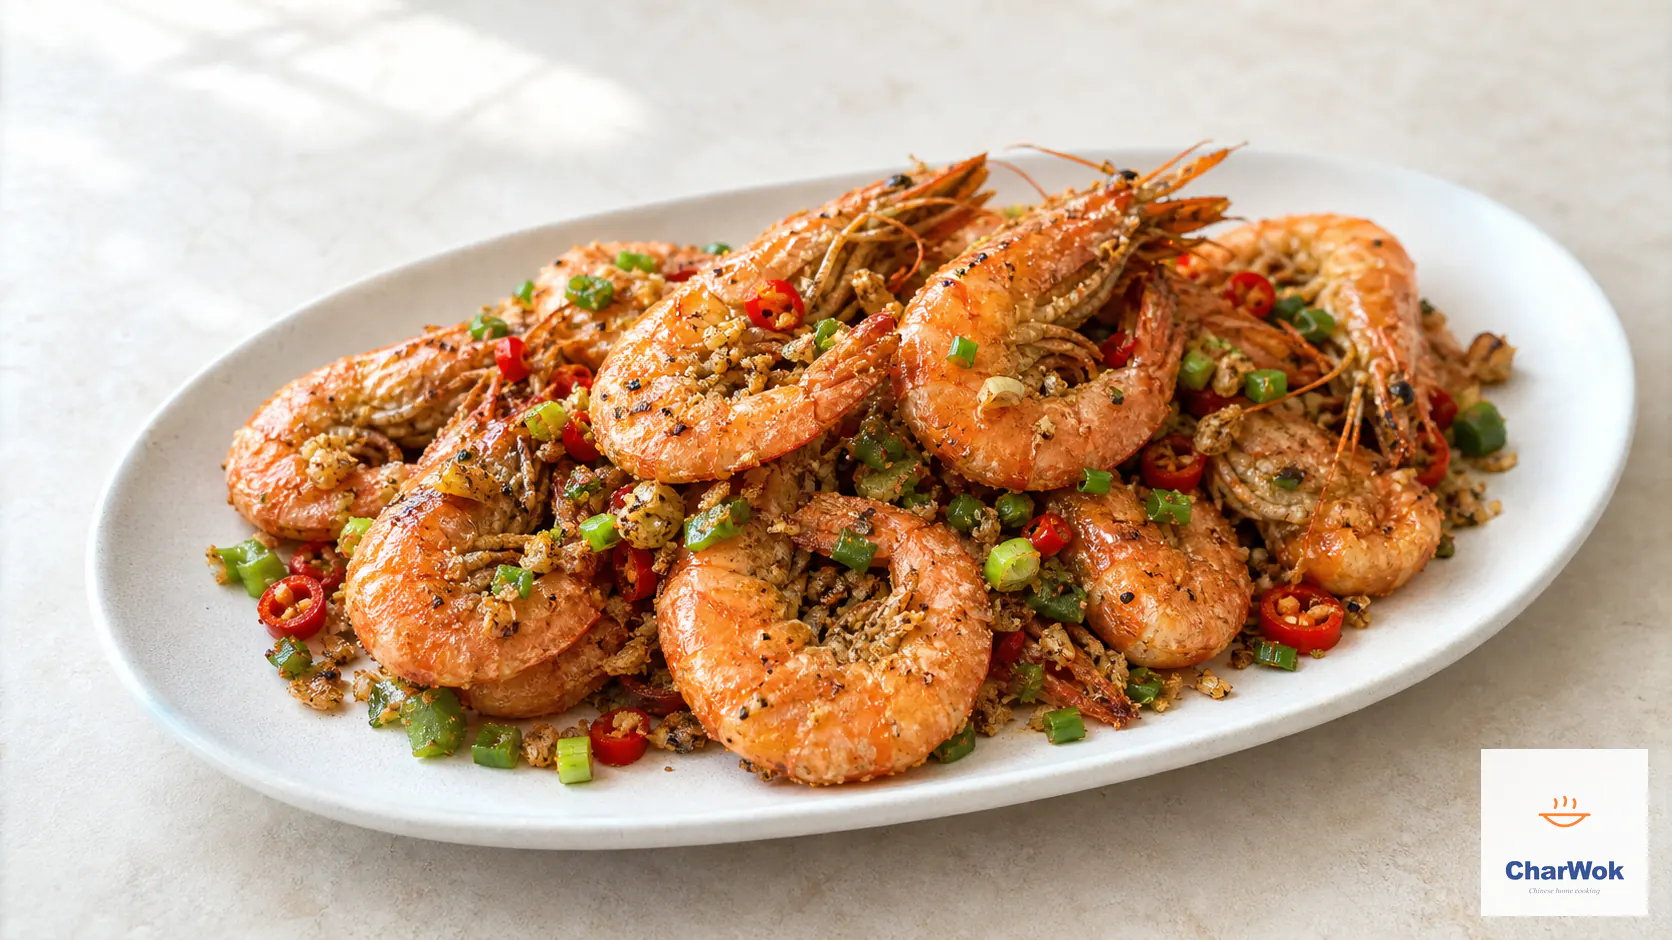
- Salt and pepper prawns. Swap the squid for head-on prawns in the shell. The shells crisp up and become edible, and the same coating and finish work without changes.
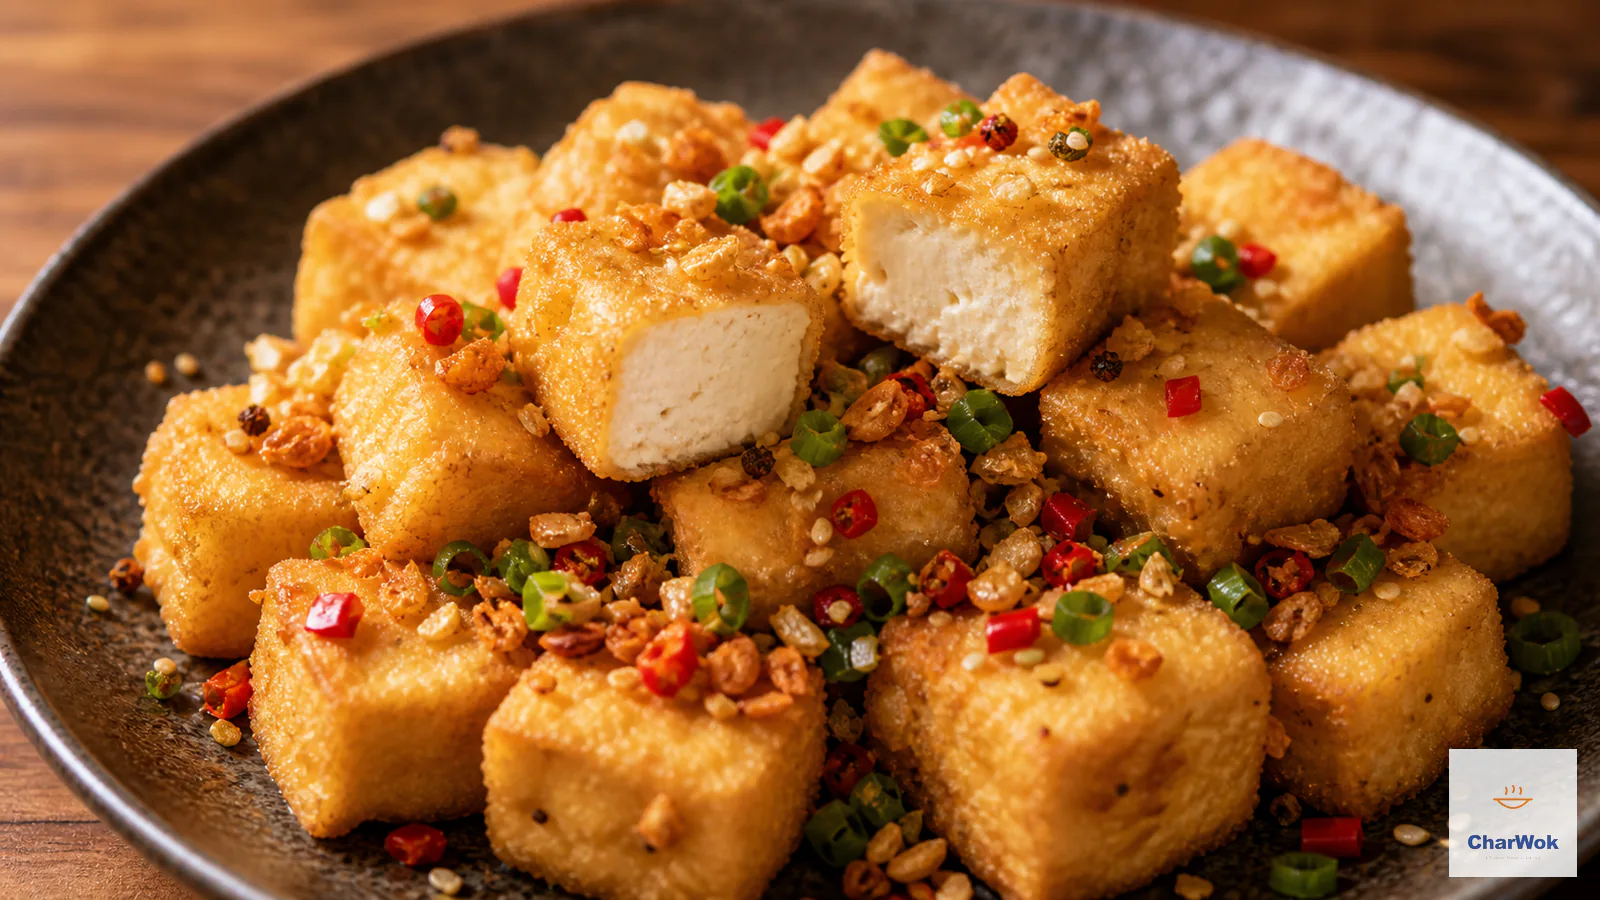
- Salt and pepper tofu cubes. Pressed firm tofu, well dried, fried the same way and finished with the aromatics. A vegetarian main that fools nobody but satisfies everyone.
- Mixed seafood version. Combine squid rings with scallops and chunks of firm white fish. Fry the thickest pieces first so they all finish together.
- Cumin variation. Replace the jiao yan with toasted cumin and salt for a northern Chinese tilt, closer in spirit to Taiwanese popcorn chicken seasoning.
Storing and reheating
This is a from-wok-to-plate dish, full stop. Leftovers are never as good as fresh, but they are still worth saving. Cool them uncovered, then refrigerate in a lidded container for up to two days. Reheat in an air fryer at 190°C / 375°F for about four minutes, or in a hot oven on a rack. The microwave will turn the crust to paste; do not do it. The texture will be thinner than fresh but still respectable. I would not freeze it.
Quick answers to common questions
Can I air-fry instead of deep-frying? You can, and it is a reasonable compromise if you want less oil. Spray the coated squid generously with oil and air-fry at 200°C / 400°F for about 8 minutes, shaking once. The crust will be thinner and less blistered than a deep-fried version, but the squid stays tender. Expect a different dish, not the same dish with less guilt.
Do I have to score the squid? For rings it is optional but helpful; the scoring lets them curl and cook evenly. For flat pieces or strips, it is more important because it relaxes the muscle and prevents the pieces from curling into tight tubes in the oil.
Can I make the coating ahead of time? Mix the wet paste and the dry coat ahead and keep them separate, but do not coat the squid until you are minutes from frying. Once coated, the surface hydrates fast and the crust will slide off in the oil.
Is calamari the same as squid? For cooking purposes here, yes. Calamari is technically a related but different animal, but in practice the texture and behavior in the pan are the same. Buy whatever is freshest.
The whole dish, start to plate, is about twenty minutes, and most of that is heating oil. Get the temperature right, fry in small batches, and trust the clock more than the color. Once you have done it once with a thermometer, you will not need the recipe again, only the oil number. Everything else is instinct.