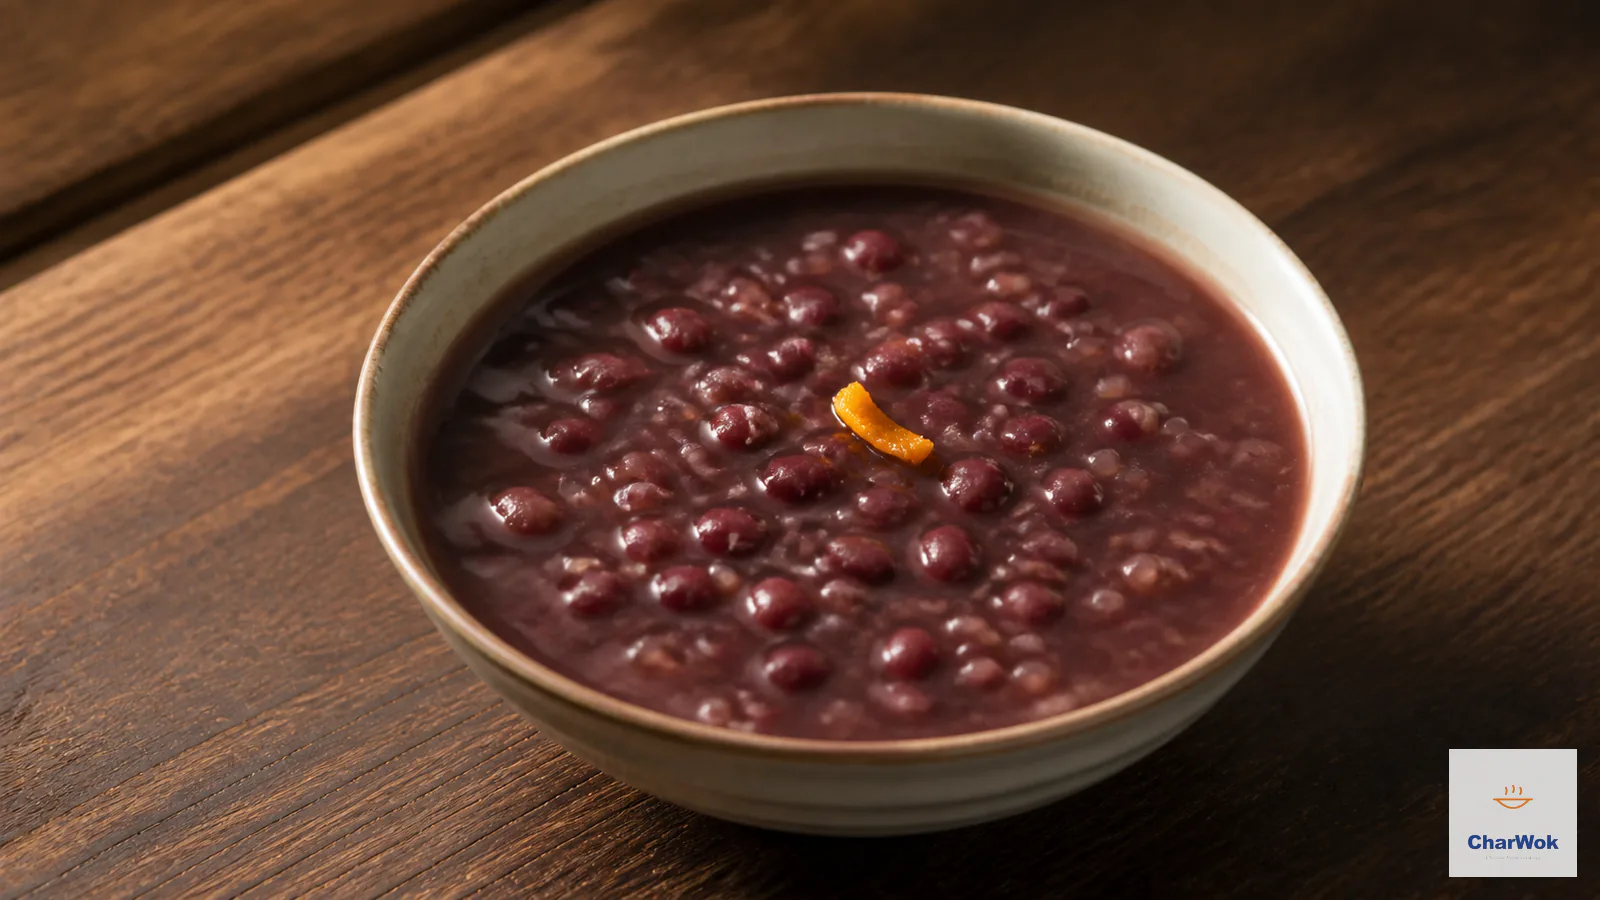
The first few times I made red bean soup, I got a pot of gravel. The beans were technically cooked, but each one sat in the bowl like a separate, sandy little pebble, and the liquid around them was thin and gray. I had followed the recipe. I had soaked the beans. I had simmered for an hour. What nobody told me was that the difference between a forgettable red bean soup and the velvety, fragrant bowl you get from a good Cantonese dessert shop is not the beans. It is how hard you make the starches inside those beans work for you.
This is a dessert soup (tong sui, 糖水), a category of Cantonese sweet soups that are drunk warm at the end of a meal or as a late-night comfort. Sweet red bean soup, or hong dou tang, sits at the gentle, restorative end of that family, alongside things like black sesame soup and snow pear with rock sugar. It is vegan, naturally gluten-free, and loaded with fiber and plant protein, which is a roundabout way of saying it is one of the few desserts you can eat at midnight and still feel human in the morning.
At a glance. Soak 200 g dried adzuki beans overnight, then simmer in 1 liter of water with a strip of orange or tangerine zest for about 90 minutes, blend half the pot to thicken, and sweeten with dark brown sugar and a pinch of salt. The make-or-break step is the partial blend: that is what turns bean water into soup. A pressure cooker cuts the cooking to roughly 25 minutes.
What kind of bean, and why adzuki
Use small dried adzuki beans, sold in most Asian groceries and many conventional supermarkets now. They are sometimes labeled "red beans." Do not confuse them with kidney beans or with the larger mung-style red beans you see in some Latin markets; those cook to a mealy, almost chalky texture that never quite melts into a soup. Adzuki have thinner skins, a lower starch-to-protein ratio than most beans, and a naturally nutty sweetness that takes well to long, slow cooking.
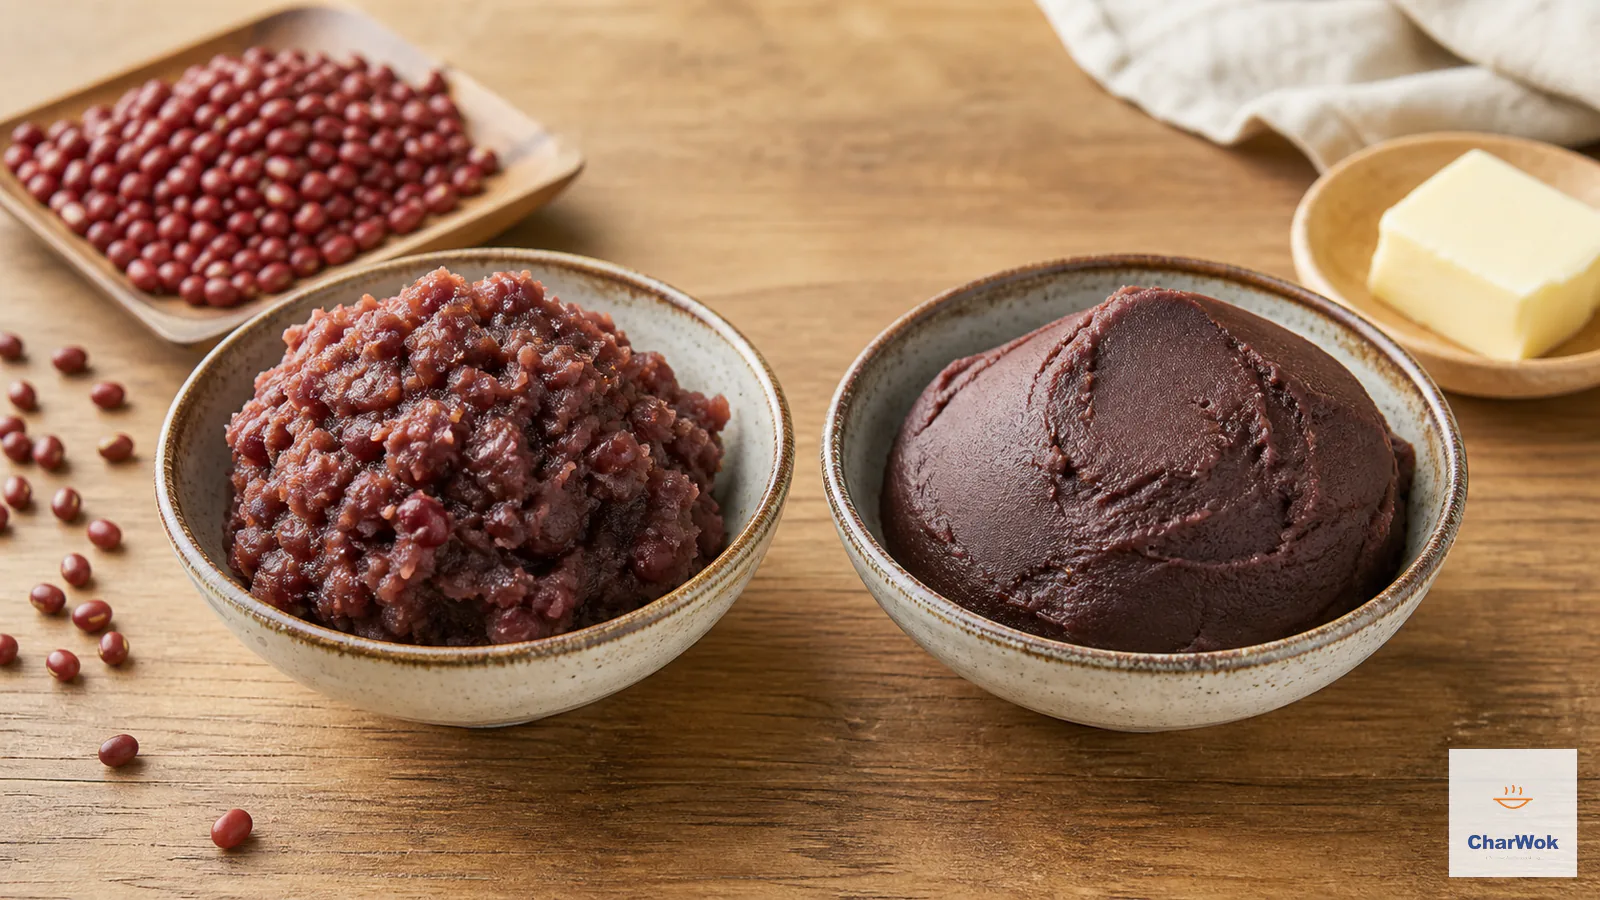
One note that trips people up: there are two different things called "red bean paste" in Chinese cooking. One is the dry, mashed filling you fold into steamed red bean buns or shape into fried sesame balls. The other is this soup. They share an ingredient and a sweet, beany flavor, but the soup is loose, drinkable, and barely sweetened compared to the concentrated paste. If you have made red bean paste from scratch before, you already know how adzuki behave when cooked down; here we stop well short of a paste.
Ingredients
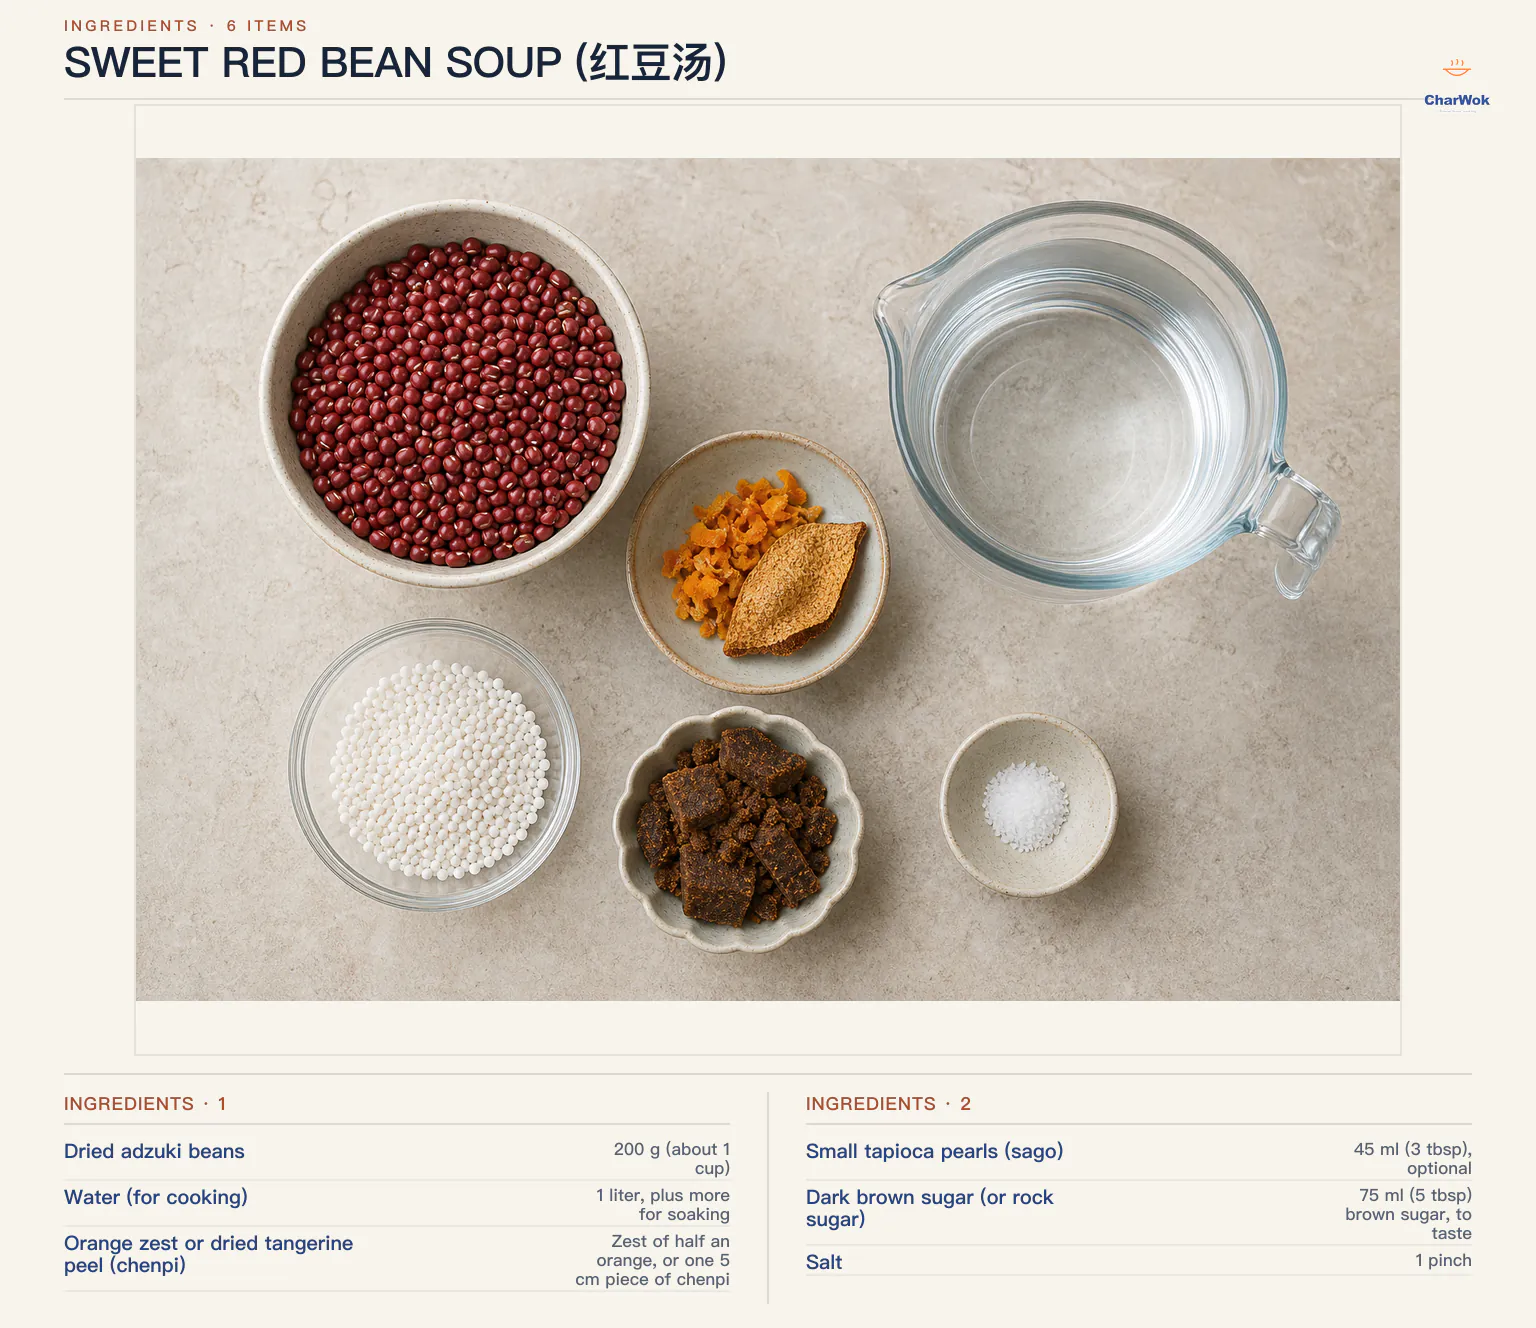
Ingredients at a glance
| Ingredient | Amount | Notes / substitute |
|---|---|---|
| Dried adzuki beans | 200 g (about 1 cup) | Small red beans from any Asian grocery. Do not swap kidney beans. |
| Water (for cooking) | 1 liter, plus more for soaking | Roughly 5 times the volume of the dried beans. |
| Orange zest or dried tangerine peel (chenpi) | Zest of half an orange, or one 5 cm piece of chenpi | Chenpi gives a deeper, slightly bitter citrus note; fresh zest is brighter and easier to find. |
| Small tapioca pearls (sago) | 45 ml (3 tbsp), optional | adds body and a pleasant chew. Skip if you want a smooth soup. |
| Dark brown sugar (or rock sugar) | 75 ml (5 tbsp) brown sugar, to taste | Rock sugar (bing tang) is clearer and less molasses-forward. Cane sugar works too. |
| Salt | 1 pinch | Don't skip. A pinch of salt sharpens sweet flavors the way it does in cookies. |
The method
- Soak the beans overnight. Cover the adzuki with at least three times their volume of cool water and leave them 8 to 12 hours, or until they have roughly doubled in size but still feel firm when you press one. Soaking hydrates the starch granules evenly so they gelatinize at the same rate later; skip it and you get the outer bean mushy while the center stays gritty. Drain and discard the soaking water.
- Optional shortcut: freeze the soaked beans. Spread the drained beans on a tray and freeze them solid, then cook straight from frozen. As the water inside the beans freezes it expands and ruptures the cell walls, so the skins split open during cooking and the insides break down much faster. This is the single biggest time-saver I know for any dried-bean dish, and it shaves the simmer down to about an hour.
- Simmer low and covered. Put the beans in a heavy pot with the 1 liter of cooking water and the orange zest or chenpi. Bring it to a full rolling boil, then drop the heat to the lowest setting, cover, and simmer for about 90 minutes (about 60 if you froze the beans). You want the barest tremor at the surface, not a bubbling stew. A hard boil agitates the beans and knocks the skins off into floating sheets before the insides are soft; a gentle simmer lets everything cook through uniformly. The beans are done when you can crush one between two fingertips with almost no resistance.
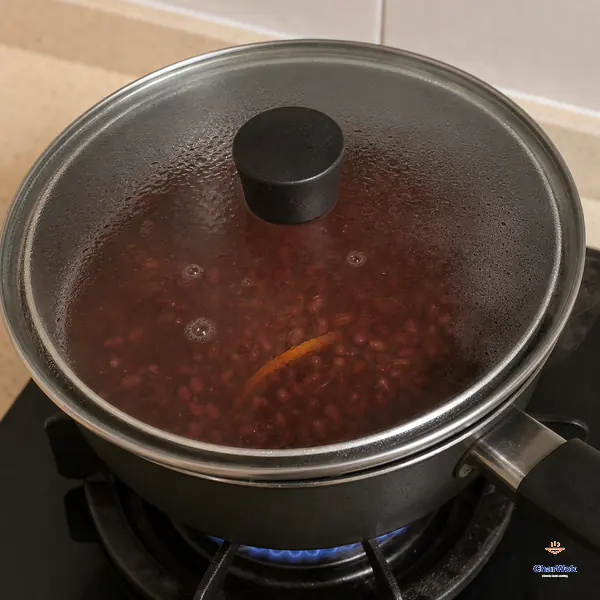
After the full boil, turn the heat to its lowest setting and leave only a narrow steam gap at the lid. Maintain a bare tremor until the largest bean crushes easily, adding hot water if the level falls.
- Pressure cooker option. If you would rather not watch a pot, cook the soaked beans, water, and zest in an Instant Pot or stovetop pressure cooker on high for 25 minutes, then let the pressure release naturally. This works well and is what I do on weeknights, though I find the stovetop version develops a slightly deeper flavor because of the longer exposure to the citrus zest.
- Blend part of the soup. This is the step most home cooks skip, and it is the whole secret. Use an immersion blender directly in the pot and run it for maybe 10 seconds, until most of the beans have broken into a runny paste but a good third of them are still in recognizable lumps. Stop early. The blended starches thicken the surrounding liquid into something velvety, while the whole beans left behind give each spoonful some texture. If you blend until perfectly smooth you end up with baby food; if you skip it entirely you get the gravel-in-water pot I described at the top.
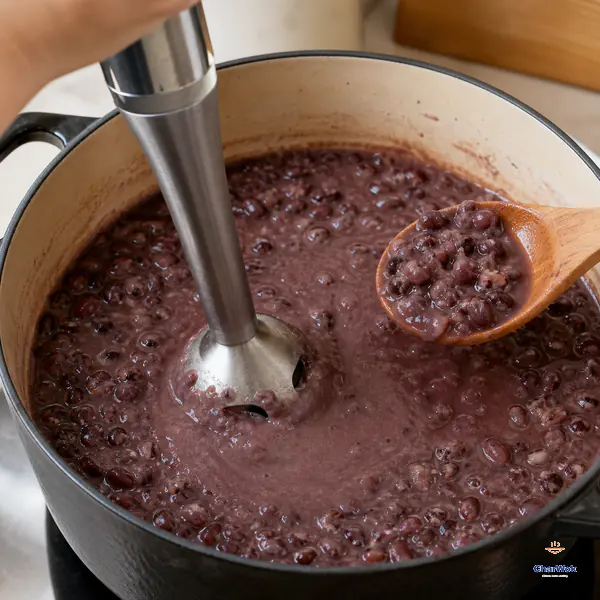
Blend only until most beans form a runny velvety paste, then stop while roughly one-third remain as recognizable pieces. The contrast disappears if the soup becomes completely smooth.
- Add the tapioca pearls, if using. Stir them in along with about 240 ml (1 cup) of hot water, because the pearls drink a surprising amount of liquid as they cook. Simmer over the lowest heat for about 12 minutes, stirring often and scraping the bottom, until the pearls go from opaque white to completely translucent. This is the same trick that gives mango sago its chew, and it works the same way here.
- Sweeten last, and taste. Take the pot off the heat and stir in the brown sugar a spoonful at a time, tasting after each addition, then add the pinch of salt. Sweetening at the end matters: sugar raises the boiling point of the liquid and slows the softening of the beans, so if you add it early the beans never fully tenderize and you blame the beans. The salt is not optional in my opinion; without it the soup reads as flatly sweet the way fudge does without a pinch of salt.
When the soup goes wrong
I have wrecked this dish in basically every way possible, so here is the troubleshooting map.
- Beans still hard after 90 minutes. Almost always under-soaking, very old beans, or adding sugar too early. If the beans are genuinely old (more than a year in the pantry), no amount of simmering will save them; the freezing trick helps but cannot resurrect beans that have gone stale. Buy fresh.
- Soup is thin and watery. You under-blended. Scoop out about a third of the beans plus some liquid, blend that portion fully smooth, and stir it back in. The starch in the blended beans is your only real thickener here; there is no flour or cornstarch in this recipe.
- Soup is gluey and flat. You over-blended. Dilute with a splash of hot water and lean a little harder on the citrus zest next time. A little texture is what separates a soup from a puree.
- Skins float off in sheets and the soup looks messy. The heat was too high during the simmer. Strain out the floating skins if they bother you, but the flavor is fine; next time keep the simmer gentler.
- Soup scorches on the bottom. Two causes: too high a heat once the tapioca goes in (starch settles and burns fast), or a thin pot. Stir constantly once the pearls are in, and use a heavy-bottomed pot. A scorched bottom will taint the whole batch with a bitter note; if it happens, transfer the unburned soup to a clean pot immediately and do not scrape the bottom.
- Too sweet, or not sweet enough. Sweetness is fully adjustable at the end because there is no structural role for the sugar. Add more in small increments; you can always put it in but you cannot take it out.
Variations worth making
The plain soup is the classic, but a few additions turn it into a different dessert without much extra work.
- Ginger red bean soup. Add 3 thin slices of fresh ginger at the simmer stage. The warmth is what makes this a winter dish, and ginger has the same kind of gentle, warming reputation in Chinese home cooking that it carries in a glass of ginger milk curd. This is my favorite version.
- Glutinous rice balls (tang yuan). Drop small cooked tang yuan into each bowl just before serving. Filled ones with sesame or peanut are best; the contrast of the chewy ball against the smooth soup is exactly the texture play Cantonese dessert shops are famous for.
- Lotus seed or dried longan version. A handful of soaked lotus seeds or a few dried longan added at the simmer turns this into a more substantial tong sui, closer to what you would be served at a banquet.
- Cold summer version. Chill the finished soup and serve over ice, or pour it into molds and freeze it for red bean popsicles when the weather turns.
For pairing, this is a closing course, not a main. Serve it after a simple rice-and-stir-fry dinner, or alongside eight treasure rice and lotus root stuffed with sticky rice if you are building a proper Chinese New Year dessert spread. A small bowl is plenty; the soup is rich.
Storing and reheating
Keep leftovers in an airtight container in the fridge for up to 4 days, or freeze for up to 3 months. The soup thickens a lot as it sits because the starch continues to absorb liquid, so when you reheat do it gently over low heat and stir in a splash of water until it returns to a drinkable consistency. Reheat only what you will eat; repeated cooling and reheating dulls the citrus note. The tapioca pearls, if you used them, will go a little soft on reheating but the texture is still fine.
Frequently asked questions
Do I really have to soak the beans overnight?
Yes, unless you own a pressure cooker. Soaking lets the starch cook evenly; unsoaked beans tend to cook mushy on the outside and gritty in the center. A pressure cooker can force-soak-and-cook in one go, but on the stovetop, skip the soak and you will taste it.
Can I use canned adzuki beans?
You can, and it will work in a pinch, but the flavor is duller and you lose the deep, beany sweetness that comes from cooking dried beans in their own liquid. Canned beans are best saved for fillings like the one in pumpkin mochi with red bean, where the soup itself is not the point.
What does the orange zest actually do?
It cuts the heaviness of the beans the way lemon cuts the richness of a butter sauce. Without it the soup reads as one-dimensional and earthy. Chenpi (dried tangerine peel) goes further and adds a faint, grown-up bitterness; fresh zest is brighter and what I use day to day.
Is this the same soup used in bubble tea shops?
Related but not identical. Bubble tea shops usually serve red bean as a blended, sweeter base mixed with milk and tapioca pearls, closer in spirit to homemade bubble tea. This is the cleaner, traditional tong sui version, meant to be sipped warm on its own.
Bottom line: the beans do the easy work, and the blender does the work that matters. Get the partial blend right and keep the sugar out until the end, and the pot of gravel turns into the bowl you actually wanted.